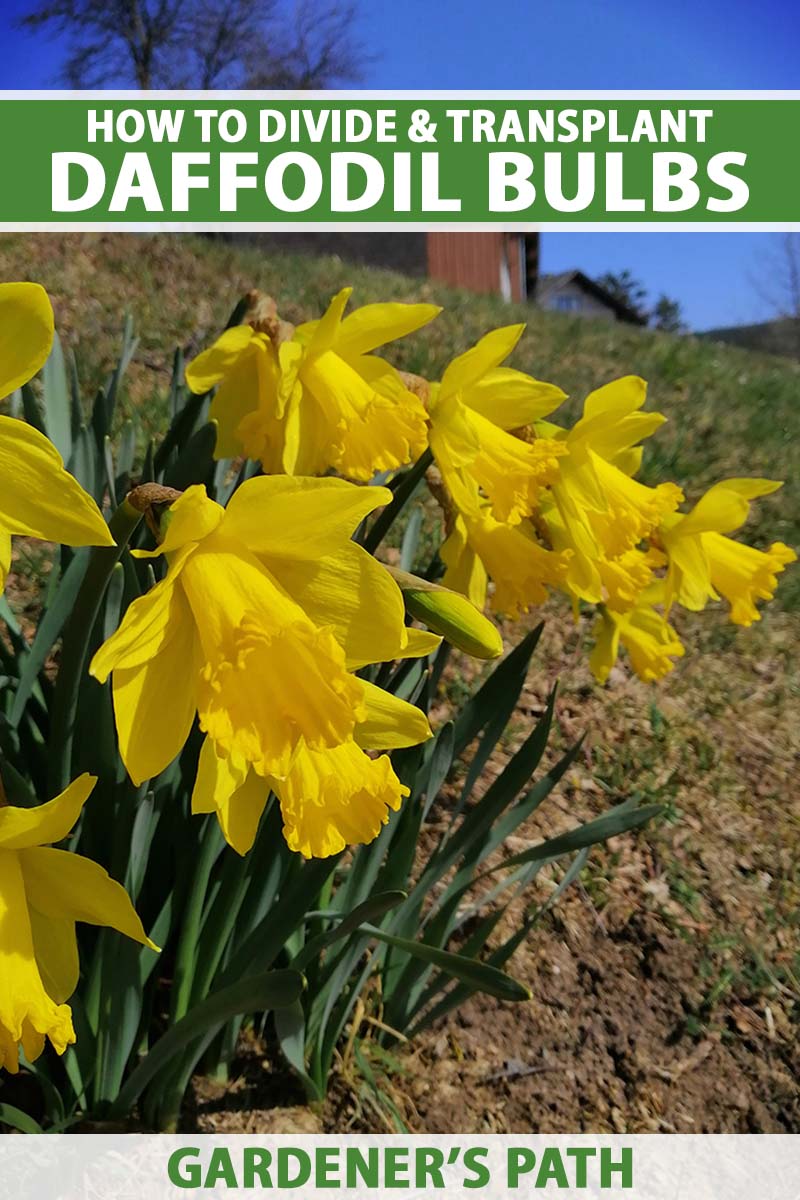
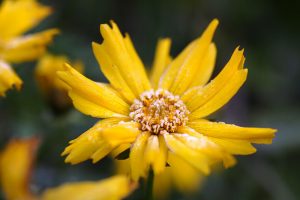
One of my favorite early spring flowers is the yellow daffodil, Narcissus.
And while today’s modern cultivated varieties offer a palette of hues that also includes orange, pink, white, and bicolor combinations, I find there’s nothing quite as breathtaking after a gray and snowy winter as a drift of golden blossoms beneath a refreshingly blue sky.
We link to vendors to help you find relevant products. If you buy from one of our links, we may earn a commission.
Our daffodil growing guide has all you need to know to cultivate your own bright and beautiful harbingers of spring.
In this article, we focus on dividing daffodils. Read on to learn the benefits of this practice and how you can do it yourself.
Here’s what we’ll cover:
What You’ll Learn
Let’s begin.
The Nature of Daffodils
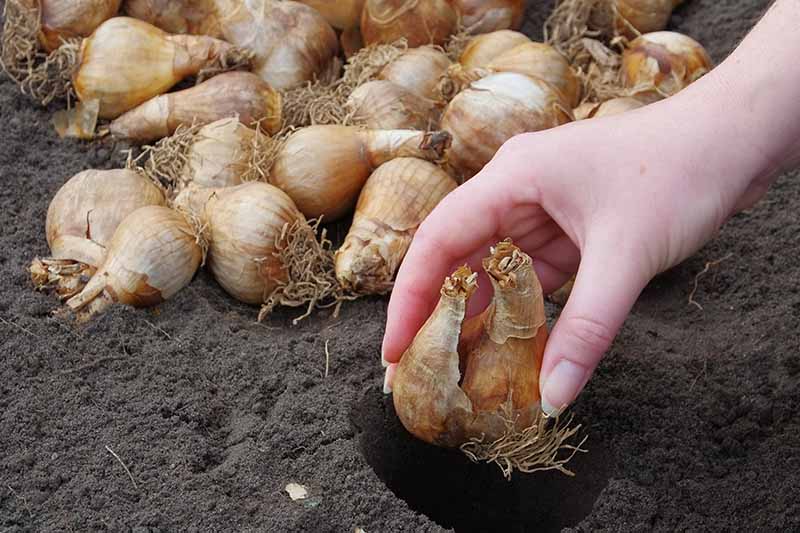
A daffodil is a bulb or self-contained underground stem capable of nourishing itself, growing, and blooming. It has a pointed top and flat, disk-like bottom called a basal plate.
The outer layer consists of a papery brown layer called a tunic. Inside this protective cloak are the leaves. These are white and scale-like, resembling an onion. They enclose the fledgling green leaves, flower scape (stalk), and bud.
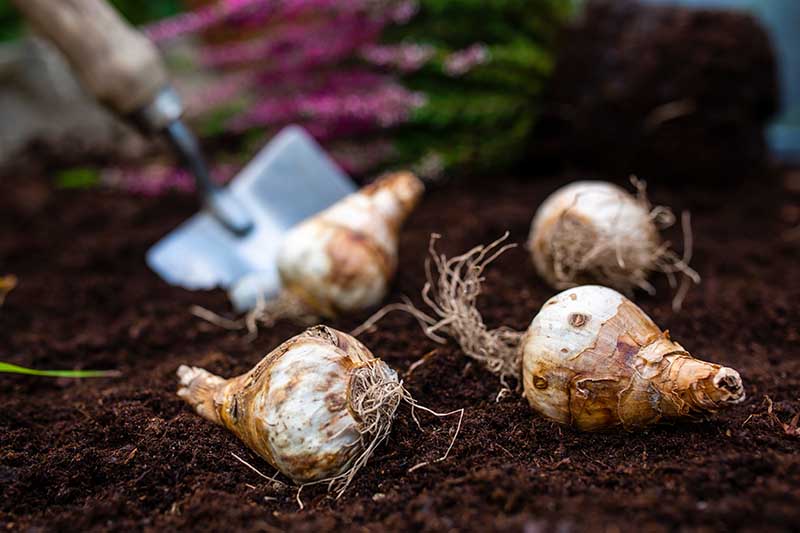
A healthy dormant Narcissus is dry, firm, and unblemished. We plant it in the fall at a depth two to three times its height.
In the spring, strappy leaves appear, followed by a budding flower scape. When a pollinated flower finishes blooming, it undergoes sexual reproduction, setting and dispersing seed.
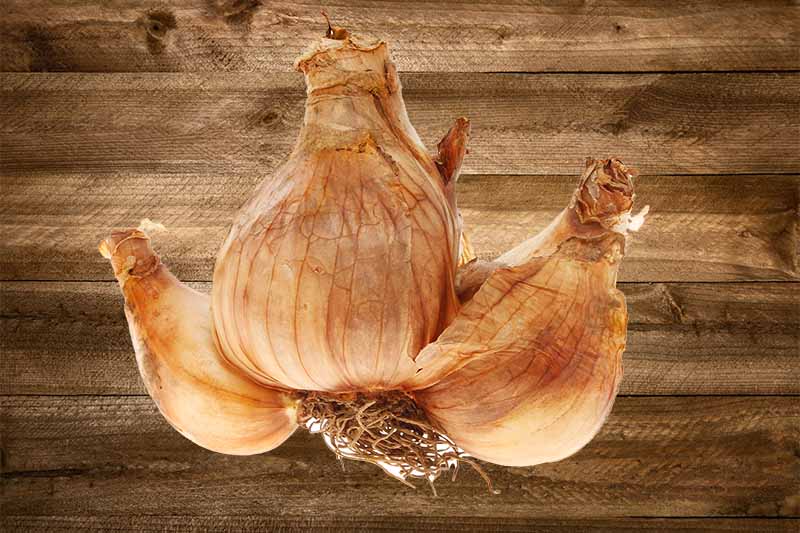
A mature Narcissus also undergoes a process of asexual propagation.
It sprouts tiny white “bulbils” from its basal plate that feed off the parent, enlarge, develop a papery tunic, and push outward. At this point, we call them “offsets.”
When the offsets grow roots, they separate from the parent.
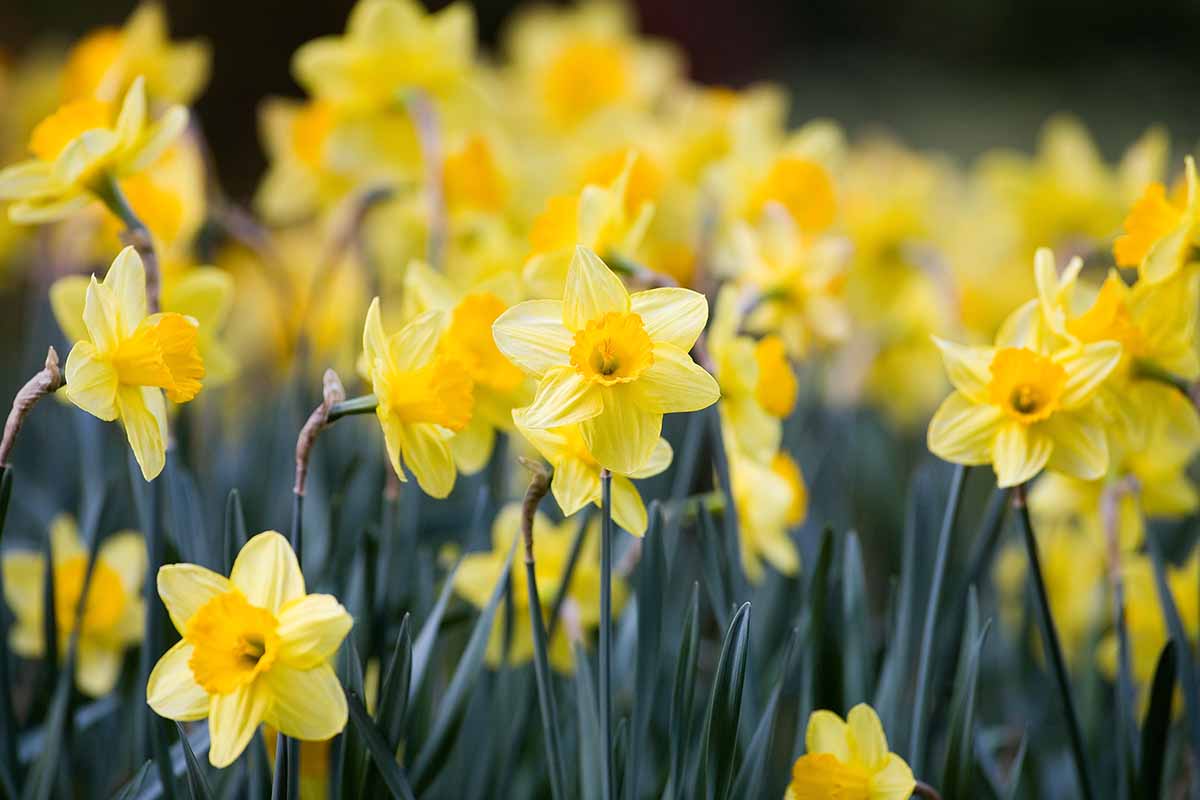
By self-sowing and producing offsets, daffodils naturalize, meander through a landscape and create a robust springtime display.
David Trinklein from the Division of Plant Sciences at the University of Missouri Extension recommends dividing daffodils every five to 10 years.
Let’s find out various reasons for the practice.
Why Divide?
Over the years, the quantity of plants increases, meaning more competition for nutrients, space, and water. It’s also a reminder that the original bulbs are aging.
Overcrowding and aging may result in fewer and/or smaller flowers. To keep daffodils healthy and beautiful, we periodically divide them.
When we say “divide,” we may be speaking of three different tasks:
- Thinning out a dense clump by relocating some bulbs and returning the rest to the same hole.
- Separating offsets from parents for transplant elsewhere.
- Cutting an individual bulb to increase bulbil formation, which is called basal division.
Let’s learn about all of them.
How to Divide Bulbs
When the flowers begin to fade, and before they set seed, you can cut each flower scape off at its base to prevent seed from forming and redirect energy to next spring’s flowers.
You also stop self-sowing, so don’t do it if you want seed to disperse in naturalized settings.
What you don’t want to do is cut the leaves off. Let the foliage remain attached to absorb sunlight, the primary energy source.
If you find the flopping, yellowing, and withering leaves unsightly, consider planting ground-covering flora for a tidy spring-to-summer transition.
Once the leaves have faded, you can divide.
Push the tines of a garden fork in with your foot at a distance of about four inches from the withering foliage.
Gently lift and loosen the first forked area.
Remove the fork, and repeat the process around the foliage until you can lift an entire mound of soil from the ground.
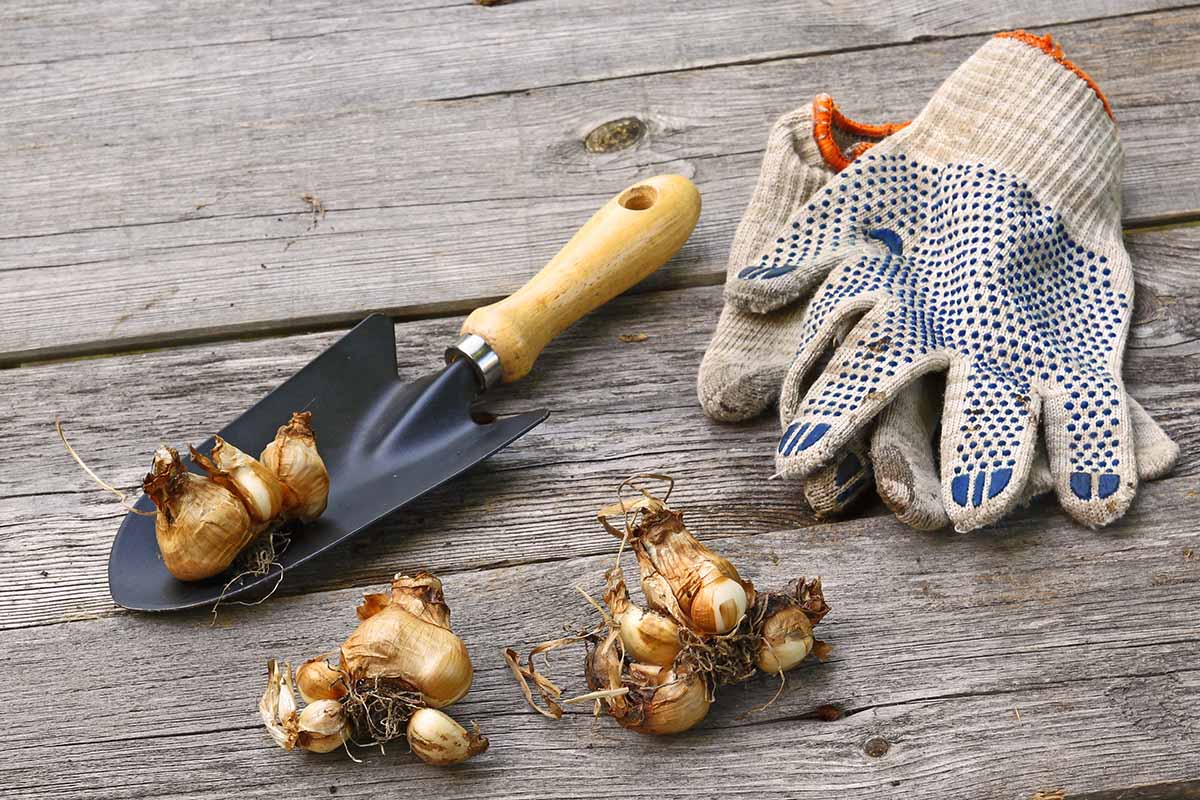
Once lifted, use your fingers to gently remove as much soil from the clump as possible to uncover the bulbs.
Carefully separate them from each other. Even though the roots may seem to be one big mass, each has its own.
Examine them. Discard any that are soft and soggy or otherwise damaged.
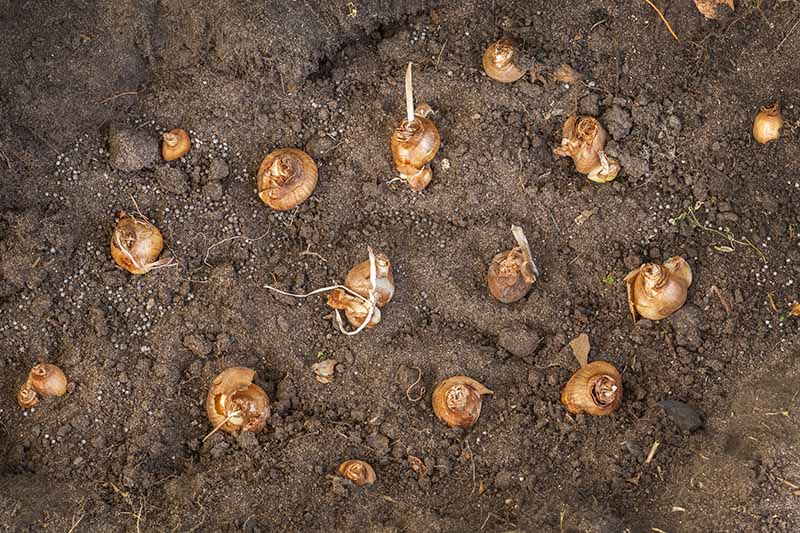
You’ll notice that some have offsets growing beside them, and others do not. Immediately plant those without offsets in the same or different locations per the planting instructions in our daffodil growing guide mentioned above.
Take care to observe spacing and depth recommendations.
As for the offsets, the view of the Royal Horticultural Society (RHS) is that offsets that are as large as a parent can be detached and planted immediately.
Trinklein of Missouri University recommends letting all offsets dry in a single layer for a few weeks before dividing them.
I think old window screens or cookie cooling racks work well as drying surfaces, as they allow for air to circulate.
Place them in a dry 50 to 70°F location away from direct sunlight and rodents.
Once they’ve had a chance to dry out, separate the brown paper-sheathed offsets from the parents by pulling them back and snapping them apart. You can remove small white bulbils in the same manner.
Use clean scissors to trim the roots just below the basal plate, taking care not to damage it.
Remove any loose layers of the papery tunic with your fingers.
Return the bulbs to their drying location until fall planting time.
With both offsets and parents to sow, you’ll be able to multiply the presence of daffodils in the spring landscape.
In addition to thinning clumps and separating offsets, you may want to try your hand at basal division.
There are four types of basal division. These are:
- Coring
- Scooping
- Scoring
- Sectioning
Here’s a brief description of each:
Coring
Use a clean, sharp knife to make a cut that removes the basal plate and the fleshy center.
Leave a thick layer of scale-like leaves on the sides and top of the removed area. Picture one half of a hard-boiled egg cut widthwise, with the yolk removed.
Scooping
Like coring, scooping is the removal of the basal plate, but this time, you’ll remove the majority of the fleshy contents, leaving a mere shell of scaly white leaves, like a hollowed-out coconut.
Scoring
In this case, make shallow V-shaped cuts in the basal plate that only penetrate halfway through the bulb and leave it mostly intact. The disruption stimulates bulbil formation.
For each of the above methods, the bulbs are treated with a fungicide powder, dried for a few weeks in a cool, dry location, and planted out in the fall.
Sectioning
Cut the bulb in multiple wedge-shaped slices like a pie, making sure that each portion contains a piece of the basal plate.
Also called chipping, sectioning is challenging but apparently popular among growers of rare and pricey cultivars that they want to replicate inexpensively.
The process involves allowing the sections, or chips, to dry out before placing them in a plastic bag with vermiculite, water, and air. After three months, maybe you’ll have tiny bulbils to sow.
You can learn more about bulb chipping in our guide. (coming soon!)
Multiply Your Investment
Knowing how to divide is an important part of a daffodil gardener’s skill set, as it reduces overcrowding and rejuvenates mature bulbs, resulting in healthier plants and better flower production.
An added bonus is the abundance of additional plants you’ll gain for starting new gardens and expanding the presence of Narcissus flowers in your landscape.
To recap, we divide after the foliage begins to wither but before it fades from sight.
Unearthed clumps are thinned out and offsets are separated for planting as desired.
Basal division offers another way to make multiple plants from one bulb.
With this information, it’s time to direct your attention to the daffodils at your house. Take out your gardening journal and decide how it can inform your current practices.
Have you tried dividing Narcissus bulbs? Let us know in the comments section below!
If you found this guide useful and want to read more about Narcissus cultivation, we recommend the following:

Really interesting ideas on sectioning, coring, etc. I’ve been growing daffodils for over 30 years, but haven’t really done much reading about how to force multiplying these ways. Actually, I started with 2 “heritage” varieties that were growing here when we built our home here in central Alabama in 1984. One is a very early short yellow. The other is a taller off white, short cupped, scented one that comes really late in April. I have just dug up, separated, replanted, and given away. I recently dug up some clumps of the early type, and they were unbelievably crowded. These… Read more »
Hi Errin –
We’re glad you found the article informative. Your daffodils sound delightful! You could try a bulb nursery, but I wonder if all of the relocating would be detrimental. Maybe leave the pea-size ones to grow a bit larger, as even dwarf daffodil bulbs may measure four inches around. Let us know how it goes, and feel free to post photos.