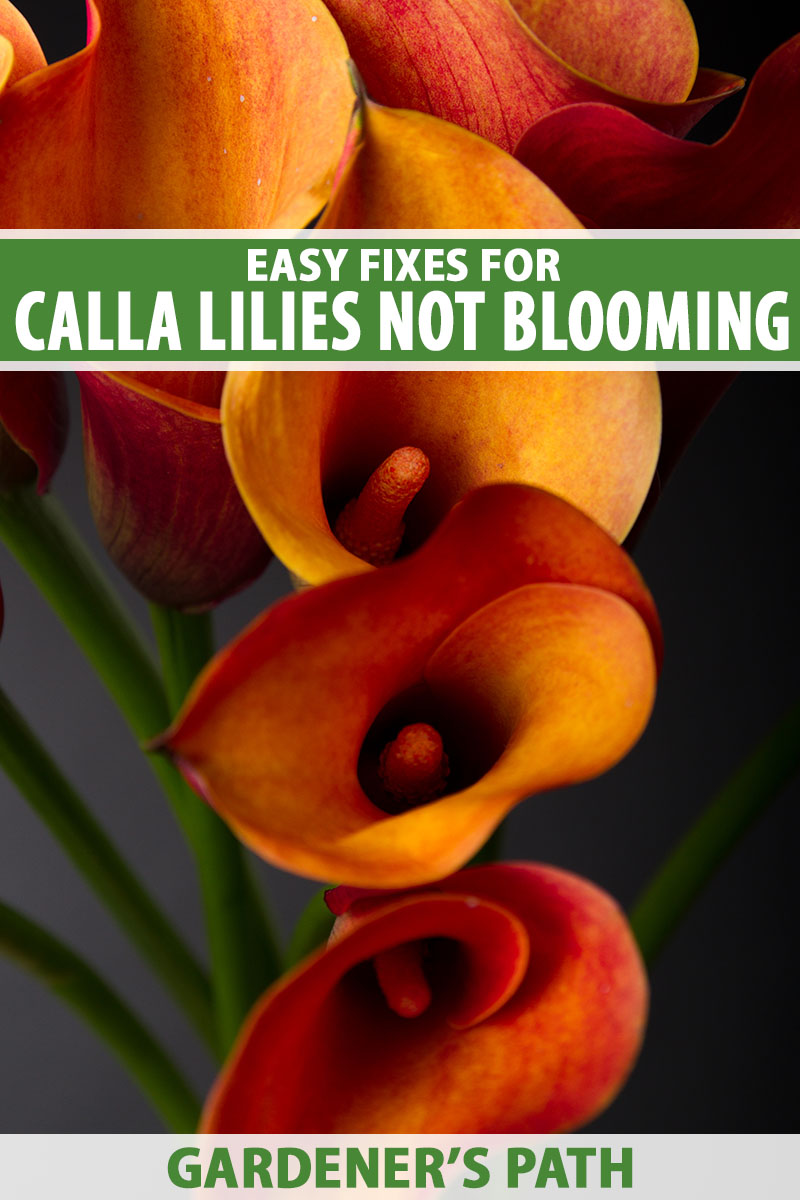
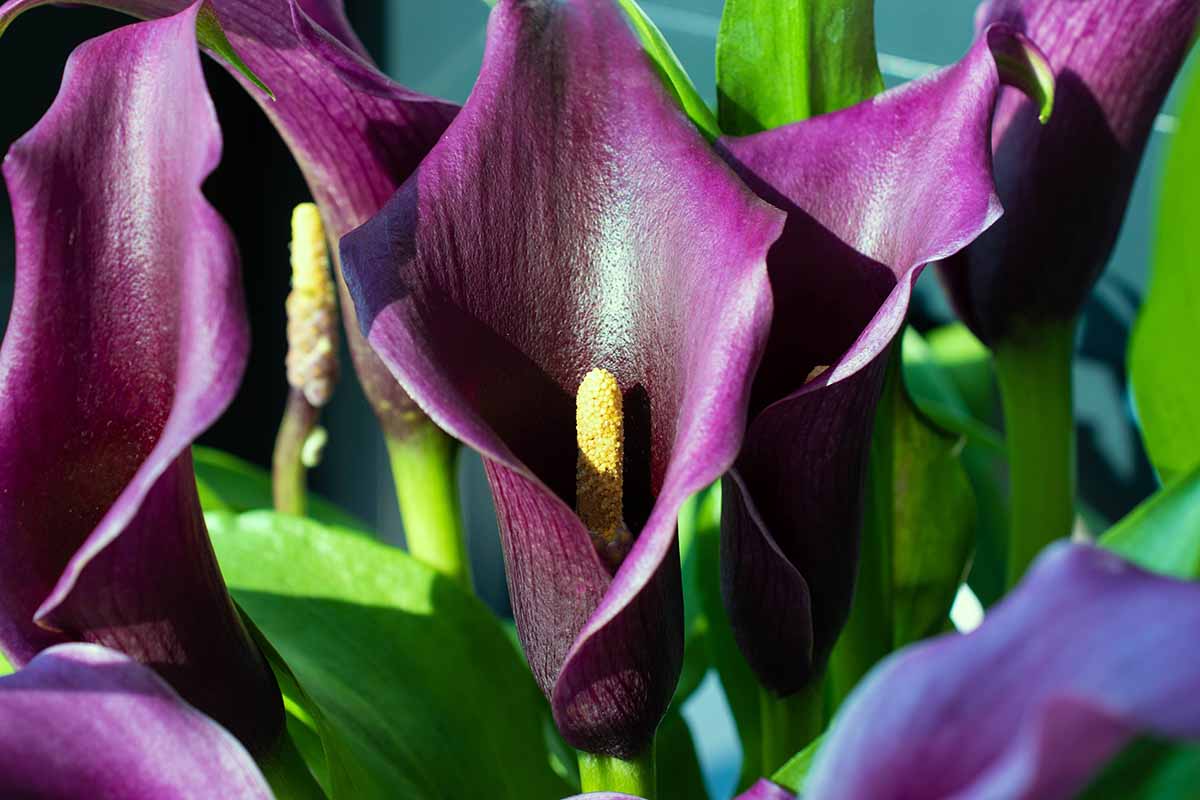
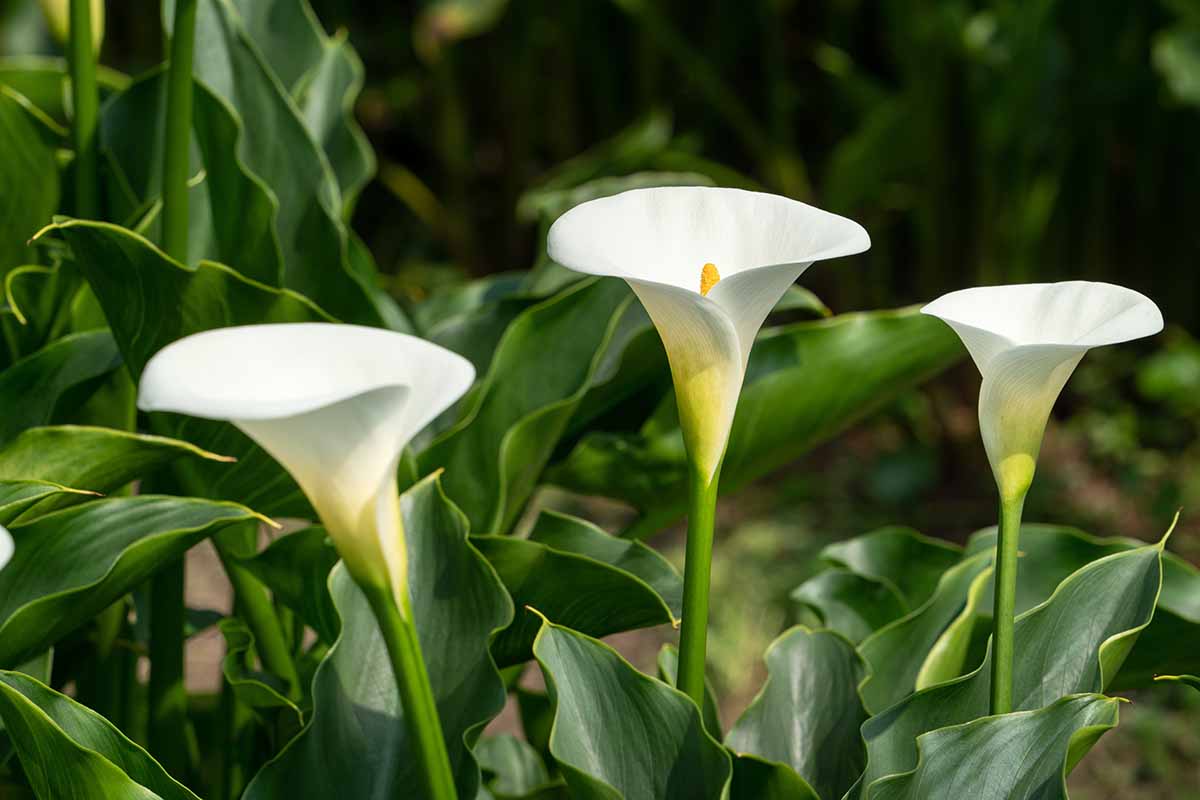
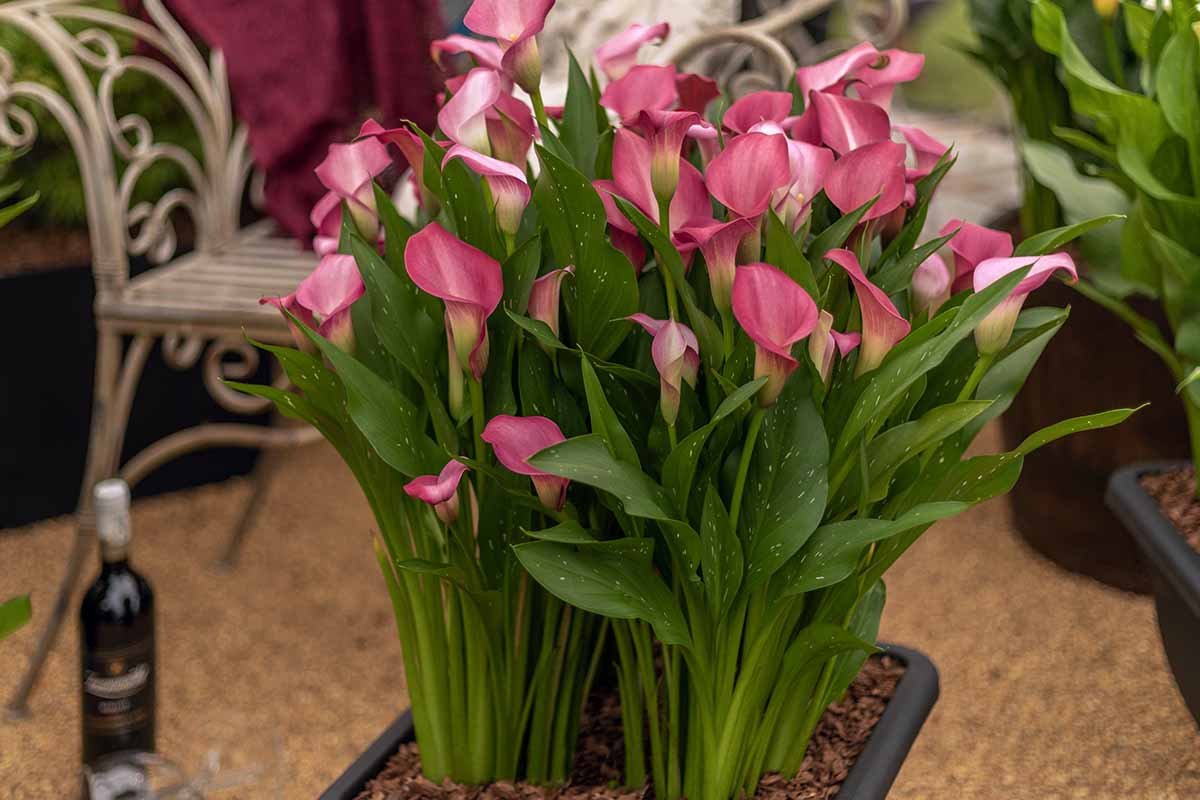
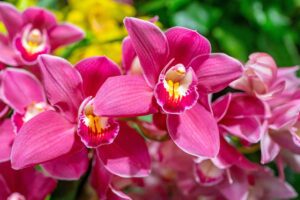
Wonderfully decorative, calla lilies (Zantedeschia spp.) produce elegant, chalice-like flowers in a range of attractive, bright colors.
And if they’re not flowering, we have the easy fixes to restore callas to their blooming glory!
We link to vendors to help you find relevant products. If you buy from one of our links, we may earn a commission.
Generally easy to grow and care for, which you can read about in our calla lily grow guide, getting Zantedeschia varieties to set bud and flower isn’t difficult.
For plants that are underperforming, the problems usually come down to a few basic issues like bulb depth, watering, and hours of sunlight.
Whether you grow your plants in beds or containers, a few simple adjustments are typically all that’s required to reset bud development for a dazzling floral display!
So when you’re ready to do some tweaking, we’ve got the easy fixes for calla lilies that won’t bloom.
Here’s a quick peek at what you’ll find ahead:
How to Ensure Calla Lily Blooming
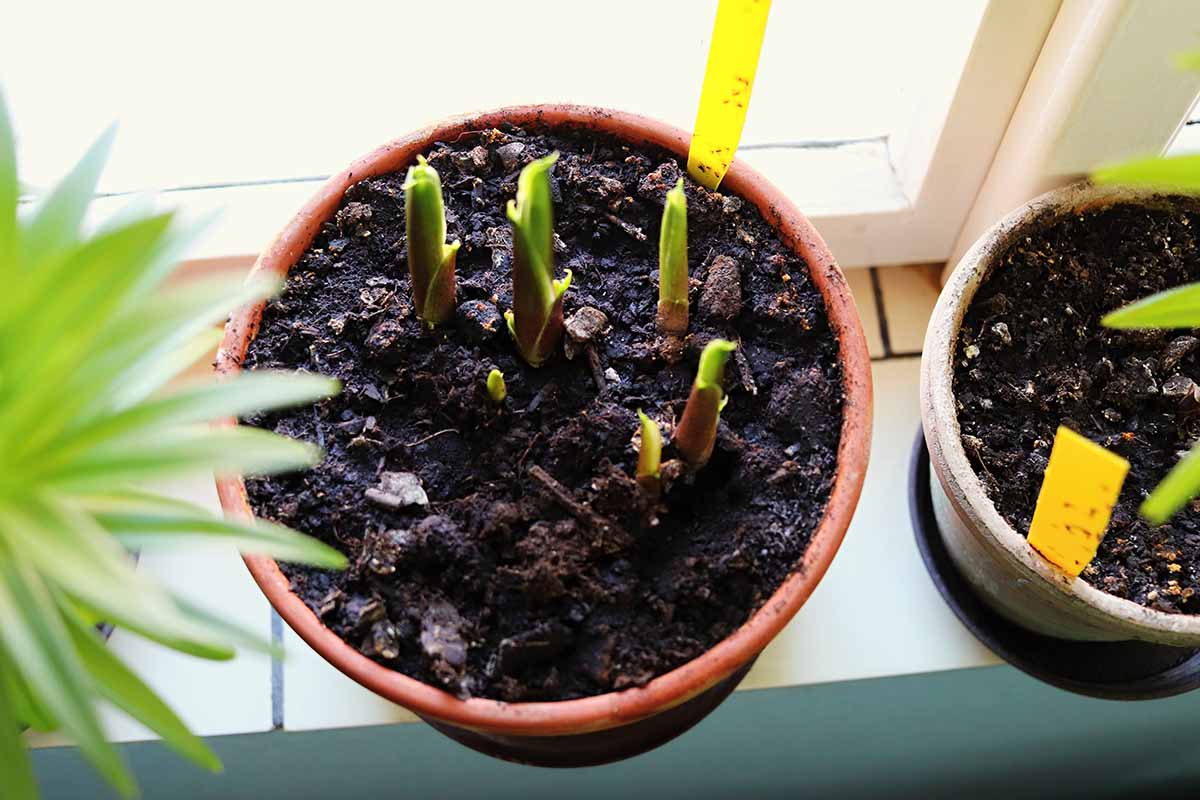
1. Bulb Depth
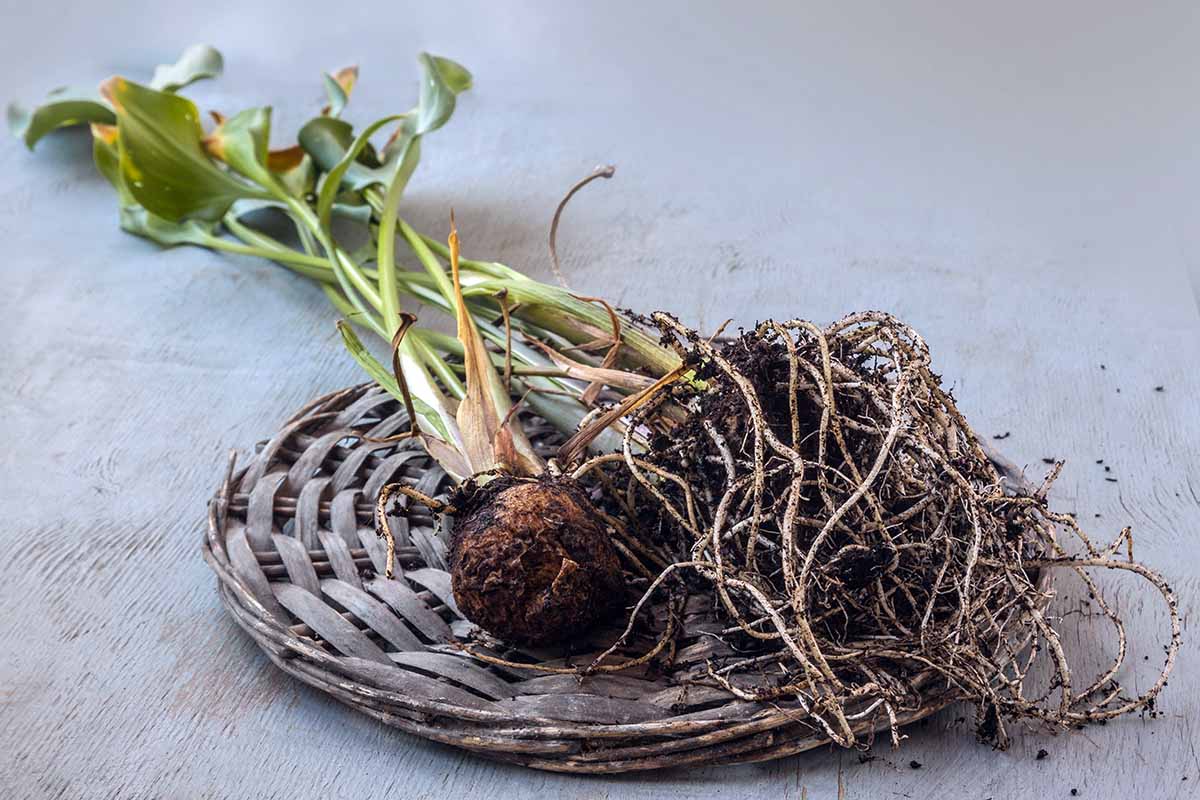
One of the most common reasons for non-blooming calla lilies stems from bulbs that are planted too deep.
A general rule of thumb for bulb planting is to set them in the soil at a depth that’s twice the bulb’s height.
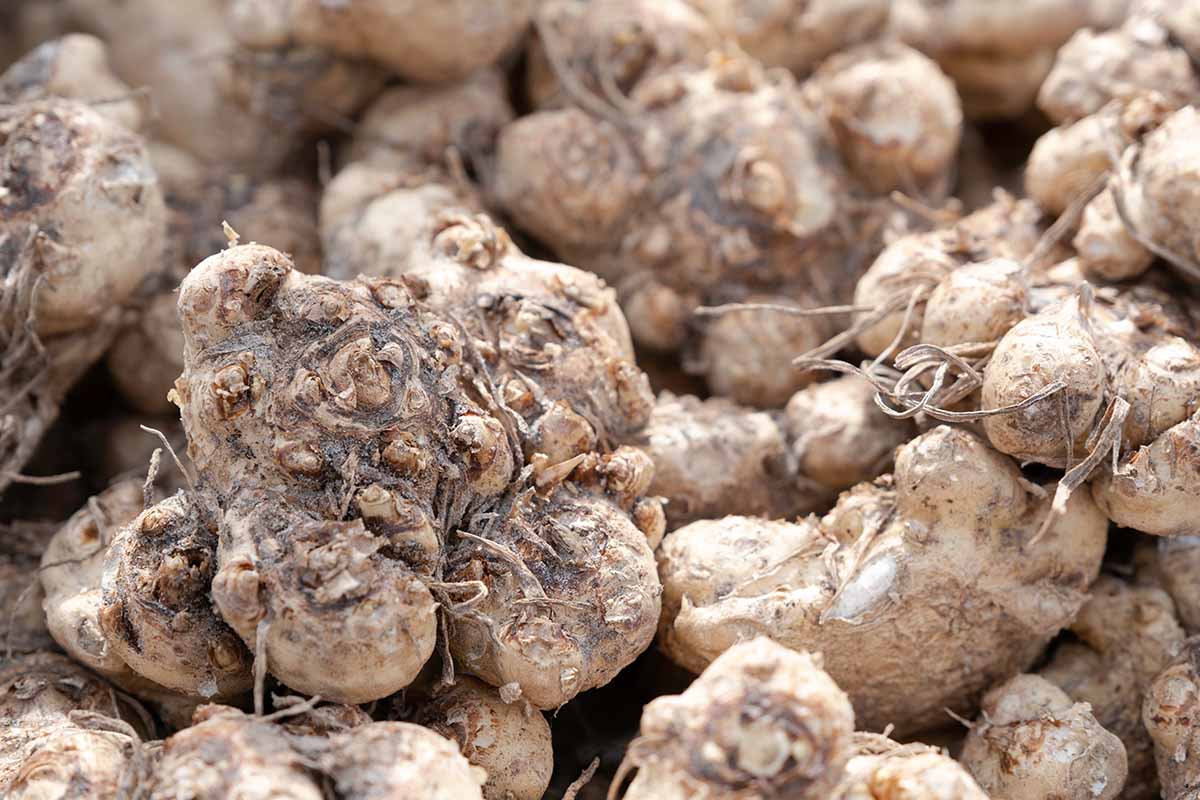
As Zantedeschia bulbs mature, they typically grow more in girth than height, forming beefy clusters several inches wide but usually not more than a couple of inches tall.
For planting purposes, this equals a depth of two to four inches.
If your bulbs have been planted too deep or have settled to a depth greater than four inches, they may still produce plenty of foliage but can struggle to set flower buds.
When planting as a late summer annual, ensure the bulbs are set at a depth that’s only twice their height and no deeper than four inches.
In the case of perennial plantings, lift the bulbs in late summer after they’ve gone dormant and then replant to a more suitable depth as needed.
For more info on the types of garden species and hybrids available, be sure to read our roundup of 21 of the best calla lilies for sensational summer blooms.
2. Dense or Heavy Soil
While calla lilies are generally easygoing about growing conditions, they do need healthy, loose, and well-draining soil to thrive and produce plenty of flowers.
If your plants are lacking vigor or developing fewer blooms, poor soil composition or inadequate drainage could be the problem.
Although species like Z. aethiopica can be grown as a bog or marsh plant, the majority of hybrids must have excellent drainage.
And while calla lilies like consistently moist soil, in wet or soggy soil issues like bulb decay or root rot can develop, which stresses plants and can inhibit bud set.
Dense or heavy soils can also restrict root development which can reduce nutrient uptake, stunt growth, and prevent blooming.
This means soil that’s become compacted or has a lot of clay in its makeup is a poor growing medium for Zantedeschia.
Check the soil for qualities like compaction, too much clay, excessive moisture retention, or standing water.
If any of these issues are present, loosen the soil to a depth of 18 inches and amend with the addition of compost or well-rotted manure to improve nutrients and tilth.
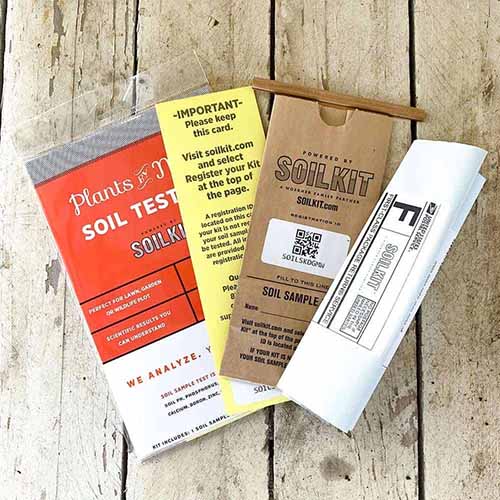
If you’re unsure how nutrient-dense your soil is, a soil test kit is invaluable for evaluating your soil’s nutrients. Read our guide, or purchase one now from Plants By Mail.
To improve drainage, mix in a shovelful or two of gritty matter using materials such as landscape sand, pea gravel, or stone chips to prevent soggy soil or standing water.
If improving the drainage in situ is difficult, another option is to plant bulbs in raised beds – the extra elevation helps to keep water flowing freely for healthy roots and bulbs.
3. Dormancy Period
An issue that occurs most often with container grown calla lilies, but one that can also impact those grown in ground, is not providing the bulbs with an adequate rest period.
All flowering plants have natural cycles that alternate between active growth and resting.
And although tropical bulbs don’t need chill time or cold weather to break dormancy, they do require a resting or ripening period in order for flowers to develop the next growing season.
For calla bulbs, a dormancy period of at least eight weeks in a cool, dry, and dark environment is needed – which is easy to achieve.
For container grown plants, as the growing season winds down in early fall, withhold water and allow the soil to completely dry out.
The foliage will die back and can be cut off at soil level after it’s turned brown and withered.
Once the foliage has been removed, place containers in a cool – but not cold – location such as a garage or cellar. The ideal temperature for dormancy is 40 to 55°F, and the bulbs mustn’t freeze.
Once outdoor temperatures stay above 55°F, move pots back outside to a warm location in bright light and resume watering.
In-ground plants enter dormancy at temperatures below 50°F and can be lifted once the foliage dies off in early fall.
Lift the bulbs from the soil, and store in a dark, dry environment at temperatures of 40 to 55°F.
Once warm temperatures return in spring, plant bulbs out and resume a regular watering and feeding regime for the growing season.
If you’re new to storing dormant calla bulbs, our guide to winter storage has all the details.
4. Fertilizer Imbalances
Zantedeschia varieties are fairly heavy feeders and require regular applications of a balanced fertilizer with equal amounts of nitrogen (N), phosphorus (P), and potassium or potash (K).
If desired, once the flower stems appear you can switch to a formula with slightly higher levels of potassium than nitrogen, such as those formulated for tomatoes.
Espoma Tomato Tone is an organic option you might like, available from Nature Hills Nursery.

Among other functions, potassium helps flowers and fruits to develop.
A balanced formula has identical percentages of N, P, and K, such as 5-5-5. One with higher levels of potassium will have a formula like 5-5-7 NPK.
Avoid using a formula that’s high in nitrogen, such as 5-3-3 NPK. You’ll have plenty of vibrant foliage but flowering may be reduced.
5. Forced Bulbs
Sometimes bulbs that have been previously forced as a seasonal indoor plant can be a bit tricky to encourage to rebloom, either as a houseplant or after transplanting outdoors.
This is typically due to a combination of factors, such as not having a proper dormancy period, insufficient sunlight, underwatering, and inadequate nutrients.
To get forced bulbs to bloom again, provide them with a full winter dormancy period as outlined above.
In spring, repot them or plant out into humus-rich soil, provide regular applications of water to keep the soil moderately moist, fertilize monthly, and place in a location that receives full sun.
6. Leave the Leaves Alone
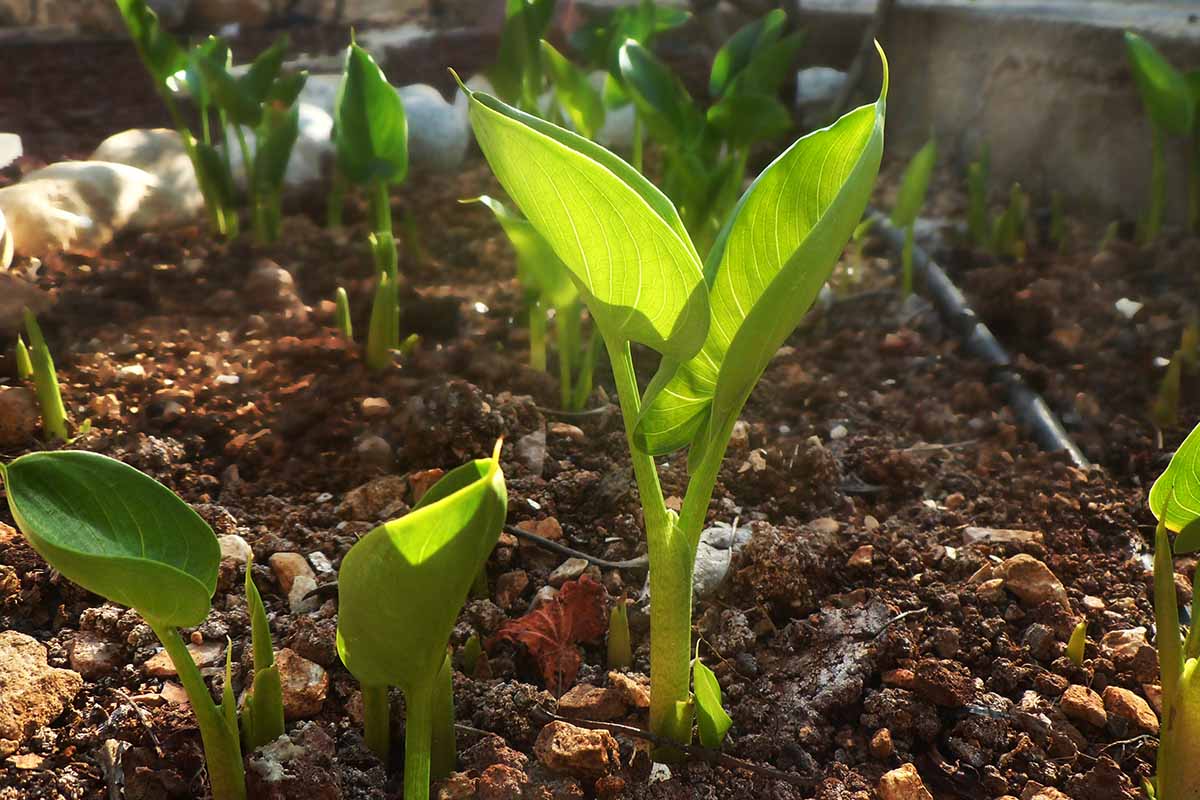
Zantedeschia plants have attractive, upright foliage in the growing season, but after they flower and begin to prepare for dormancy, the leaves turn yellow, wither, and die off.

To ensure the bulbs receive plenty of energy from sunlight to form flowers the following year, keep the plants well-watered and continue fertilizing until autumn.
This keeps the foliage healthy and vibrant for the process of photosynthesis and converting sugars into energy.
Around mid-September, withhold water and fertilizers to force plants into dormancy. But don’t tidy up the yellowing foliage by removing it – instead, leave it in place until the leaves are dry, brown, and papery.
Once the foliage has died back completely, it can be cut back at soil level and the bulbs may be lifted for winter storage, or mulched to overwinter in place in mild winter climates.
7. Light and Water Needs
Although calla lilies can flower in light shade, they produce the most abundant flowers in a full sun location.

In areas with very hot summers, light shade from mid-afternoon onwards can be beneficial. But in temperate regions, they’ll put on the best floral display with full sun.
When planted in heavy shade, on the other hand, blooming is severely restricted.
If your plants aren’t getting enough light, transplant them to a location with full sun exposure, or where they’ll receive a minimum of six hours of sunlight per day.
Zantedeschia plants love moist soil, which makes them unsuitable for low-water or xeriscape settings.
In water-stingy settings, plants can suffer from stunted growth, wilting, and a significant reduction of flowers.
For an ample display of blooms, keep the soil moderately moist but not wet – overly wet soil can cause its own set of problems, like bulb and root rot.
Provide at least two inches of water per week for in-ground plants in a full sun setting.
In hot weather, container plants may need more than two inches weekly to keep the soil moist in summer’s heat.
To get the full watering story, check out this guide on how and when to water calla lilies.
Bloomin’ Beautiful!
In full flower, the gorgeous colors and elegant shapes of calla lilies are bloomin’ beautiful!

If yours aren’t flowering fully, try our fixes to improve their performance.
Remember to plant them in rich, humusy soil in a well-draining location with plenty of water and full sun. Don’t plant the bulbs too deep, and check that your fertilizer isn’t nitrogen heavy.
Also, leave the foliage in place until mid-fall to collect plenty of energy and be sure to rest the bulbs with a dormancy period of at least two months.
With just an adjustment or two, flowering prowess is easily restored!
If you have any questions about non-blooming callas, drop us a line in the comments section below.
And for more calla lily know-how, add these guides to your reading list next:
I have a calla Lily and I keep it in the house as a house plant and it did not bloom now since two years leaves grew but no blooms what can I do with it.
Hey Kathleen, for flowering houseplants, callas need lightly moist soil, bright but indirect light, and monthly fertilizing during the growing season.
They also need a dormant period to produce blooms.
Withhold water starting in November then cut the leaves back once they’ve died. Place your plant in a cool, dark room over winter then repot before the growing sesason begins and flowering should be resotred.
Thanks for your question and for reading!
Help!! I have 2 calla lily plants that had beautiful blooms last year. We live in zone 6 so I attempted to cover the plants for the winter but the cover came off. I just figured I had lost the plants until this spring, they began to sprout! And they have just taken off – full beautiful leaves, and they have gotten much taller than last year!! However, they are not blooming!! I keep them well watered, they get about 5-6 hrs full sunlight but I just cannot figure out why they are not blooming!! Any ideas?? Barb Jones<><
Hi Barb, here are a few thoughts (given that none of the reasons above apply). If your bulbs overwintered in Zone 6, way to go – that’s a good bit outside of their hardiness Zones of 8 to 11. But, it might be the problem as well… Spring arrives in Zone 6 a few to several weeks later than in Zones 8 through 11, and while callas don’t need an overly long summer, they do need plenty of warmth. Your plants might just be lagging behind and you may yet see blooms in late summer, but the flowering season will… Read more »
I overwinter my callas in the ground in zone 6. They do very well but this year no blooms but tons of leaves. I believe they need to be split. Do I dig them up in the fall and split them or do I wait until spring?
Hi Linda, you can split them in fall or spring, but spring is preferable as you can clear out any material that didn’t survive winter, or is weak, damaged, or unhealthy.
However, as mentioned in my answer to Barbara Jones before you, your lack of blooms may be due to a Zone 6 spring arriving a little too late for callas to have a full blooming season.
You might find that storing the bulbs over winter for annual growth gives a better flower display.
Thanks for reading!