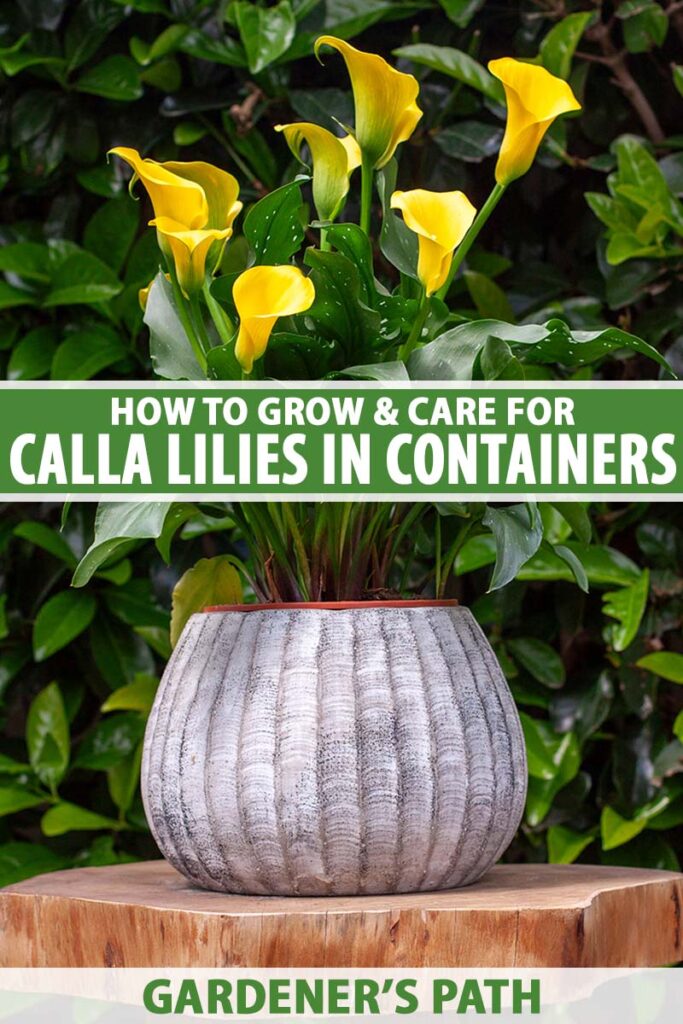
For a calla lily, a container is like an ATV, allowing the plant to boldly venture into new territory with style.
In the container-free wild, a Zantedeschia and its beauty are confined to the humble ground.
But in the garden, thanks to pots and planters and the like, the stunning calla lily can really go places, in both the physical and metaphorical sense.

We link to vendors to help you find relevant products. If you buy from one of our links, we may earn a commission.
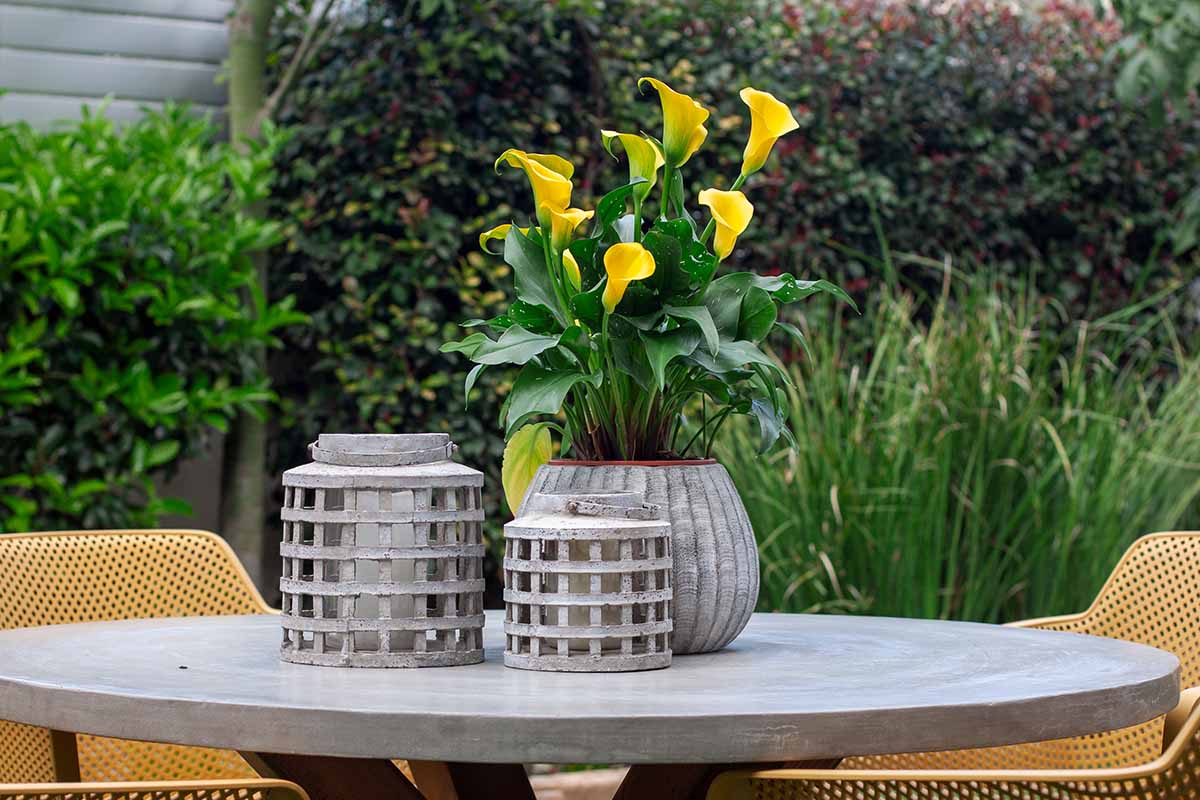
A plethora of possible placement options exist. It can lounge by the patio, chill on the porch, sit at the table as a centerpiece… Aside from logistics and growing conditions, the only limit to a calla lily’s range is your imagination, really.
But just like riding a quad bike, it’s probably best to know what you’re doing before you jump in.
There’s a lot of overlap with in-ground Zantedeschia cultivation, but containerized calla lilies still warrant their own set of instructions.
Here’s everything we’ll cover in this guide:
What You’ll Learn
Why Choose Container Growing?
This was touched on a bit above, but it’s worth rehashing.
Accessibility
A calla lily in a pot is typically positioned higher off the ground than in-ground plantings, which makes the plant a lot easier to work with for gardeners with back pain and/or tight hamstrings.
If you’re prone to bending-and-reaching injuries in the garden, don’t wait for a flare-up to make an ergonomic change!
Flexibility
In-ground plantings take way more effort to move from place to place than containerized plantings.
The former must be dug out of the ground, moved to a new hole that you also had to dig, established in its new home… it’s a whole thing.
But for a container that you want to put elsewhere, it’s as simple as picking it up, walking it over to a new place, and setting it down. Easy-peasy.
Style
From an aesthetic standpoint, there’s not much you can do with soil.
Sure, you can always dress it up with some fresh mulch or amend it with some compost, but as far as decorating goes, dirt isn’t a great medium.
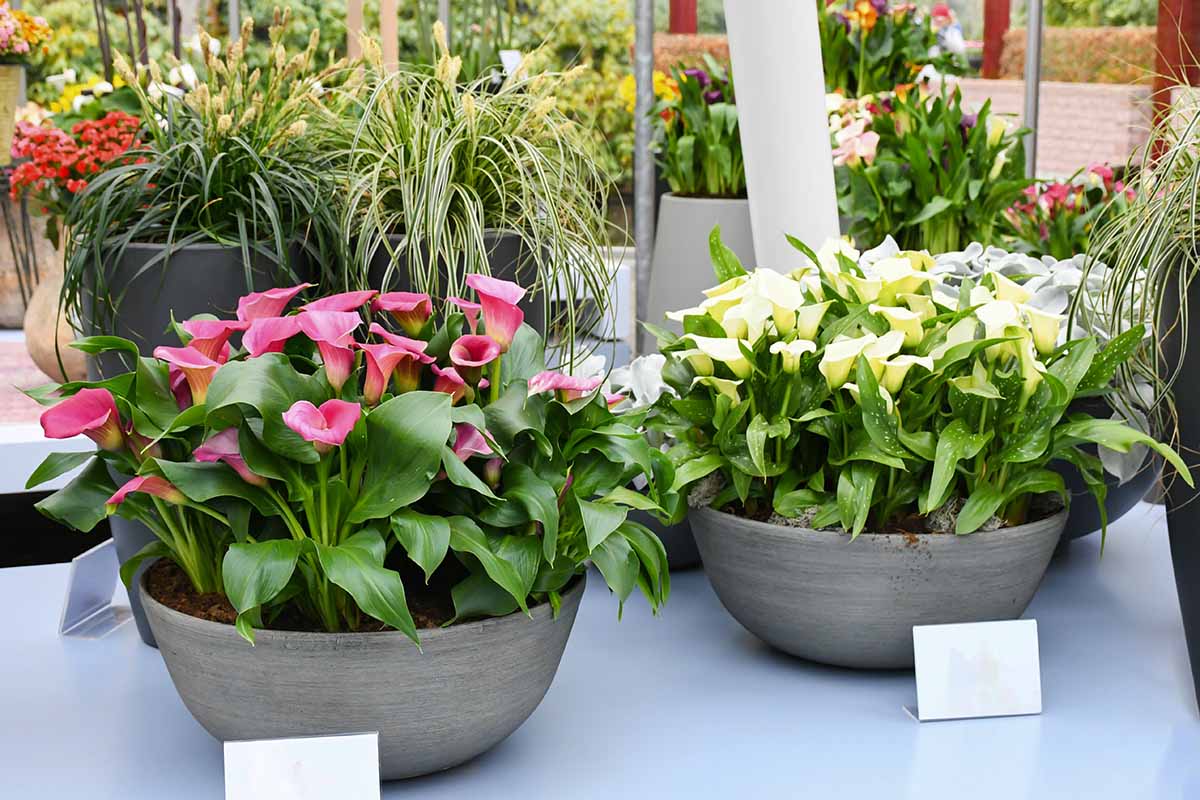
Stylistically, containers leave you with a lot more options – shape, size, color, and material are all customizable!
Choosing a Calla Lily, Container, and Growing Medium
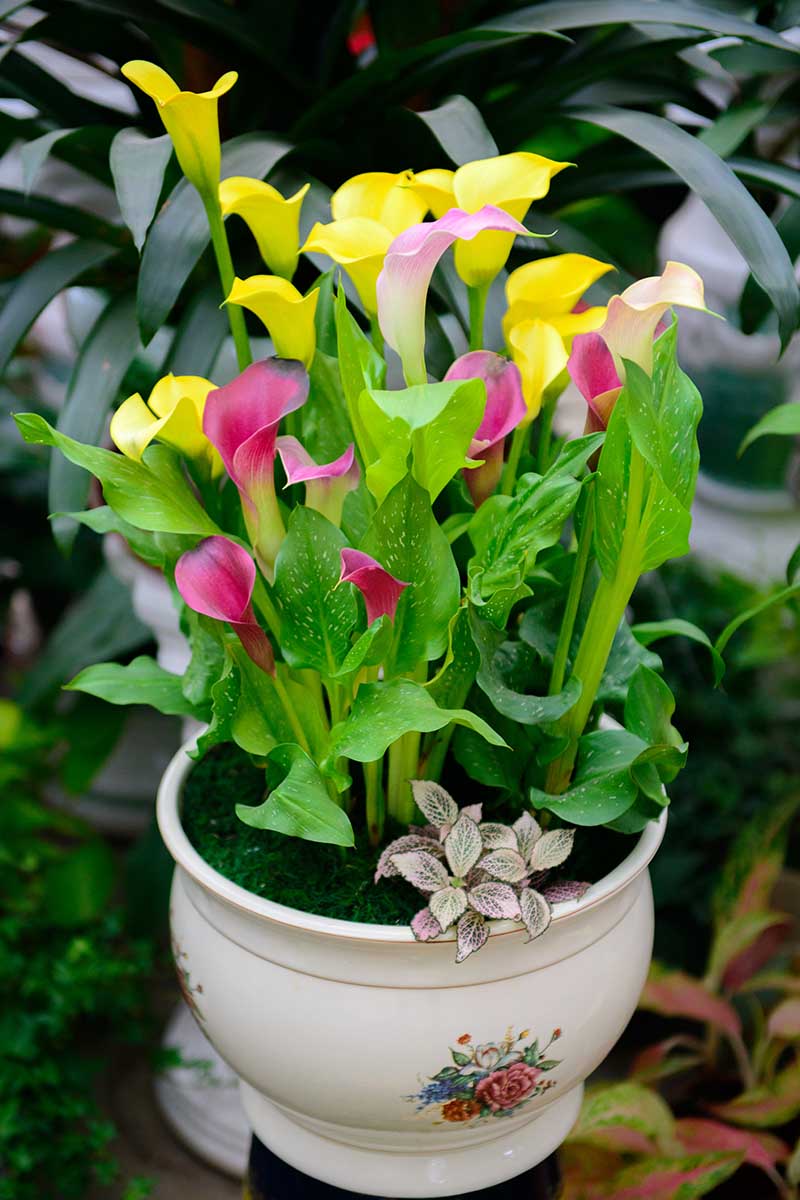
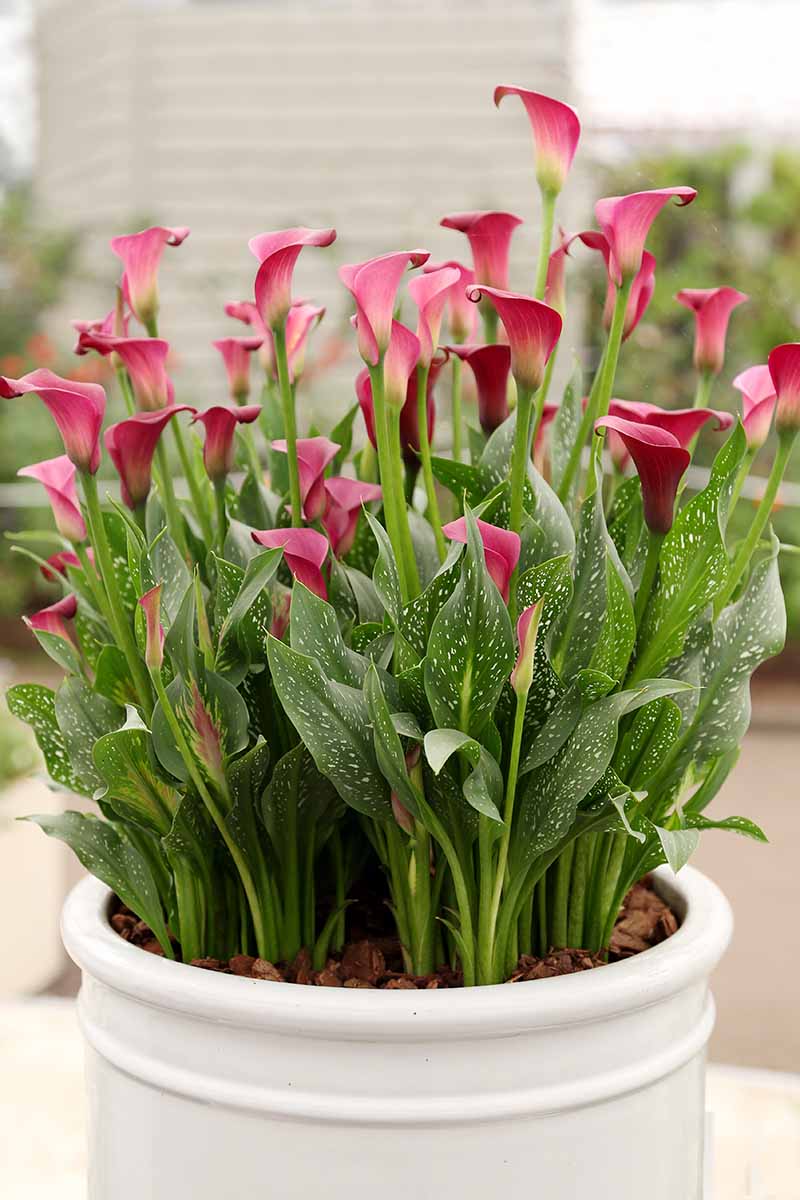
With flowers that come in various shades of red, orange, yellow, pink, and purple, as well as plain ol’ black and white, a Zantedeschia leaves a gardener with quite the color palette to work with.
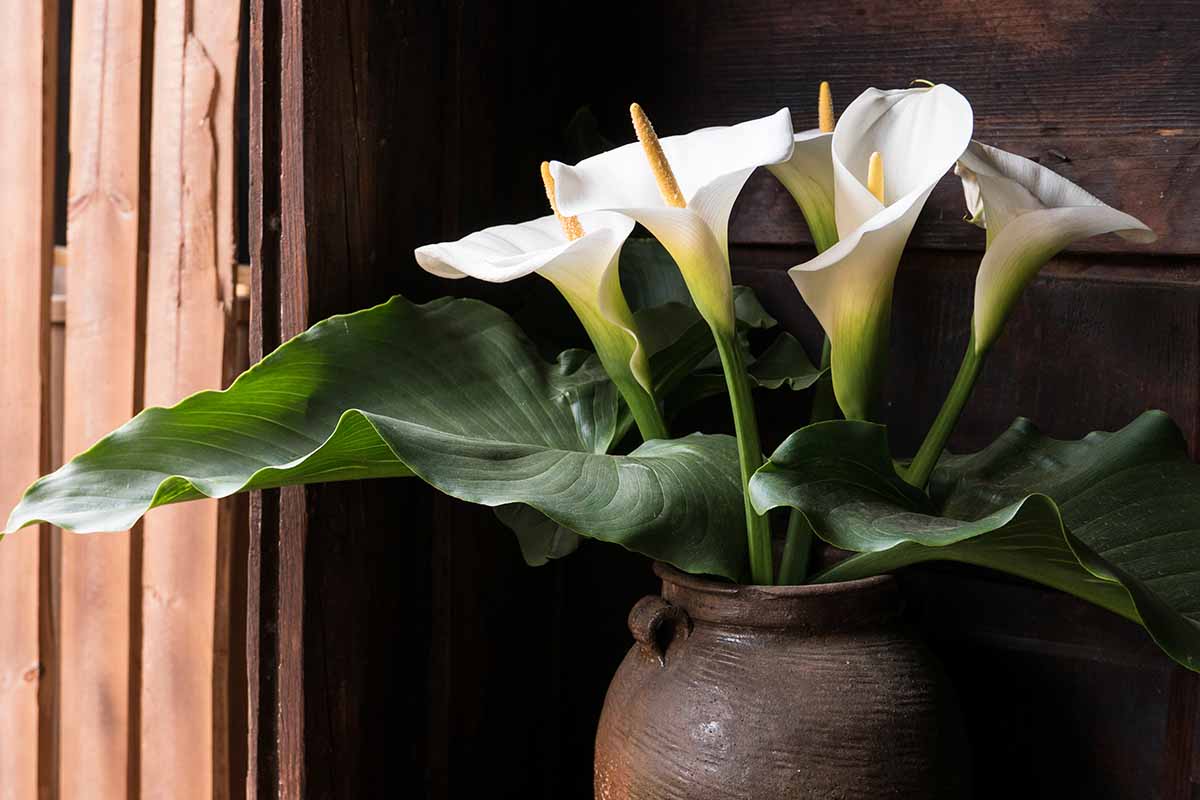
Eight different species, various hybrids, an assortment of cultivars… options abound for container plantings.
For help in figuring out which you want to use, check out our writeup on some of the best Zantedeschia specimens.
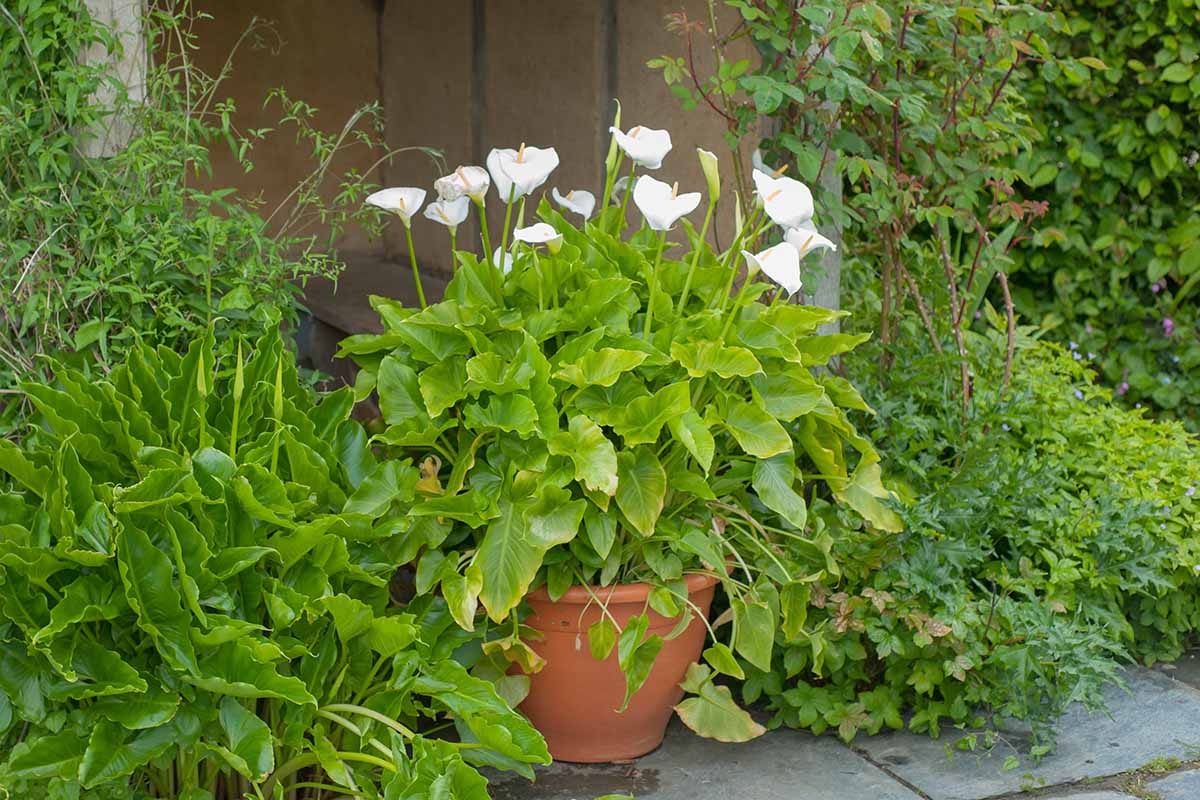
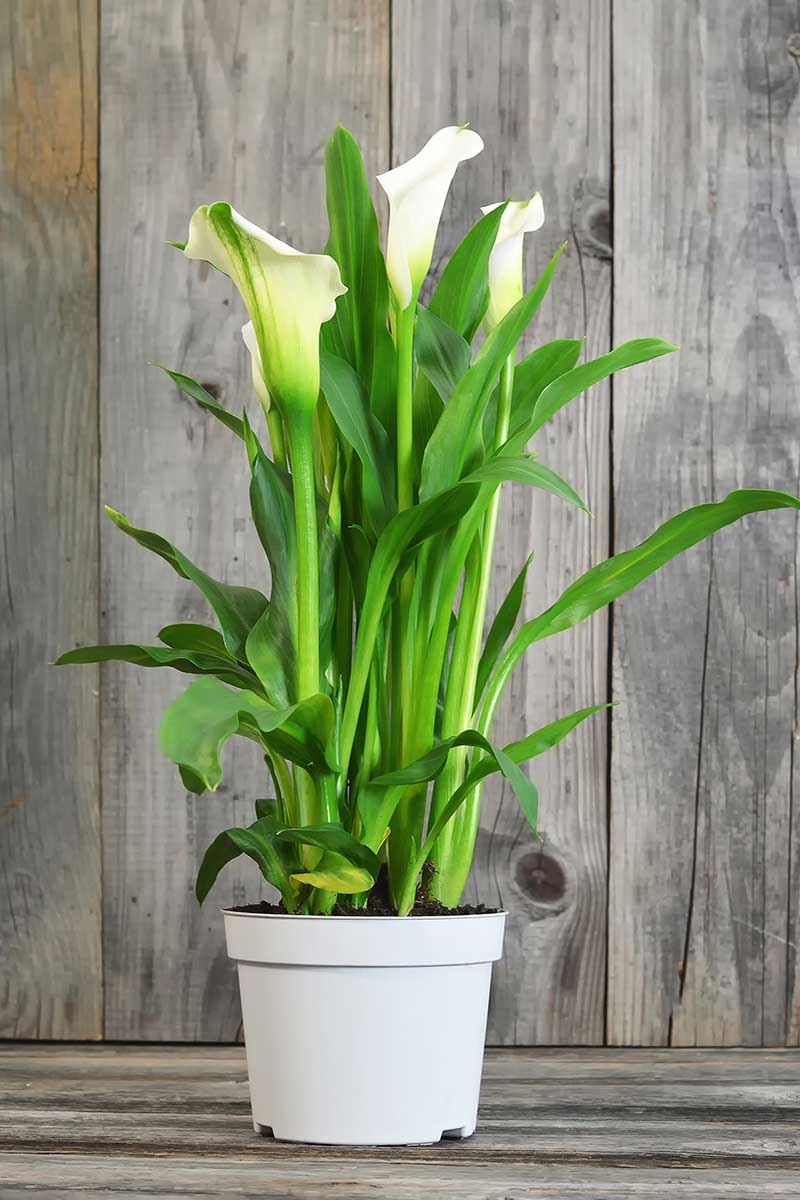
Zantedeschia typically reach a height and width of two to three feet and one to two feet, respectively.
Therefore, you’ll need a 12- to 16-inch container or possibly something larger to start.
Make sure it has holes at the bottom to allow for ample drainage. You wouldn’t want to have rotted roots on your hands!
There are many different container materials to choose from. Each has its advantages and disadvantages in terms of cost, appearance, weight, durability, and other factors.
To help in your decision-making, here’s a thorough breakdown on the pros and cons of various container materials.
Just a heads-up, though: you definitely want to avoid a material that dries out quickly, such as unglazed ceramic.
To optimally care for your calla lilies, then you should provide a well-draining, fertile, and slightly acidic growing medium.
To make the medium yourself, use two parts peat moss, one part perlite, and one part coarse sand.
Peat moss will aid in moisture retention, while the perlite and coarse sand will help to provide aeration and prevent water-logging.
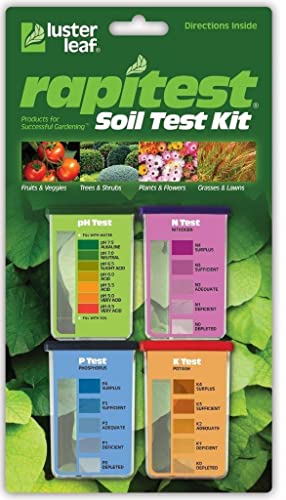
For those who really want to ensure a pH of 5.6 to 6.5, add elemental sulfur or limestone as needed to lower or raise the soil pH.
A fast-acting soil test that measures pH – such as this one sold by Luster Leaf on Amazon – can be helpful in determining which direction your pH needs to go.
Along with its moisture-retaining properties, compost can be added as needed to increase fertility. Working an inch or two into the media every spring is a good place to start.
You could also buy a premade mixture, if you’d like.
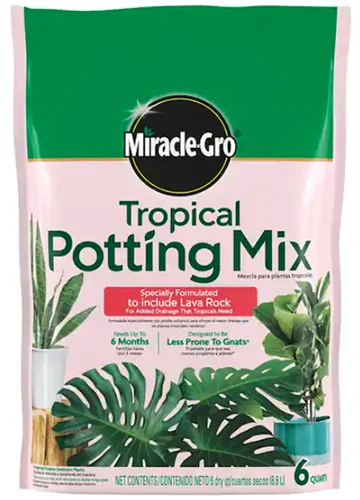
Miracle Gro Tropical Potting Mix
A high-quality, well-draining tropical potting mix like this one from Miracle Gro that’s available from Home Depot in six-quart packages should work just fine.
With your choice of medium, fill up your container about an inch or so shy of the brim. Now it’s time for planting!
Planting, Placement, and Container Care
The best time for planting is in spring, after the last frost. If you’re growing indoor Zantedeschia, timing doesn’t matter quite as much.
Plants don’t use calendars to tell what time of year it is, only the ambient conditions.
Take your calla lily – whether as a potted transplant in soil, division, or dormant rhizome – and bury the rhizomes three to four inches deep in the center of the media, with the leafy growth points or nodes facing up.
Backfill and deeply water in your Zantedeschia. Boom, planted!
For outdoor growing, leave the container in full to partial sun – less light in hot climates, more sun in temperate ones.
For a specimen grown indoors, place it in a spot where it can soak up as much bright, direct light as possible, and make sure the ambient temperatures are at least 65°F.
Irrigation-wise, a calla lily loves to sit in constantly moist soil. Stick a finger an inch deep into the media to check for moisture.
If you feel moisture, you can hold off on watering. Feel dryness, and you should water the medium deeply and thoroughly until it’s saturated and water starts to trickle out the bottom of the container.
Avoid splashing the leaves!
These plants are heavy feeders, so be sure to provide some nutrients every two weeks via a balanced fertilizer, diluted down to half-strength.
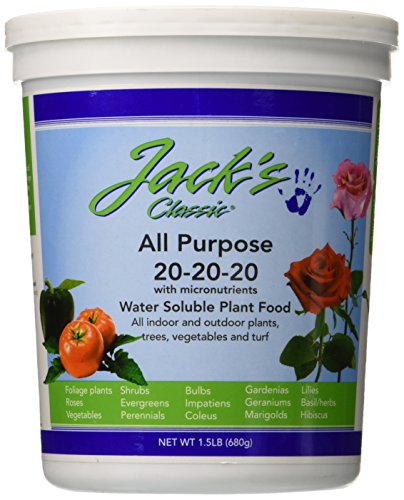
Jack’s Classic All Purpose Fertilizer
Try this water-soluble, 20-20-20 NPK fertilizer from JR Peters, available on Amazon.
If you begin to notice that your Zantedeschia is becoming a little cramped or rootbound, it may be time to repot it.
Gently lift the plant out of its container and place it into one that’s an inch or two wider in diameter, filled with a similar potting mixture.
Be careful to avoid damaging the roots, and be extra diligent about keeping the soil moist.
Come early fall, calla lilies will start to enter dormancy.
For outdoor specimens in Zones 8 to 11, cease watering and fertilizing them during this time, and move them to a dark, shaded area until after the final frost date the following spring.
Zantedeschia in more northern climates will perish if left outdoors for the winter.
These plants – along with specimens in Zones 8 to 11 that you’d rather not go dormant – can be brought inside for the winter until spring.
See our guide to calla lily winter care for more information.
Contain(er) Your Enthusiasm
Just kidding… you know how to grow calla lilies in containers, for crying out loud. Treat yourself to a hearty fist pump!
Now that you’ve gained a new gardening skill, feel free to share your know-how with a friend! Or send them this guide, if you feel so inclined.
Questions, remarks, or swanky container ideas can all be shared in the comments section below!
Want to learn more about Zantedeschia? Then have a gander at these guides next:

Hello.
Question regarding bulbs.
I have been regifted two calla Lily bulbs from flowering plants my mother had last year.
The bulbs were kept in a cool dry place over the winter and in the spring they started to sprout leaf buds. I planted them shallowly in pots and put on my porch which is part shade. They have only sprouted to be two inches or so.
Is there something I did incorrectly? Are they needing some other kind of care? Thanks
Hello there! That’s an interesting scenario… what jumps out at me is that you planted your bulbs shallowly. In general, it’s better to plant bulbs too deep rather than too shallow, since they can get “cooked” in warm conditions when they’re too close to the surface.
But other than bulb depth, all you can do is provide the plant with consistent media moisture, partial to full sun, and biweekly fertilizer that’s diluted down to half-strength throughout the growing season. If you’re doing that, then you’re doing all you can do.
Good luck!
I got cheap gift Calla kits with pots & Peat moss at a local farm store. Followed instructions and planted about 1″ deep. They are sprouting nicely, but I noticed mold on the soil of the purple one today! Should I wash off the corm, let it dry and repot it?
Thanks!
Hi Peg, thanks for your message. I would suggest that you cut back on watering – your pot does have drainage holes in the bottom, right? Don’t repot just yet, keep an eye on it with a bit less water than you’re currently providing.