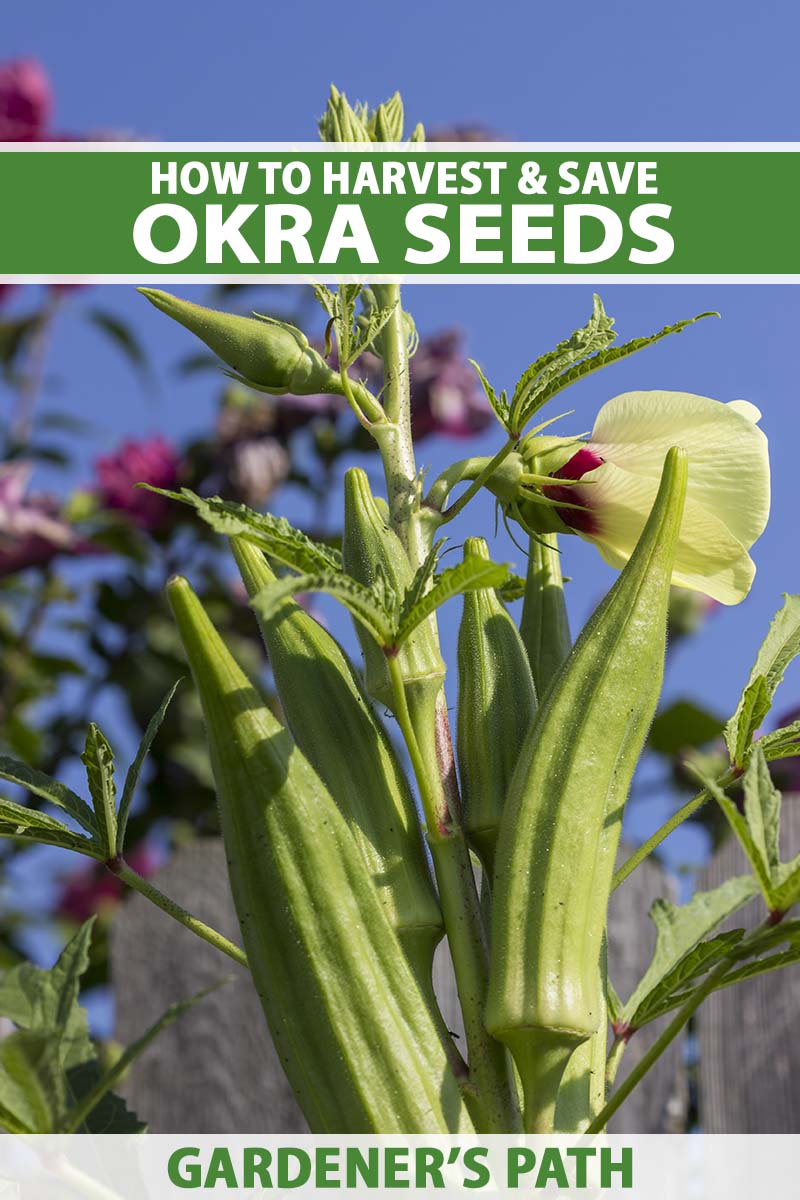
Okra is super easy to grow, and delivers abundant produce from just a few plants.
The vegetable with botanical name Abelmoschus esculentus is just as generous when it produces seeds home gardeners can save for next year’s planting.
Just a few pods will yield dozens, and they can be viable for two or three years in proper storage.
We link to vendors to help you find relevant products. If you buy from one of our links, we may earn a commission.
Want to try your hand at saving your own okra seed? In this guide, I’ll share tips that will take you from pre-planning through collecting and on to storage.
Here’s what to expect:
What You’ll Learn
Benefits of Saving Okra Seeds
Along with maintaining a ready supply and not having to pay for fresh seeds next season, there are a few extra benefits to this sustainable gardening project.
For one thing, you’ll know precisely how old these seeds are and for how many more seasons you might be able to plant them, which isn’t always true when you buy from independent online sellers or local retailers.
You might also be able to give disadvantaged gardeners a boost. Even if a couple bucks for a packet doesn’t seem like a big deal, those on a fixed income may not have the money or alternative ways to obtain such high-quality materials for growing their own food.
If you successfully collect and process even a handful of dried pods, you’ll have plenty to share with community groups or individuals.
Dry a few more for extras to give family and neighbors. Just make sure to ask them first if they’d like a share, since not everyone intends to grow these tasty, tender pods! (Their loss, I say.)
Probably the biggest add-on benefit comes from being able to choose varieties of okra to grow again based on firsthand knowledge.
Saving seeds from pods grown in your garden allows you to regrow the type that tasted best, was a size that worked with your space or harvest needs, or had a color or shape you grew and liked.
More step-by-step instructions for this beneficial process start now.
Pre-Planning
Like most, this vegetable gardening project goes more smoothly when you plan ahead.
One absolute must is growing an open-pollinated variety of okra. It need not be an heirloom, but hybrids won’t work since the second generation will not usually produce seedlings that are true to the parent plant.
Lots of fun hybrids, like ‘Okra Dokra’ and ‘Jambalaya,’ offer great taste and disease resistance, but they’re not suitable for next year’s supply.
You should also select a type that matures fast enough that you’ll have time to let some pods mature beyond the edible stage.
Okra needs warm weather, and typically 50 to 60 days before it produces a harvest. Letting the fruits get extra big can take just a few days, or maybe another week or more.
When you live where the summers are short, some varieties won’t have enough time to form seeds to harvest.
So be sure to read packets and online catalog descriptions ahead of ordering and select one you can start picking in 50 to 55 days. Also consider starting transplants indoors if you’re going to be pressed for time.
Plan to grow just one variety, or give plants of different cultivars plenty of distance so they don’t cross-pollinate.
Serious seed savers who are trying to preserve rare species will grow different types of okra no less than 500 to 1,600 feet apart.
But you should be fine planting each 20 or 30 yards apart, or growing one type in the front yard and a second one in the back.
If you don’t have that kind of room, consider isolating one variety by planting a couple in containers you can move a safe distance away once they begin to flower.
Collecting and Drying
Before you start collecting, determine which plants had fruits that tasted best at their edible stage.
Don’t opt for a plant just because you’ve already accidentally allowed all of its pods to get too big, because you won’t know for sure how the edible pods it produced tasted or if they warrant growing again.
Just one plant from each variety of okra that you’re growing can usually deliver an ample supply.
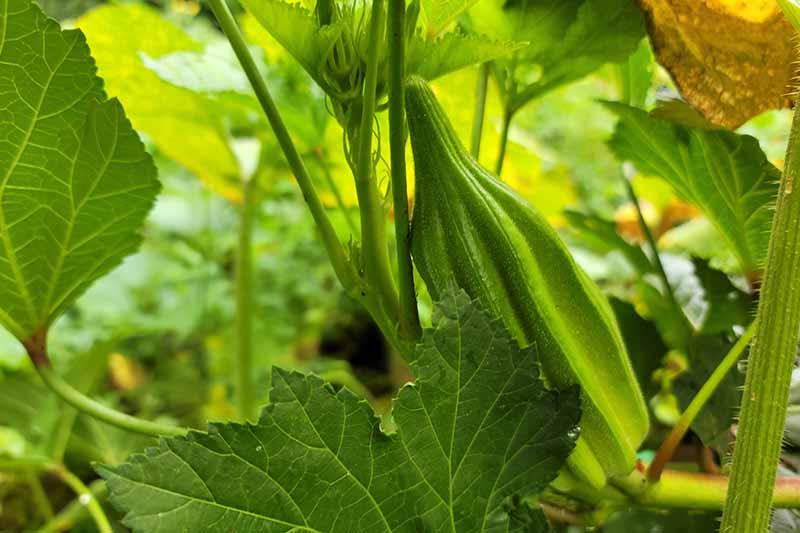
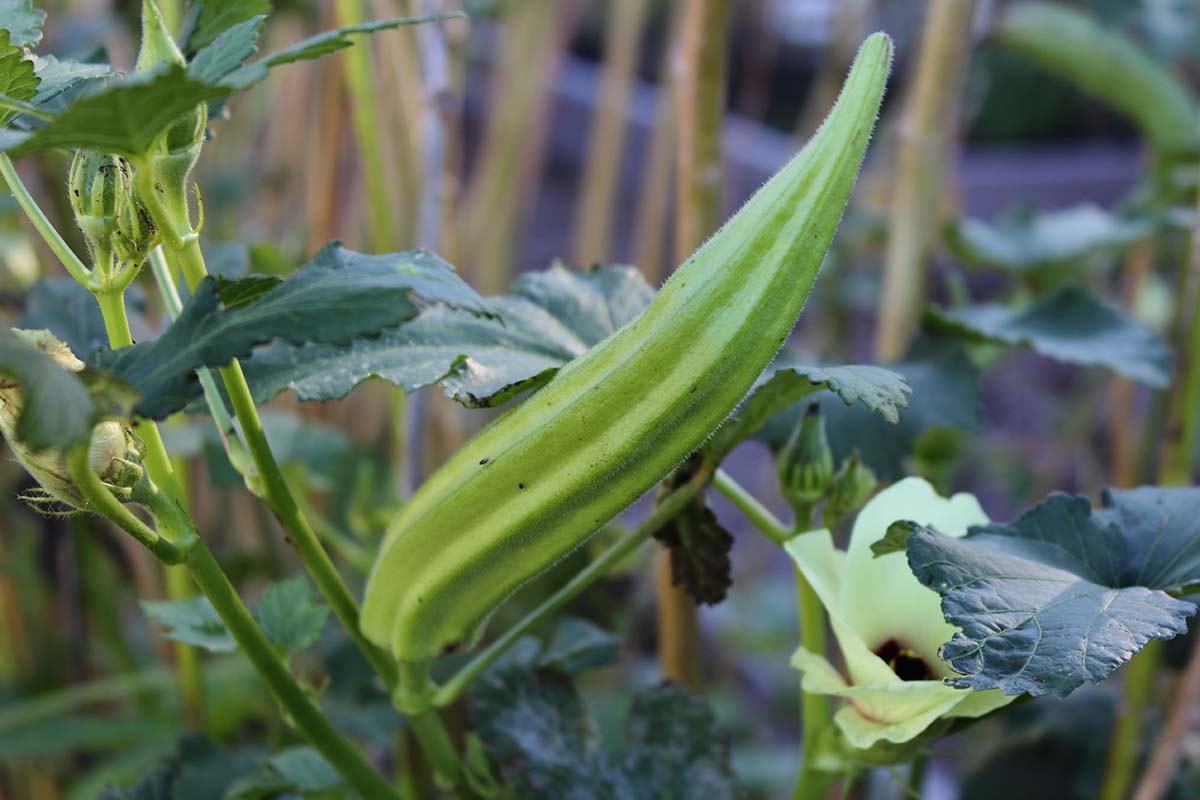
Let several fruits on it mature beyond the tender edible stage. The exteriors will get so tough you can’t even bend the pod or bite into it when the pods are big enough to start harvesting for next year’s seed.

Look for the bigger pods lower down on the plant.
Here, you have two options.
If you’re done with that plant for the season, you can allow the pod to stay on the stem and clip it off with scissors only after it gets brittle and brown.
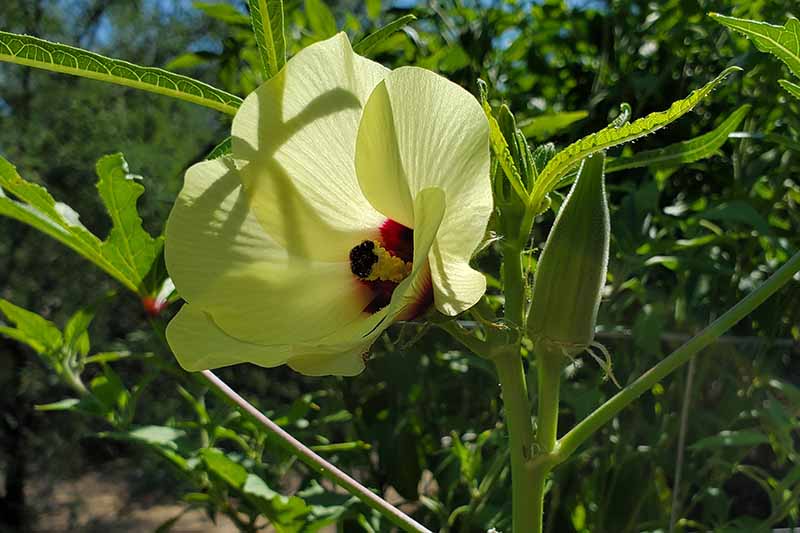
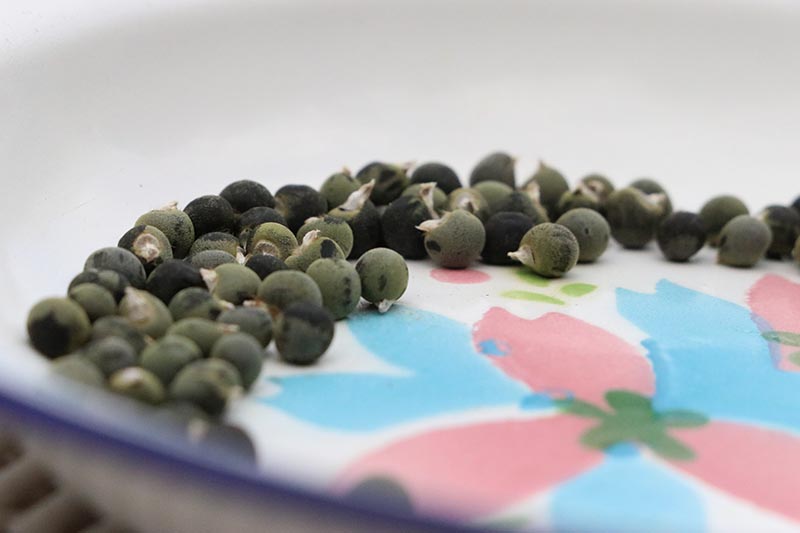
But if you still want to harvest the smaller, more tender fruits from the top of the plant, you can clip each overly-large pod while it’s still green (or orange, lemon yellow, or burgundy, depending on the variety).
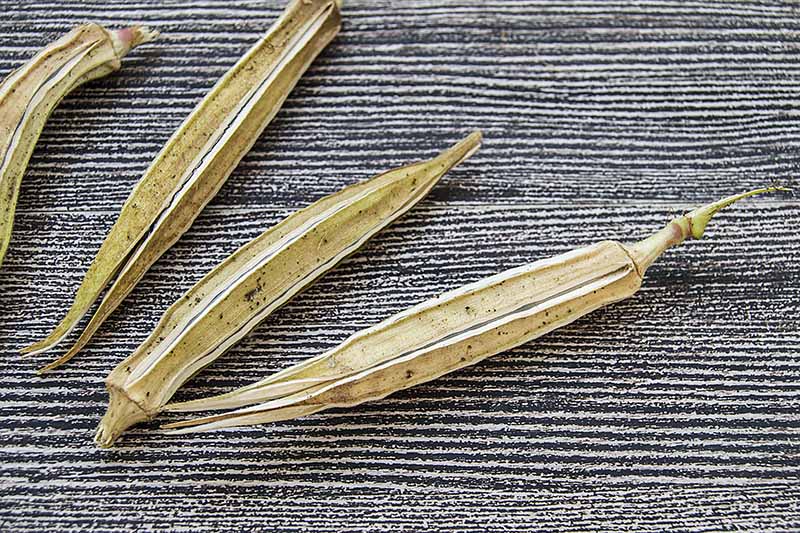
Either place the extra-mature fruits in a mesh bag and hang them to dry in a cool, dry place, or place them on screens or mesh baskets laid over sheets of parchment to dry on a counter.
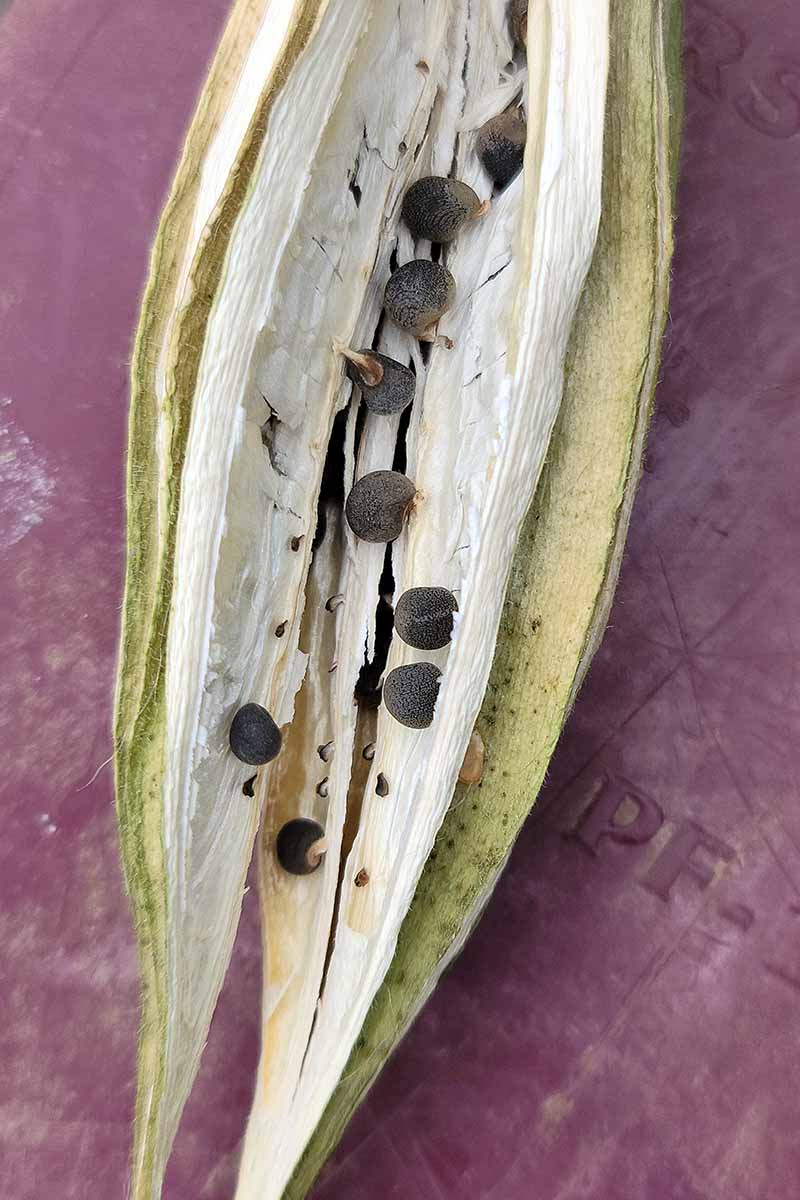
Let them cure until the skins are crackly and somewhat light brown or white. Then don garden gloves to break the pods open, and tip or lightly scrape the seeds out with your fingers.
Some okra varieties grow so large you may need pruners to lop the dried pods in two.
Separate out all of the dry membranes and skins that remain, otherwise known as the chaff. This debris can go in the compost, if you like.
Storage
The process of storing okra seeds to grow again next year is the same whether you’re working with your own bounty or extras left over from pre-purchased varieties.
Place them in a clean, sealed envelope or an airtight container with a lid, and store them somewhere cool and dark. Make sure it’s somewhere rodents, possums, and the like aren’t able to get to them.
They may stay viable for two or three years, meaning that’s how long they’ll be able to both germinate and produce vigorous seedlings.
But you can only truly rely on them to produce healthy plants if you use them the very next season.
If you wait longer than that, attempt to start some indoors about a month before you intend to plant out, as proof that the seeds will germinate.
Okra Seeds for Everyone!
This is easily one of the simplest vegetable seed-saving processes you’ll ever encounter.
The seeds are large and easy to see, and the plants produce so many pods to work with that you can easily start over if one of the steps doesn’t work out.
Have you already had success with this rewarding project? If you have, it would be nice if you’d add any helpful tips in the comments section below. That’s also the place for any questions you might still have.
And if you found this information helpful, check out these okra guides next:

My friend gave me some okra from her garden, so I could cook them. Since I knew it would be a while before I would cook them, I cut the tops off, and prepared them to freeze. When I read your article, it said to have the pods dry completely, and then to get the seeds out. I’m trying to save and store the seeds for next year. So I scooped the seeds out of the tops. I have them drying on a paper towel now. Is there a way to preserve and store them, even though I didn’t let… Read more »
Hello Julie! I’m afraid those white, spongy seeds aren’t mature enough to save to plant.
I’m hoping your friend can give you an older pod, maybe later in the season, that has browned and has the hard, brown seeds that are suitable for saving.
Enjoy those tasty okra, and please let me know if you have further questions.