It’s finally time.
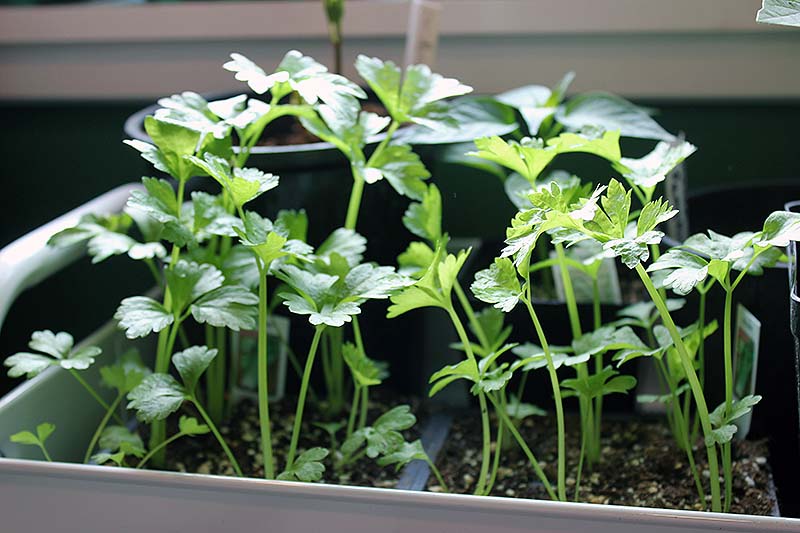
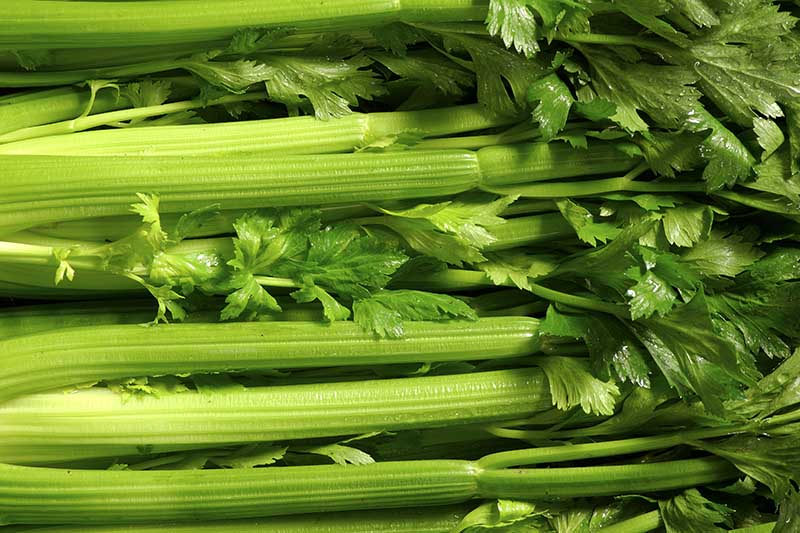
You’ve nurtured your celery plant from the time it was a seedling with impossibly thin “stalks,” and now they’re getting big and tall.
The leaves are fragrant. You’re pretty sure the herbaceous vegetable – a member of the Apiaceae family, like carrots and cilantro – is ready to eat.
Pretty sure, but not totally sure.
So how do you know? When is it time to harvest a crisp, crunchy, flavorful stalk and spread it with creamy peanut butter (or Ranch sauce, if you’re like my spouse)?

We link to vendors to help you find relevant products. If you buy from one of our links, we may earn a commission.
And how do you even harvest it, anyway? Stalk by stalk? Or can you pull the whole plant at once?
In this article, I’ll reveal all.
Here’s what I’ll cover:
What You’ll Learn
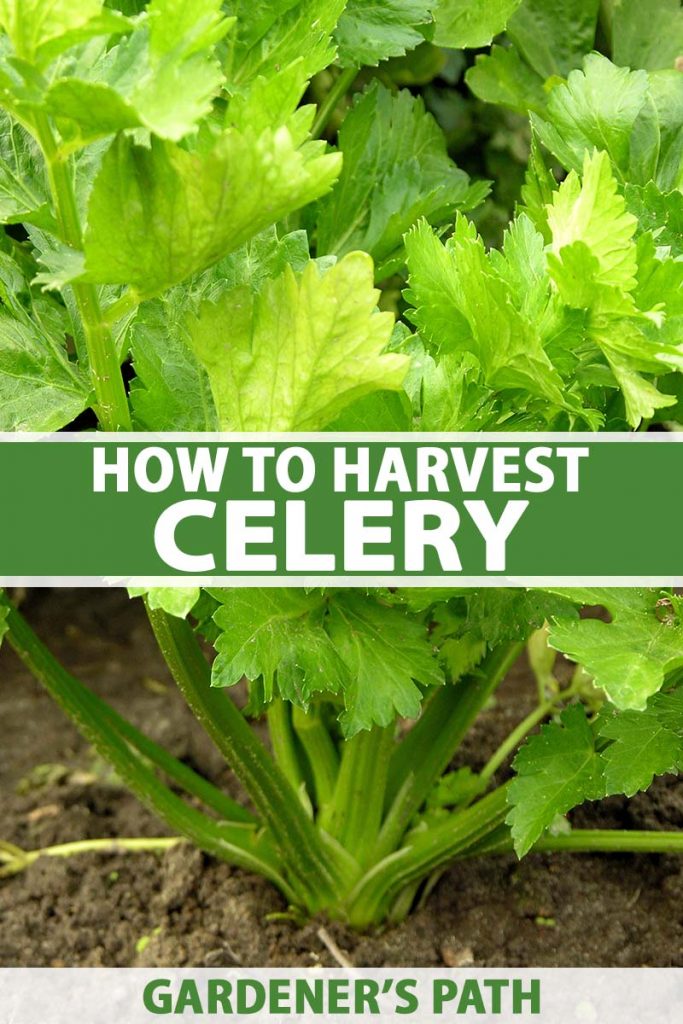
When to Harvest Celery
It’s tempting to think I can rely on my memory to tell me when I planted vegetable seeds and when, therefore, they’ll be harvest-ready.
Isn’t that hilarious? Because I totally can’t.
If I don’t make a note marking the day the seed germinated, I’ll have zero clue when it’s been 130-140 days, which is the average growth time needed for tasty Apium graveolens to mature.
I need to get my organization system together with a gardening journal or sophisticated plant labels.
But thankfully, the average length of time to maturation isn’t a hard-and-fast rule. More than anything, it’s a guideline.
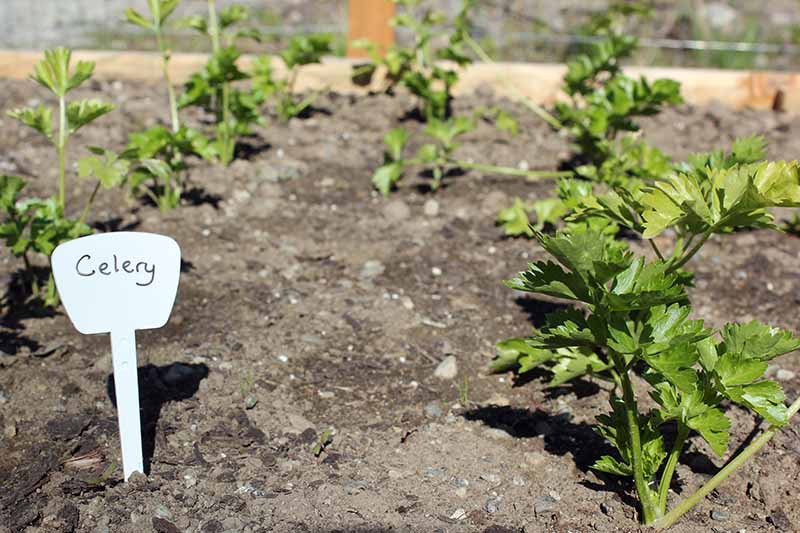
For most spring-planted celery, you’ll be harvesting between September and October.
Fall-planted celery provides a winter harvest, and of course this only applies to those who live in warmer climates.
To put it in clear terms, you’ll need to wait about three to four months after germination before your stalks will be ready to harvest.
And about a week or two before you harvest, you may want to blanch the stalks with milk cartons, like I did.
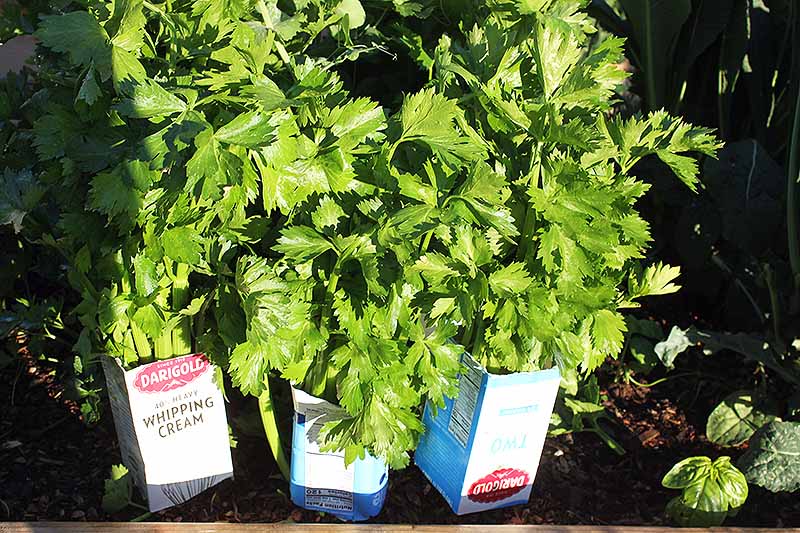
Blanching in the garden helps soften celery’s strong flavor for those who prefer a milder stalk.
The difference between blanched and unblanched stalks is easily visible, too, as you can see in the photo below.
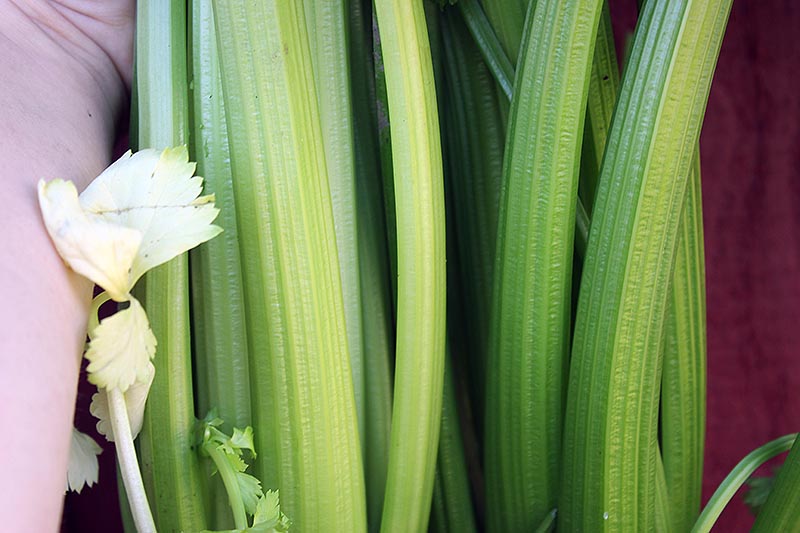
You can find out more about this method in our guide to blanching celery.
Regardless of whether or not you blanch, you can tell that the veggie is ready by measuring the length of the stalks.
If they’re at least six inches long from the base of the stalk to the first leaf, they’re probably harvest-ready.
How to Harvest
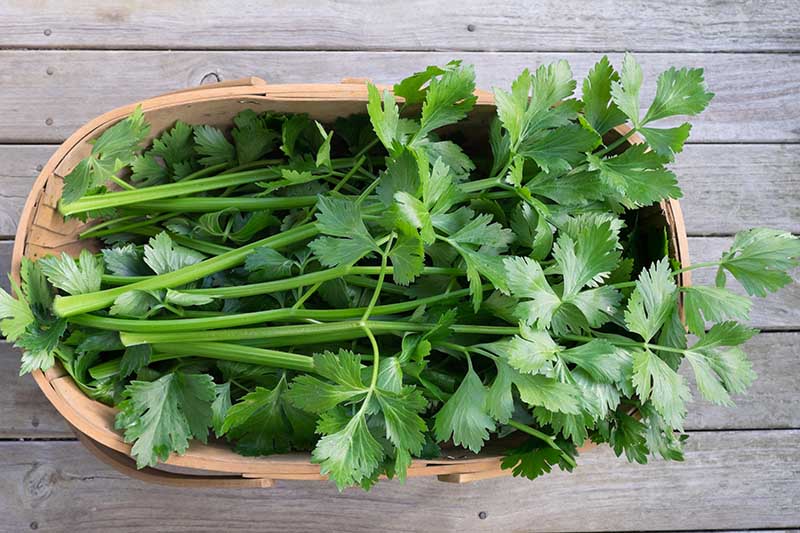
Here’s one of the cool things about celery: you can either harvest a few stalks at a time, or you can remove the entire plant at once.
I love being able to take just one piece from the plant for a quick salad, or two or three for a cozy fall soup.
To remove one crunchy stalk at a time, start with the largest, outermost pieces. Simply use a knife to cut the stalk away from where it attaches to the rest of the plant, and voila!
You can take it into the kitchen, wash it, and slice it up for your salad.
Unless you blanch these outer stalks, they’ll have a stronger flavor than the naturally blanched inner stalks. So be prepared for an extra zip of tastiness!
To harvest the whole plant at once, make sure the base is about two to three inches in diameter and then slice the stalks cleanly away at the base.
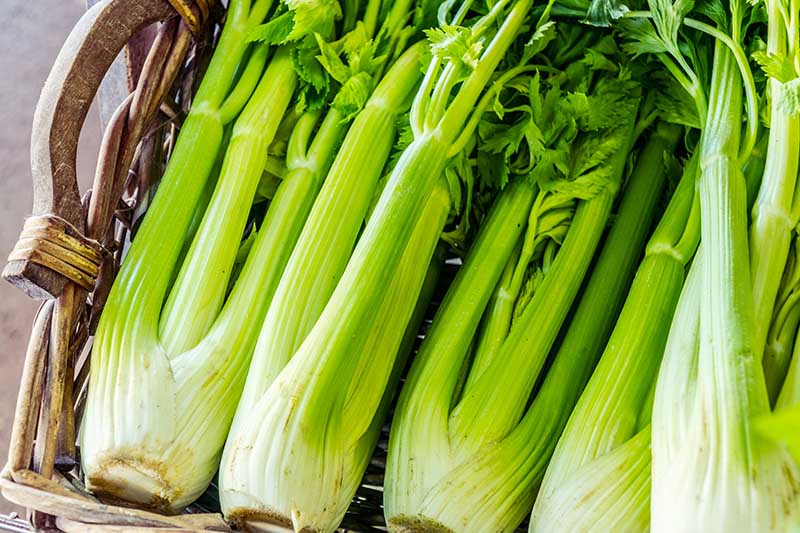
Make sure you’re cutting at the soil level. Remove dirt from the entire head with a dry cloth and then bring it inside for processing and storing – or for eating.
Storing Your Celery
To store your garden-grown veggies in the refrigerator, cut the leaves off and gently cut or pry the stalks apart. Wrap the individual stalks in slightly damp towels, then zip them into plastic bags.
You can store them in the crisper drawer like this for up to two weeks.
Eat the leaves within a couple days, though, because otherwise they’ll start to get mushy and gross. Like cilantro that’s left in the crisper drawer for more than a few days.
For longer-term storage, cut your celery into small pieces and bring a large pot of water to boil. Blanch (the other type of blanching!) the pieces in the boiling water for one minute, and then remove them and immediately place them in an ice bath.
After they’ve cooled off, drain them and allow them to dry. Then, place all the celery in a freezer bag, seal it, label it, and pop it in the freezer.
You can store it there for up to 18 months so you’ll always have celery on hand to pop into your soups, roasts, and casseroles.
Recipe and Cooking Ideas
One of my favorite ways to eat celery is as a star ingredient in this hearty winter vegetable soup from our sister site, Foodal.
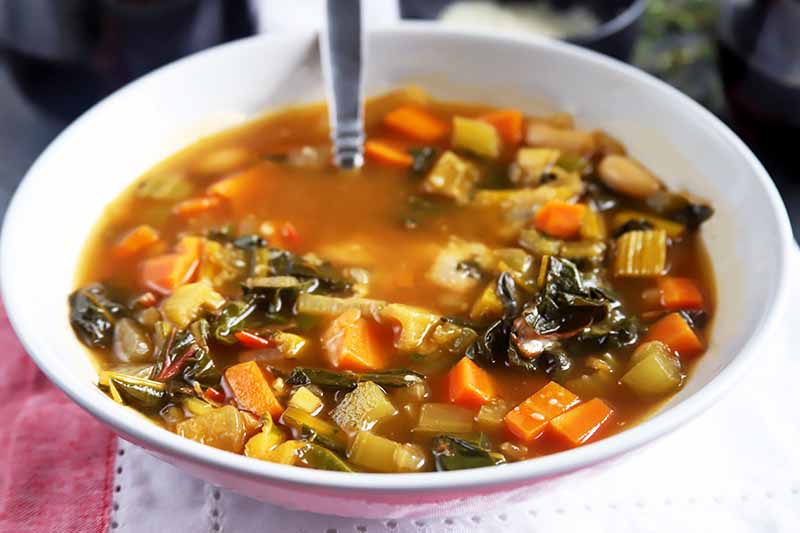
Pair it with this cinnamon swirl bread for dessert, and you’ll have the ultimate cozy fall meal on your hands (and in your belly). You can find this recipe on Foodal as well.
Of course, you’ll need it for your Thanksgiving stuffing too, head to Foodal for the recipe.
What’s better than using garden-grown celery that you harvested, flash-boiled, and froze yourself in your Thanksgiving meal?
Talk about bragging rights.
Simply Scrumptious
Did you expect A. graveolens to be this easy to harvest? And this versatile?
I mean, really. You can either get one stalk at a time or grab up the entire plant.
That’s pretty neat.
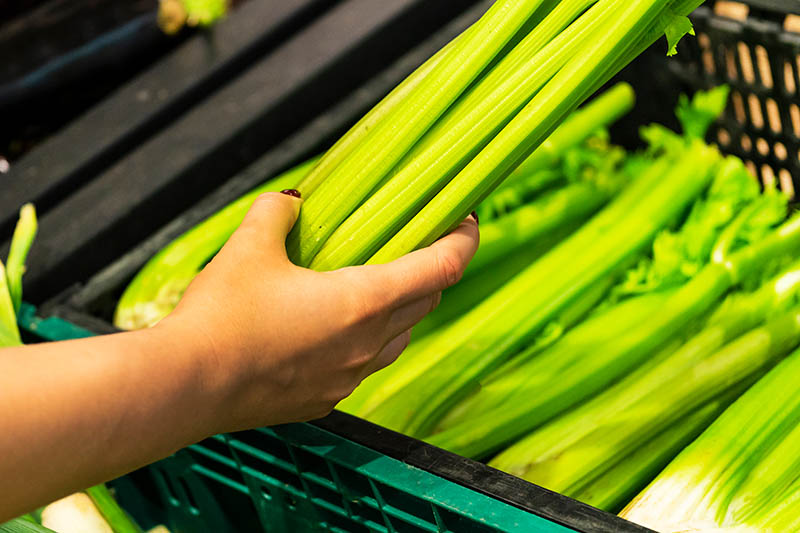
Tell me, have you ever harvested your own homegrown celery? Did it taste eons better than those comparatively tasteless, stringy stalks from the store? I bet so.
If you have any questions or stories to share, drop me a line in the comments below.
And remember to check out these articles about growing celery in your garden next:
- How to Grow Celery, a Marshland Plant Turned Tasty Veggie
- 9 of the Best Celery Cultivars for Your Garden
- 5 Reasons Why Your Celery Tastes Bitter (And What to Do About It)
Photos by Meghan Yager and Laura Melchor © Ask the Experts, LLC. ALL RIGHTS RESERVED. See our TOS for more details. Uncredited photos: Shutterstock.

Yes home grown celery is far superior to supermarket rubbish, but then I do not know what isn’t worse than that. Fresh cut, no sitting around in crates, no chemicals, yummy good food!
Absolutely! Nothing is better than homegrown veggies, for sure.
Hi! When harvesting a few stalks of celery at a time, will the celery regrow like swiss chard does? Thanks!
As long as the growing conditions are still favorable, if you remove just a few stalks at a time from the outside of the plant when you harvest, it should keep producing new ones.
Hi, celery question.
This is the first year planting it. If I harvest the entire stalk, which I guess I cut at ground level, Will it grow the next year.
Hello Michael. If you harvest the whole plant at once, it will stop growing.
But if you cut the outer stalks one by one, the rest of the plant will keep producing throughout its growing season in your area.
If you do pick the whole plant, you can find directions for growing new plants from the remains here in our main celery guide.
Good luck, and enjoy~
I cut one stalk off the plant to taste test it. I haven’t blanched it so I was afraid it would be too strong but it wasn’t! But it is quite fibrous…almost tough. What did I do wrong?
Hello Lisa! Congratulations on your celery harvest. The fibrous stalk results from a lack of consistent water than whether you blanched or didn’t. Make sure to consistently deep water the plant. Ideally, pick the stalks the day after you water, too, for the best texture. You can often get a better texture once you’ve already picked celery by storing it in a glass of cold water in the fridge, too. You’ll need to cover the top loosely with a plastic bag or plastic wrap to keep any odors from the fridge from taking over. I hope you enjoy your celery… Read more »
Hello ????
Why are my Celery stalks so skinny ? The flavour is yummy but so thin????
See our guide for tips to troubleshoot skinny celery!
Mine came out very long and round with a hollow center and grew as individual pieces, not as a whole bunch like you get in the store and tastes bitter. Is this because it has too much sun, not enough water or something else?
Celery may taste bitter for a variety of reasons, and too much sun is a likely culprit. See our guide to blanching celery to help you find the results you’re looking for with your next crop.
Hi , This is my first time growing celery in plastic pot. It’s been 2 months and the staIks are quite skinny. The plants look green and healthy, though. Is it okay to harvest skinny stalks and eat ?
Hi Abhi, yes you can indeed harvest and eat the skinny stalks. Also, you may want to check out our guide which discusses the reasons for skinny stalks and what you can do about it! Thanks for reading.
THANK YOU! What a great blog for explaining everything celery! Just what I was needing.
Thanks for reading and for the kind words Mindy!
I started my Celery in the early summer. Having never grown Celery before. You are very helpful.
Looks like your celery is doing well, Barb! Thanks for sharing.
Hi if the celery his flowering does that mean it’s ready to pick
Hi Nikolas if the celery is flowering that means it’s bolted and is going to seed. This can cause the stems to be quite woody and more stringy. You should harvest ASAP and while they are still edible, you may want to use them in stock, soups, stews rather than fresh. Hope this helps!