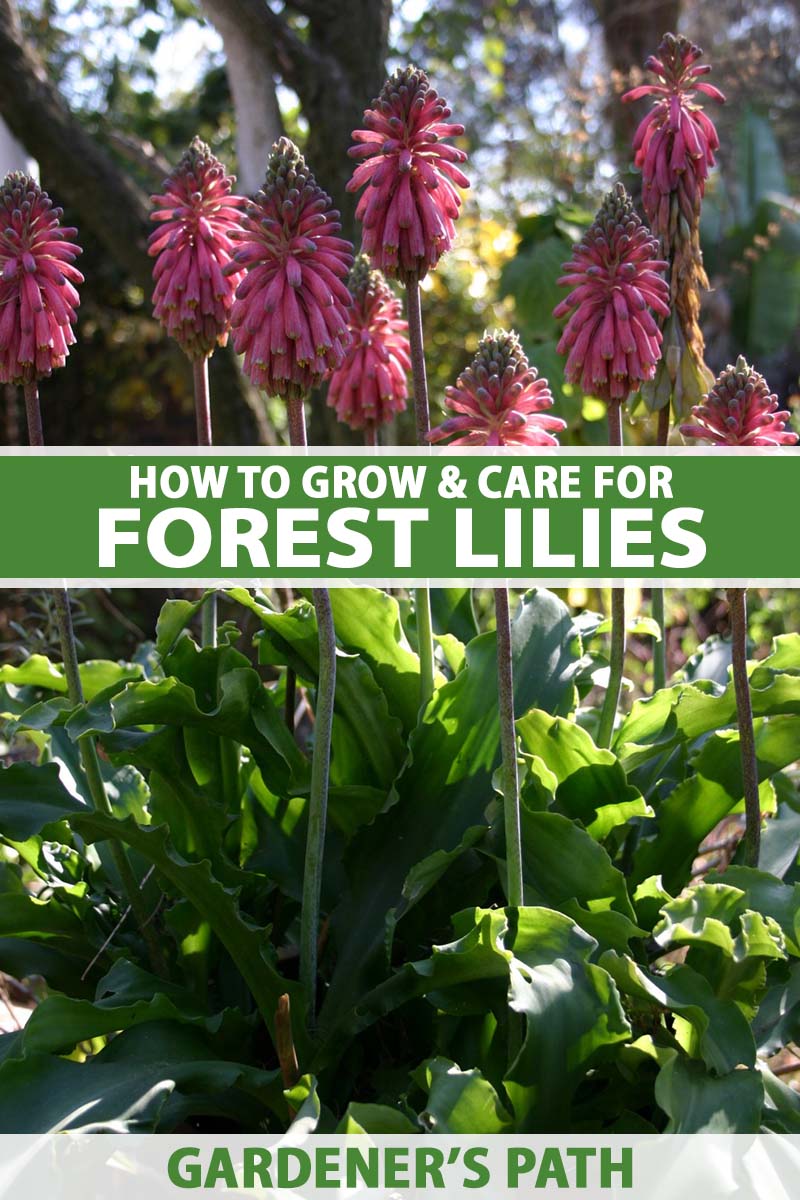
Veltheimia bracteata
The forest lily, Veltheimia bracteata, aka Cape lily, is an ornamental bulb flower in the Asparagaceae family.
It is native to the Eastern Cape province of South Africa, a scrub plant rambling along wooded shorelines.
We link to vendors to help you find relevant products. If you buy from one of our links, we may earn a commission.
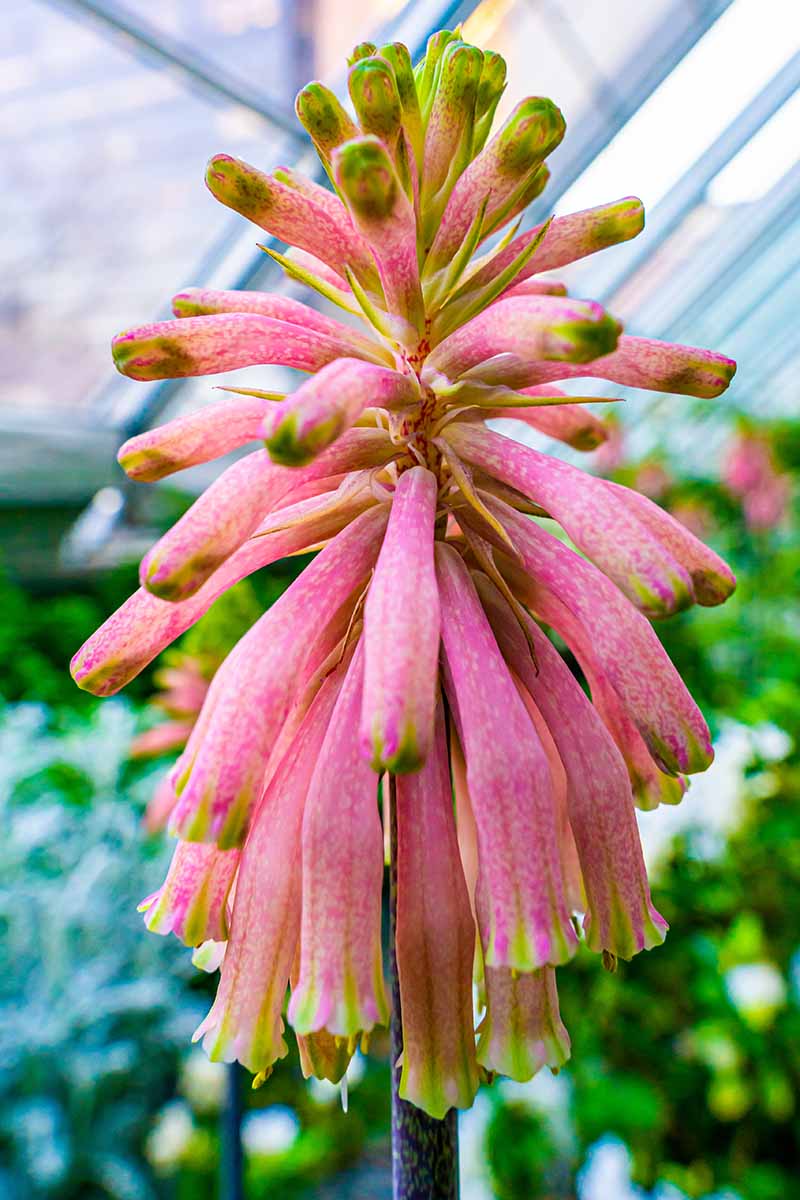
Suited to garden cultivation in USDA Hardiness Zones 9 to 11, the forest lily prefers light shade and sports pointed clusters of tubular pink blossoms perched atop striking bare stems from late winter to spring.
This article discusses all you need to know to grow the forest lily in your outdoor living space.
Here’s what we’ll cover:
What You’ll Learn
Let’s begin with some background.
Cultivation and History
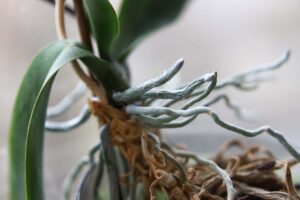
V. bracteata grows from a bulb enclosed in a papery tunic.
The plant has a clumping growth habit with foliage that is semi-deciduous; it’s nearly evergreen in the warmest regions, and the leaves wither and die in cooler areas.
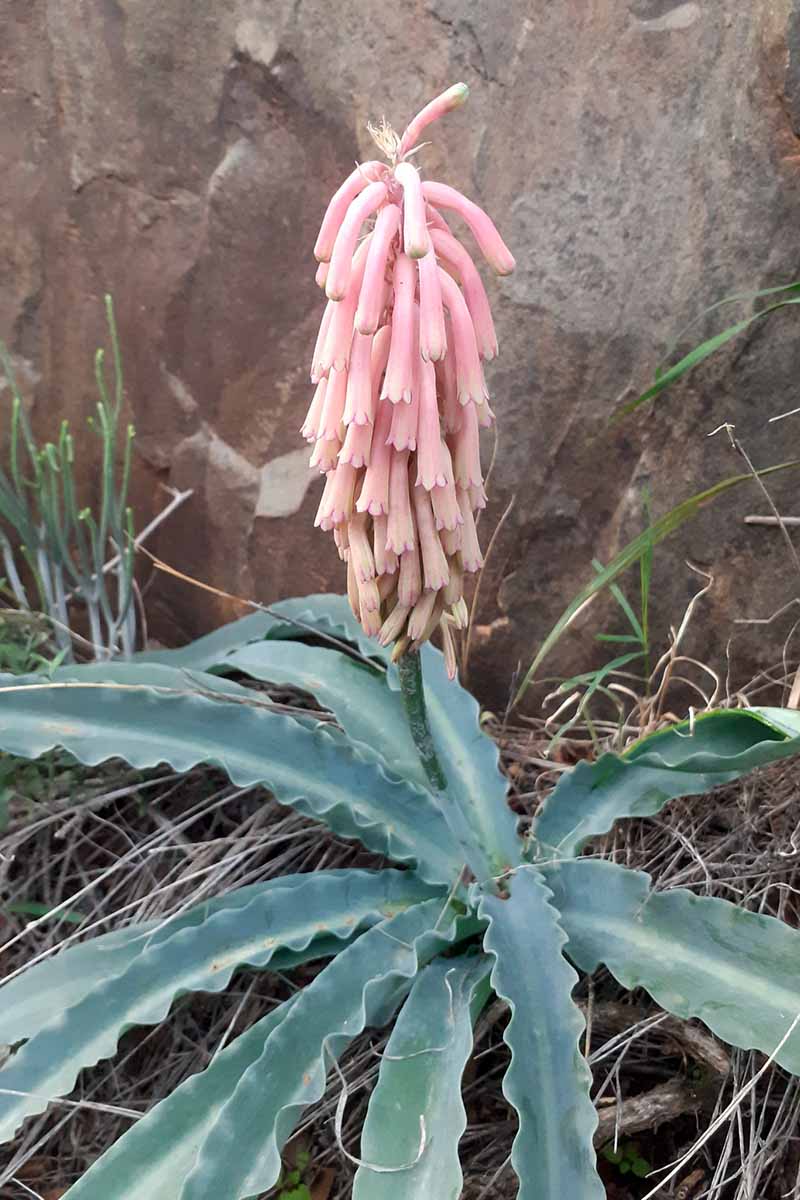
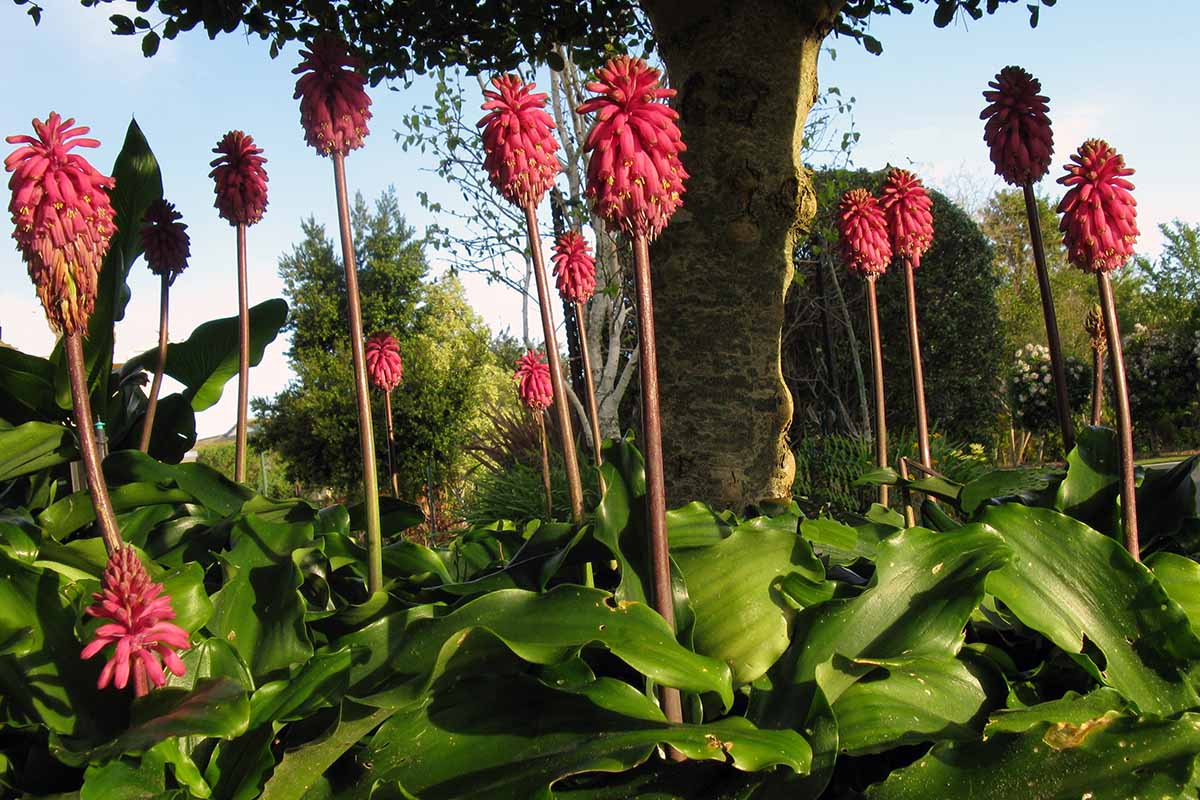
Basal rosettes of strap-like, ruffled, glossy leaves are pale to dark green.
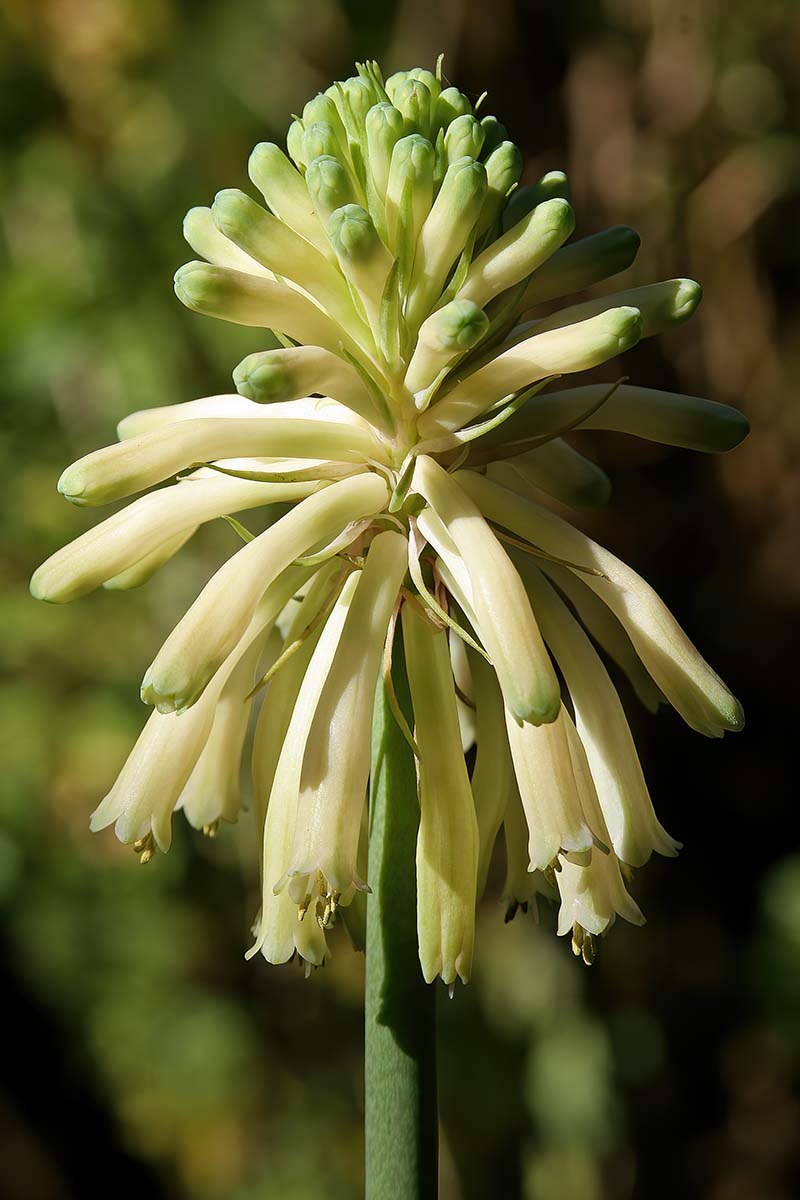
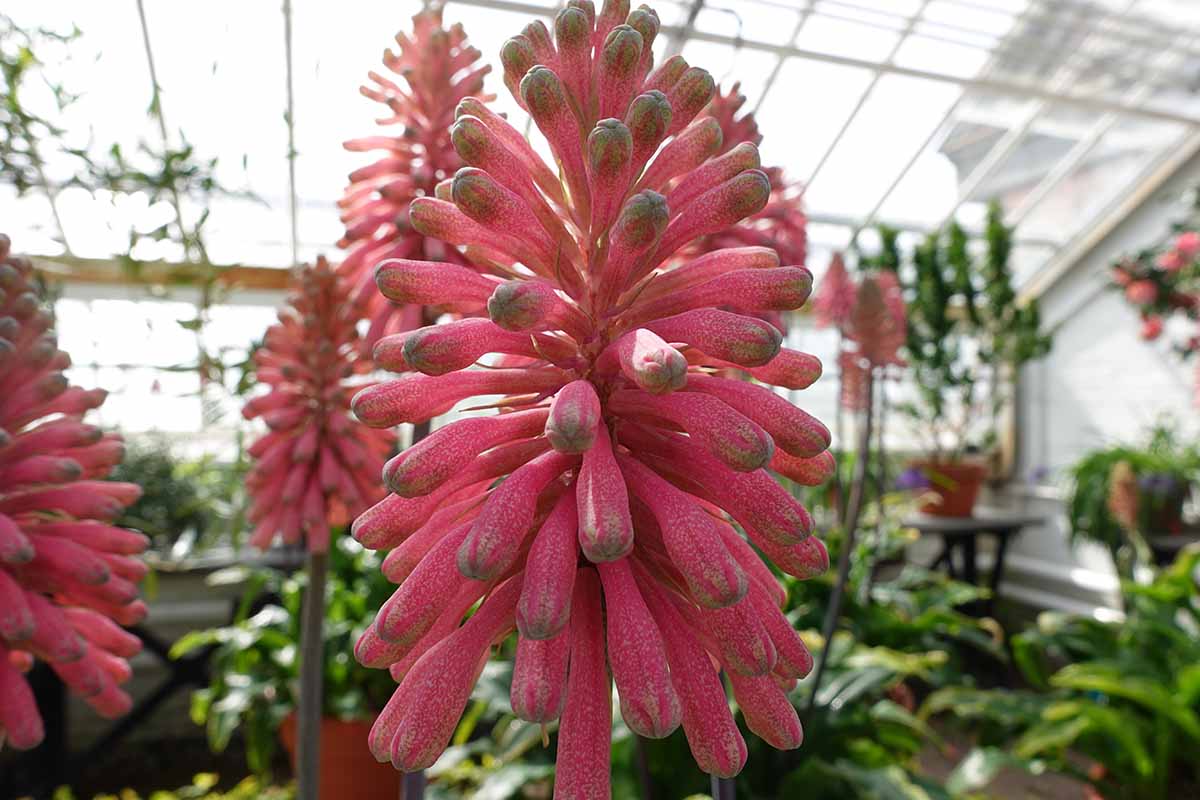
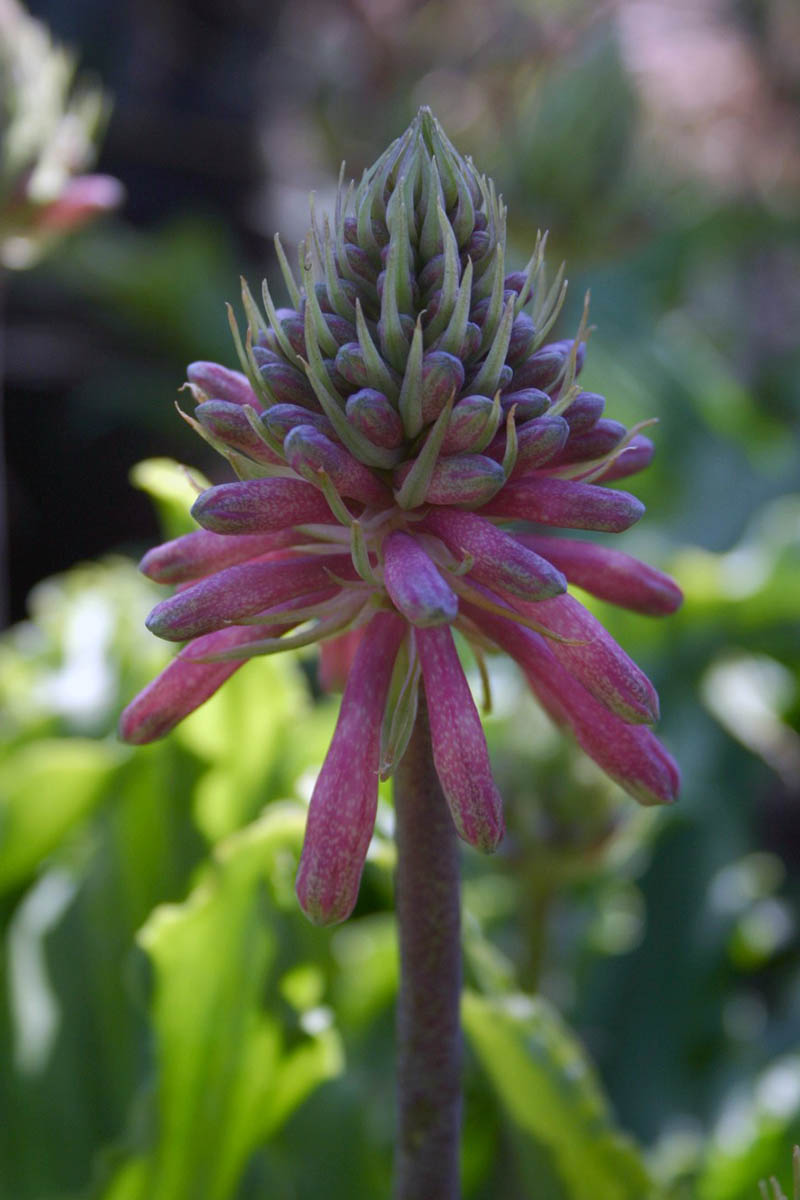
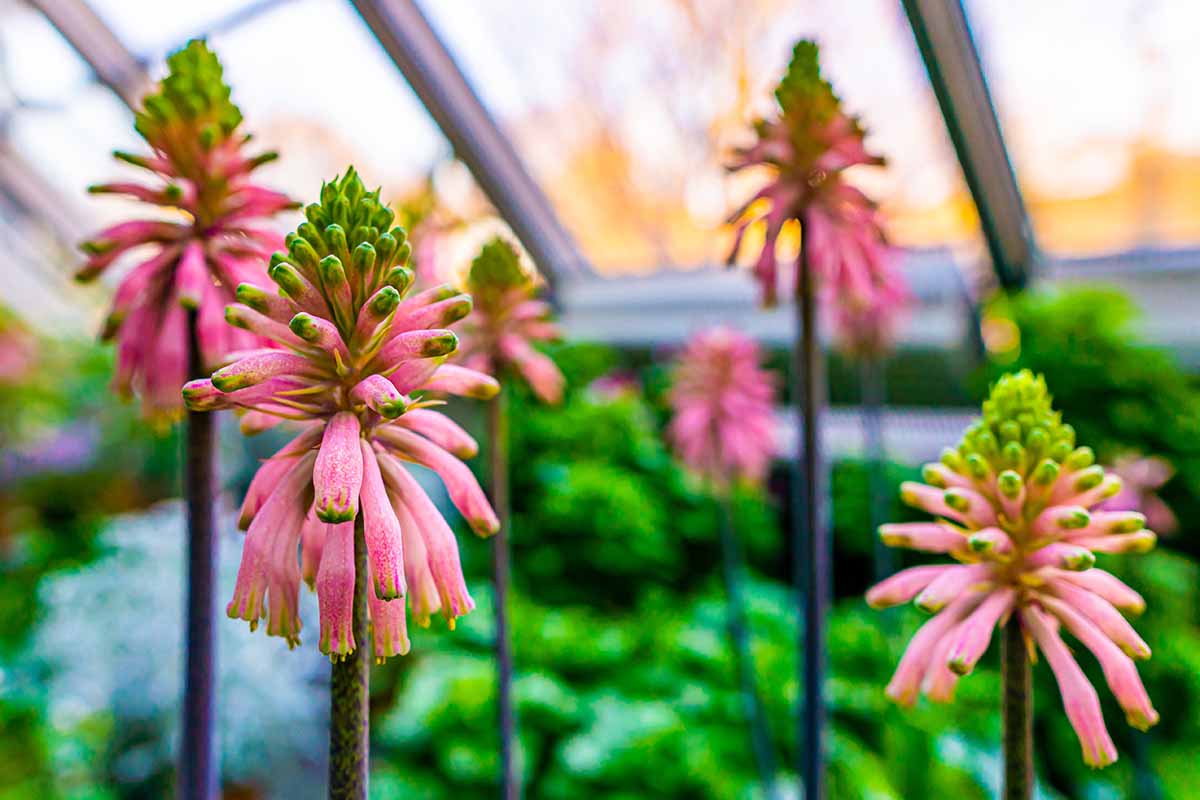
Fleshy, bare, green or purple flower stems rise from the rosettes and bear terminal clusters of blooms that open from bottom to top and last approximately four weeks.
In addition to shades of pink ranging from dark to light, the flowers may also be yellowish-green. The erect buds open to reveal drooping or pendant blossoms.
Mature dimensions are 18 to 24 inches tall and 12 to 18 inches wide.
Plants tolerate light frost, provided they are not exposed to morning sun after a moist, cold night. From late summer to fall they undergo a short period of dormancy.
After reclassification, the Veltheimia genus currently contains only two species: V. bracteata and V. capensis.
V. capensis, known as the sand lily, has a prominent, fleshy bulb. It grows to about 18 inches tall, has gray-green deciduous foliage, and produces tubular flowers that range from white speckled with red to pink with green or red accents.
This species prefers full to part sun and blooms from fall to winter.
During the late 18th century, many species were brought to Europe by adventurous plant hunters. They found their way to venues at the forefront of horticultural advancement and places like Britain’s Royal Botanic Gardens at Kew.
V. bracteata likely arrived in Britain in 1781. It was originally named Aletris glauca by Scottish botanist William Aiton in 1789 and subsequently moved to the Veltheimia genus.
The Veltheimia genus honors August Ferdinand Graf von Veltheim, an 18th century German mineralogist and geologist, Catherine the Great’s general inspector of mines and saltworks, and the second in Veltheim’s family to oversee the famed Harbke Palace Gardens in Germany.
As you learn more about the forest lily, you may come upon another plant with a similar name, the green-tip forest lily, Clivia nobilis. This species has red tubular blossoms tipped with green and dark green, strapp-like, non-ruffled foliage, and is generally grown as a houseplant.
The forest lily resembles the red hot poker plant, Kniphofia spp., a sun-loving South African perennial with red and yellow tubular flower clusters.
Forest Lily Propagation
To grow the forest lily, you can start with bulbs, seeds, leaf cuttings, or offset divisions, or transplant seedlings or nursery specimens. Let’s look at each method.
In addition to these propagation methods, breeders use in vitro plant tissue culture in a laboratory setting to clone V. bracteata.
From Bulbs
In early fall, select firm and dry bulbs with no soft spots or discolorations. The papery outer tunics should be mostly, if not completely, intact.
Sow them in moistened sandy loam in a pot with a width of at least six inches, or out in the garden. Face the pointy tips upwards and bury them about an inch deep, with the neck exposed.
Place them in a shady location.
Keep the soil evenly moist. When the leaves sprout, water when the top inch of soil is dry and fertilize with a diluted liquid plant food every two weeks.
From Seeds
By midsummer, little puffy capsules containing seeds appear. When they are dry, it’s time to harvest the black seeds within them for fall planting.
Store them in an airtight jar in a cool, dry location away from direct sunlight until the fall, when the weather is cooler and more suitable for sowing.
Use a seed tray or peat pots with a depth of three inches. Sow the seeds in sandy loam approximately a tenth of an inch deep. Keep the soil moist but not soggy, and place the sowed seeds in a shady outdoor location.
Seeds must undergo a day-to-night temperature change to germinate. They usually sprout in two to three weeks.
Once the leaves are visible, begin feeding every two weeks with a diluted liquid fertilizer.
In the beginning of the third season, transplant to the garden. Expect flowers in three to four years.
From Leaf Cuttings
Some growers start plants from leaf cuttings. Here’s how:
Water the plant thoroughly the day before you take your cutting. Fill a six-inch container with sandy loam or well-draining potting mix.
Use a clean knife to slice through a mature leaf near its base without damaging neighboring foliage.
Dip the cut end into rooting hormone powder.
Bury the leaf just deep enough to allow it to stand upright. If the leaf is unwieldy, you can slice it in half widthwise and use the top half instead of the whole leaf.
Keep the soil evenly moist. The leaf will gradually die as offsets form at its base. Transfer offsets to the garden as desired.
By Offset Division
The time to divide offsets is in late summer during dormancy, when blooming is finished, and in cooler regions, when the leaves have withered.
Carefully dig around and beneath a clump of bulbs to unearth them. Brush the soil off, and gently separate the parent bulbs from the offsets that have grown up beside them. You can relocate tiny, immature bulbs, but they won’t bloom until they grow as large as the parents.
Replant divided offsets and parent bulbs immediately with their necks above the soil line. Discard any that are soft or discolored.
From Seedlings/Transplanting
As mentioned above, seedlings at the beginning of their third season are garden-ready. Plant nursery specimens the day of purchase.
Find a shady location with sandy loam soil. Set the seedlings or nursery plants at the same depth as in their original containers. Space them between 12 and 18 inches apart.
Our next section discusses cultural requirements and plant care.
How to Grow Forest Lilies
A location with light shade is ideal. As mentioned, the soil should be sandy loam, with a pH in the 6.0 to 8.0 range. Excellent drainage is essential to inhibit rotting.
After a short late-summer dormancy, new leaves appear in the fall. Begin watering when the leaves sprout and then when the top inch of soil is dry.
If you are growing potted indoor bulbs, keep them cool and dark with minimal moisture. Once they sprout, place them in bright, indirect sunlight and water as described above.
Fertilize twice a month during the growing season, using a liquid product diluted to half strength.
If you are growing a small number of plants and it’s convenient, deadhead entire spent flower stalks before the petal color completely fades to redirect energy into the bulbs for next year’s blooms.
This may be a daunting task if you have a large, mass-planted expanse, so consider it optional.
Post-bloom, let the leaves remain in place to feed the bulb.
If you’re in a cooler area they may turn yellow, then brown, and fall off. Stop fertilizing and watering during the late summer to fall period of dormancy.
Withhold water until you see the first green shoots in the fall.
Growing Tips
With attention to their cultural requirements, forest lilies reward growers with lush foliage and striking blooms. Keep the following in mind to ensure success:
- Grow outdoors in Zones 9 to 11 and indoors in other regions.
- Provide minimal light and moisture during germination.
- Use sandy loam that drains well and has a fairly neutral pH.
- Sow in light shade outdoors and bright, indirect sunlight indoors.
- Avoid overwatering to inhibit rotting.
- Fertilize twice a month during the growing season.
Now, let’s talk about maintenance.
Maintenance
In addition to monitoring water needs and fertilizing during the growing season, it’s beneficial to thin out overcrowded potted or in-ground plants every three to four years by dividing offsets and repotting or transplanting as needed.
Consider deadheading spent flower stems, and if your plants are deciduous, remove the dried brown foliage at the end of the growing season.
The removal of plant debris not only contributes to a tidy landscape, it also inhibits pests and pathogens.
Forest Lily Cultivars to Select
In addition to the straight species, cultivated varieties of V. bracteata are available for the home garden.
Some cultivated varieties you may be able to locate in local nurseries in Zones 9 to 11 are:
‘Cream,’ a rare beauty adorned by creamy petals flushed with pink.
‘Fuchsia Pink,’ a cultivated pink specimen.
‘Lemon Flame,’ a greenish-yellow complement to pink-hued varieties.
Pastel Series, a light pink, peach, and yellow blossom collection.
Managing Pests and Disease
V. bracteata is not prone to pests or diseases. However, caterpillars may chew the flower buds, and excess moisture and poor drainage are an open invitation to slugs and snails.
In addition, bulbs exposed to overly wet conditions are prone to rotting.
Best Uses for Forest Lilies
Whether in the landscape or patio pots, the forest lily commands attention, brightening shade gardens with cheerful blooms.
Mass plant in the dappled light beneath deciduous trees. Plants spread to create a lush, naturalistic display.
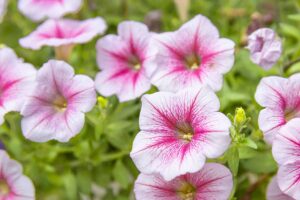
Interplant with companions like Cape primrose, clivia, hellebore, and spurflower.
It’s essential that companions have similar cultural requirements. As mentioned, the forest lily needs no water during dormancy and is susceptible to rotting.
Quick Reference Growing Guide
| Plant Type: | Flowering bulb | Flower/Foliage Color: | Shades of pink to greenish-yellow/green |
| Native to: | Eastern Cape Province, South Africa | Tolerance: | Light frost |
| Hardiness (USDA Zone): | 9-11 | Maintenance: | Moderate |
| Bloom Time: | Winter to spring | Soil Type: | Sandy loam |
| Exposure: | Light shade | Soil pH: | 6.0-8.0 |
| Spacing: | 12-18 inches | Soil Drainage: | Well-draining |
| Planting Depth: | 1/10 inch (seeds); same depth as in original container (bulbs/seedlings) | Attracts: | Hummingbirds |
| Height: | 18-24 inches | Companion Planting: | Cape primrose, clivia, hellebore, spurflower |
| Spread: | 12-18 inches | Uses: | Containers, mass planting, naturalized, shade gardens |
| Growth Rate: | Fast | Family: | Asparagaceae |
| Water Needs: | Moderate | Genus: | Veltheimia |
| Common Pests and Diseases: | Caterpillars, slugs, snails; rot | Species: | Bacteata |
Like Little Pink Palm Trees
Under ideal growing conditions, V. bracteata is not prone to pests or pathogens and naturalizes readily, increasing its footprint annually and drawing the eye into shady areas of the landscape.
Winter-to-spring-blooming forest lilies will make you smile as they bob in the breeze like little pink palm trees in a dreamy oasis. Add V. bracteata to your garden planner today!
Are you growing forest lilies? Let us know in the comments section below.
And for more information about growing flowers in your garden, we recommend these guides next: