What more perfect food could you ask for than the avocado? The odd little “alligator pear” has become a fruit beloved by many, with its buttery texture, earthy flavor, high nutritive value, and versatility in the kitchen.
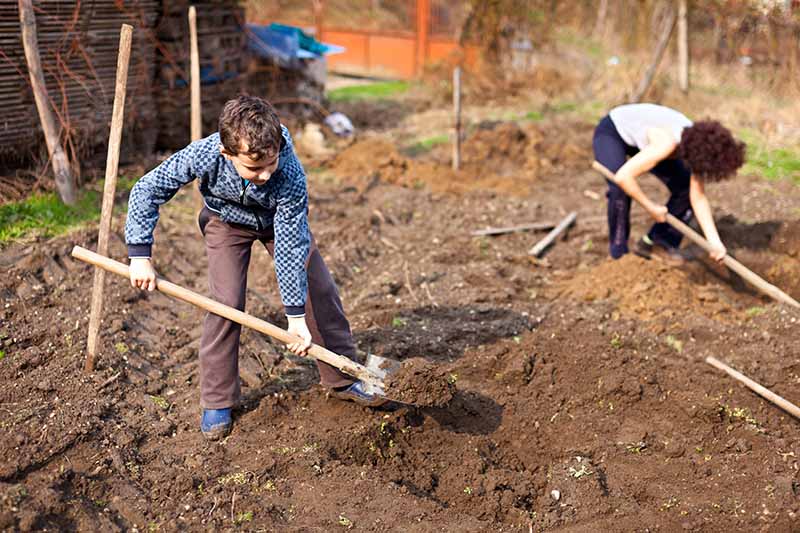
This fun fruit can easily be turned into an educational project for children as well, especially during the summer months when school is out, or as part of a homeschool curriculum.
Using just a few items that you most likely have in your home already, you can sprout a sapling that will flourish either potted in a sunny spot indoors, or planted in your yard if you live in a warm climate.
We link to vendors to help you find relevant products. If you buy from one of our links, we may earn a commission.
Children will not only get to have the experience of observing the plant life cycle taking place right before their eyes, but also the enjoyment of watching their little seed become a big, beautiful tree.
Introduce them to science and gardening, or expand upon their knowledge.
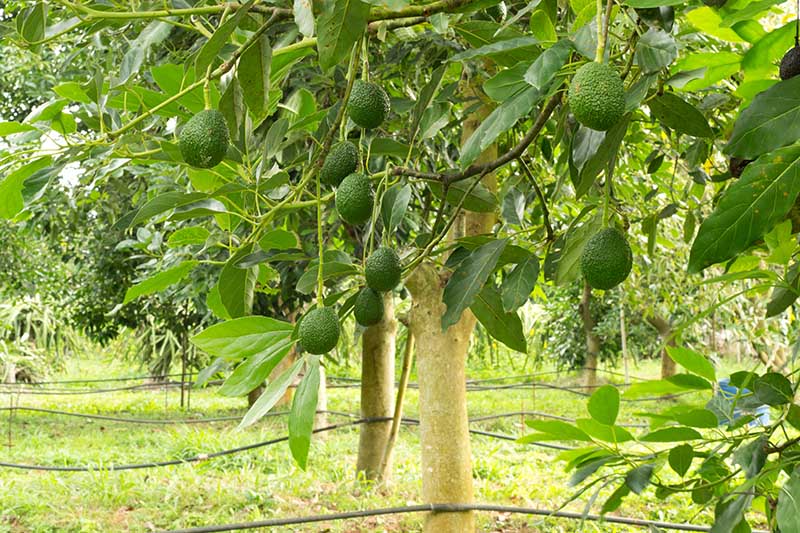
It’s important to note that most store bought avocados will not produce a tree capable of setting fruit for many years.
Sometimes the tree may be sterile altogether, or it may produce fruits that are different from the original.
Because this project requires the use of sharp objects, it’s best for children to be supervised by a parent or other adult at all times.
Let’s get started!
What You’ll Learn
Supply List
You’ll need a few household items to get started, including:
- A store bought, ripe avocado (or more than one if you’re feeling ambitious!)
- Three toothpicks per avocado
- One jar or glass per avocado, or a seed starting dish such as the Avoseedo, available on Amazon
- A sharp knife to split the avocado
- A spoon to remove the seed
- A kitchen towel or paper towel for cleanup
Choosing a Ripe Avocado
Before diving into this project, you’ll want to make sure that the avocado you choose is very ripe, for optimum seed sprouting potential. Seeds from under-ripe fruits may not germinate.
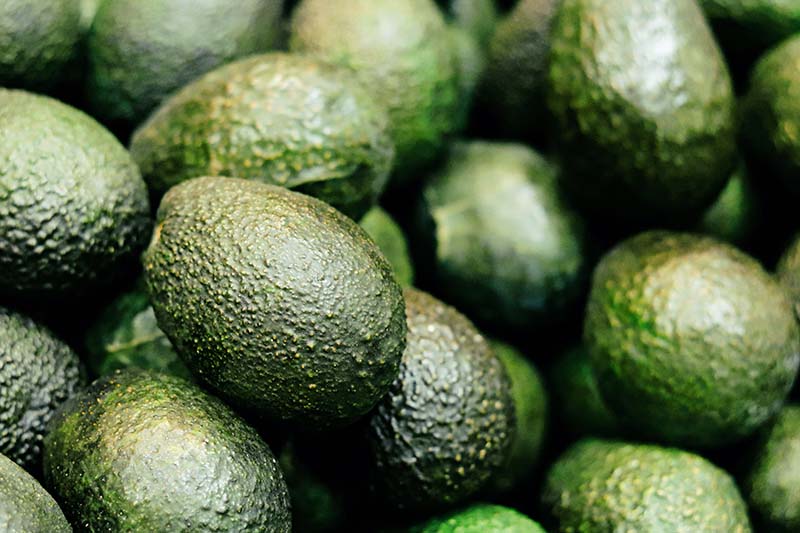
In the United States, the ‘Hass’ variety is the most commonly available in grocery stores, although there are hundreds of varieties, so do your best to identify the type you’re buying.
When choosing a ripe fruit, look at the coloration – a ripe ‘Hass’ avocado should be deep green to nearly black in color. Other brighter green varieties will begin to dull and turn slightly yellow.
A general rule for ripeness in an avocado you plan to consume is that the fruit should yield slightly when squeezed gently.
However, for this project, even a mushy fruit that is overripe will do just fine, so don’t throw those spoiled avocados away!
If the stem of the fruit is still attached, pluck it out and take a look at what’s underneath.
If it’s bright green, the fruit is not ripe and should not be used for this purpose. If it’s dark green to brown, for this project, you’re in good shape.
For information on ripening an avocado, get the best tips on our sister site, Foodal.
An adult should use a knife to cut the fruit from top to bottom all the way around, letting the knife rest against the seed inside as a pivot point.
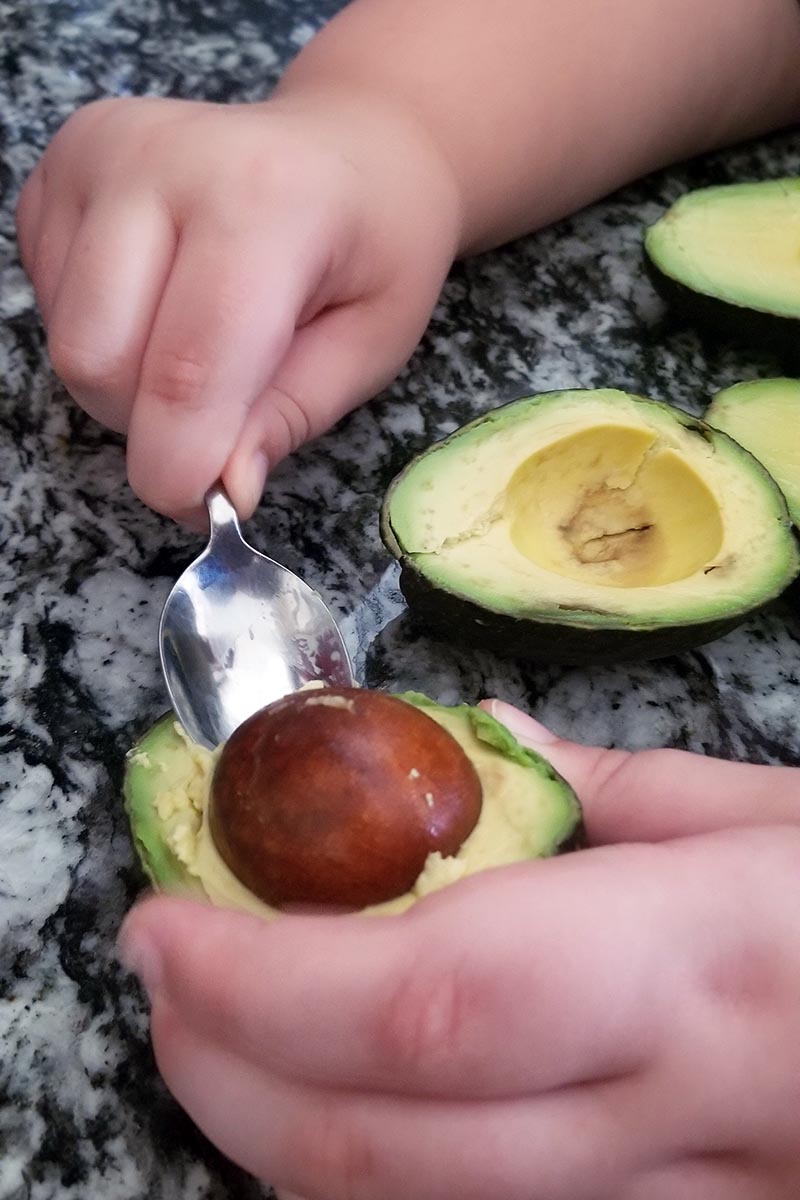
Next, turn the two halves in opposite directions to pull them apart. When the sides have been separated, use the spoon to dislodge the seed from the inside.
Wash it gently to remove any remaining flesh.
If the avocado is still fresh enough to eat, let the kids dig in to the remaining fruit with a sprinkle of salt and a spoon, or use it to make homemade guacamole.
You can find a recipe for that also on Foodal.
Propagation
Trees can be propagated using several methods, but for this project, we’re going to discuss just one that works well when starting from seed.
Using this method, children can watch as the seed splits and the sprout inside begins to grow and take root.
This is an interesting, experiential opportunity to discuss the growth cycle of a plant; what it needs and how to care for it as it changes from a tiny, leafless sprout to a glorious, mature tree; and the importance of planting trees for humans and for the Earth.
The kids can use a gardening journal to document the growing process and you can expand the lesson for all ages, if you and your kids are interested.
This project is also a wonderful photo opportunity, so be sure to have your phone or camera ready to capture the excitement of discovery and exploration.
Feel free to share your photos with us in the comments section below – we’d love to see your progress!
Preparing the Seed
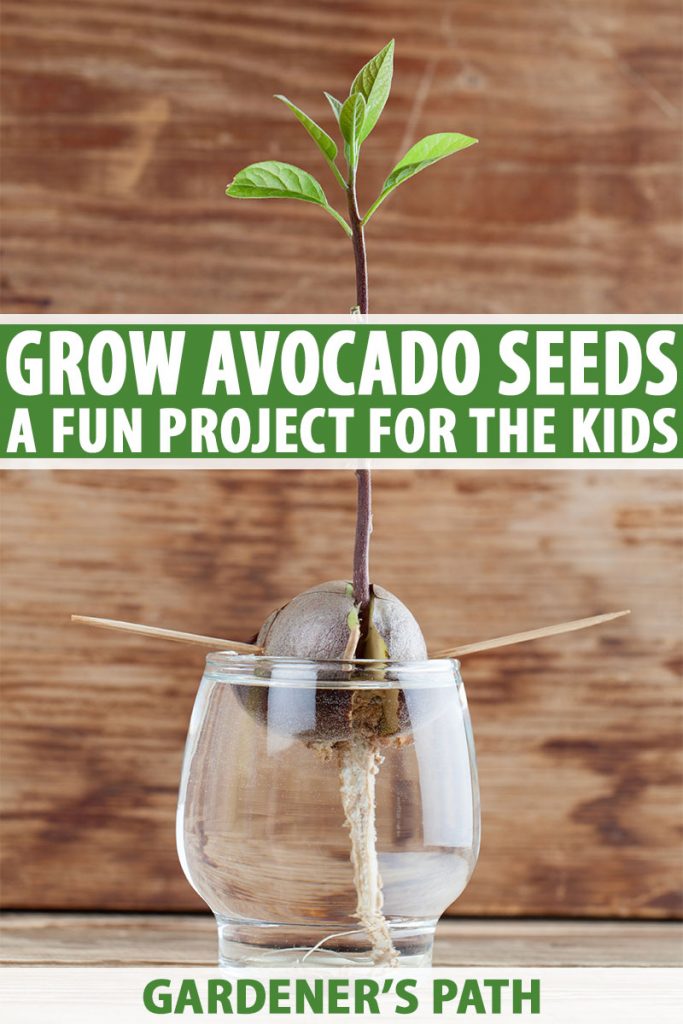
Observe that the shape of most avocado seeds is similar to a raindrop; the top tapers and the bottom is wider and rounder.
At the bottom, the seed coat sometimes appears slightly lighter.
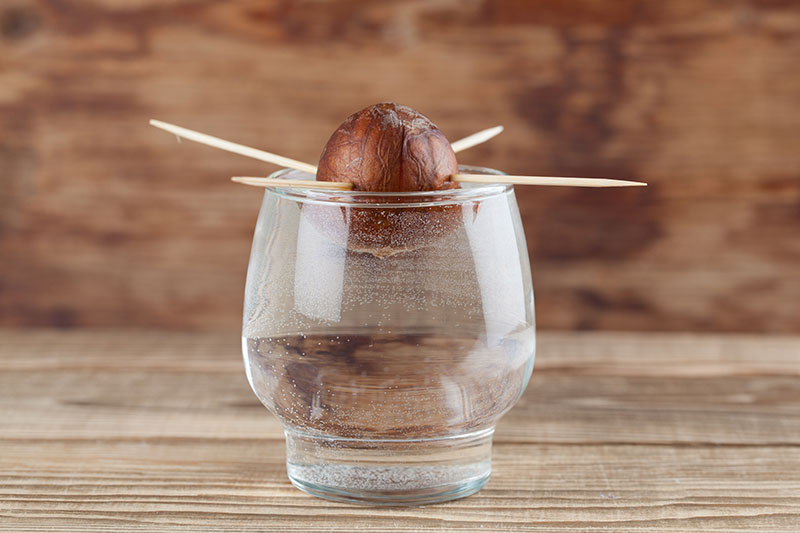
The seed will root from the bottom with the sprout growing from the tapered top. To help with water absorption, you’ll want to remove a small sliver to expose the interior of the seed.
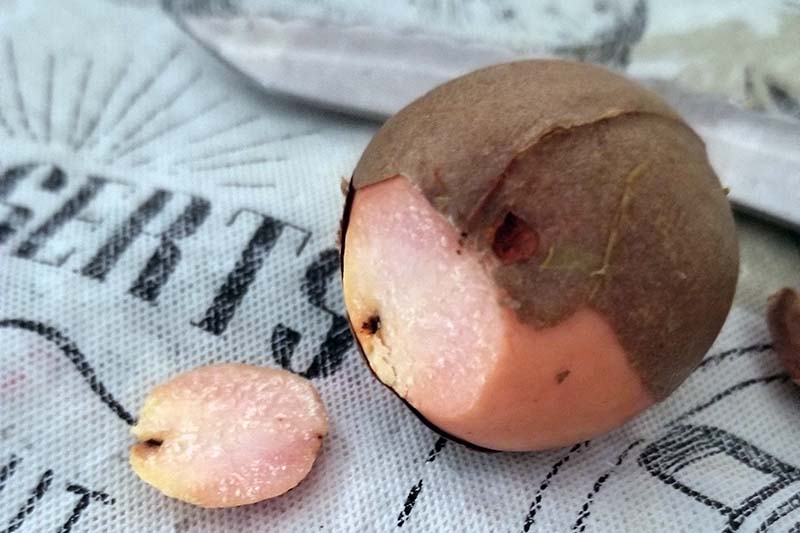
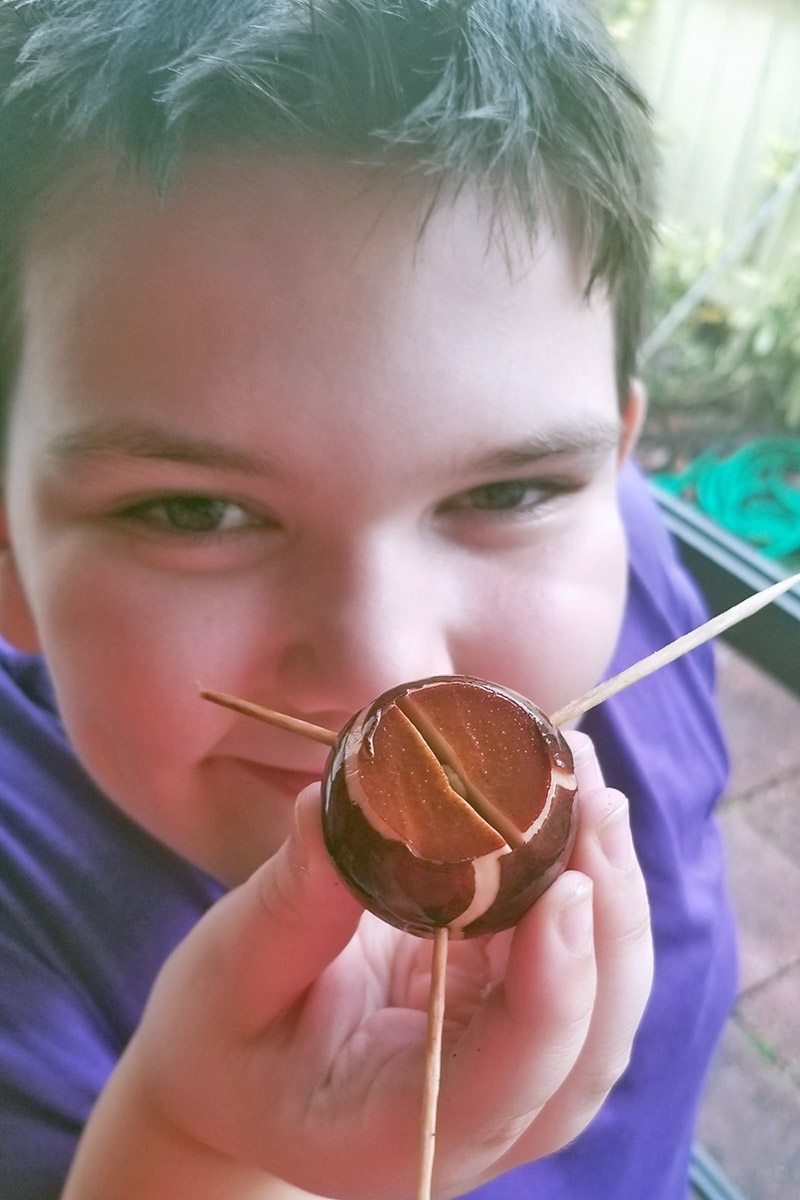
An adult should use a sharp knife to carefully remove the sliver from the bottom of the seed as pictured above. Discard the portion that was removed.
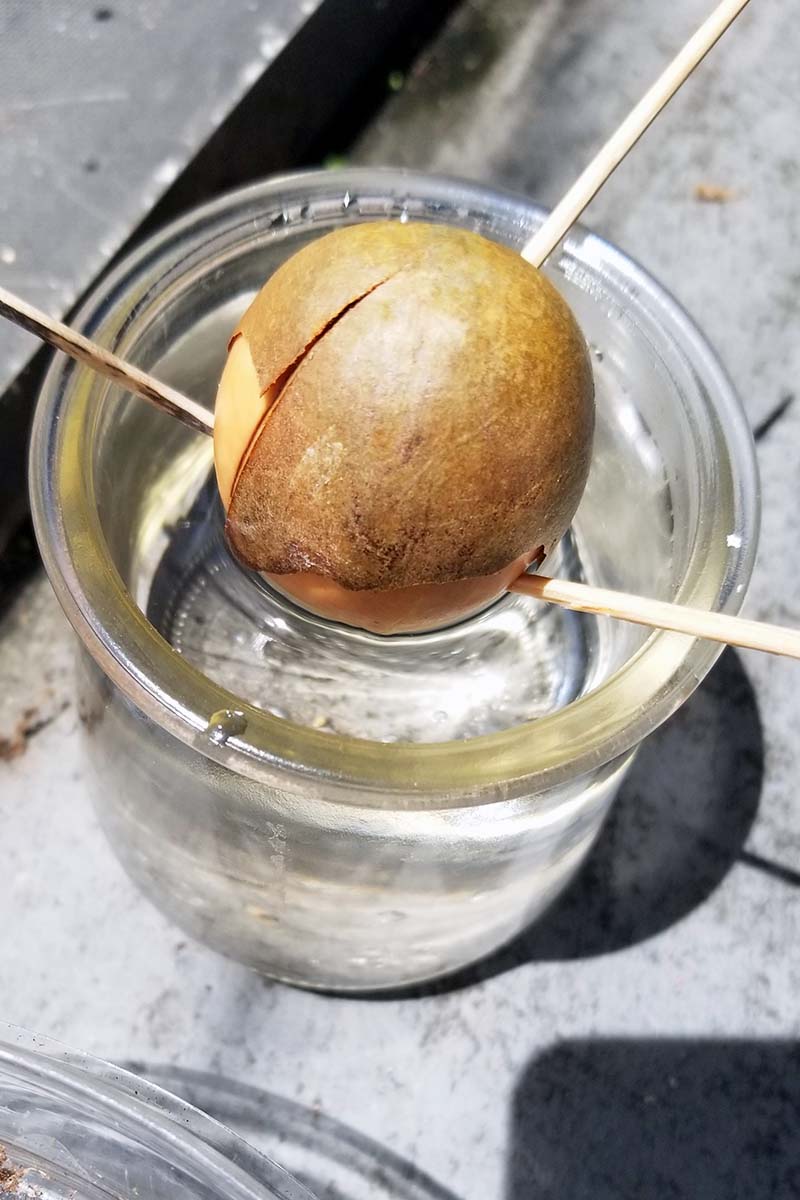
Holding the seed with the tapered end up and the exposed end down, carefully insert the toothpicks at approximately the middle of the seed.
You’ll want them arranged so that the seed sits slightly lower than the mouth of the jar or glass you’ll be using to sprout your plant.

Position the seed in the container, and fill the jar or glass with cool water until about one inch of the bottom of the seed is submerged.
Be sure that the seed is not fully submerged in water.
If you are using a special seed starter, such as the Avoseedo, skip the previous two steps and place the seed directly in the provided dish.
Float the dish in a wider container full of cool water.
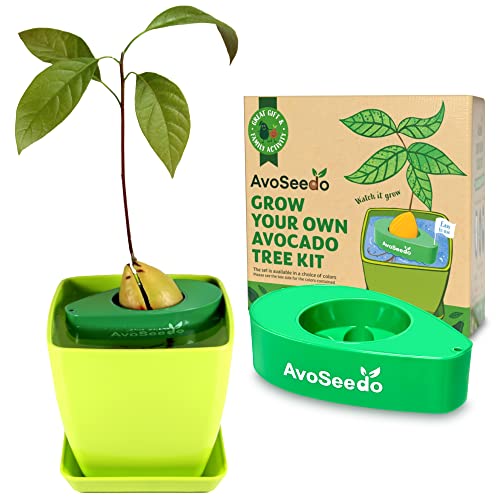
Avoseedo Kit, available from Amazon
Place the container in a warm place with indirect sunlight, and monitor the water level to keep the seed in contact with the water at all times. If the seed dries out, it will not sprout.
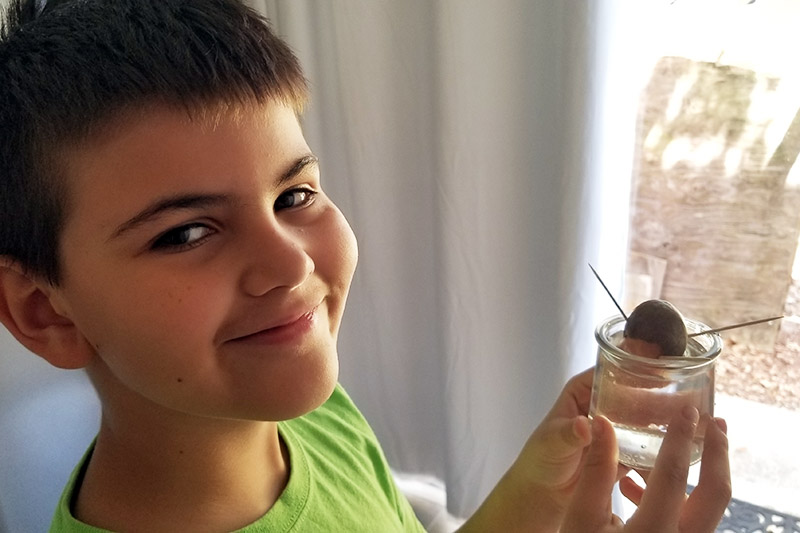
One of my kids’ favorite moments during this project was finding the telltale crack in the seed that indicates that the sprout has begun to grow.
Have the children check the seed daily; if your kids are anything like mine, finding that crack will be as thrilling as Christmas morning.
In general, it can take anywhere from one to six weeks for the seed to germinate. If it’s been more than six weeks and the seed still shows no signs of life, toss it and start over with a fresh seed.
If the seed develops mold, carefully peel off the brown seed coat to observe if the mold has affected the underlying seed. If it has not, discard the seed coat and continue to wait for the seed to sprout.
If it has affected the underlying seed, discard it and start over with a fresh one. Wash the seed well prior to preparing it for sprouting, and be sure that it is not submerged too deeply in the water.
After the seed has split, growth should be faster and more obvious.
The sprout will begin to push the seed apart, and the root will start to reach out into the water to seek nutrients.

Once the root has become clearly visible, it’s important to change the water every two to three days to freshen it.
Keep the seedling in a sunny spot or under a grow light to encourage the sprout to form its first true leaves.
A lack of sunlight will result in a long, leggy stem as the seedling struggles to find the light.
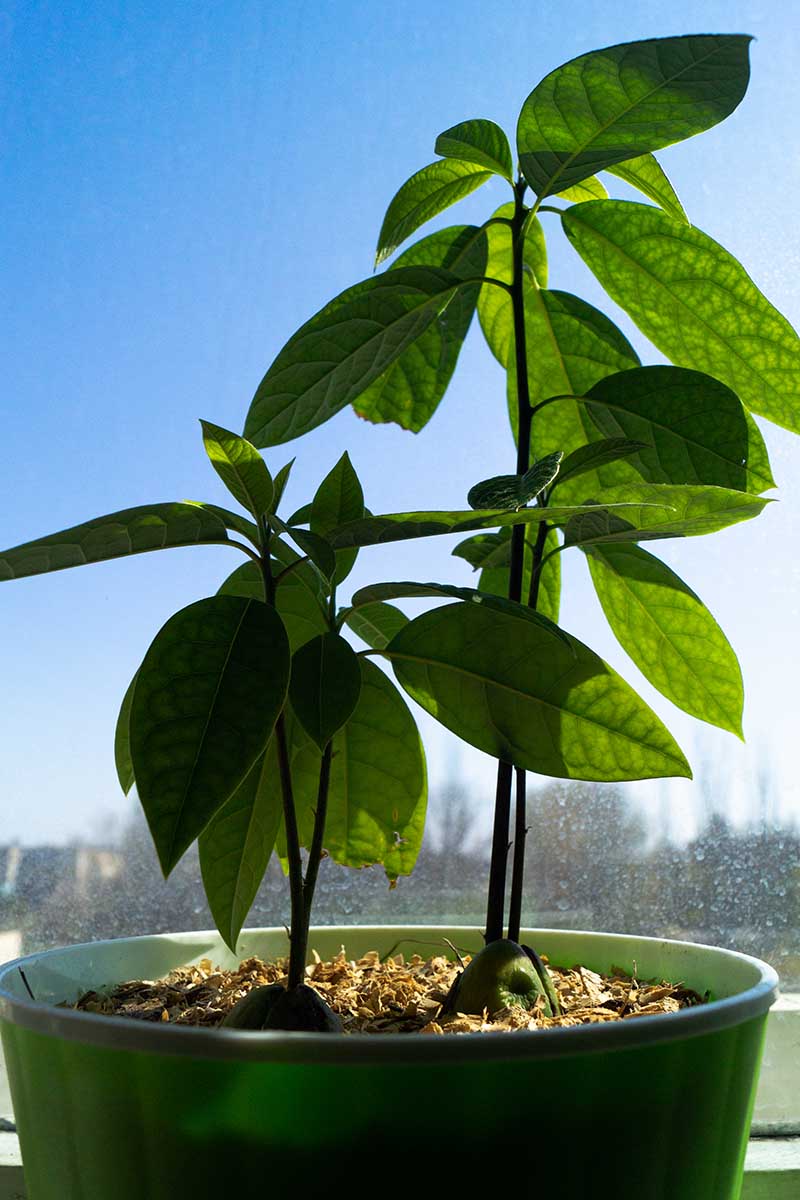
When both the root and the sprout have reached a few inches in length, it’s time to move your seedling to its new home.
Transplant Seedlings
When the roots of your seedling have reached two to three inches in length, it’s time to transplant to a permanent container or in-ground location in your yard.
If your growing zone is suitable, you may want to consider planting your tree directly outdoors rather than growing it indoors as a houseplant.
Potting for an Indoor Houseplant
Your avocado can be grown indoors as a potted plant, but be aware that these trees can grow to more than 20 feet tall, so they’re not best suited for houseplant status.
There are dwarf varieties, but it’s unlikely to find fruits from a dwarf variety for sale in a grocery store.
You can read more about some of the different varieties of avocado in our roundup of cold-tolerant cultivars.
Growing indoors will also further decrease the chances that your tree will ever produce fruit.
While some gardeners suggest transplanting the seedling to an eight to 10-inch pot, be aware that using a pot of that size means you’ll need to transplant several more times as the tree grows to prevent it from becoming root-bound.
To give the roots more room to spread out, which makes for a healthier plant, begin with a pot that is 20 inches deep or more, drains well, and is made from a sturdy material.
The kids can combine one part potting soil, one part perlite, and one part peat moss or coconut coir in a large mixing bowl or plastic tote to create a suitable potting medium.
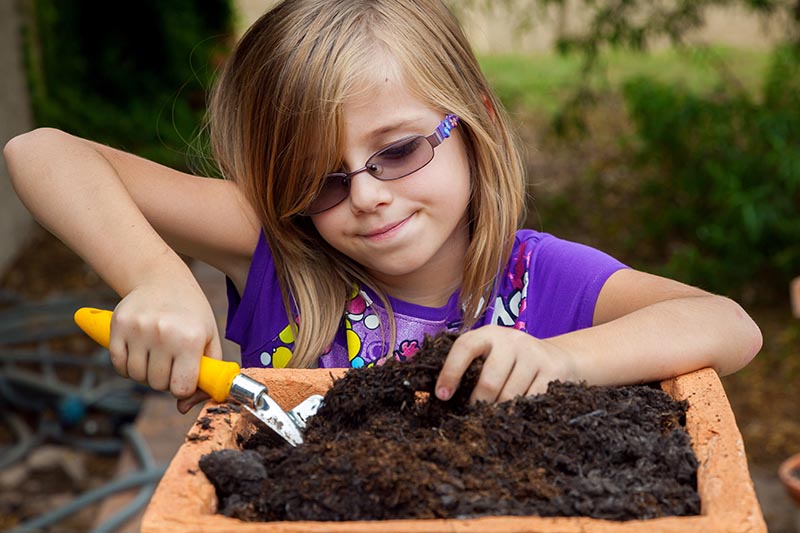
Fill the pot or planter three-quarters full and reserve the rest to fill in after planting your seedling. This blend is important as the avocado needs well drained, aerated soil.
Place your seedling on top of the soil. However, be very careful not to put pressure on the roots as they are brittle and will break easily.
Use the remaining soil blend to fill gaps to give the seedling a secure base.
Leave the seed flush with the surface of the soil rather than burying it entirely. Thoroughly water to wet the soil through and settle the seedling into its new home.
Give your avocado a sunny place with at least eight hours of sunlight per day, and continue to provide about one inch of water per week.
Be sure that excess water is draining off – avocados do not like wet feet.
In warmer months when outdoor temperatures exceed 60°F, move the tree outside to soak up the sun.
As a houseplant, you’ll want to prune to keep the size of the tree in check. New growth appears at the end of branches in spring and summer, so cut back as needed.
This job is best left to the adults or older children capable of handling sharp tools.
Planting Outdoors
If you live in an area with no threat of frost, you have the option of planting your tree outdoors.
Begin by choosing a place in your yard with full sun exposure for at least eight hours per day – avocados love light and warmth.
Get the kids involved in choosing a location. Use a graph or diagram in your gardening journal to track hours of sunlight, measure for adequate space, observe how weather patterns affect potential planting sites, and note soil conditions.
Use these documented observations to discuss and compare options for the perfect spot.
Soil in the planting location is also an important consideration. Loose, healthy soil with good drainage is best for plant health. If your soil is not ideal, it can be amended if necessary.
Check out this guide to learn more about the soil in your backyard.
Discuss with the kids what you can do to improve soil health and why it matters.
Bear in mind that your tree may grow to between 20 and 60 feet tall at maturity, so it’s best to avoid planting it in a location where overhead obstacles, such as power lines, roof eaves, and other structures, could pose a problem.
Once you’ve chosen the spot, kids can begin by digging a hole twice as wide and deep as the root system of the seedling.
Again, it’s imperative to be gentle when handling the roots, as they are brittle and easily damaged, so adult supervision is important.
Place the seedling in the prepared hole and let the kids backfill gently with soil to fill any gaps. Keep the seed level with the ground and fill the remaining space.
Kids can press the soil in gently with their hands to stabilize the plant.
Have the kids water well to settle it in, and keep an eye on the planting site for the first few weeks. Allow the soil to mostly dry out in between watering.
Making a watering schedule can help kids to remember to check up on their new tree.
Kids can also continue to track weather patterns and compare to tree growth to help them understand how too much or too little water affects their tree.
Growing Tips
For comprehensive information on keeping your tree healthy and thriving, read our guide to growing avocados.
- Don’t expect a tree grown from seed to bear fruit.
- If a prepared seed doesn’t sprout within about six weeks, start over with a new one.
- Give your seedling a warm spot with indirect sunlight while indoors.
- Be sure to provide your tree with at least 8 hours of direct sunlight every day when transplanted.
- Allow soil to dry out between watering deeply.
- Don’t let your tree sit in waterlogged soil.
Zap Boredom and Give Kids a Fun Science Project They Can Enjoy For Years to Come!
Projects like this are excellent ways to fill kids’ lives with interesting, educational opportunities.
So many produce items can be turned into learning experiences with little cost and minimal effort.
Plus, after your seed has been given its sunny spot on your windowsill, you can whip up some guacamole. Who doesn’t love that bonus?
Tell us about some of the gardening projects you would recommend for children in the comments. We love your ideas!
And for more interesting garden projects, check out these guides next:
- How to Regrow Lettuce from Kitchen Scraps
- Getting Kids Started with Vegetable Gardening
- 11 of the Best Gardening-Themed Books for Children
- Gardening at Home: the Best 31 Kits to Get Started
Photos by Kelly Spicer © Ask the Experts, LLC. ALL RIGHTS RESERVED. See our TOS for more details. Uncredited photos: Shutterstock. With additional writing and editing by Allison Sidhu.
You can put a peeled seed right into peat moss and it will grown, you don’t have to put it in water with the tooth picks.
Hi Jean, thanks for your comment. You are correct, a seed can be planted in that way also. When planting with kids, it’s also fun and educational to start seeds in water so they get full view of the germination process. Either will work.
Edit writing to cut word count!????
Thanks for your feedback. We aim to provide detailed instructions that are beginner-friendly, rather than glossing over and abbreviating steps to fit into a specific word count.
Thanks this will be fun to try today!!!
Let us know how it works out!
I hope you share some pictures! I’ve done this with my kids several times – they’re actually pictured in the article – and they love this activity! I hope yours do, too!