You might not realize it, but many of those elegant Japanese maples that you see at the store were propagated through grafting, not seed or cuttings.
This tried and true method has been the go-to for centuries.
Maybe you always thought grafting was for the advanced, super-experienced growers. It isn’t. Anyone can do it.
When you have a Japanese maple tree you love, you might want to be able to recreate it.
We link to vendors to help you find relevant products. If you buy from one of our links, we may earn a commission.
Or maybe you have an idea of a tree you’d like to cultivate, but you aren’t sure how to go about it. Grafting can help you.
If you’ve never grafted Japanese maples before, don’t feel overwhelmed. We’ll break the process down, step by step. Here’s what to expect:
What You’ll Learn
Defining Terms
Grafting is a form of asexual or vegetative propagation that involves combining two separate plants to create a new plant.
The top part is called the scion, and the bottom part is called the rootstock. The rootstock might be just a section of roots with a trunk and no branches or leaves, or it might be an existing tree that you add a branch to.

People have been grafting for millennia in order to improve plants. You can pair, say, a rootstock that features resistance to fungal disease with a scion that has particularly elegant leaves, but typically struggles with fungal issues.
Many people use grafting to propagate new Japanese maples and growers have done so for centuries. These days, Acer palmatum stock is usually the standard, but it’s your garden, and you should experiment as you see fit.
When grafting, you’re going to cut into the tree to some degree, depending on the type of graft you use. So we need to define the parts of the plant that we’re talking about.
First, on the outside of a branch or trunk we have the bark, as most of us know.
Right inside that is the cambium layer, which is soft because it’s the newly-developing part of the wood. This cambium will eventually become new bark or sapwood, and a new layer of cambium will form beneath that.
We want to connect the cambium layers between the scion and the rootstock when we graft.
Inside that is the sapwood, then the heartwood, and then the pith at the center.
Grafting is usually done in the late winter or early spring, just before the leaf buds start to swell and open. The tree shouldn’t have any foliage when you start this work.
Supplies Needed
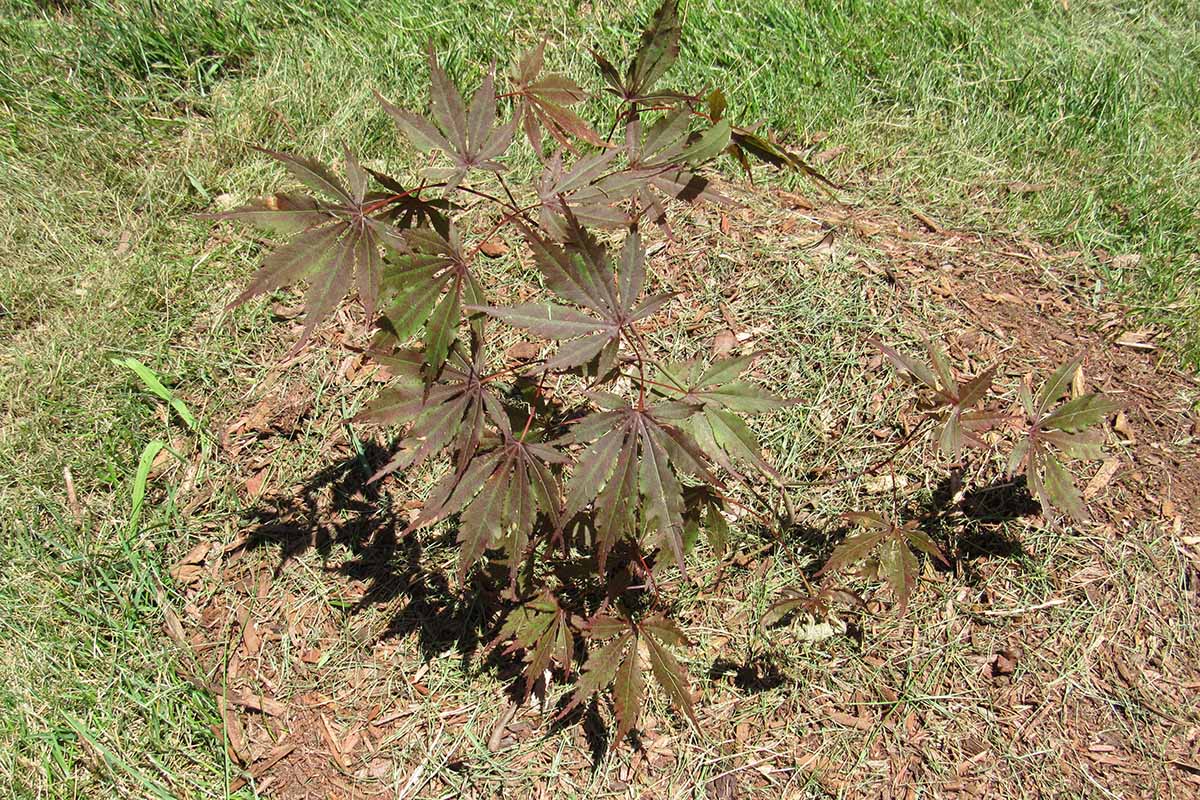
You are going to need to get yourself two healthy Japanese maple plants to obtain your scion and rootstock.
You can buy these, start them yourself by propagating cuttings or seed, or take from existing plants in the garden, assuming you have permission.
If you want to graft onto an existing Japanese maple tree in your garden, you may certainly do that. Many people opt to purchase rootstock.
Some specialty growers will have A. palmatum rootstock available that was grown specifically for grafting. You could also opt to purchase a tried and true cultivar such as ‘Red Emperor.’
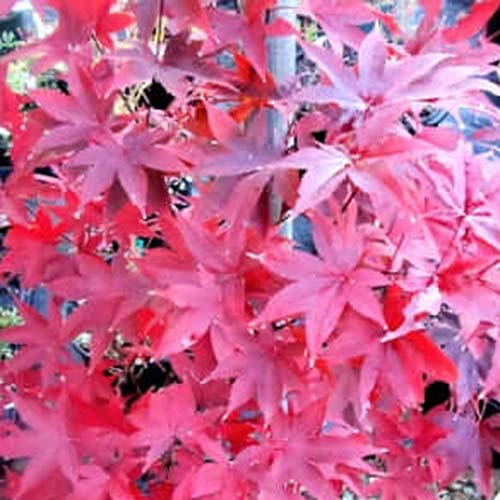
For grafting purposes, you probably want to start with a small plant, like a tree in gallon- or three-gallon container, like the ‘Red Emperor’ plants available at Maple Ridge Nursery.
You also need a sharp knife. You might be able to get away with using a dull knife for some garden chores, but this isn’t one of them. The knife must be sharp.
You should also wash it in soapy water and sanitize it with a bleach or rubbing alcohol solution to avoid introducing any nasty pathogens that could harm your new tree.
I highly recommend buying a grafting knife if you can. They make the work easier and safer. Plus, you can use them for lots of garden chores or foraging for mushrooms.

Amazon carries a folding version from Linsen with two different blade options.
You might want some thick gloves, though wearing them makes it hard to do some of the dexterous work of cutting.
Some people will wrap their thumb and forefinger in layers of electrical tape to protect themselves, and I’ve also seen people wrap several bandages around their fingers to protect them.
Whatever method you choose, remember that you’re working with a very sharp knife to make precise cuts, and a slip could spell disaster.

Grab a bunch of flat, wide rubber bands and cut them open. You can also purchase budding strips, like this pack of 60, available at Amazon.
You also want to have a clean pair of pruners on hand. I swear by my Felco F-2 pruners for all kinds of gardening tasks, including grafting.
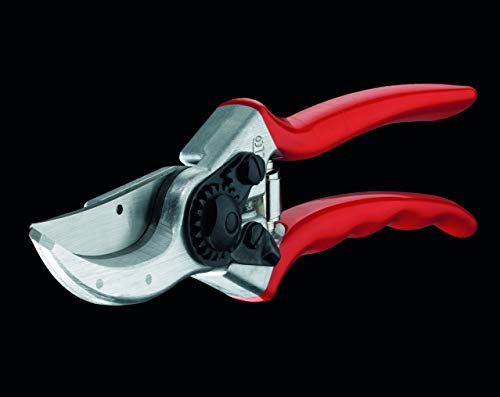
If you’d like to pick up a pair, Amazon carries them.
You might also want a second pair of hands, if someone is available to assist you.
Cut the Scion
As I mentioned, most people graft Japanese maples in the late winter or early spring, but those in areas with cooler summer climates can take their cuttings in late summer.
That’s when many growers in the Pacific Northwest, a hotbed of Japanese maple growing, get to work.
Take the cuttings in the morning when it is cool. Keep them cool as you work.
A lot of gardeners do their yearly pruning in late winter or early spring and just pick through their clippings to find a suitable branch for grafting.
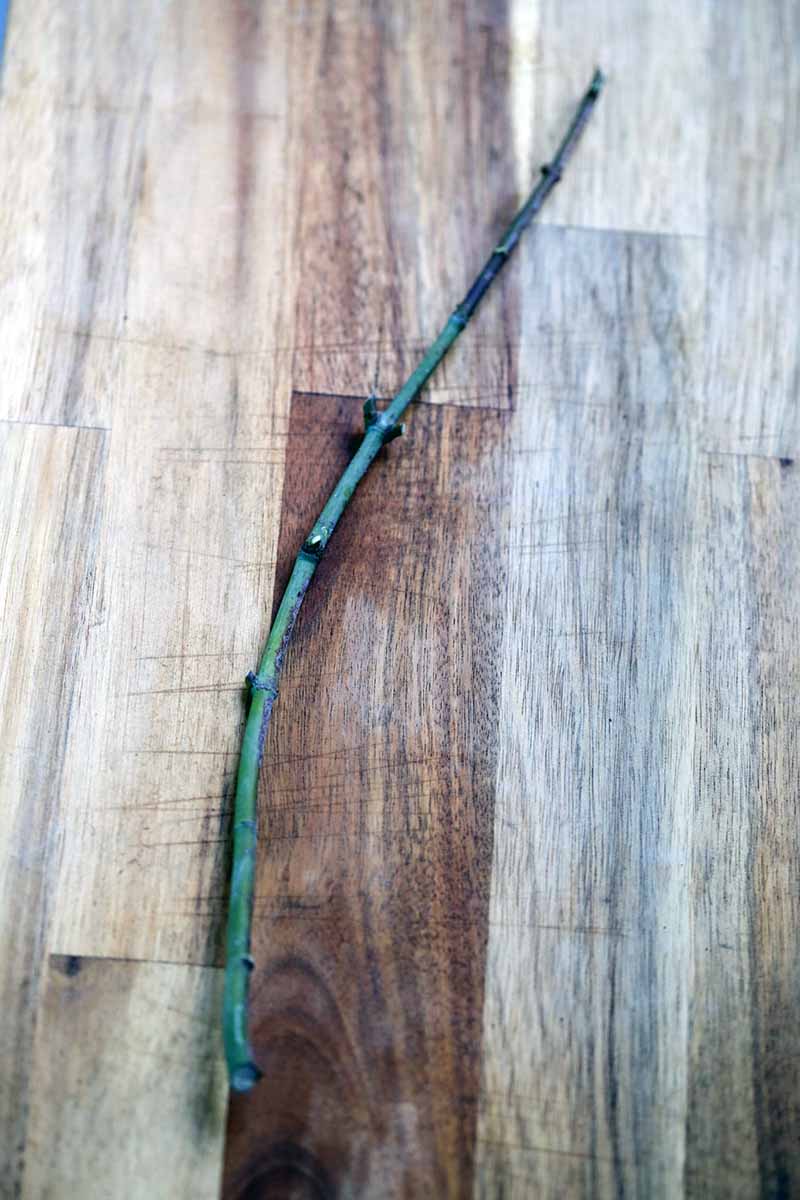
Locate a healthy, pliable branch that shows no signs of disease. If you gently bend the branch and it breaks or cracks, cut off the entire dead branch back to the main stem or trunk and discard the portion that you broke.
A branch with at least the diameter of a pencil is about the right size that you want to work with, unless you’re dealing with bonsai. In that case, there is no minimum size limitation. Clip off your scion, using a pair of clippers.
If you’re working with a Japanese maple branch that is in leaf, cut off all of the leaves close to the main stem. Cut off any branches, as well.
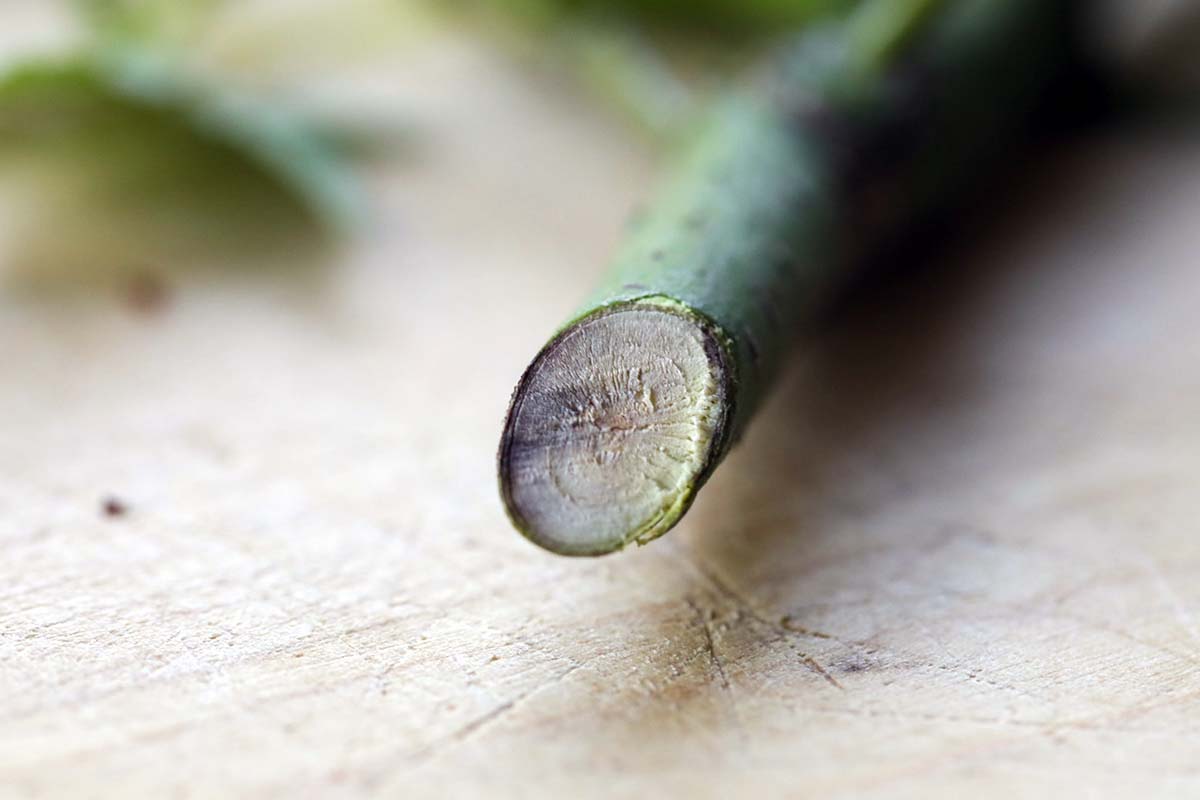
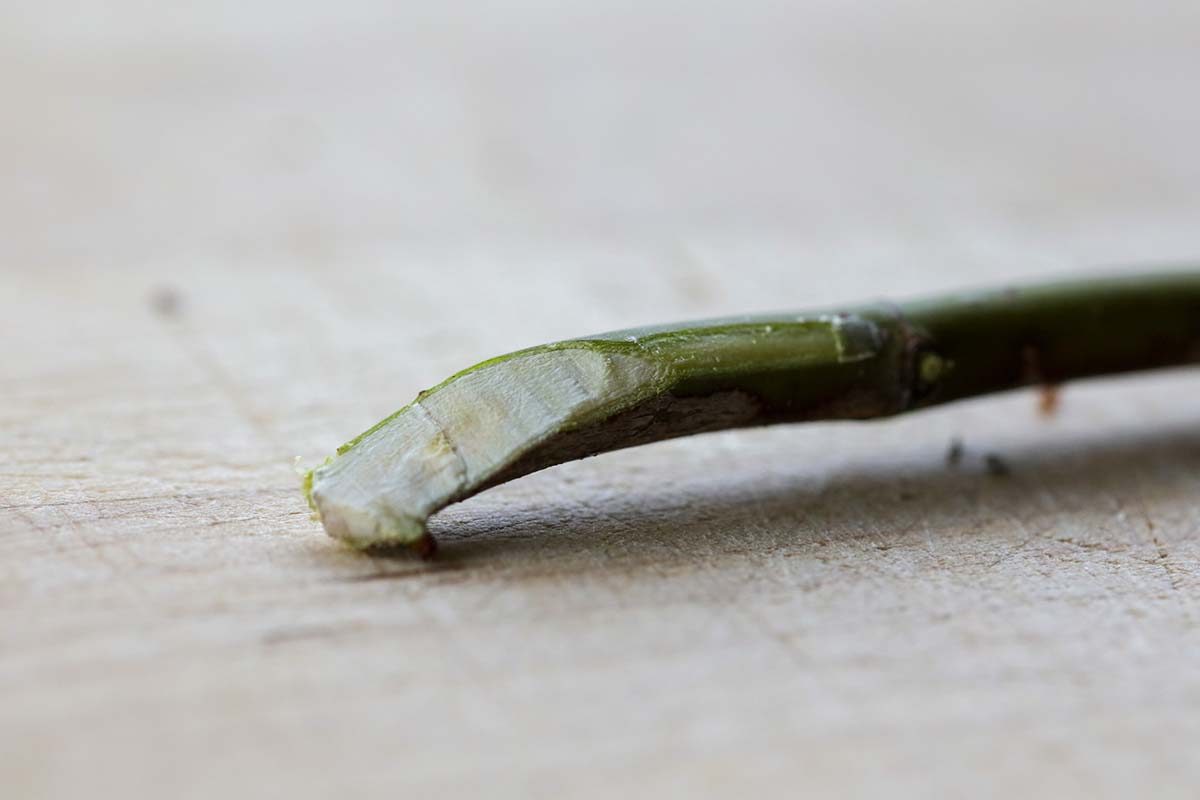
Clip off the scion using a pair of clippers. Then, take your sharp knife and cut the base at an angle.
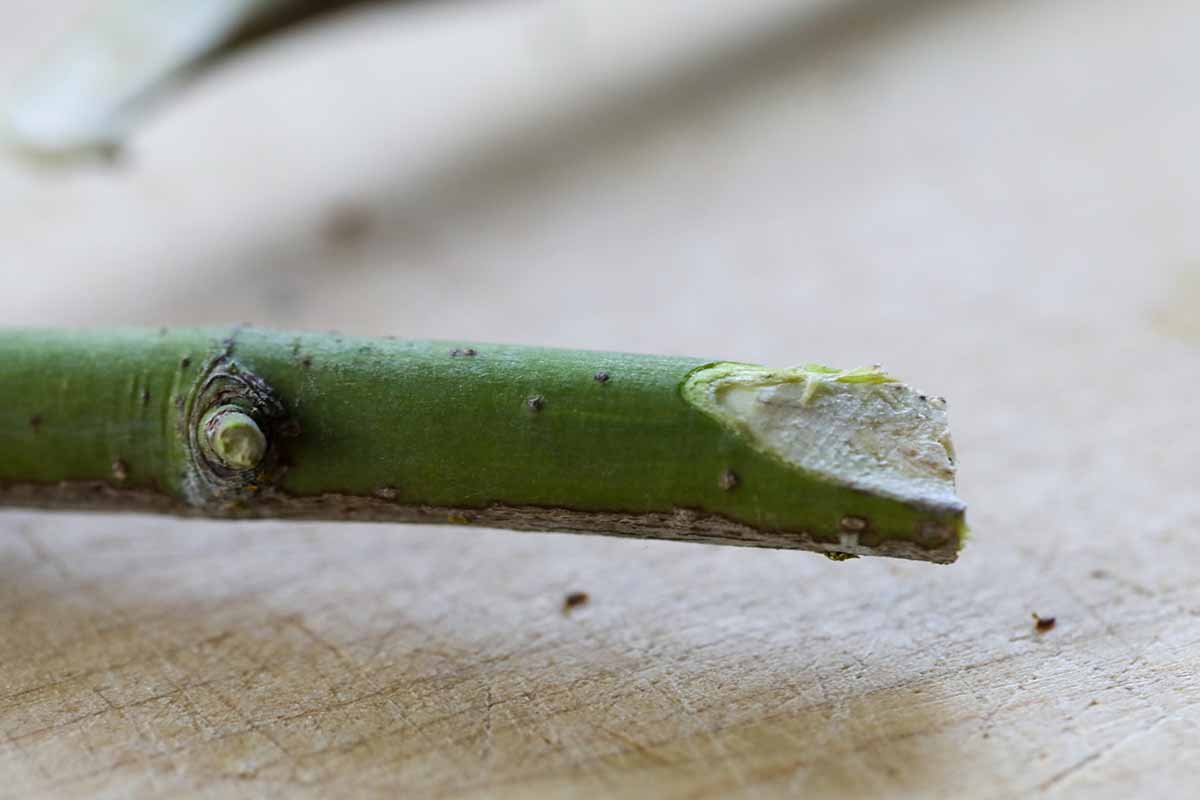
The angle you choose depends on the type of graft that you’re doing. The veneer graft seems to be the most successful with Japanese maples, so assuming that’s what you’ve selected, cut the branch on one side to create a 30 to 35 degree angle with a fine point.
There are also tongue, cleft, splice, and bark grafts. Really, any cut that can be mirrored in the wood of the scion to match the rootstock will work. The point is that we need to join the two parts as tightly as possible.
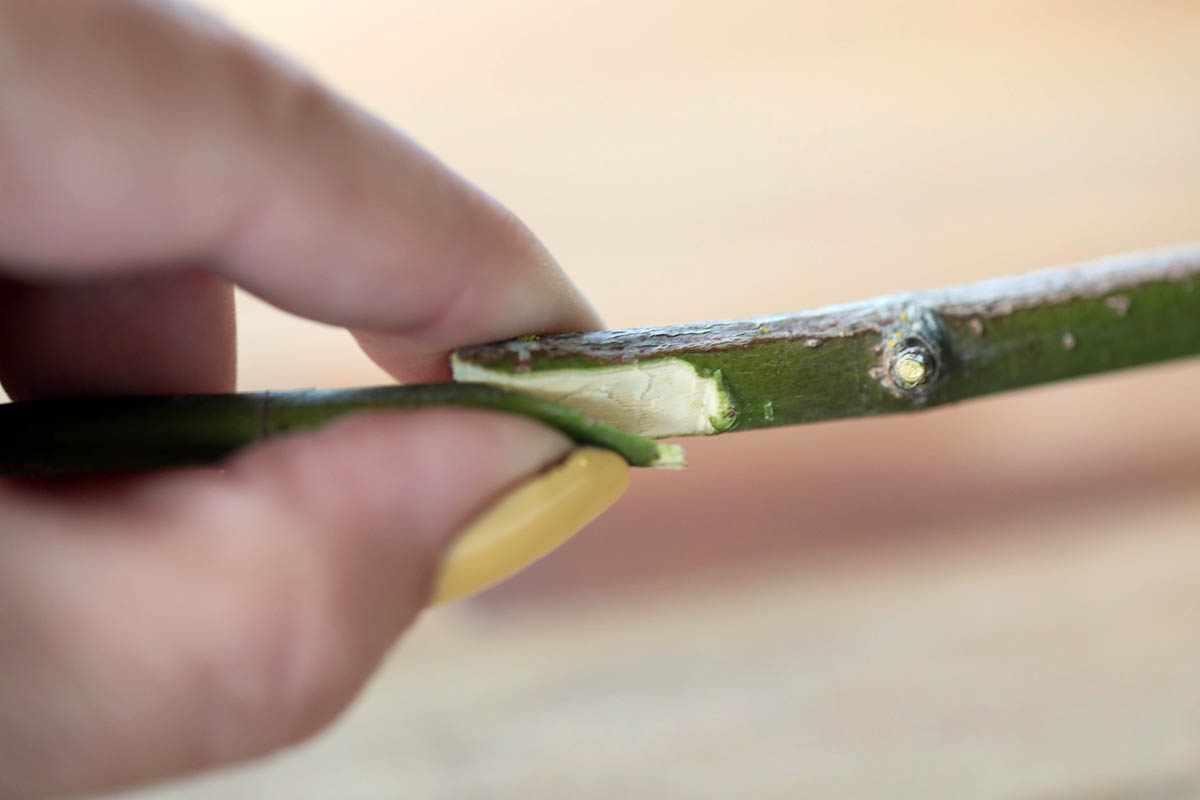
At the higher end of the angled cut you made, remove a half inch or so of bark to expose the cambium layer above the cut.
Remember, it’s important to be careful as you work and wear protective tape or gloves if you can!
You’re probably cutting toward yourself since that’s the easiest way to work and a slip of the knife may end in disaster. I have a scar the length of my thumb and an inch thick the entire way that attests to the dangers of grafting.
If you don’t want to have to make a surprise trip to the ER for eight stitches, be careful!
If you can’t graft right away, wrap the cuttings in a moist paper towel and place them in the refrigerator for up to two weeks.
Cut the Rootstock
Before you cut your rootstock, examine the length and width of the wedge cut you made on the scion.
That will inform how large of a cut you need to make on the rootstock. You want them to match up like puzzle pieces.
For a veneer graft, use your knife to create an angled cut into the rootstock that extends about a quarter of the way through. The depth isn’t the important part, though.
The important thing is that the scion and the rootstock angles match up and the cambium layers meet when pressed together.
Combine the Scion and Rootstock
Now it’s time to insert the cutting into the base.
Think of it as plugging in the cambium of the scion to the cambium of the rootstock. If you don’t insert a plug into the outlet firmly, you won’t have power.
If you don’t insert the cambium layer of one part into the other, you won’t get growth.
This is where a second pair of hands is helpful.
Insert the scion into the cut in the rootstock. Make sure it’s as snug as can be, and look for any obvious gaps. If you see gaps, you can gently shape the scion a little more to make the seal snug.
Once you have a good fit, wrap rubber bands around the plant to hold the two pieces together tight. Tie off the rubber bands to hold everything securely.
Care
Now your goal is to keep the plant moist but not too moist. If you have a little plant humidifier, place it next to that.
You can find affordable little humidifiers that work well in a small area, like this one by Levoit, available at Amazon.

If you don’t want to go that route, you can tent a plastic bag over the grafted cutting.
Use a stick or something similar to prop the bag up so it doesn’t touch the scion. Mist inside the bag once a day.
I highly recommend using a humidifier rather than a plastic tent because it allows for more air movement and results in less chance of fungal issues.
You also want to keep the soil moist but not wet. Picture a well-wrung-out sponge. That’s the moisture level you’re aiming for.
Keep the grafted cutting in a cool area with direct morning sun and diffused light for the rest of the day.
Cuttings taken in the winter should show signs of growth by the late spring. Those taken in the late summer should be left in place over the winter and should have new growth by early spring.
At that point, you can transplant it outside, and care for it as discussed in our guide to growing Japanese maples.
If you grafted onto a live Japanese maple plant that’s already growing outside, there’s no extra work needed except to check the scion now and then to make sure it looks good and new growth is developing.
Remove the rubber bands once you see lots of healthy new growth.
Grafts that fail will be evident pretty quickly. The wood turns darker and the buds will appear deflated.
Grafting Is Garden Magic
Sometimes grafting seems like magic to me. We took a branch and a base and slapped them together, and they merged.
If all goes according to plan, in a few months, you should have a new Japanese maple tree! You didn’t even have to make a potion or conjure up magical spirits.
How did the process go for you? Did you run into any trouble? Let us know in the comments, and we’ll try to help.
If everything went swimmingly, now is the time to learn all about caring for your new Japanese maple tree. Here are a few guides to set you on the right path:
Thanks for this! Do you use any kind of bonding agent? What about multiple grafts? Should you let one attach before you add another?
Hi Michelle, I don’t use bonding agents, but you certainly can. A good wax can help seal the bond and I’ve had equal success using it in the past as going without, which is probably a testament to the plant’s willingness to graft.
You can also do multiple grafts and you don’t need to wait until one takes to start another.
Thank you.