Kohlrabi is a fascinating and delicious member of my favorite vegetable family: the brassicas.
Also known as “German turnip” in English, this veggie looks like an above-ground turnip, but it’s actually a cultivated form of wild cabbage, and a member of the same species as broccoli, cauliflower, and kale.
The botanical name for kohlrabi is Brassica oleracea var. gongylodes, which means it’s part of the Gongylodes Group.
We link to vendors to help you find relevant products. If you buy from one of our links, we may earn a commission.
For more information on all the groups in the B. oleracea species, see our guide. (coming soon!)
You can eat this healthy vegetable raw or cooked.
With a crisp texture and a cabbagey, broccoli-esque flavor, it makes an excellent side or even a delicious vegetarian appetizer, as you can see in this recipe for fried kohlrabi with cilantro yogurt sauce from our sister site, Foodal.
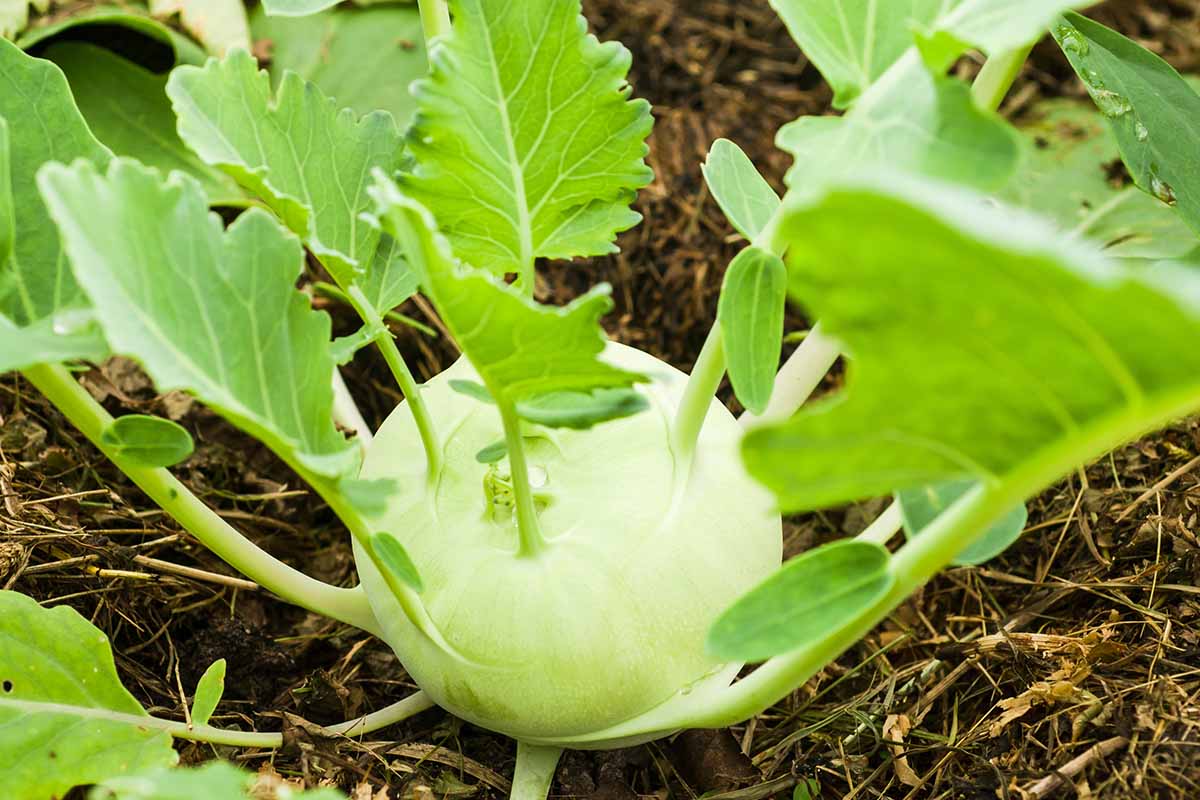
The available varieties produce a harvest that is typically either light green or purple, with pale green or white flesh inside.
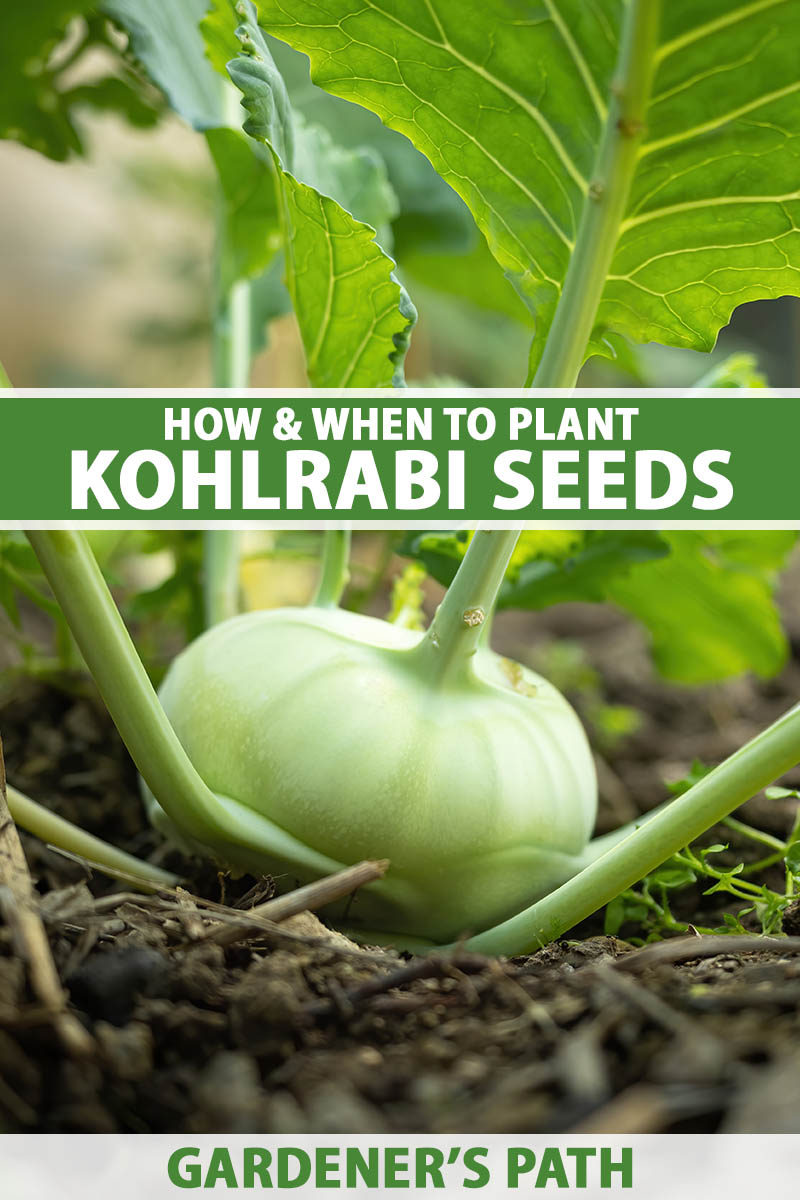
It’s a complicated-looking plant, what with the large bulb sitting on top of the soil and the many leaf-bearing stems springing off of it. Thankfully, growing this crisp, tasty vegetable from seed is anything but complicated.
I’ll show you how easy it is, in this guide!
Kohlrabi can grow to be anywhere from six to 18 inches tall with a spread of 12 to 18 inches, depending on the cultivar, and the bulbs can grow to be up to six inches in diameter when they’re ready to pick.
The bulb and the leaves are both edible, making it an excellent addition to any garden.
You can learn more about the history, growing tips, and suggested harvest methods for this plant in our guide to growing kohlrabi.
In this guide, we’ll show you how to propagate this above-ground “root” from seed.
Here’s what we’ll dig into:
What You’ll Learn
Getting Started
Kohlrabi matures in around 45 to 60 days. A cool-weather crop, it grows best when daytime temperatures are between 65 and 75°F.
It’s suited to USDA Hardiness Zones 3 through 9, but planting times will vary depending on where you live.
Those in Zones 3 through 5 can start seeds indoors four to six weeks before your area’s average last frost date for a spring crop, or direct-sow outdoors two weeks after the average last frost date.
But if you tend to have hot summers despite your cold winters, such as in Zone 3, you’ll want to choose a variety of kohlrabi that matures within 40 to 45 days.
Or in other words, with plenty of time to mature before – or after – the hot weather above 75°F sets in or begins to dissipate.
Whatever you do, avoid planning your harvest so it will be ready to pick during the heat of the summer. Hot temperatures lead to bulbs of inferior quality.

If you live in Zones 6 through 9, it’s best to sow kohlrabi seeds inside in late winter for a mid-spring crop if the temperatures tend to stay below 75°F.
Otherwise, plan on planting indoors in midsummer, or direct-sowing seeds in late summer or early fall, for a late fall or winter crop.
Once you’ve determined which planting time works best for your climate zone, it’s time to source your seeds and get your garden soil ready!
For a harvest of kohlrabi bulbs with a lovely purple color on the outside and crisp, light-green flesh on the inside, try growing ‘Purple Vienna.’
This heirloom variety matures in 55 to 60 days, spreads 12 inches, and grows 12 to 18 inches tall.
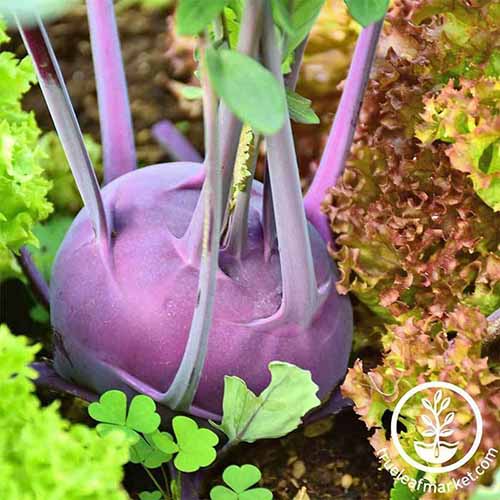
With a delicious, mildly sweet flavor, this cultivar is the perfect introduction to kohlrabi, and you can find packets of seeds available from True Leaf Market.
This vegetable prefers rich, loamy, well-draining soil with a pH between 6.0 and 7.5.
In order to thrive, it requires a location that receives at least six to eight hours of direct sunlight every day, so pick a suitable planting spot accordingly.
To prepare the soil, work several handfuls of well-rotted compost or manure into each spot where you plan to plant a seed or transplant.
You may also want to conduct a soil test to make sure your chosen location falls within the appropriate pH range with plenty of nutrients, and amend it accordingly.
You can also grow kohlrabi in containers, though you’ll need several large ones or raised planters to get a significant harvest.
To plant yours in pots, sow one or two seeds in one quarter-inch-deep hole in the center of a container that’s 10 inches in diameter, or provide at least six inches of space between each hole for planting multiple seeds in larger pots or cold frames.
Kohlrabi has a high rate of successful germination as long as seeds are fresh, with some estimates around 80 percent, but I like to plant two seeds per spot just to be sure that I’m able to produce a strong seedling in every planting hole.
Sowing the Seeds
There are two main ways to plant kohlrabi seeds: indoors in seed-starting trays ahead of the recommended outdoor planting time, or directly into the planting site outdoors.
We’ll cover both below!
Starting Indoors
To sow indoors, start about four to six weeks before the recommended planting time for your region. This is recommended whether you’re planting ahead of an early-spring transplant, or a fall transplant.
You’ll need seed-starting trays, preferably ones with humidity domes.

Seed Starting Flats with Humidity Dome
I love this set of five 40-cell seed-starting flats from MIXC because they come with humidity domes! These are available from the Home Depot.
You could also use biodegradable seed starting pots that can be planted directly in the ground.
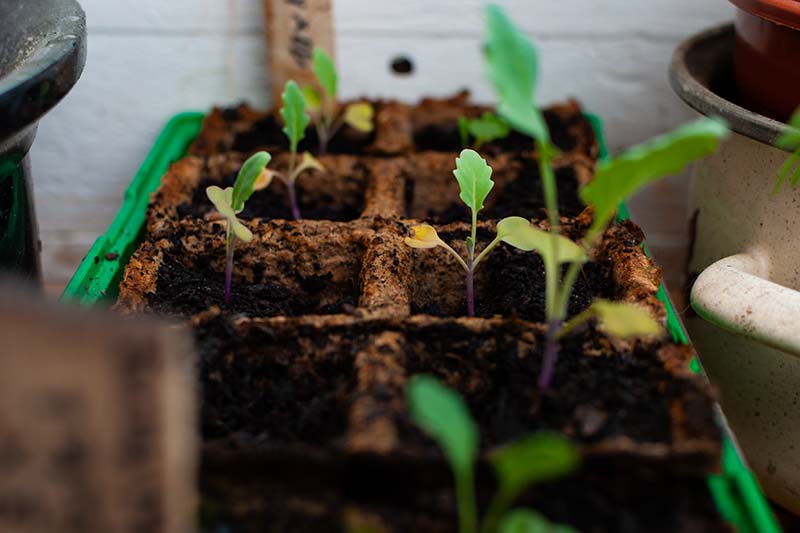
Fill each cell with a seed-starting mix. Make a quarter-inch divot in each cell and drop one or two kohlrabi seeds inside. Lightly cover with the mix and use a spray bottle to water the soil so the seeds don’t move out of place.
You’ll want to keep the cells moist until germination occurs, which should happen in five to 10 days. Keep the tray in a room that’s between 65 and 70°F for best results.
Keep in mind that this cool-season crop does not do well in hot temperatures, and anything above this range even at the earliest phases can lead to weak and rapid growth.
You can place a heat mat underneath the tray in a cool potting room or greenhouse with temperatures below this range if you desire, but be sure to remove it as soon as the green cotyledons poke out of the potting mix.
Learn about supplies that are helpful for starting seeds.
Exposure to overly warm soil early on can cause kohlrabi to grow too quickly, says Jill MacKenzie, a horticulturist writing for the University of Minnesota Extension. This can make the young plants grow leggy and weak, and they’ll become “difficult to handle without causing damage,” writes MacKenzie.
After germination, keep the soil evenly moist but not waterlogged. German turnip needs adequate water in order to produce a bulb that’s juicy and not woody, so check the soil daily. If it’s dry one inch down, it’s time to water it again.
In addition, after your kohlrabi seedlings emerge, you’ll need to keep the tray on or near a sunny windowsill that receives at least six to eight hours of direct light every day. Or, keep it under a grow light for 10 to 12 hours a day.
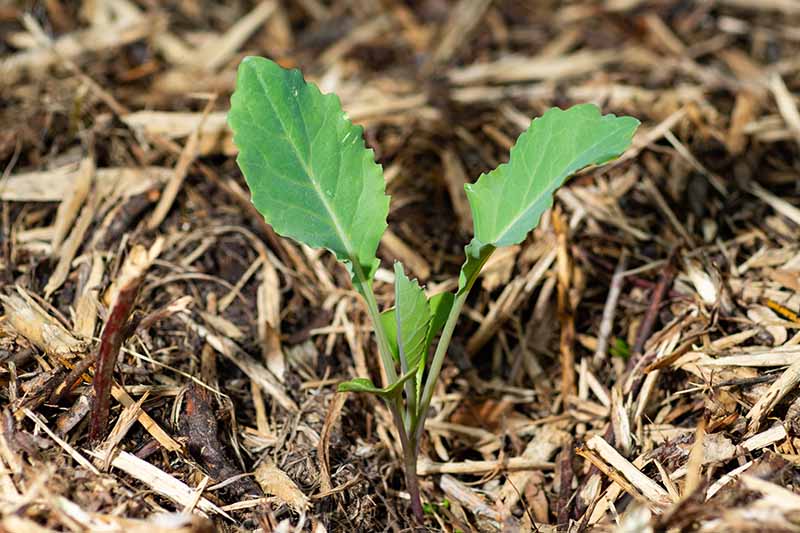
If you planted two seeds in each hole and both germinate, you’ll need to thin them.
Trim away the smaller, weaker one when both seedlings have two sets of true leaves. Trimming is a better idea than pulling, to avoid disturbing the roots.
The seedlings will be ready to harden off when they have four to five sets of true leaves. To do this, bring them outside for increasing amounts of time each day for a week until they can withstand outdoor conditions full-time.
Direct Sowing Outdoors
To sow kohlrabi seeds outdoors, find a planting location with six to eight hours of full sun, and amend it with well-rotted compost or manure if you haven’t already.
Make quarter-inch divots nine to 12 inches apart in your planting area, and place one or two seeds inside each hole. Cover with soil.
Gently water with the mist setting on your hose nozzle and keep the seeds moist until germination occurs.
You may also want to mark where you plant your seeds so you don’t accidentally walk on them or dig over the space before they sprout.
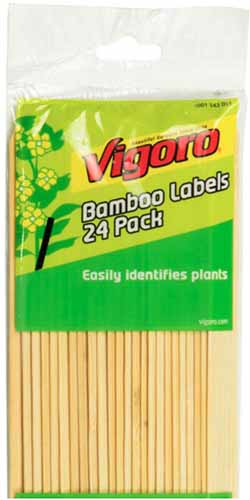
I use these bamboo labels from Vigoro, available via the Home Depot.
Once the seeds germinate, water them enough to keep the soil evenly moist, adjusting as needed based on the amount of rainfall that you receive.
Use your finger to test the soil moisture one inch down. If it’s dry, additional watering is needed.
When the seedlings have two sets of true leaves, pinch off the weaker one in each pair to leave the stronger one standing.
Plant more seeds every two weeks if you’d like to try succession planting for a continual harvest in the fall and early winter.
Just keep an eye on the number of days to maturity for your selected variety in colder zones to ensure that you’ll have enough time before a hard frost settles in.
Transplanting Seedlings Out into the Garden
Here’s what to do if you’re transplanting hardened-off kohlrabi seedlings that you started indoors or purchased from a nursery.
First, dig holes to the same depth and width of the cells or nursery pots that currently house your kohlrabi. Make sure these holes are spaced nine to 12 inches apart, so that each plant has plenty of room to grow. Find more tips on spacing your plants here.
Gently remove the kohlrabi plants from their pots or cells. If the roots are tightly bound, carefully squeeze the root ball and tease the roots apart.
Place each root ball inside a waiting hole and backfill with soil. The top of the root ball should be flush with the soil line.
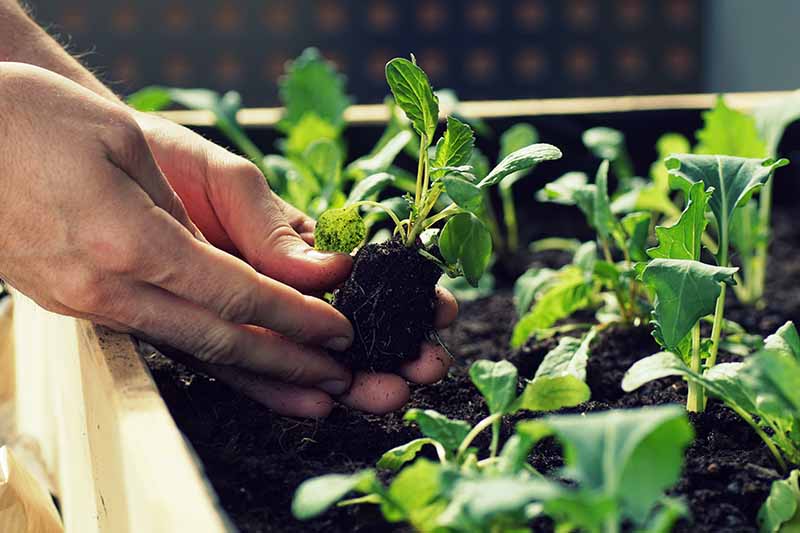
Water thoroughly, and then step back and enjoy the sight of your work. Before long, those tasty bulbs will begin to develop!
Seedling Care Tips
Regardless of whether or not you planted your kohlrabi seeds indoors or out, there are a few things you should do to keep them happy.
After the seedlings emerge, begin fertilizing them regularly with an organic fertilizer like this 2-2-2 (NPK) product from Dr. Earth, available from the Home Depot.

Work the fertilizer into the soil around each seedling, reapplying as is indicated on the package throughout the season.
Make sure to pull weeds as soon as you see them so your seedlings aren’t competing for nutrients. Adding a two- to three-inch layer of organic mulch can help to suppress weeds and lock in moisture.
If a surprise heat wave pops onto your local weather forecast, provide your kohlrabi with an extra inch or two of mulch, extra water, and a shade cloth.
Kohlrabi is just a touch more sensitive to the cold than other brassicas you may have grown before.
Unexpected cold snaps don’t pose too much of a problem for seedlings, though late springtime frosts or more than a few days in a row of nighttime temperatures below 50°F may lead to bolting, and the production of flowers and seeds at the expense of those tasty bulbs, when daytime temperatures begin to rise.
If you want to harvest the leaves, don’t do that too soon! You want to avoid picking leaves too early or picking too many, as the plant needs the energy provided via leaf photosynthesis in order to develop that juicy bulb.
For help with picking when the time is right, see our guide to harvesting kohlrabi leaves.
Kool-Rabi
Some gardeners think this funky cabbage relative is ugly, but I think it looks awesome, and it tastes even better than it looks. It’s also a type of veggie that my son loves to look at, like a planet with spikes growing off of it.
How cool is that?
Have you ever started kohlrabi from seed? We’d love to hear any questions, tips, or tricks that you have to share in the comments section below.
And before you go, check out these guides for more information about kohlrabi next: