Apium graveolens var. rapaceum
If you love both celery and root vegetables, you’ll adore this versatile veggie that’s like a two-in-one combo.
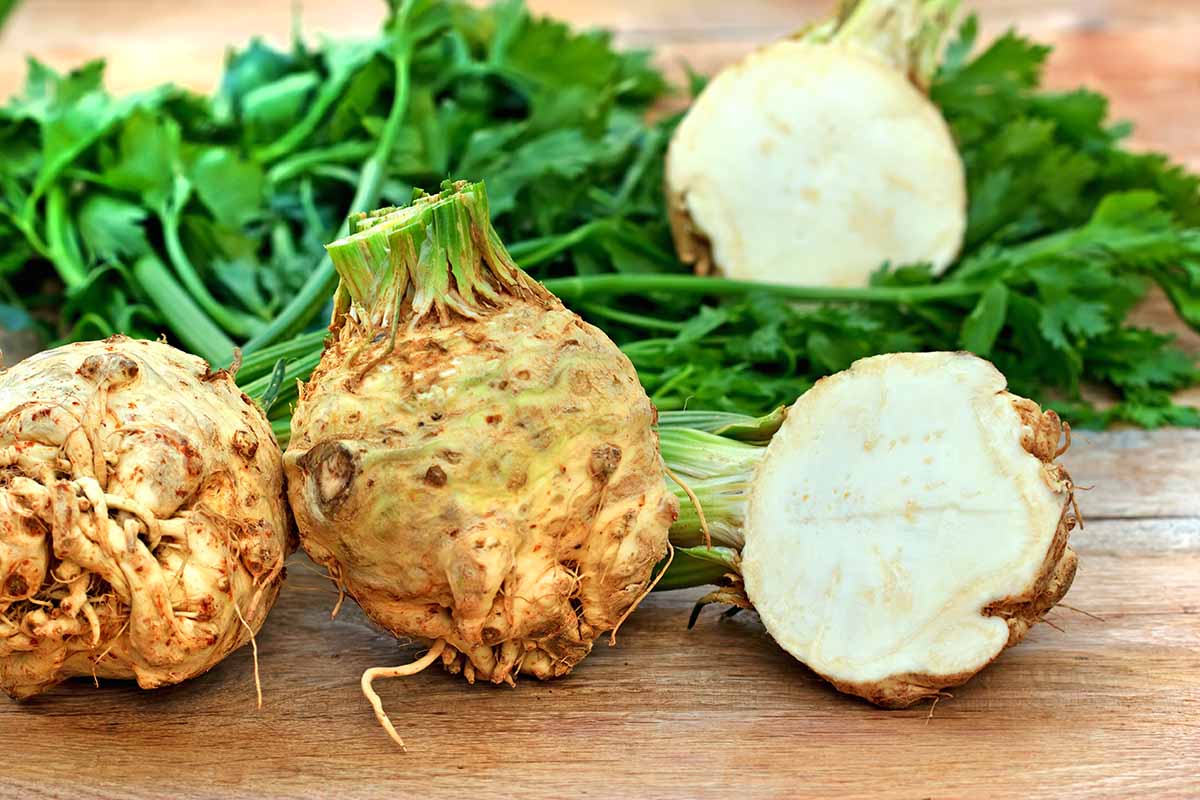
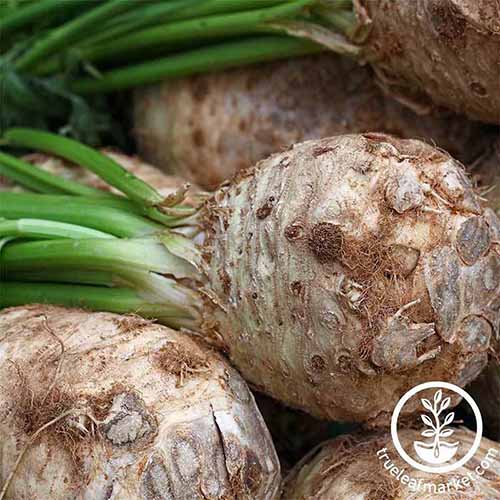
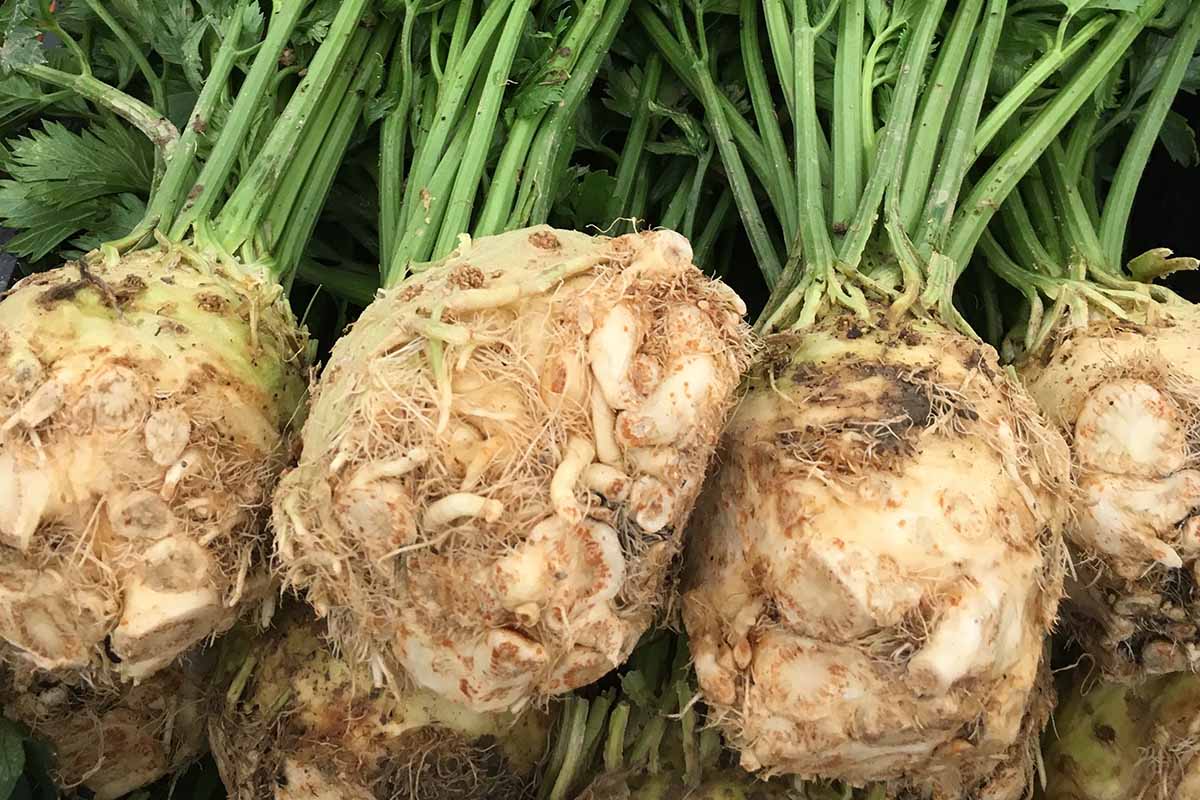
The bulbous root known as celeriac, or Apium graveolens var. rapaceum, isn’t going to win any awards for beauty. But it has a comforting, earthy flavor with hints of turnip, parsley, and celery.
Plus, it’s got the consistency of a potato!

We link to vendors to help you find relevant products. If you buy from one of our links, we may earn a commission.
So what is celeriac, exactly? Is it just the root of the type of celery you might grow in the garden, or is it an entirely different plant? How do you grow it, and how do you eat it?
In this guide, we’ll answer all of these questions and more. Here’s everything we’ll cover:
What You’ll Learn
What Is Celeriac?
Let’s get down to the nitty-gritty of what sets celeriac apart from its close relative, celery.
Both vegetables are classified as Apium graveolens. But celeriac is of a variety known as rapaceum, and instead of being cultivated for its thick, juicy stalks, it was first cultivated thousands of years ago for its bulbous hypocotyl, a part often confused for its root.
This part of a plant’s anatomy actually appears beneath the stalks, but above the roots, and grows underground.
For simplicity’s sake, we’ll just call it a root vegetable.
Now, you can’t just dig up regular-old celery and expect to find a large, juicy root. Also called “celery root,” “turnip-rooted celery,” and “knob celery,” this veggie matures in 90 to 120 days, depending on the cultivar.
It prefers full sun, although it can tolerate some shade, and requires rich, well-draining soil with a pH between 6.0 and 7.0.
The swollen hypocotyl usually grows at least three to five inches in diameter, and the aboveground stems and leaves grow to between six and 26 inches tall and wide, depending on the variety.
Celery root is a biennial that’s usually grown as an annual, and it tastes best if left in the ground to receive at least a touch of frost.
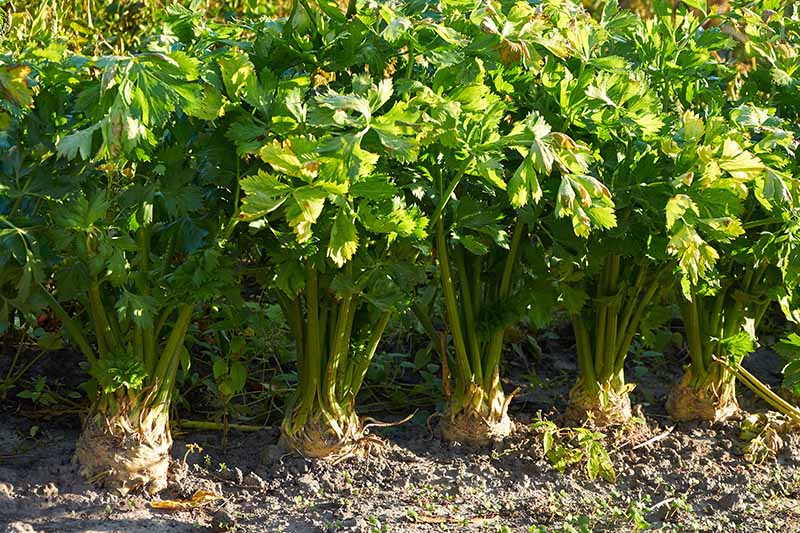
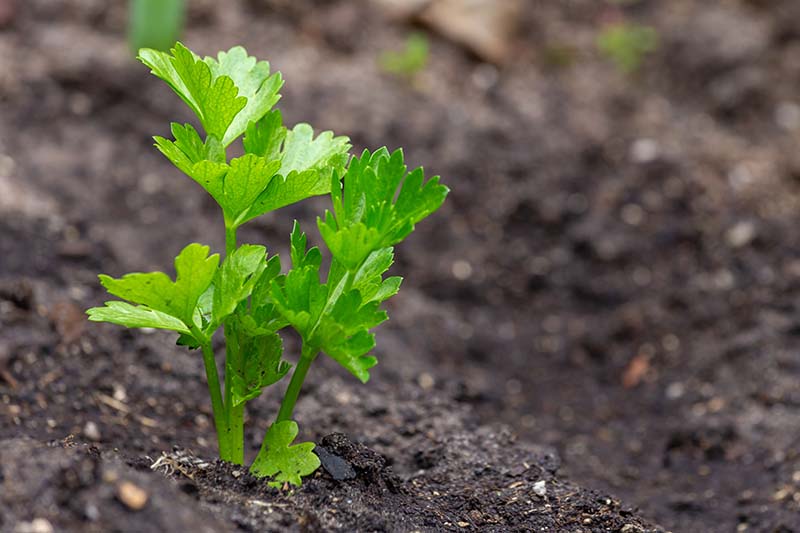
While celeriac does have stalks and leaves that look like a sad, underdeveloped version of celery, they’re not the main focus when growing this plant. They are edible, though!
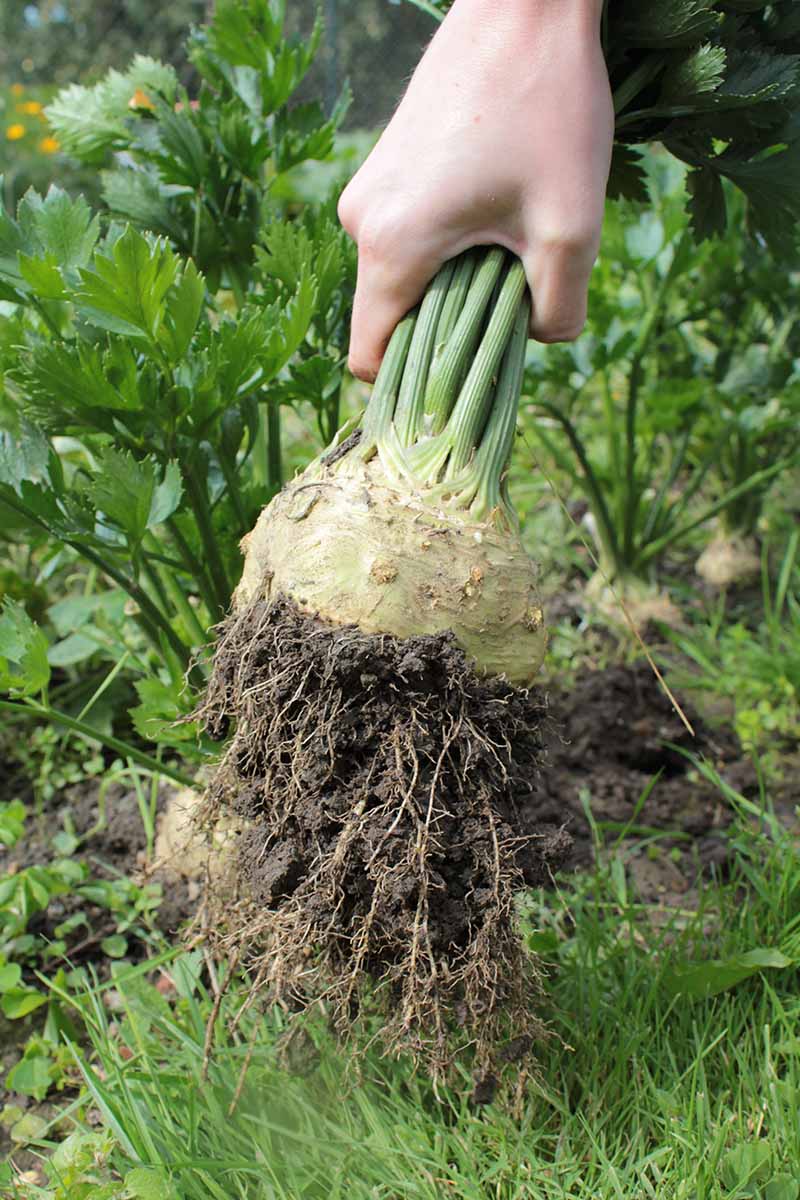
Instead, the key edible portion is the hypocotyl, a knobby bulbous stem that grows below ground and pushes up through the soil at the top when it’s close to maturity – much like a carrot’s shoulders do.
The plant’s actual roots grow off of the enlarged hypocotyl, so that’s why technically, celery root isn’t a true root vegetable. But like many other types of tubers and vegetables that grow underground, we can pretend it is.
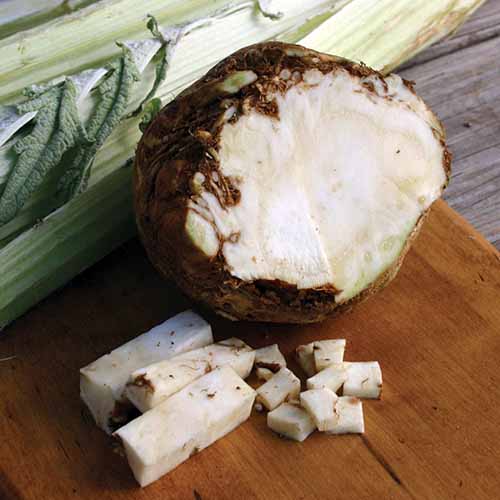
Once the hairy, tough skin is peeled off, you’ve got a vegetable with all the hallmarks of a deliciously crisp, sweet, and hearty root that can be eaten raw in salads, or cooked into a tasty soup.
Cultivation and History
Celeriac has been around for centuries and is among the oldest root vegetables in written history.
Ancient Egyptians, Greeks, and Romans used celeriac for culinary, medical, and religious purposes, says Fitzgerald-Orr. Its origins are in the Mediterranean Basin and northern Europe, where it descended from a wild version of A. graveolens.
Though it is not particularly popular (yet!) in the United States, celeriac is well-loved in continental Europe, especially during the winter.

It forms the base for the popular French dish celeri remoulade, a slaw made with celeriac, lemon juice, creme fraiche, mayonnaise, and Dijon mustard.
Knob celery is a good source of fiber, potassium, and vitamin B5 (pantothenic acid), and an excellent source of vitamin B6 (pyridoxine).
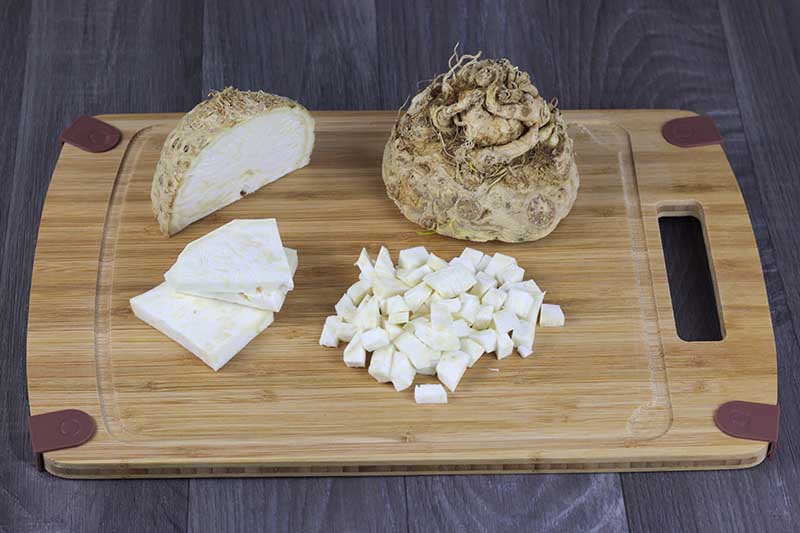
You can peel it, slice it, dice it, roast it, mash it, fry it – whatever sounds most appealing to you, this versatile veggie can do!
Propagation
Celeriac is suited to USDA Hardiness Zones 3 through 11. The easiest way to propagate this member of the Apiaceae family is to sow seeds.
Be sure to purchase fresh ones, to benefit from the best germination rates possible.
We recommend sowing these seeds indoors, as they have a low germination rate and require soil temperatures between 70 and 75°F to sprout.
In Zones 3 through 6, you’ll typically sow seeds indoors in April and transplant seedlings out in June.
You’ll want to sow seeds indoors in the late winter or early spring about eight to ten weeks before your area’s average last frost date.
Seedlings or young plants purchased from a nursery can go out to the garden in June too, or whenever the soil has warmed sufficiently and the risk of frost has passed.
Those in Zones 7 and up can sow seeds indoors in midsummer for a late summer or early fall transplant, and a winter harvest.
Sowing Seeds Indoors
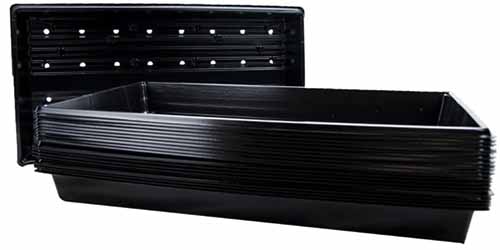
Before you get started with sowing seeds indoors, you’ll need a seed-starting tray and seed-starting potting mix. Humidity domes are a must, and a packet of celeriac seeds, of course!
Use a seedling tray with cells that are at least three inches wide and deep, to allow the roots plenty of space to grow strong for the next eight to 10 weeks.
Peat pots are ideal because celeriac forms a taproot that may be damaged easily during transplant. I love these peat pots from Jiffy that are available at the Home Depot.
Place a set of pots on a seedling tray with drainage holes like this one from Viagrow, available at the Home Depot.
The ideal germination temperature for celeriac is between 70 and 75°F, so you may want to consider purchasing a heat mat to place below the tray.
I like this one from Viagrow that’s also available at the Home Depot.

Fill each cell in your seed-starting tray or biodegradable pot with potting mix. Make an indentation with your finger in each well or pot that’s about a quarter of an inch deep.
Since the seeds tend to have a germination rate of around 50 percent, you’ll want to drop two to three seeds in each cell, in the hope that at least one will germinate.
Cover lightly with soil and spray with a misting bottle to water. Place a humidity dome over the top of the tray and turn on that heat mat.
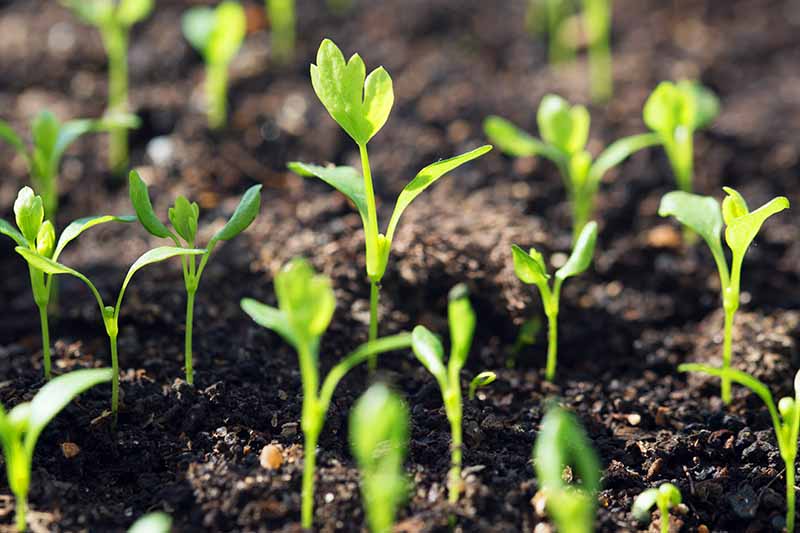
Keep the soil evenly moist until germination occurs, which can take anywhere from 10 to 21 days.
Once the seeds germinate, move the trays off of their heat mats and remove the humidity domes.
Place the trays in a windowsill that receives at least six to eight hours of sun per day, or position a grow light over the tray, keeping it about one to two inches away from the leaves and adjusting the height as the plants grow.
Water once or twice a week as the seedlings grow, continuing to keep the medium evenly moist.
If two or more seedlings germinate in each cell, pinch off the weaker ones once they have a few sets of true leaves, leaving the strongest to grow and thrive.
Three to four weeks after germination, give the seedlings a 50 percent diluted dose of balanced fertilizer according to package instructions.
You’ll plant the seedlings out when they have at least three sets of true leaves.
Transplanting Starts
When your seedlings or nursery starts have three sets of true leaves, you can begin hardening them off – as long as it’s two weeks or more after your area’s average last frost date, that is.
It’s best to harden celeriac off when air temperatures remain at or above 45°F all day and night.
If you put them out in temperatures lower than that, they may get the signal that winter is here and skip their root-forming stage entirely, focusing only on flowering as they typically would in their second year of growth.
To harden the young plants off, set them in a sheltered area outside for one hour the first day, two hours the next, and so on until they are able to stay outside full time.
Find a sunny spot in the garden, or an area with afternoon shade if you live in a hotter growing zone.
Celeriac requires rich, loose, and well-draining soil, so be sure to prepare the planting area as needed, and amend with well-rotted manure or compost.
Dig holes the width and depth of your pots, and space them at least six to eight inches apart.
If you’re growing a cultivar with a wider spread, set them 12 to 26 inches apart, depending on the spread indicated on your seed packet.
Gently remove the root balls from their current pots or cells – I like to carefully pinch the sides of the pots – and set them in the waiting holes. If you are using biodegradable pots, you can set the entire pot in the hole.
Backfill with soil and water thoroughly.
How to Grow
Celeriac prefers cool growing conditions, with soil between 60 and 65°F and air temperatures between 65 and 75°F.
If you live in an especially hot or sunny area, either make sure you plant your celeriac during the coolest part of your growing season, or give it a spot with afternoon shade.
You’ll need to keep the soil evenly moist. Though celery is a marshland veggie, celeriac cannot grow in waterlogged soil, as this can lead to fungal issues and rot.
Water deeply at least once a week in the absence of rain, and check the soil every two to three days by pushing your finger down one inch. If the soil feels dry, go ahead and provide another long soaking.
Celeriac is a heavy feeder, so you’ll want to fertilize it every three to four weeks with a balanced, 10-10-10 NPK fertilizer.
Make sure you keep the area around your celeriac weeded to allow the roots to grow uninhibited.
Growing Tips
- Keep soil evenly moist, watering at least once a week in the absence of rain.
- Fertilize every 3-4 weeks with 10-10-10 NPK fertilizer.
- Maintain a well-weeded planting site to allow celeriac to thrive.
Cultivars to Select
Unsure of which celeriac cultivars you should plant in your garden? Check out these popular favorites:
Brilliant
For baseball-sized celeriac that grows three to five inches in diameter, try ‘Brilliant.’
This variety matures in 105 to 115 days. The tasty white flesh is smooth and almost fiberless, and its nutty flavor shines in a bevy of dishes.
Despite that medium root size, the foliage grows tall. Expect plants to grow 19 to 23 inches high, and 22 to 26 inches wide.
You can find packets of 35 seeds available from Burpee.
Giant Prague
This cultivar has been delighting taste buds in Europe since 1871, and you can grow it in your garden, too.
‘Giant Prague’ matures in 110 to 120 days. The roots can grow six to eight inches in diameter, making it one of the largest celeriac varieties around.
The foliage can reach eight to 12 inches in height, and the plants spread six to eight inches.
Slice open the relatively smooth skin and you’ll find crisp white flesh with a strong celery and parsley flavor.
To add this delicious variety to your garden, seeds are available online from True Leaf Market.
Monarch
Do you want to grow a celeriac variety with a better germination rate? Try ‘Monarch,’ which has a documented 80 percent germination rate, and thin skin that’s easy to peel.
No wonder it won the Royal Horticultural Society Award of Garden Merit in 2011!
Even better, you can harvest the flavorful roots just 100 days after germination. These plants grow about 15 to 20 inches tall, with a spread of about 10 to 15 inches.
Find packets of seeds online from David’s Garden Seeds via Amazon.
Managing Pests and Disease
While celeriac is less prone to pest and disease damage than celery, there are a few potential issues to watch out for.
Pests
As with most plants, aphids can cause problems in large numbers, but huge infestations on celeriac are rare.
If you do notice these tiny bugs, spray them off with the hose or apply neem oil to the foliage. Spray once a week, in the morning or evening, to keep aphid populations under control.
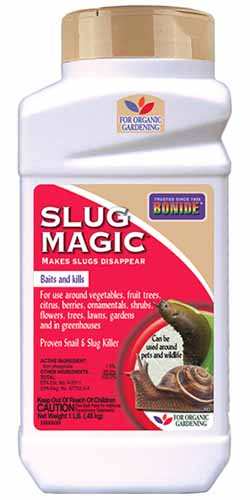
Snails and slugs can target young transplants, so if you notice those telltale holes in the foliage, apply a product like Slug Magic from Bonide, available from Arbico Organics.
Carrot rust fly (Psila rosae) larvae can cause the most damage to the actual roots because they burrow inside to feed, causing irreversible damage.
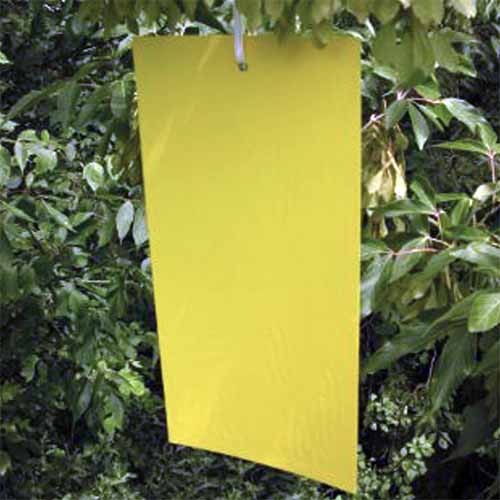
If you’re concerned about carrot rust flies, place sticky trap like these, available from Arbico Organics, near your plants. Carrot rust flies are about a quarter-inch long with dark-green bodies, yellowish legs, and metallic wings.
Adult flies won’t cause harm directly, but they will lay eggs in the crowns of plants and in the soil immediately surrounding your celeriac.
If your sticky traps indicate the presence of these flies, spray the foliage and top of the root, if visible, with an insecticide like Monterey Garden Insect Spray RTU.
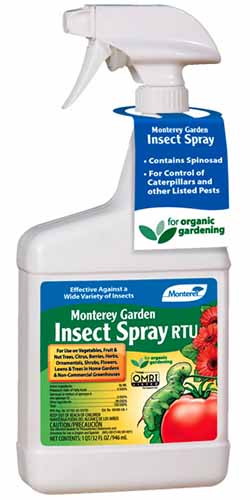
This spinosad-based product is available from Arbico Organics.
Diseases
Keeping the soil moist but not waterlogged can help you to avoid most of the diseases that can plague celeriac. But sometimes, even our best efforts can fall short!
Keep an eye out for yellow spots on the older, outer leaves in the late summer or early fall.
This can indicate early blight, caused by the fungus Cercospora apii, wherein the spots turn brown in rainy weather and the affected foliage eventually dies.
Late blight, caused by the fungus Septoria apii, presents as brownish spots that eventually merge. Affected leaves will feel abnormally dry.
For both types of blight, remove the affected foliage and spray plants in their entirety with copper fungicide.
Phoma root rot, which is caused by the fungus Phoma apiicola, is another infection to watch for. The leaves will have light brown spots that may exhibit concentric rings, and the roots can become twisted and inedible.
This disease typically spreads from the crown down to the root. If you notice the telltale leaf spots, remove all affected foliage and spray the plant with copper fungicide.
Harvesting
One of the neat things about celeriac is that it tastes best after staying outside through at least one light frost.
As is the case with many cold-weather crops, the cold helps to convert some of the starch they contain to sugar.
You can also harvest your crop throughout the winter if you live in Zone 5 or above, but note that it’s easiest to harvest when the ground is not frozen solid.
Keep the average number of days to maturity for your selected cultivar in mind.
The roots should generally be between three and five inches in diameter at harvest time, depending on the mature dimensions of the variety you are growing. The shoulders will poke out of the earth when they are ready to pick.
A Note of Caution:
Contact with celery root leaves and stems can cause a severe rash in some people. Be sure to wear long sleeves and gloves when picking your crop, and wash your hands afterwards.
To harvest, go into the garden with a gardening trowel or fork. Carefully loosen the dirt around the root and pull it up with both hands.
Brush off as much of the dirt as possible. With a clean knife, trim off any baby roots that are sprouting from the main bulb.
Cut off all of the foliage except for about an inch. You can reserve the leaves and stems for use in a homemade vegetable stock.
Before you eat your bounty, wash the tough skin under cool, running water with a vegetable brush. Then, peel the skin with a knife or a vegetable peeler, and chop into whatever shapes suit your cooking best!
Storage and Preserving
To store celeriac if you won’t be able to use it immediately after harvest, brust off any dirt, and place it in a plastic bag without washing it first.
Celeriac stores best when temperatures are between 35 and 40°F with 95 percent humidity. If you have the space, you can store unpeeled celeriac in the crisper drawer of your refrigerator for up to three months.
Some gardeners also like to stand their roots up in a container filled with a few inches of water, so the base where the roots emerged is just barely touching the water, with a plastic bag placed on top to retain moisture.
Celeriac may also be stored in a cool root cellar or basement.
Or, you can freeze your harvest for use later on.
Wash, peel, and cut the root into cubes. Blanch in boiling water for four minutes and then dump the pieces in an ice bath.
Drain, dry, and lay the pieces on a cookie sheet to freeze individually, and then pack them in labeled freezer bags.
Use the blanched and frozen pieces within about a month.
Celeriac can also be used to make pickles, or it may be peeled and then sliced thin with a mandoline, dried in a dehydrator, and crumbled to make seasoning flakes with a celery flavor and no added salt.
The flakes can also be ground into a powder. Store dehydrated celeriac in a lidded jar in a cool, dry place.
Recipes and Cooking Ideas
Celeriac shines in soups, providing a hearty, earthy flavor to any stew, cream soup, or broth-based comforting bowlful. It also makes a fantastic french fry.
You can even boil it and mash it like a potato – just substitute celery root for potatoes in this recipe for garlic parsley mashed potatoes from our sister site, Foodal.

Or, puree it and make this delicious celery root and apple soup, also from Foodal.
I like to slice fresh celeriac into thin strips and add it to a slaw, like this purple cabbage and shaved asparagus slaw, also from Foodal.
If it was unfamiliar to you before, after testing out a few recipes, you’ll wonder how you ever lived without this vegetable in your life!
Quick Reference Growing Guide
| Plant Type: | Biennial root vegetable | Water Needs: | High |
| Native to: | Mediterranean basin and northern Europe | Tolerance: | Frost |
| Hardiness (USDA Zone): | 3-11 | Maintenance: | Moderate |
| Season: | Fall, winter | Soil Type: | Rich and loose |
| Exposure: | Full sun | Soil pH: | 6.0-7.0 |
| Time to Maturity: | 90-120 days | Soil Drainage: | Well-draining |
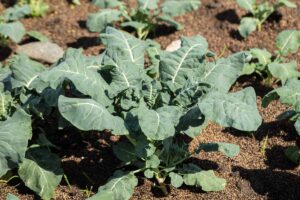
| Growth Rate: | Moderate | Companion Planting: | Lettuce, spinach, peas |
| Spacing: | 6-20 inches | Avoid Planting With: | Cucumbers, squash, pumpkins |
| Planting Depth: | 1/4 inch (seeds) | Family: | Apiaceae |
| Height: | 8-23 inches | Genus: | Apium |
| Spread: | 6-26 inches | Species: | Graveolens |
| Common Pests and Diseases: | Aphids, carrot rust flies, root knot nematodes, slugs, snails; early blight, late blight, phoma root rot | Variety: | Rapaceum |
Catch Up to the Trend
Celery root is a beloved storage vegetable in continental Europe, and it’s time to make this worthy addition to the home garden popular in the United States, too!
Have you ever grown celery root? Let us know in the comments below! We’d love to hear your tips, stories, and questions.
Before you go, check out these additional articles on growing root vegetables next:
wonderfull info on celeriac