
Shallots aren’t always easy to find in US grocery stores.
At least, not for me up here in Alaska, where it’s also difficult to find a strawberry for sale in the wintertime.
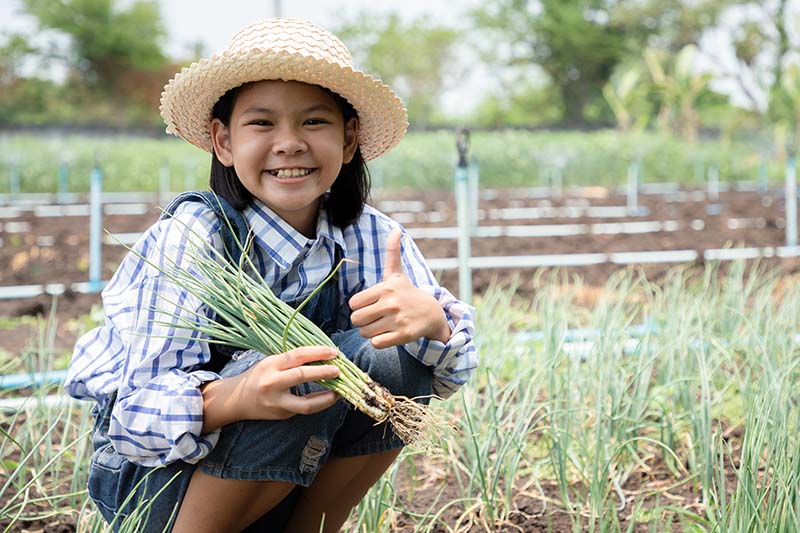
If you opt to grow your own, there’s nothing as sweet as looking out at your own garden and seeing the long green leaves rising from the soil.
Beneath them lies a growing bulb that can fill your cooking with flavor and life.
If you can figure out how and when to harvest it, that is.
We link to vendors to help you find relevant products. If you buy from one of our links, we may earn a commission.
When I first started growing these tasty bulbs, the hardest part of growing them was figuring out when they were ready to harvest. I pulled a bulb early once, when the tops had started turning yellow, but sadly it hadn’t multiplied into several shallots yet.
What in the world? What did I do wrong?
You’re about to find out.
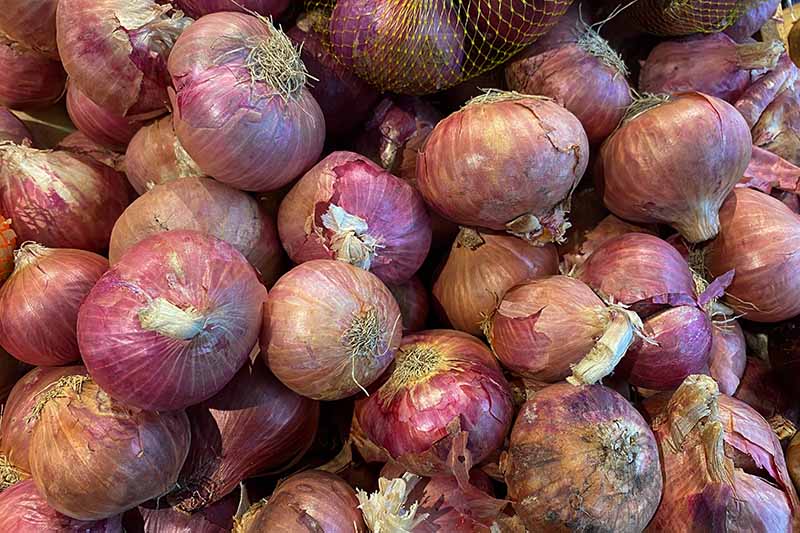
This fragrant bulb, of which there are two main types – the yellow-skinned Allium cepa var. aggregatum, and copper-sheathed A. oschaninii – stars in dishes around the world.
While you might instantly associate shallots with French cuisine, considering how shallots famously feature in tasty tarte tatins and beurre blanc sauce, those in many countries around the world enjoy the bulb as a staple food item.
For example, the Vietnamese dish hanh phi – or fried shallots – adds a delicious crunch to pho. Or there’s the scrumptious south Indian shallot curry, ulli theeyal.
My mouth waters just thinking of the myriad ways to enjoy shallots. And if you pull them at the right time, you’ll get to enjoy a bounty of bulbs that will store in your pantry for up to six months.
In this guide, you’ll learn how and when to harvest the bulbs, and what you need to do to get them ready to eat or store.
Here’s what I’ll cover:
What You’ll Learn
The Two Harvest Times for Shallots
You can grow these tasty bulbs in USDA Hardiness Zones 2-10, but the planting time varies depending on where you live.
And that means harvest time will vary, too.
If you’re in Zones 2-5, you’ll have planted sets or sown seeds in early spring. But in Zones 6-10, you can choose to plant sets in the fall or the early spring.
Whether you plant seeds or sets, spring-sown shallots will be ready 100-120 days after they germinate or produce new growth, depending on your sowing method.
But the timing of fall-planted bulbs is trickier. In cooler regions, after first growing roots and leaves for a month or two after planting, they’ll go semi-dormant over the winter months.
In general, you’ll harvest fall-planted bulbs seven to nine months after sowing – which is a lot longer than the 100-120 days required for spring-planted bulbs.
Regardless of the planting time, all shallots benefit from two weeks to a month of cooler temperatures, which is why they’re always planted before the average last frost date in the spring.

Fall-planted sets often experience two or more months of cold, which makes them grow even bigger – and, some say, tastier – than their spring-planted sisters.
You can typically expect to start harvesting them in late May or early June, depending on the date of planting.
Learn more about how to grow shallots in this guide.
Signs of Readiness
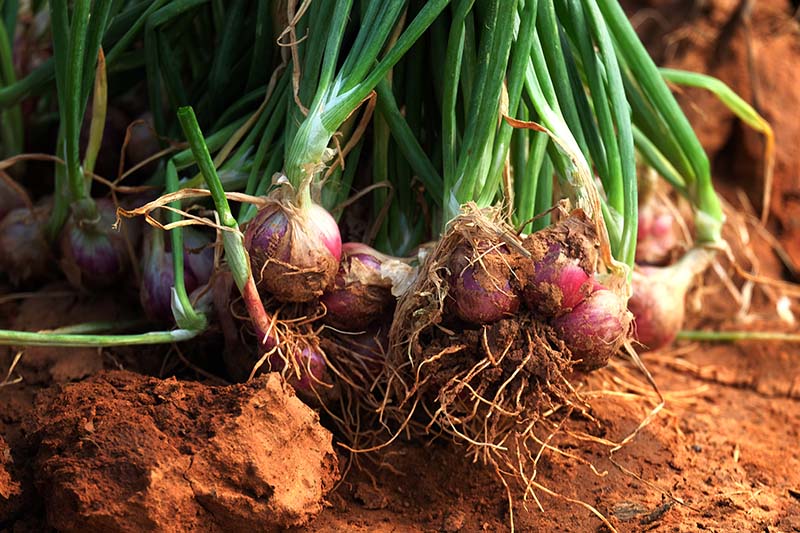
While it’s always smart to mark the planting date in your gardening journal or on a plant label, shallots give you clear signs that they’re ready for harvest.
First, their tops start turning brown.
When mine started doing this, I was worried that they were lacking in nutrients or water. But since I’d kept them well fed and watered during the growing season, I knew that couldn’t be it.
Turns out, they’re just getting close to harvest time when this happens.
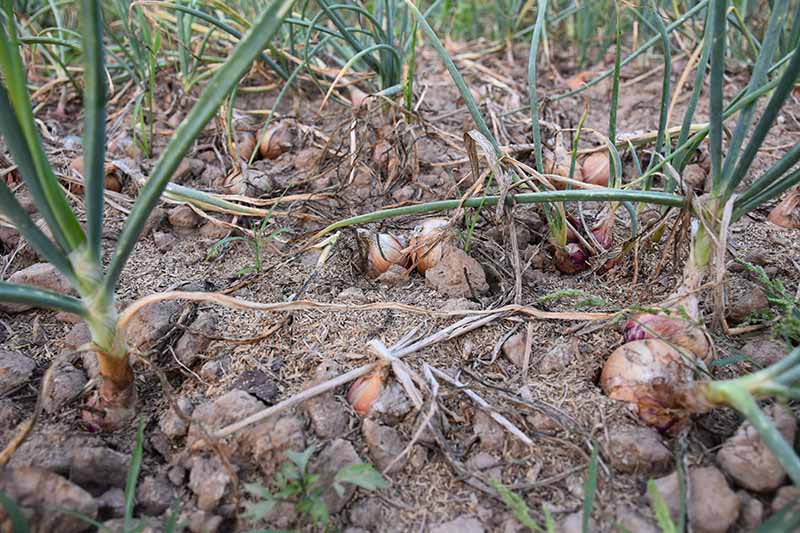
But that’s not the only sign. The foliage then begins to flop and fall over.
Then, since the bulbs (and seeds) are planted close to the surface, when each bulb begins to mature, the mother bulb pushes up to the surface and visibly splits into a cluster of four to 12 new bulbs.
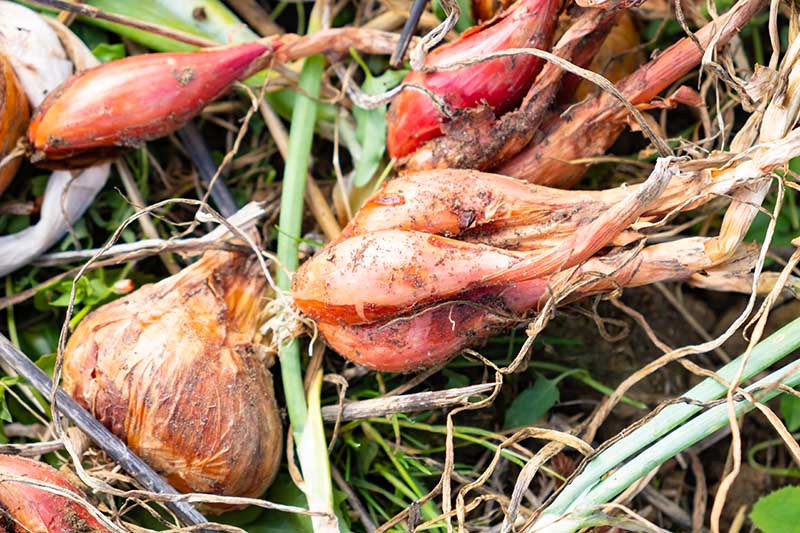
If you don’t notice any visible splitting but the tops are half brown, pull a plant to see if it has split beneath the soil. If it has, go ahead and harvest any plant with a half-brown top, otherwise wait a few days longer.
Also, if you notice any flower scapes developing, take a pair of scissors and cut them off. They can alter the flavor of the bulb and make it less appealing. If you decide that you want to save seeds, reserve just a few plants for this and clip the rest.
Pulling the Bulbs Out
To remove the delicious alliums from the ground, loosen the soil around the bulbs, then gently grasp the lower part of the leaves as close to the base as possible, and wiggle the cluster of bulbs out of the soil.
You can pry the bulbs apart now, or leave them together for the next step and separate them later.
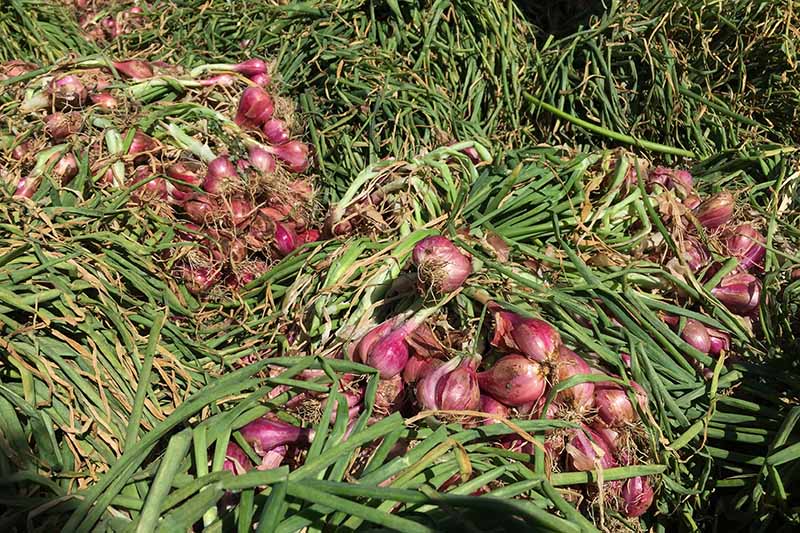
After pulling them up and brushing the dirt off, you can braid the long leaves of about eight bulbs together like you might with garlic, and find a dry, sheltered place to hang them to dry.
If a little indirect sunlight reaches the bulbs, that can help them cure faster. You don’t want them to cure them in a humid location, where they’ll be prone to rot.
If you don’t want to hang them, you can spread them flat on a screen or any other surface that allows for airflow, in a cool, dry place.
Let them dry, or cure, for one to two weeks, or until the foliage is brown and the skin is fully dry.
You can enjoy a bulb or two fresh out of the ground in that evening’s French shallot soup, but keep in mind that uncured shallots are not suitable for long-term storage.
The whole point of curing is to help the skin shrivel into a protective barrier around the neck, so you can store them without fear of insect infestation or rot.
Remove the foliage and trim away any roots at the bottom of the bulb. Wipe the skin clean with a dry cloth.

Place the bulbs in a mesh bag, or a brown paper bag with holes cut into it, for ventilation. Then, store them in a cool, dry place.
They’ll keep for up to six months, giving you plenty of time to enjoy the bulbs of your labor.
And don’t forget to set aside a few bulbs to replant next spring or fall!
Recipe Ideas
There’s no limit to the number of savory dishes a sweet-yet-tangy shallot can make more delicious.
Caramelized and tossed into a curry sauce? Check. Sauteed and worked into an omelet? Delicious.
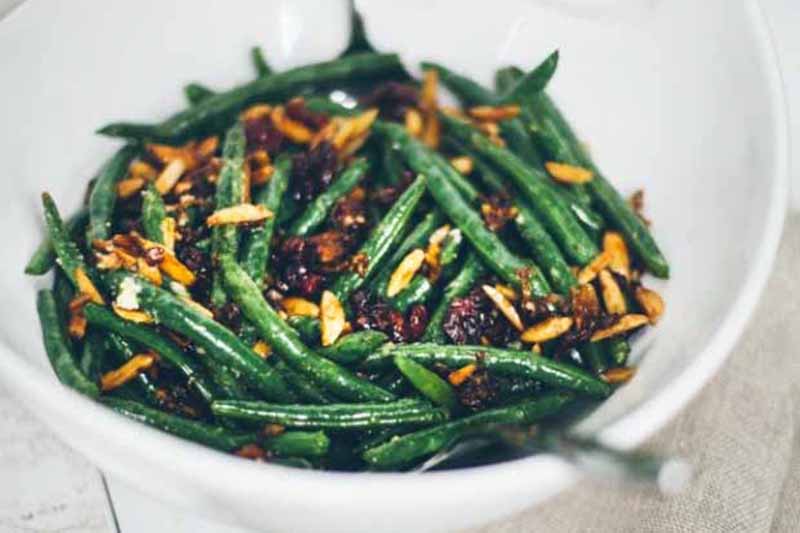
Or try brightening your green beans with this melt-in-your-mouth recipe from our sister site, Foodal. Shallots, garlic, almonds, and cranberries perfectly complement the veggies.
I’m a salad lover, so this triple berry salad with sauteed shallots, also from Foodal, is a huge hit in my kitchen.

My favorite way to eat these scrumptious garden delights is to fry them up, like in this recipe for green beans and soba noodles with fried shallots – you can find it over at Foodal too.
Go wild with those bulbs, and add them to everything. That’s what they’re for. And I find them to be particularly delicious when I grew them myself!
Shall-ot We Dance?
When you know what to look for, it’s easy-peasy to harvest a bunch of shalloty goodness. And these bulbs are so easy to save and propagate the following year, they’ll give you an endless supply of deliciousness for years to come.
Have you ever harvested a crop of tasty shallots? I’d love to hear your stories in the comments.
And in the meantime, don’t forget to check out these guides to growing and harvesting alliums:
- How to Grow and Care for Bulb Onions
- How to Grow and Harvest Bunching Onions
- 15 of the Best Onion Varieties to Grow at Home
© Ask the Experts, LLC. ALL RIGHTS RESERVED. See our TOS for more details. Uncredited photos: Shutterstock.


Thanks for the info! First time growing these and got a great harvest! Love cooking with them but just too expensive at the store 😉
Hi Dave, I managed to retrieve your picture. That certainly is a bumper harvest! No more overpriced grocery store shallots for you! Thanks for sharing. Happy gardening!
Thank you for the great article. I plant shallots in the middle of a raised bed in late winter and then plant runner tomatoes around the edge. By the time the tomatoes have climbed all the way across the top of the bed in early fall and shade out the middle, the shallots are ready to harvest. They are huge and we enjoy them in omlettes.
Thank you again!
Jimmy
Thanks for reading Jimmy! Sounds like you have an excellent system in place!