Phormium spp.
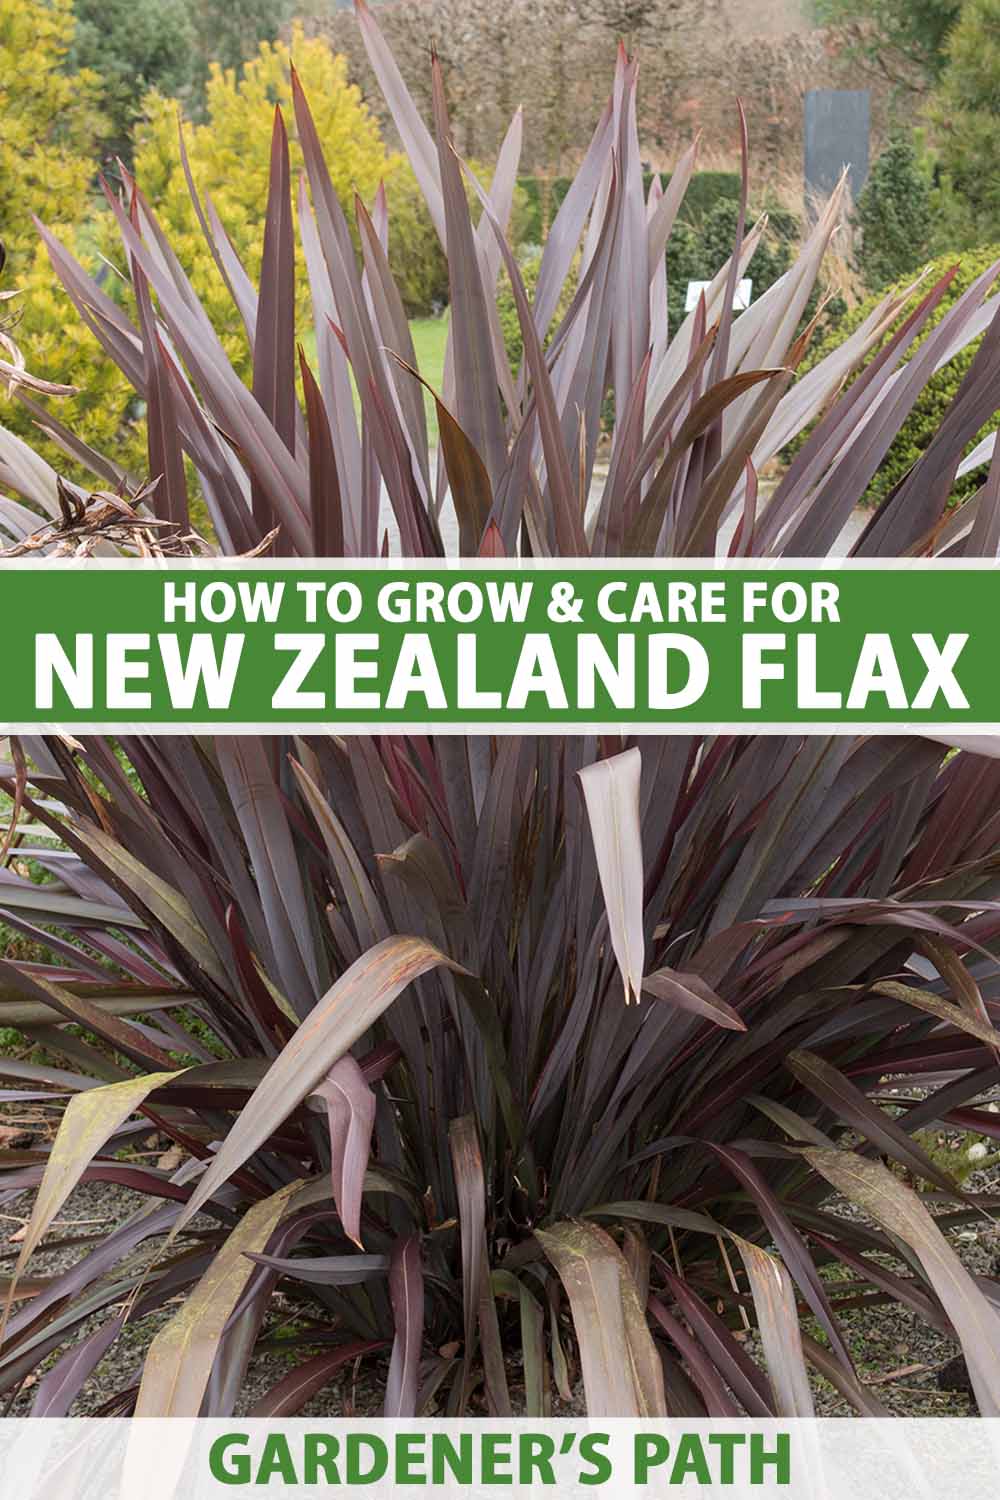
Handsome and reliable, the long, sword-like foliage of New Zealand flax (Phormium spp.) is ideal for adding bold, upright fans of structural interest throughout the garden.
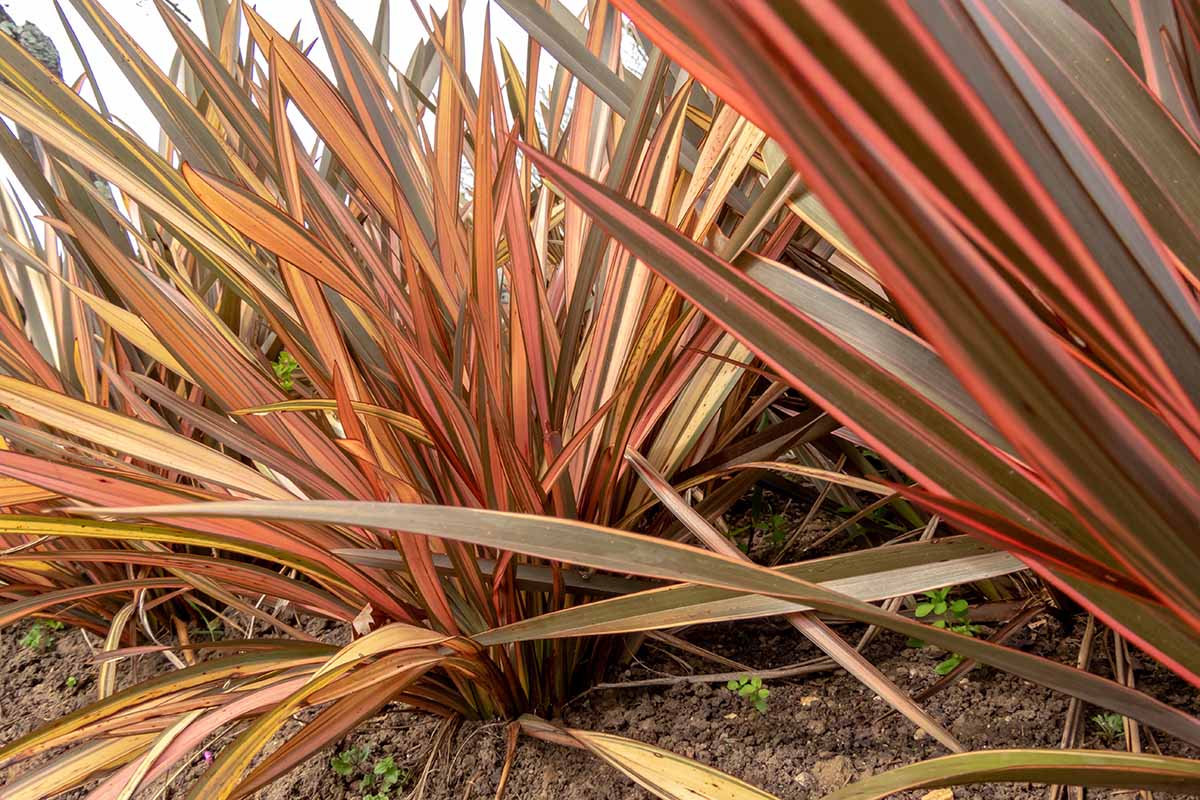
A vigorous evergreen perennial, the colorful, bladed leaves come in a delightful range of variegations and rich shades of bronze, burgundy, chartreuse, greens, gold, pink, orange, or red!
Highly ornamental and used primarily as a foliage plant, the leathery foliage grows in stemless basal rosettes that can reach up to six feet tall.
Mature specimens also produce towering summer scapes topped with panicles of tubular flowers, adding to their chic and colorful profile.
We link to vendors to help you find relevant products. If you buy from one of our links, we may earn a commission.
The bright, nectar-rich blooms of orange, red, or yellow are attractive to butterflies, hummingbirds, and other pollinators.
But the fibrous, tough leaves are resistant to deer and rabbits.
Their form adds eye-catching architectural appeal to beds, borders, and poolside patios as well as courtyard, gravel, or Mediterranean gardens.
As cold tender plants, they also shine in containers – so they can easily be enjoyed in areas outside of their hardiness range.
New Zealand flax is also salt- and drought-tolerant as well as being a smart choice for coastal settings.
Do you have a spot or two in your garden for some of these sharply stylish kiwi accents? Then let’s cut to the chase and learn all about New Zealand flax care and cultivation!
Here’s what you’ll find ahead:
What You’ll Learn
New Zealand flax, aka phormium, refers to the only two species in the Phormium genus, P. tenax and P. cookianum (syn. P. colensoi), both native to New Zealand.
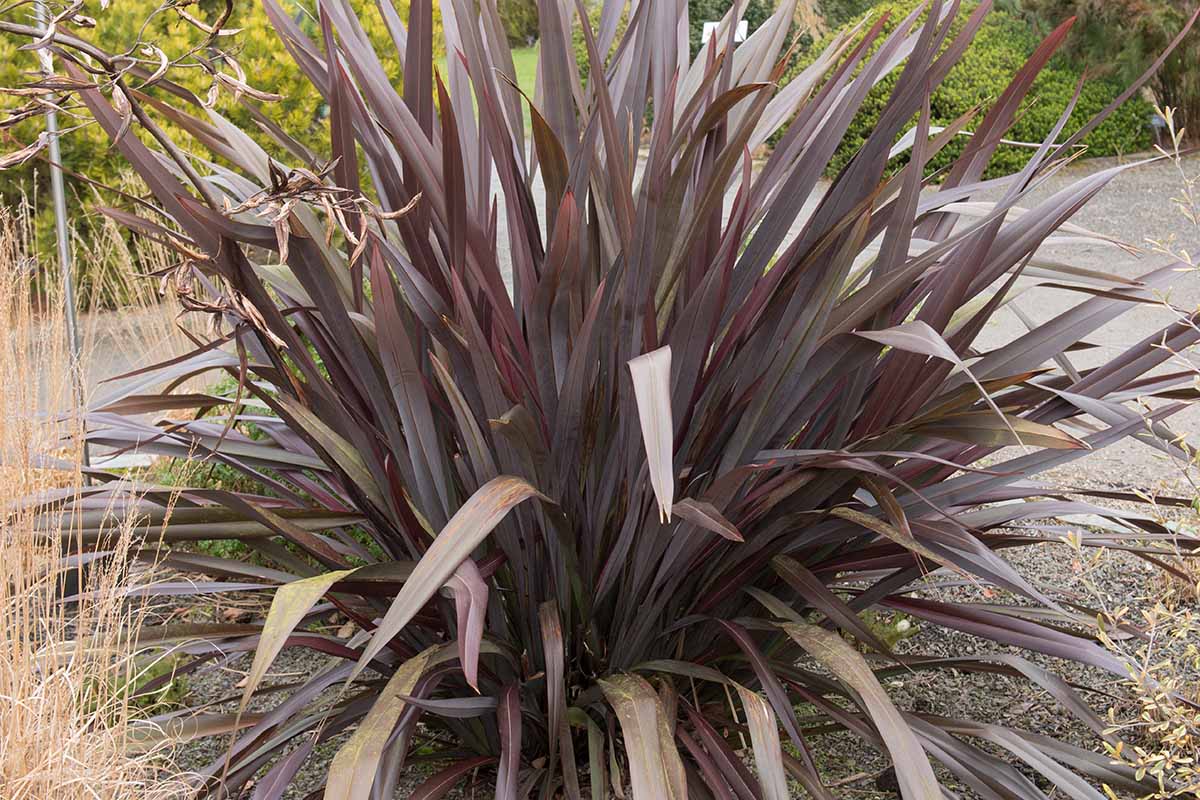
Traditionally used for the valuable fibers, P. tenax is the hardier of the two and is most often used for horticultural breeding, although some cultivars have P. cookianum parentage as well.
P. tenax is the more upright plant with the blades stiff right to the tip while the tops of P. cookianum plants are arched – cultivars can feature stiff or floppy tips.
Garden cultivars range in size from four to six feet tall and wide, but the flower scapes may reach up to 10 feet tall!
Quick Look
Common name(s): New Zealand flax, phormium
Plant type: Perennial evergreen
Hardiness (USDA Zone): 9-11
Native to: New Zealand
Bloom time / season: Evergreen foliage, summer flowers
Exposure: Full sun to part shade
Soil type: Moderately fertile, well-draining
Soil pH: 6.5-7.5, neutral
Time to maturity: Up to 10 years from seed
Mature size: 4 to 6 feet tall and wide
Best uses: Beds, borders, containers, edges, hedges, coastal, courtyard, gravel, and Mediterranean gardens
Taxonomy
Order: Asparagales
Family: Asphodelaceae
Genus: Phormium
Species: Cookianum, tenax
The upswept panicles bear bright cylindrical flowers that are eagerly sought by bees, butterflies, and hummingbirds, developing attractive seed pods after blooming.
Easily cultivated, phormiums flourish in a fertile, well-draining site in either sun or shade and need only a spring cleanup and occasional division to maintain an attractive profile.
They’re tolerant of a light winter frost but are cold hardy only in USDA Zones 9 to 11.
How to Grow
New Zealand flax is best planted in spring to ensure the plants are well-established before winter weather sets in. Let’s look at all the planting steps:
- Prepare the planting site by loosening the soil to a depth of 12 inches and twice as wide as the root ball.
- Mix in one or two shovelfuls of organic materials such as compost, leafmold, well-rotted manure, or worm castings for each plant.
- Stir in a tablespoon of bone meal to boost root growth.
- Set plants to the same depth as their nursery pot with the crown, or top of the rootball, about one inch below the soil surface. Avoid setting the crown too deeply which can lead to root rot.
- Backfill with soil and lightly firm in place.
- Keep the soil lightly moist after planting to assist with root development.
Now let’s look at the best care and cultivation practices in more detail.
Light
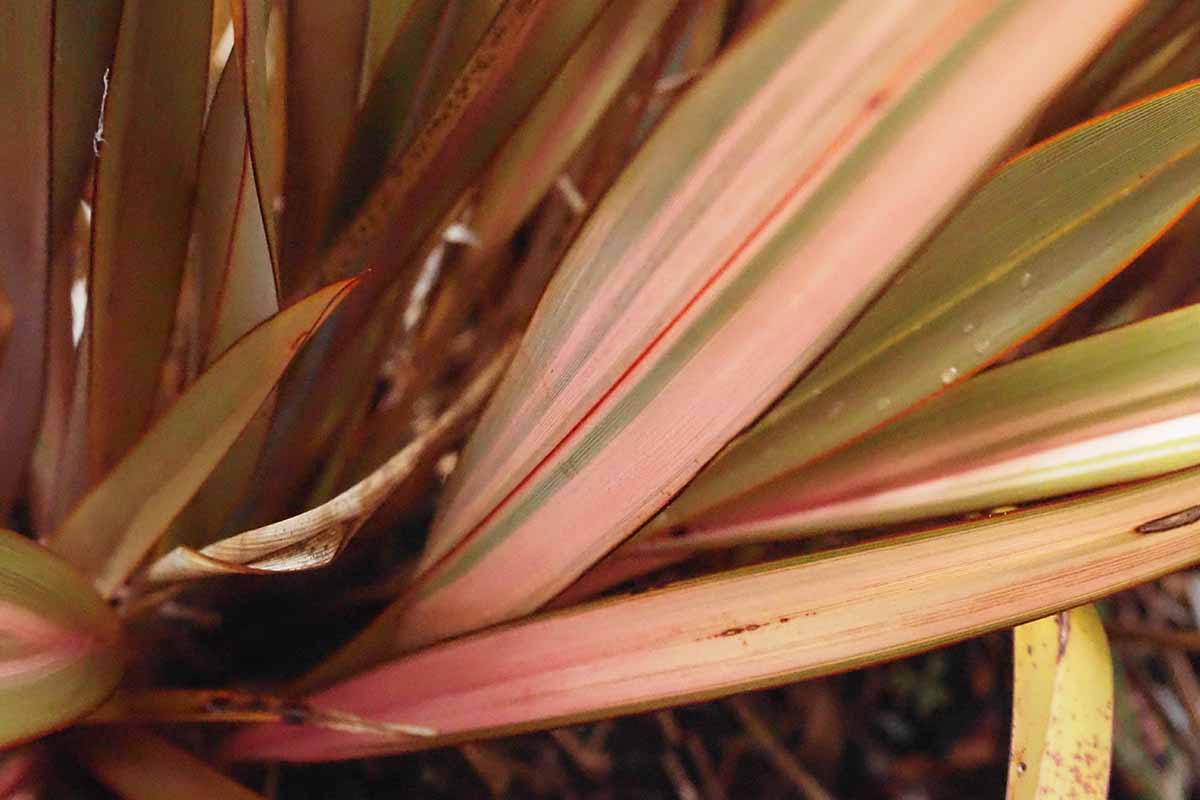
Phormiums grow in full sun to light shade, with variegated cultivars developing more vibrant leaf colors when given dappled afternoon shade.
Soil
Plants grow well in a range of soils, including lean conditions, but do best in moderately fertile, well-draining soil.
To enrich the soil, amend with compost, leafmold, manure, or worm castings using one or two shovelfuls per plant.
To improve the drainage, mix in one or two shovelfuls of grit per plant, using materials such as pea gravel, landscape sand, crushed shells, or stone chips.
Water
Newly planted and first year plants benefit from regular watering, particularly during hot spells.
Aim to keep the soil lightly moist, watering when the top inch of soil dries out.
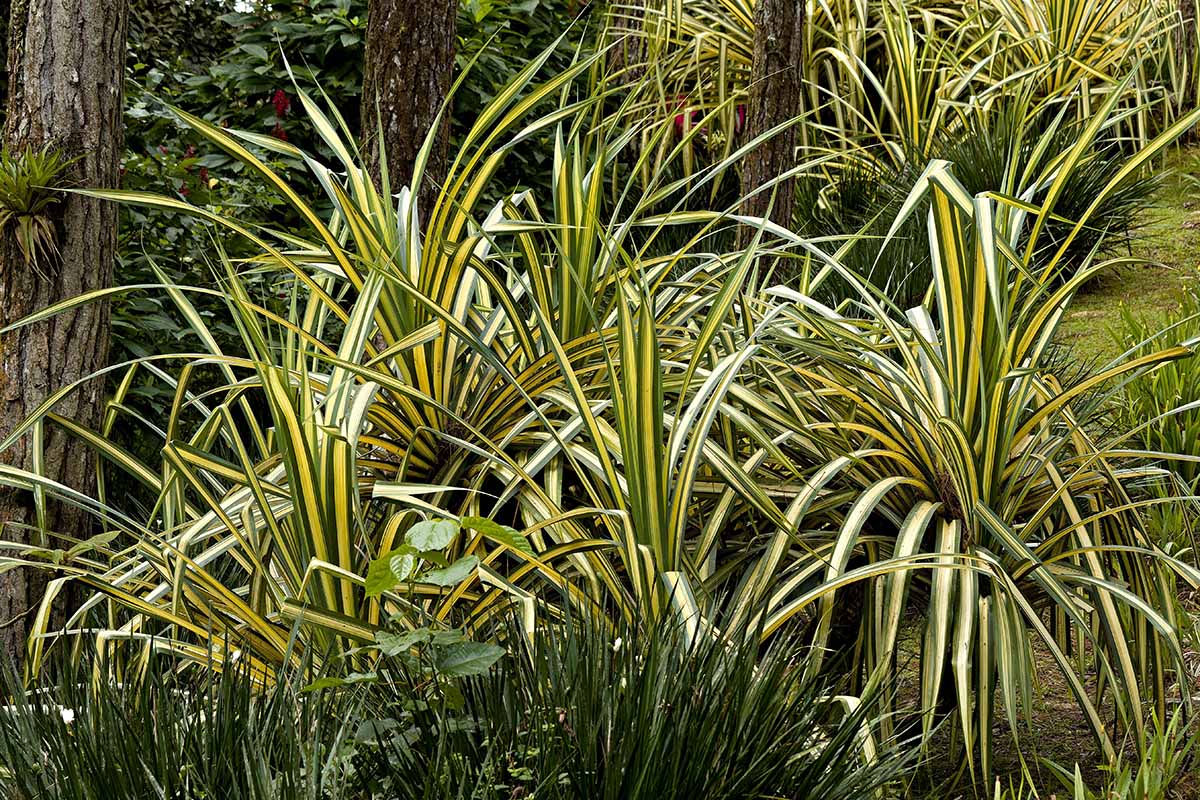
Established plants have decent drought tolerance and can go for extended periods without watering – but they perform better if given one or two inches every few weeks.
However, container grown flax plants, even established ones, are more apt to suffer drought damage. Water as needed to keep the soil barely moist.
Temperature and Humidity
During the growing season, New Zealand flax enjoys moderate to warm daytime temperatures in the range of 65 to 85°F.
The plants are tolerant of moderate humidity, but too much air moisture can lead to mold and fungal issues such as powdery mildew.
Hardy in Zones 9 to 11, they tolerate a light frost but can lose their foliage in colder temperatures. However, as long as the roots remain healthy, the foliage grows back in spring.
Cold weather gardens can enjoy New Zealand flax as potted plants that can be moved into protected sites for winter shelter.
Fertilizer
New Zealand flax plants aren’t heavy feeders but benefit from an annual side dressing of organic materials such as compost.
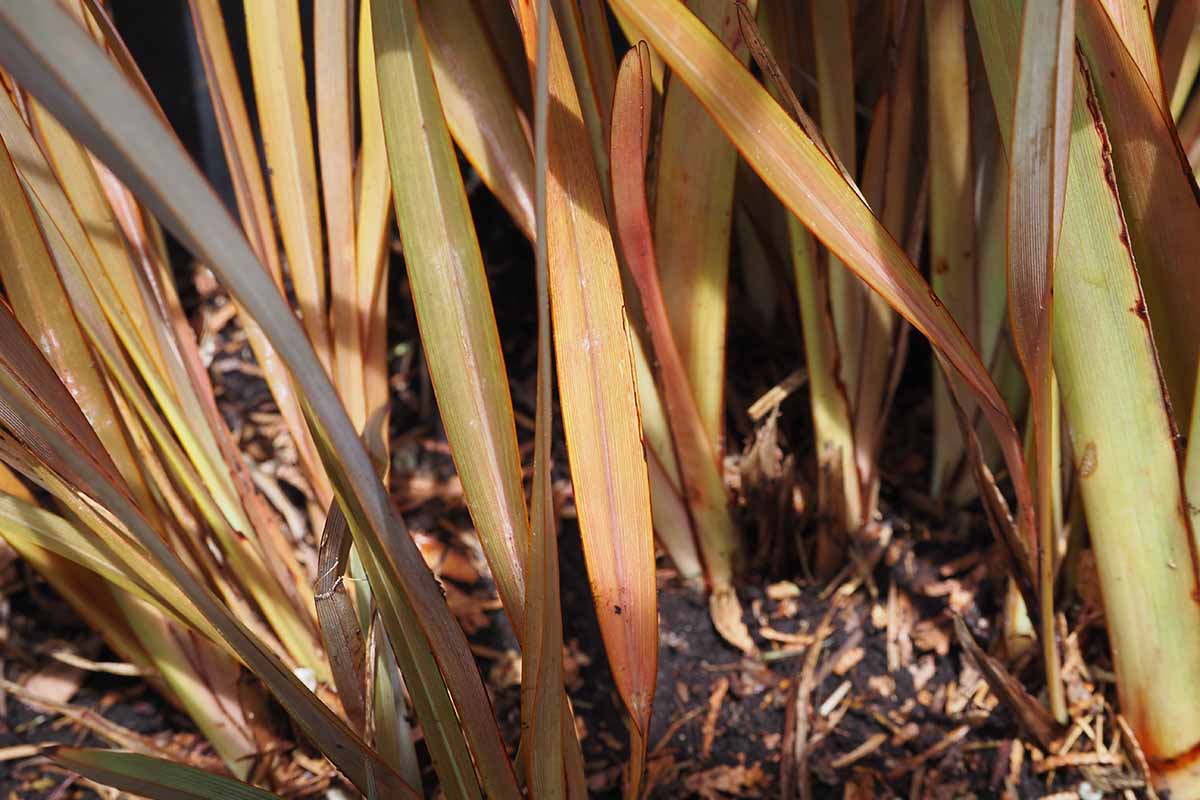
In early spring, gently work two inches of organic materials into the root zone, but leave a compost-free collar around the base of the plant to avoid crown rot.
Alternatively, apply a granular slow-release fertilizer in early spring and again in midsummer, gently scratching it into the soil surface.
An all-purpose formula with a slightly higher phosphorous value works well.
I like to use natural products like Down to Earth’s All Purpose Fertilizer which has an NPK ratio of 4-6-2.
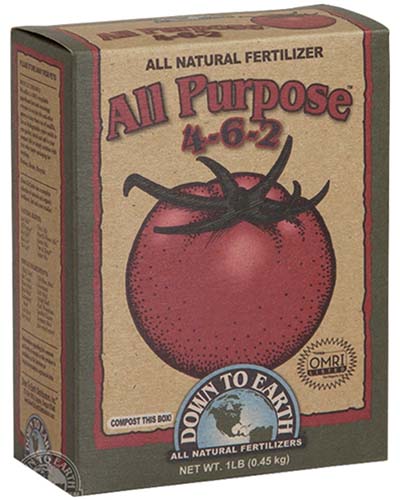
Down to Earth All Purpose Fertilizer
You can find this product available at Arbico Organics.
Containers
New Zealand flax makes a handsome container plant, but pots must be large enough to accommodate the large leaf fans.
Those of mature plants can become top heavy and blow over in pots that are too small.
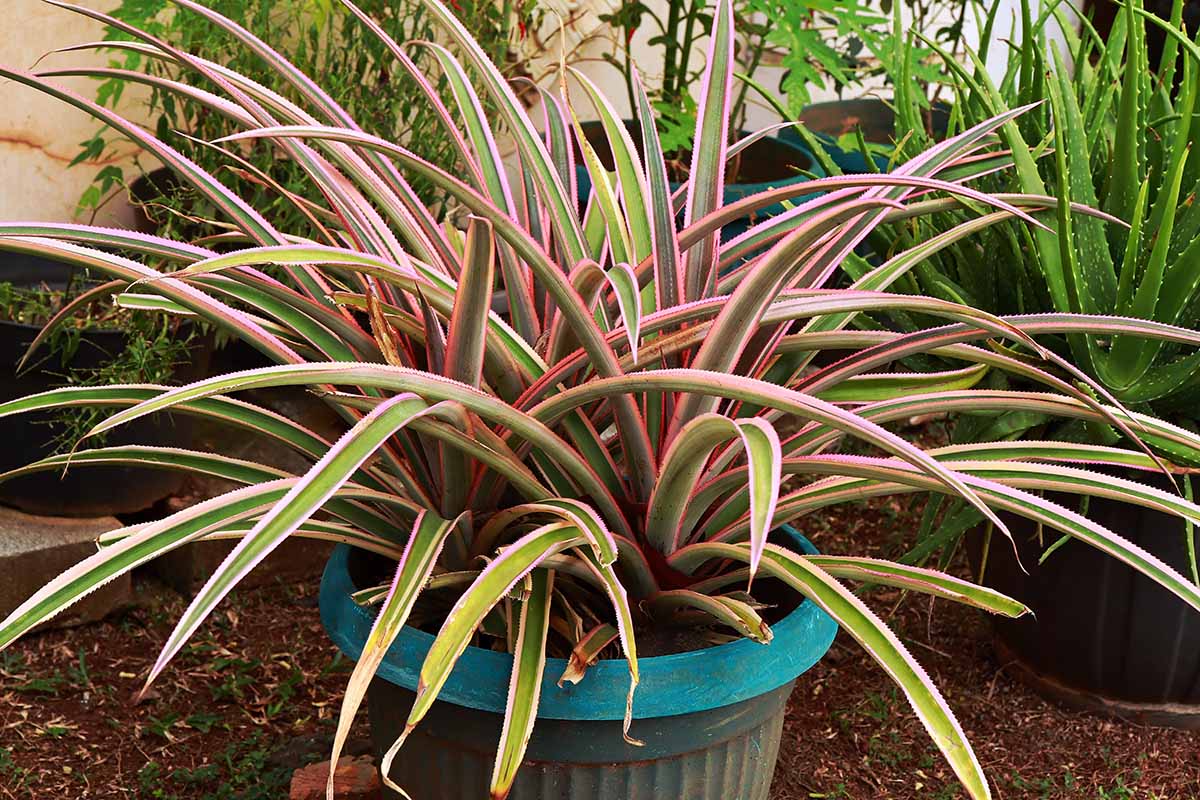
Containers should be a minimum of 24 inches in height and diameter for varieties that top out at four feet tall. Larger cultivars will need larger pots.
Ensure pots have drainage holes to prevent soggy soil conditions.
I like to line the bottom of my pots with a couple of inches of loose materials like broken pottery or shells to keep water moving.
Use a catchment saucer in summer to help retain moisture. Fill containers with a fertile, well-draining potting medium.
Keep the soil lightly moist and fertilize in early spring and midsummer with an all-purpose, slow-release fertilizer.
Or fertilize monthly during the growing season with a liquid product.
In winter, remove catchment saucers and move containers to a sheltered spot if needed.
If moving plants indoors for winter, they need bright, indirect light and cool temperatures in the range of 50 to 65°F.
Cultivars to Select
Look for cultivars in the perennial section of your favorite garden center or at select online sites.
Here’s a colorful sampling of some popular cultivars:
Black Adder
Darkly dramatic with upright to arching leaves of deep mahogany, ‘Black Adder’ forms impressive clumps four to five feet tall and wide.
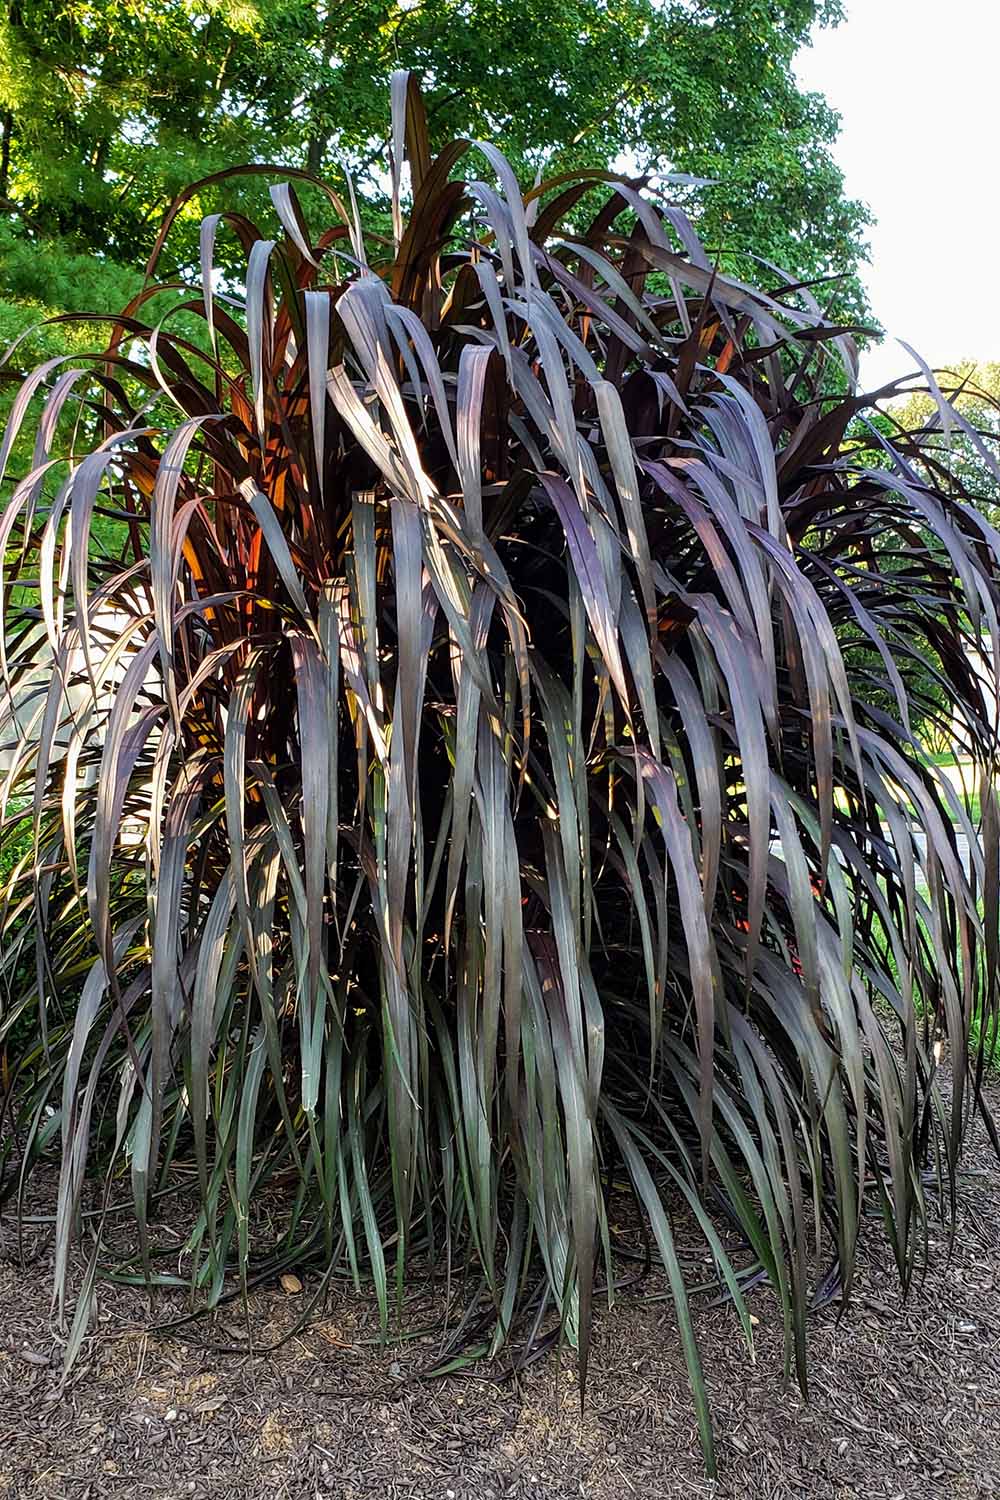
Mature plants produce panicles of fiery red flowers in summer.
Sundowner
A large, erect variety, ‘Sundowner’ grows four to six feet tall and sports gorgeous foliage in tones of burgundy, olive, and pink.
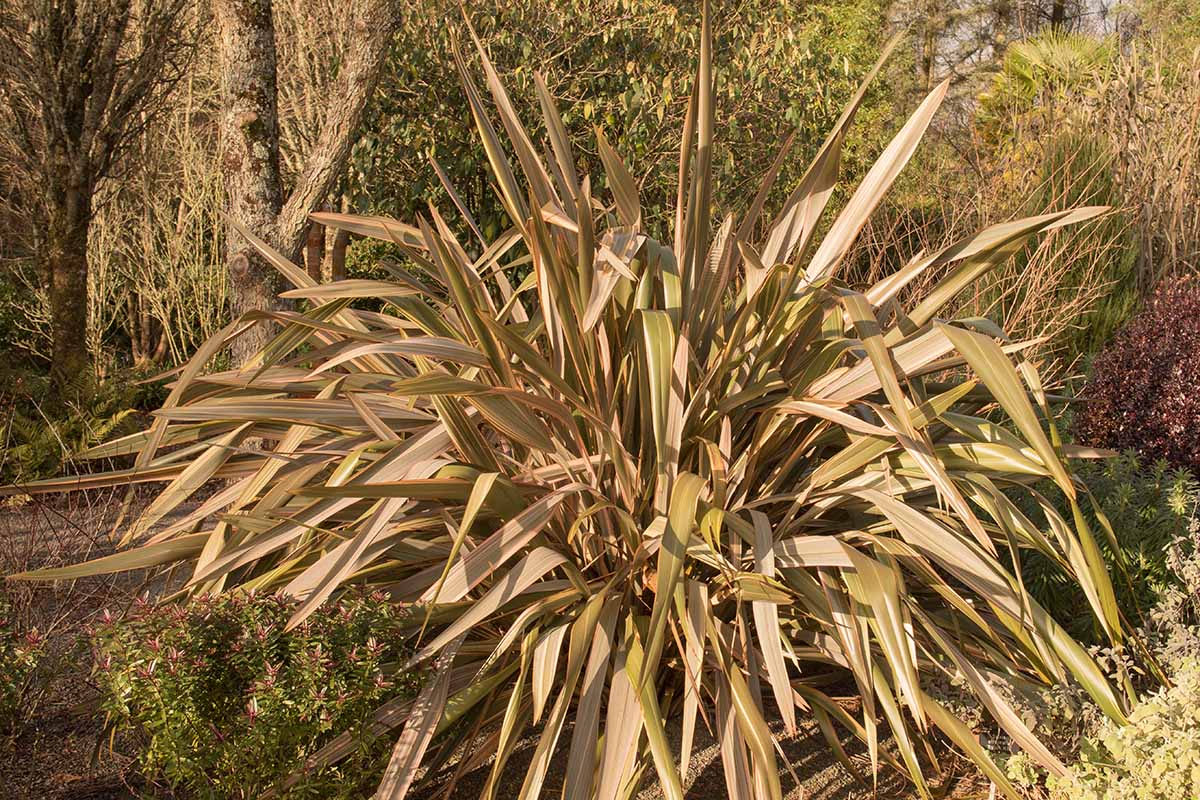
Panicles of yellow flowers top the foliage in summer.
Yellow Wave
Bright and ornamental, ‘Yellow Wave’ is a midsized cultivar with luscious, mounding rosettes of variegated leaves in chartreuse, cream, forest green, and buttery yellow.
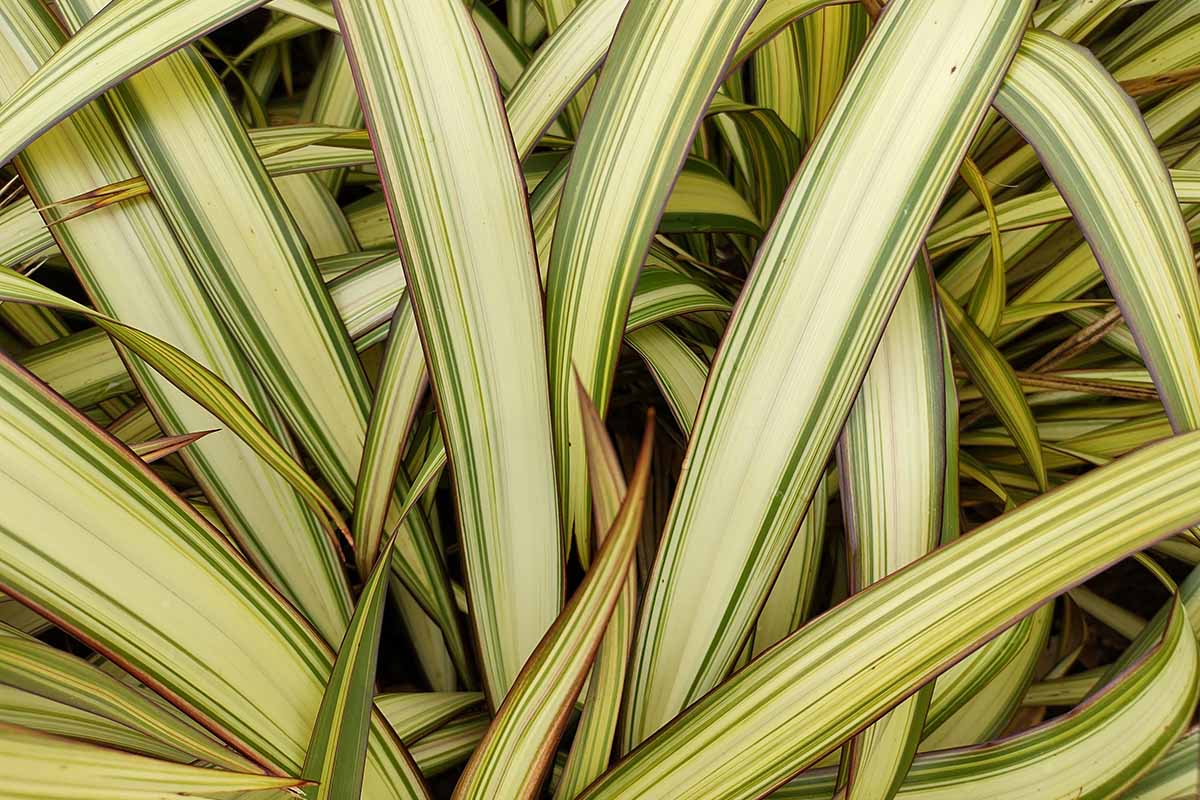
Plants grow three to four feet tall, producing tall scapes of yellow flowers with red filaments.
Maintenance
New Zealand flax plants are easy-care and require only a little maintenance.
In spring, use clean, sharp garden shears or scissors to remove dead or dying leaves, cutting them off at the base.
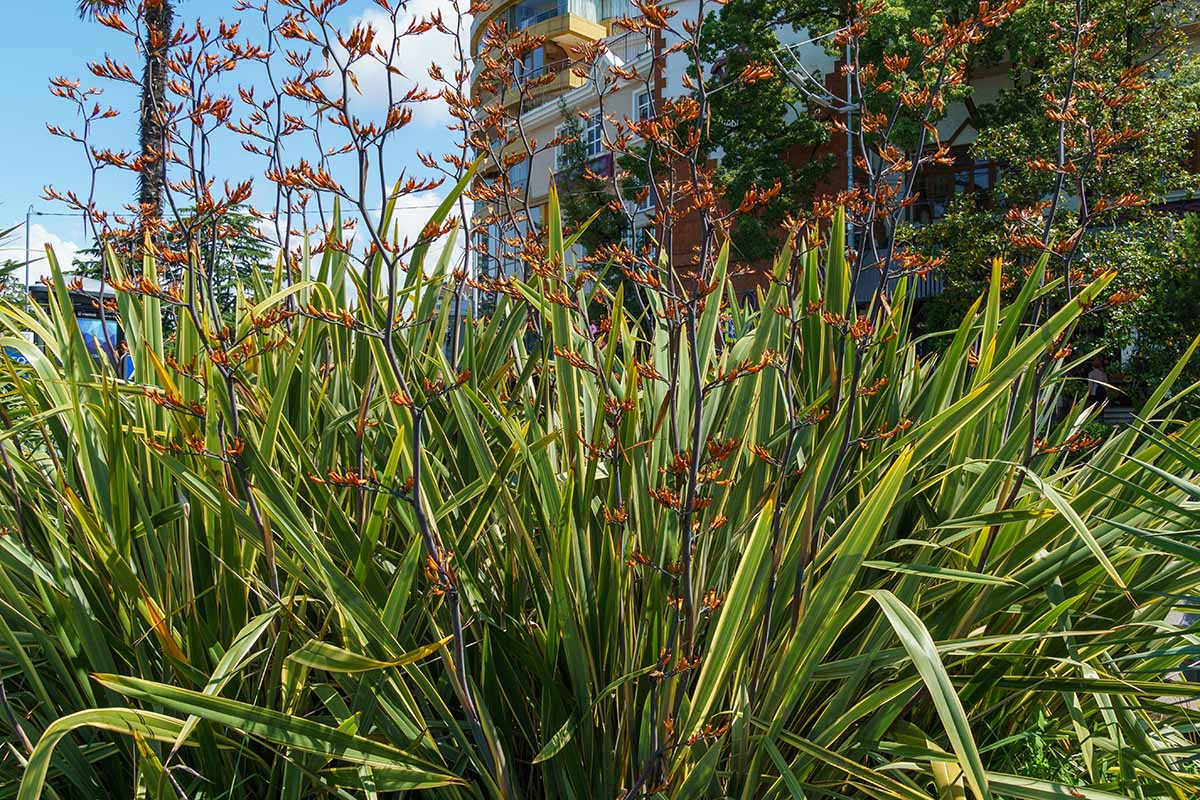
The attractive seed pods add an extra season of interest but plants should be deadheaded if you don’t want them to self-seed.
Use garden shears to deadhead seedpods by removing the flower scape as close to the base as possible, without damaging the leaves.
A winter mulch of shredded bark or straw helps to protect the roots during cold snaps.
If a prolonged cold spell is expected, wrapping the leaves in burlap or biodegradable garden fleece can provide protection.
At times, cold weather can appear to kill New Zealand flax plants, with the foliage dying off.
If this happens, don’t dig out the roots right away as they may still be viable. Instead, cut back dead foliage to the ground in late winter and watch for new growth in spring.
If needed, move container plants to a sheltered, freeze-free zone for winter.
When clumps become too large, lift and divide plants in spring as discussed below.
Propagation
Phormium can be propagated from seed, but plants grown from the seed of cultivated varieties typically won’t grow true to the parent plant.
And seed-started plants can take up to 10 years to flower!
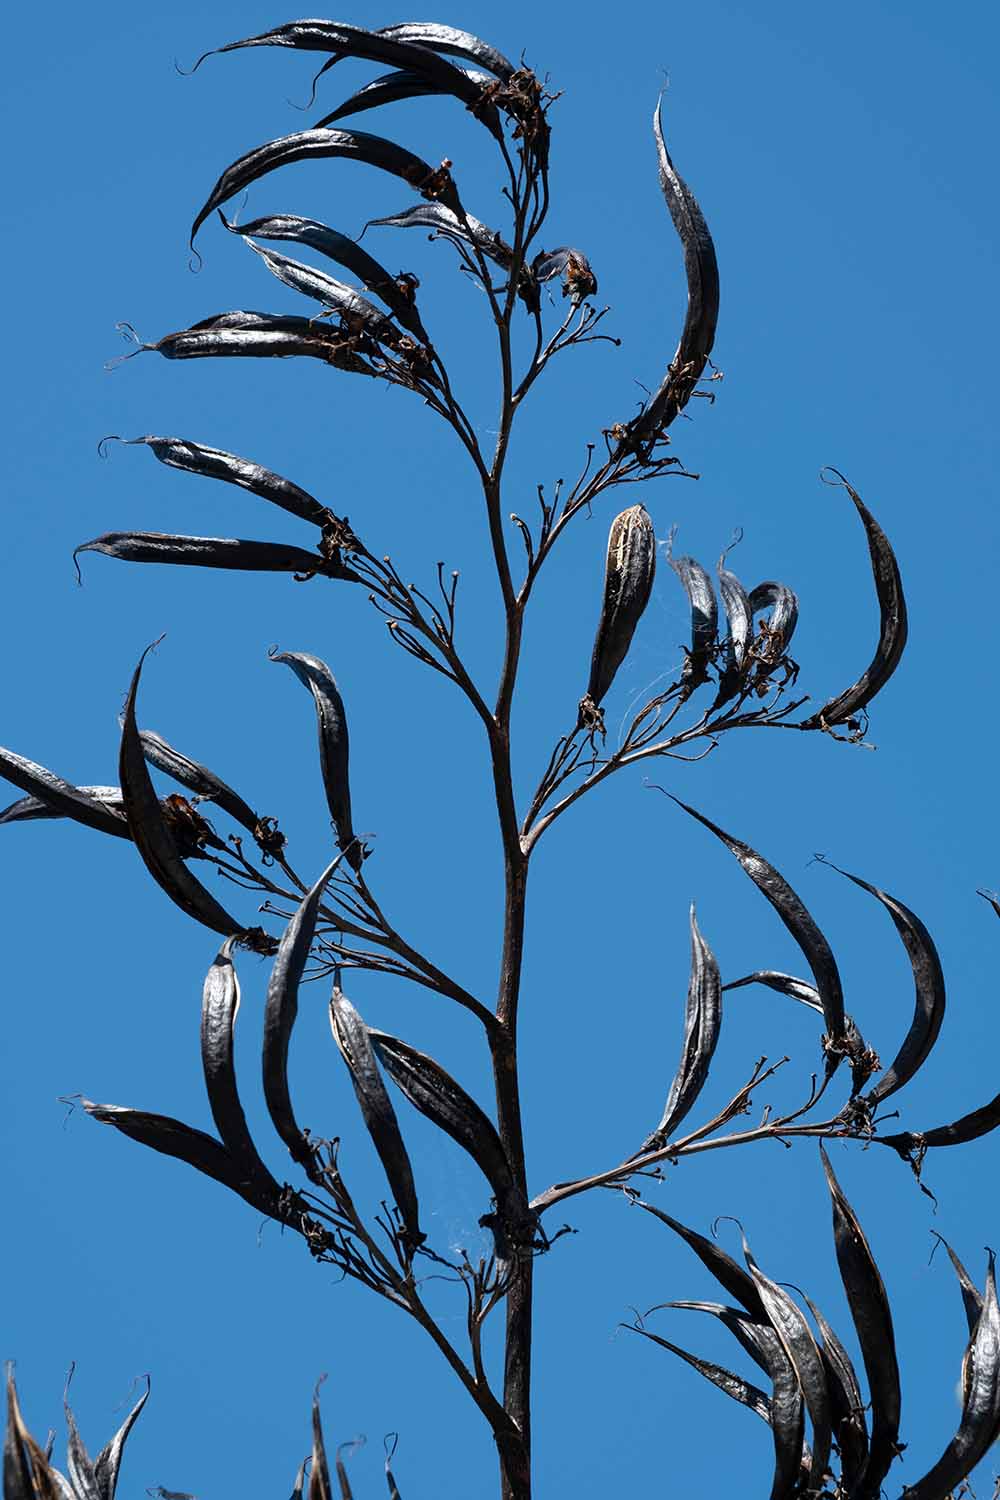
To more quickly reproduce your favorite varieties, division is the best method.
New Zealand flax can be divided in spring or fall, but spring is preferred to allow plants to become established before winter sets in.
Let’s dig into the easy steps:
- In spring, just as new growth starts to stir, use a spade to lift the entire plant from the ground.
- If the clump is too big to remove in one piece, use a clean, sharp spade to separate it into two to four sections.
- Shake off excess soil from the roots.
- With clean, sharp garden shears or scissors, cut the leaves back by as much as two-thirds. Reducing the foliage helps to prevent newly planted divisions from toppling over in a good breeze.
- Plant one division in the original site and locate the others in beds or containers.
- If desired, mix one tablespoon of bone meal into prepared planting sites to assist with strong root development.
- Backfill with soil and firm gently over the root zone.
- Water gently but thoroughly to settle in place.
New divisions benefit from regular watering to maintain lightly moist soil in their first year.
Pests and Disease
Mealybugs are the most common problem seen on New Zealand flax. These pests produce deposits of white wax, honeydew trails, or sooty mold at the base of plants.
Wipe away mealybugs by hand or treat with a natural pesticide such as neem oil.
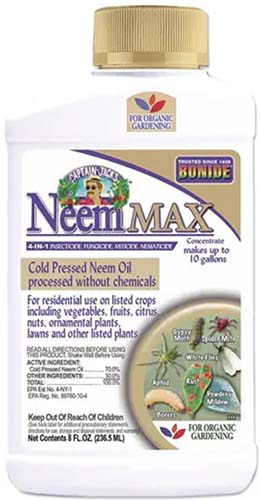
You can find Bonide Neem Oil available from Arbico Organics.
If burrowing rodents such as gophers, moles, and voles are a problem, plant the root balls in wire baskets to prevent damage.
Powdery mildew is a fungal disease that can leave fuzzy grey deposits on the leaves. Remove damaged leaves, reduce watering, and improve air circulation.
Also, avoid overhead watering and water in the morning to ensure the leaves dry before nightfall.
Learn more about powdery mildew here.
Easy Kiwi Charm
Adaptable, low maintenance, and luxuriantly colored, New Zealand flax adds outstanding value to beds, containers, privacy screens, and more.
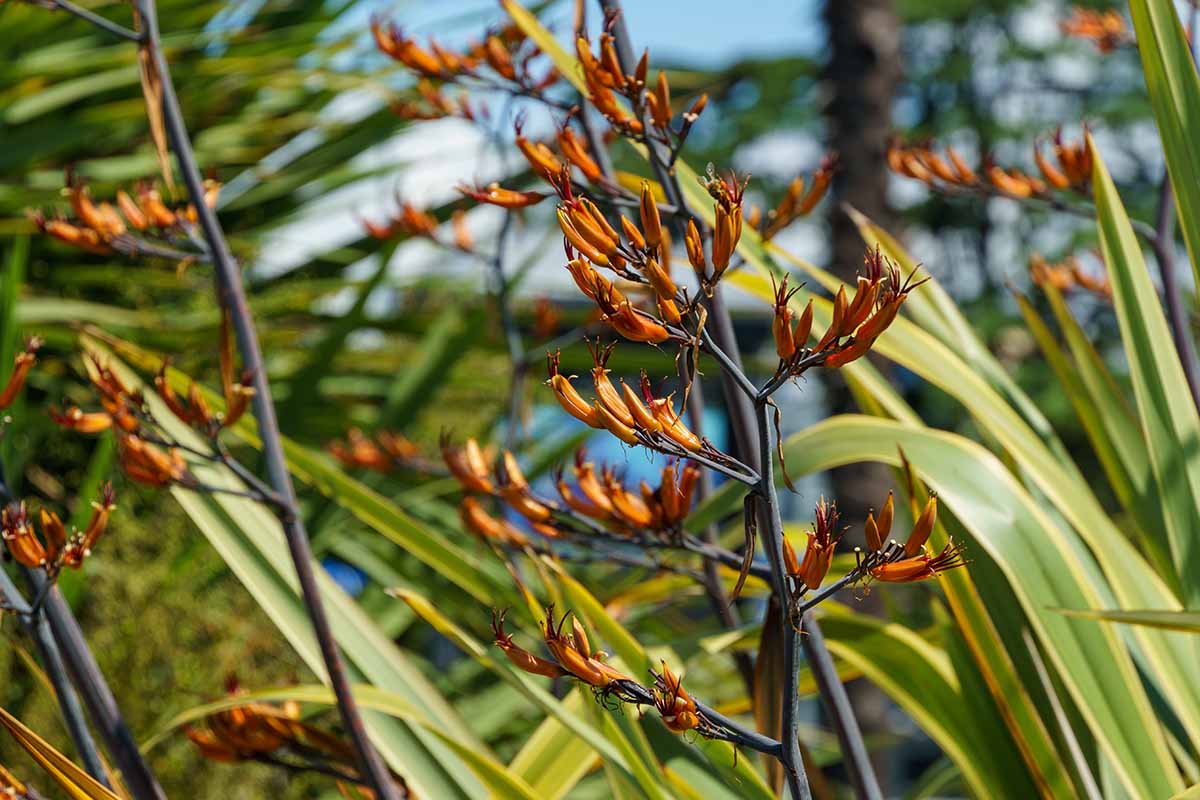
These easy kiwi charmers are happy in full sun or part shade and require little of the gardener – a fertile site, regular water until established, and a light spring cleanup is all the attention required.
After that, all that’s needed is to sit back and admire the large fans of beautifully colored and variegated foliage adorned with tall panicles of vivid, tubular flowers!
Which of the wonderfully colored phormium are going to find a home in your garden? Let us know in the comments section below.
And for more know-how about growing foliage plants, add these guides to your reading list next: