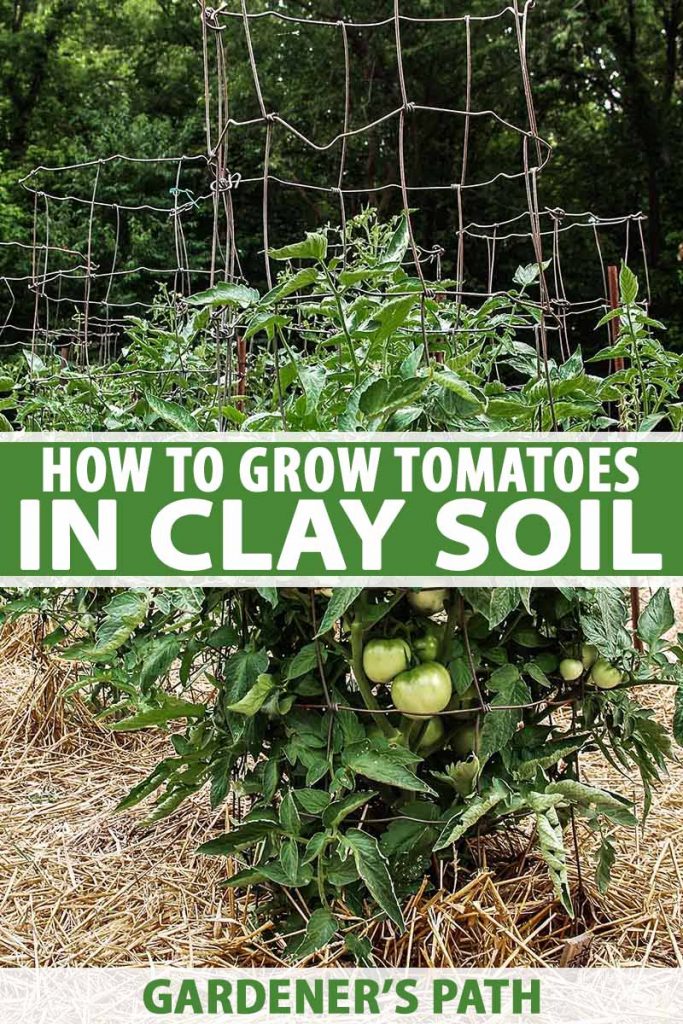
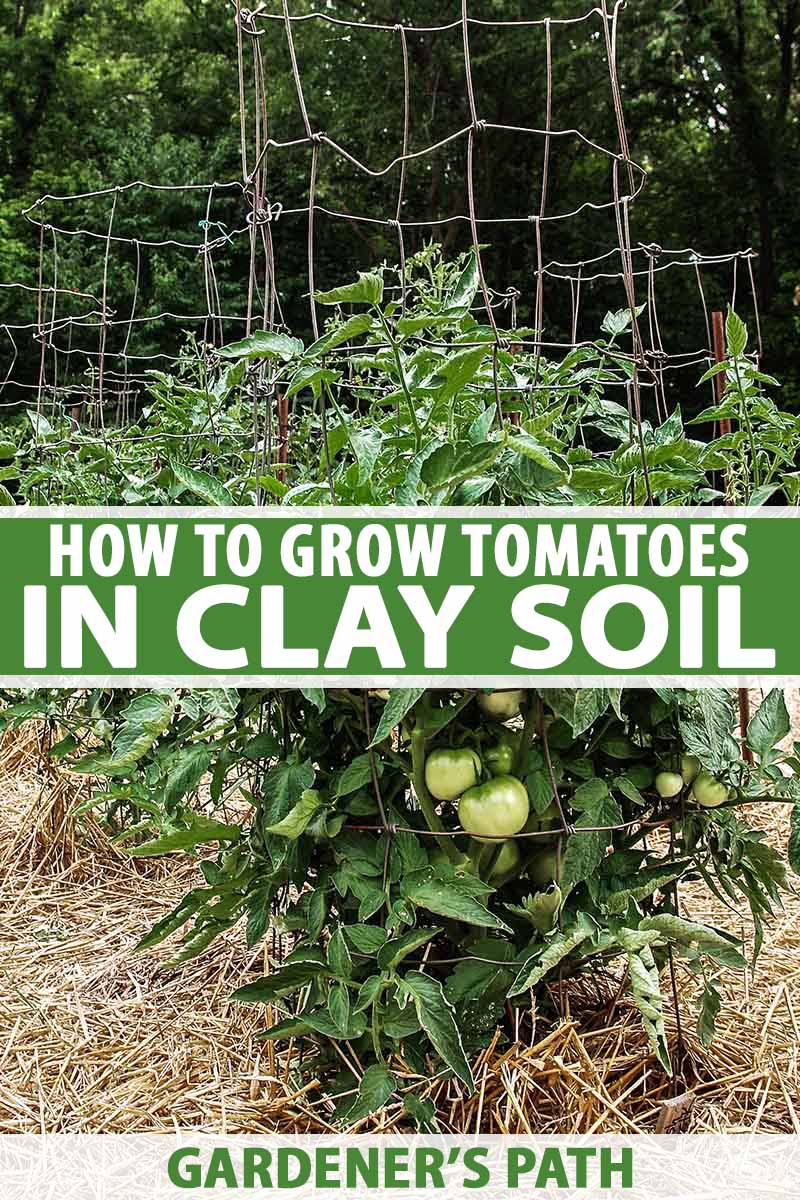
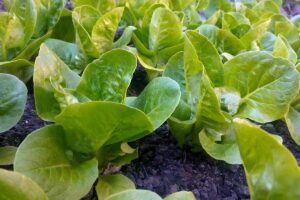
When you want to grow tomatoes but the soil in your garden is sticky and lumpy, is there any way to meet your goals?
You’ll be happy to know you can grow tomatoes in clay soil!
But let’s put a couple of qualifiers on that statement.
We link to vendors to help you find relevant products. If you buy from one of our links, we may earn a commission.
You can succeed, but achieving success will be more difficult than it is for your fellow gardeners who are growing in easy-to-till loam. Hard, heavy earth is never going to be anyone’s first choice of growing medium for these stars of the vegetable garden.
To produce that juicy, satisfying crop you’re looking for, take it from me, there’s going to be a bit of extra work involved.
Particularly the first time out, you’ll need to pay careful attention to amending the soil, and put in the extra time to make sure it doesn’t hold so much moisture that it waterlogs your plants.
To succeed in these growing conditions, you’ll also need to be vigilant throughout the growing season.
I’ve taken this approach and followed the tips and practices outlined here many times myself, in my years of living in an area with heavy (not quite clay, but similar) dirt. So I will start by telling you about two simpler alternatives.
But for the enthusiasts who really want to dig a garden in their clay soil and grow tomatoes there, I’ve got some solid (pardon the pun) advice. Follow along if you’re up for the challenge.
Here are the topics I’ll dig into:
What You’ll Learn
Two Simpler Alternatives
Not quite sure you’re ready to go all in and tackle that clay?
First, you can opt out of coping with the inhospitable earth altogether by choosing to grow your crop in containers, in raised beds, or square foot gardens, with soil and amendments that come from suppliers in your area rather than your own yard.
Or, you can work around the hard, sticky garden dirt by building an open-bottomed raised bed on top of your garden, and filling it with a healthy balance of topsoil, compost, peat, and other amendments that will improve drainage and make nutrients more readily available.
When you grow tomato plants in that type of garden bed, their roots will eventually come into contact with the dense earth beneath. But there’s a good chance it will soften by the time that portion of the growing season arrives.
As for growing directly in clay, the time has come. Let’s get to it!
Why It’s Hard to Grow Tomatoes in Clay Soil
If you’ve never tried to grow vegetables in heavy, sticky dirt, you may not realize how tricky it can be.
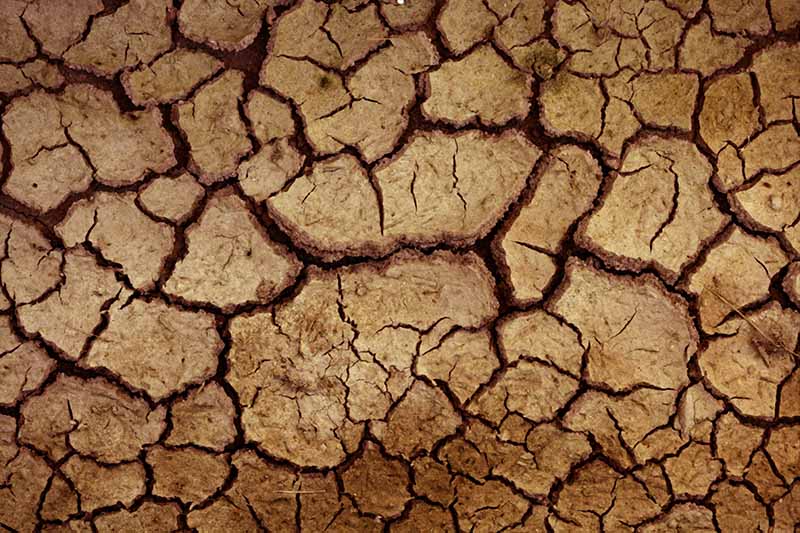
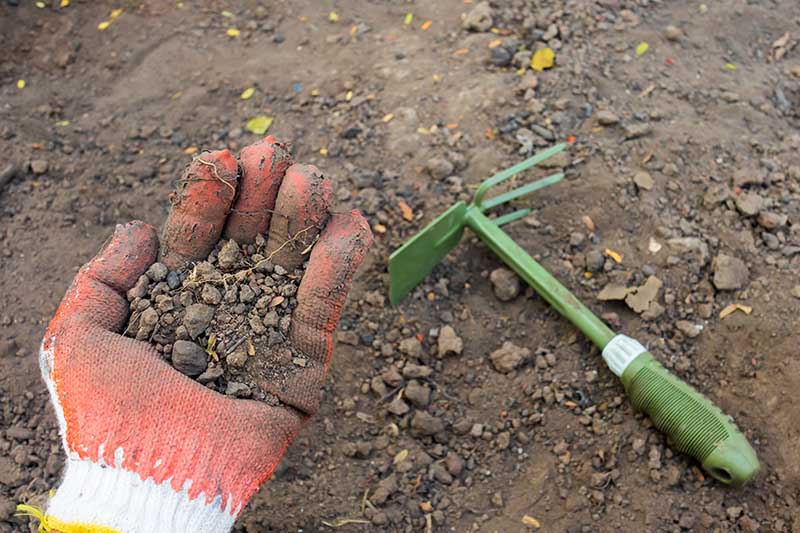
For one thing, the second it rains, this type of earth forms slimy clumps. They’re heavy and just about impossible to dig, even with a newly sharpened spade.
As for dry clay, well, it’s the same as hard ground. It compacts in ways that make it hard for seeds to sprout, or roots to seek water.
Seedlings can get trapped in this hardened earth and snap at the base. A plant’s roots may simply stop growing when they can no longer puncture the heavy mass.
Clay soil does have at least one redeeming quality:
It is chock-full of valuable nutrients that can make tomatoes highly productive – if you can follow the gardening techniques that make these nutrients accessible to the plants.
To minimize clay soil’s negative tendencies in favor of that rich source of nutrition, you’ll need to amend, mulch, and manage irrigation throughout the growing season.
Taking these steps will significantly increase your odds of harvesting a juicy, red (or green, purple, yellow…) crop of tomatoes at season’s end.
Why You Should Test Clay Soil
So many fellow gardeners will commiserate when you say you have only heavy, sticky ground for a garden. (I’m one of them. While my area doesn’t feature standard red clay, I do garden in soil that’s dense and dries into hard clumps.)
But not all clay soils are created equal, so it’s important to test yours before amending it to grow tomatoes.
Tomatoes like a pH between 6.0 and 6.8, slightly on the acidic side.
To make sure your growing medium is at that pH, establish your baseline pH with a test instead of just making assumptions. You can learn more about soil tests in our guide.
A test might also indicate that you need to add calcium before planting.
Gardening expert Mike McGrath also recommends saving eggshells, drying them, crushing them to a powder, and adding this to the planting hole. You can read more about it in his book, “You Bet Your Garden® Guide to Growing Great Tomatoes.”

You Bet Your Garden® Guide to Growing Great Tomatoes
The second edition of this helpful tome was published in January 2020. Copies are available from Amazon.
But don’t start making amendments without test results. If your dirt doesn’t need more calcium, adding it will upset the nutrient balance of the soil.
Amending Dense Dirt
If you don’t have firsthand experience growing tomatoes in clay soil, this might surprise you:
- At no time should you till that type of garden dirt l before planting.
- Tilling only makes the whole garden area resettle into a hard, dry mass.
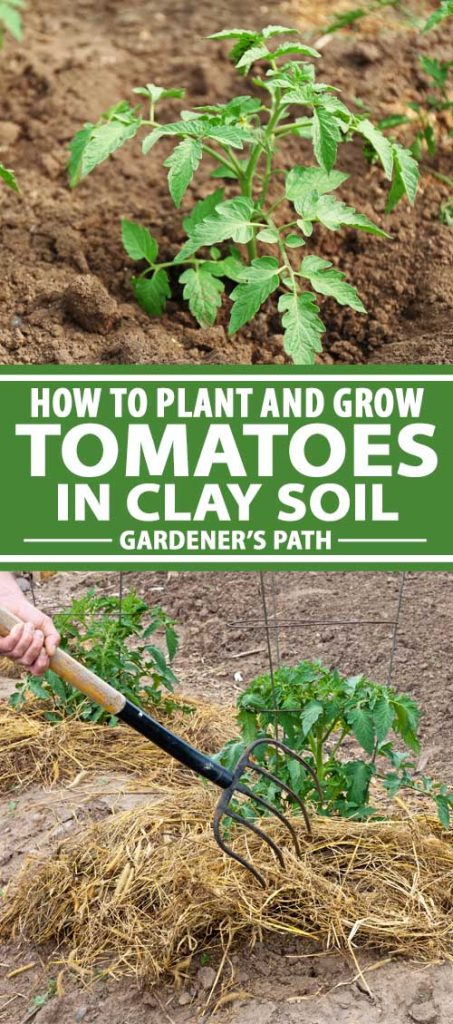
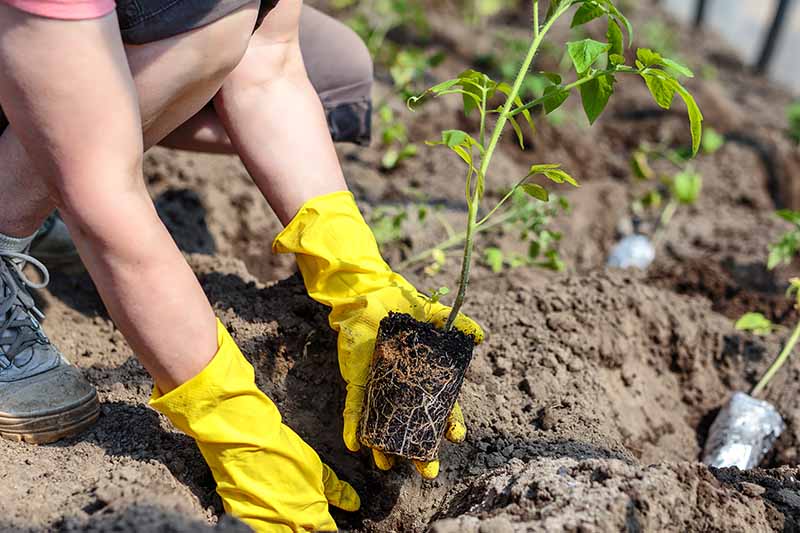
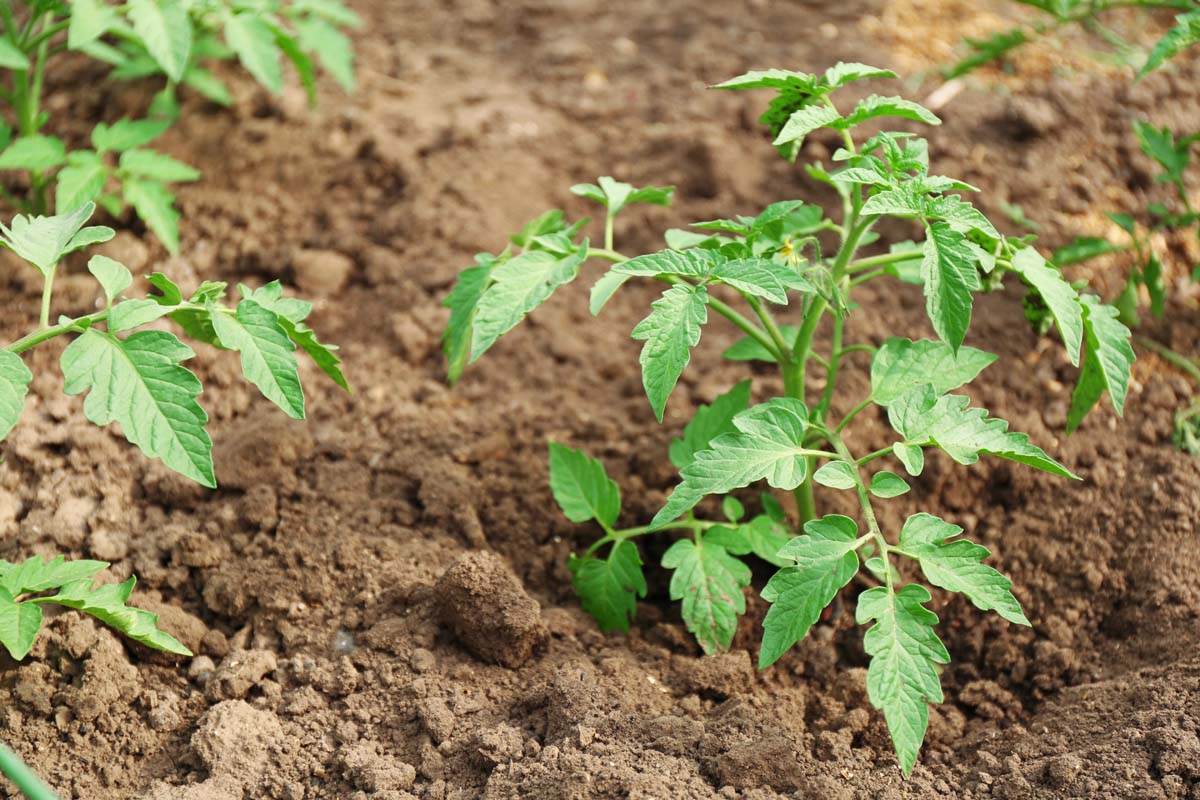
Instead, you’ll want to take entire sections of the dense dirt right out of the ground and replace each with a more suitable mix of topsoil, compost, peat, manure, and other amendments.
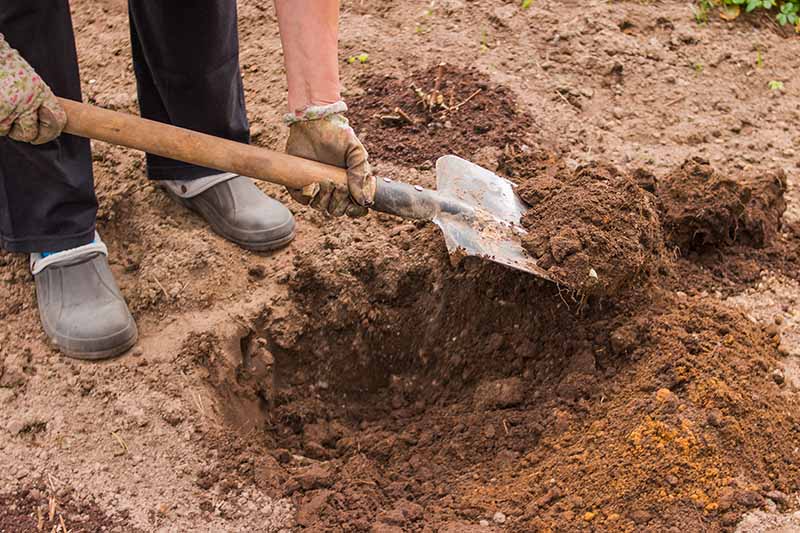
There is more than one way to go about this soil boosting process. I like the approach of digging out little sections for each tomato I intend to plant.
Rotate Your Crops
If you’re planning to grow tomatoes every year (and why wouldn’t you?), anticipate amending the soil in several different garden spots over the course of the next few seasons. This is tougher when all of your available garden space has dense earth, but it’s essential.
Tomatoes should be rotated to a new spot after the first year, and not planted again in the same space for two seasons after that. This crop rotation helps prevent soil-borne diseases and discourages the proliferation of insect pests that prefer one type of crop over another.
The good news is that you can still plant other vegetables in that hard-won aerated earth. Just make sure to choose brassicas, legumes, or cucurbits to follow tomatoes – or other nightshades – in your garden, and rotate them the following growing season as well.
Since you’re starting with tomatoes first, make sure to choose a site that receives the eight hours of full sunlight they require.
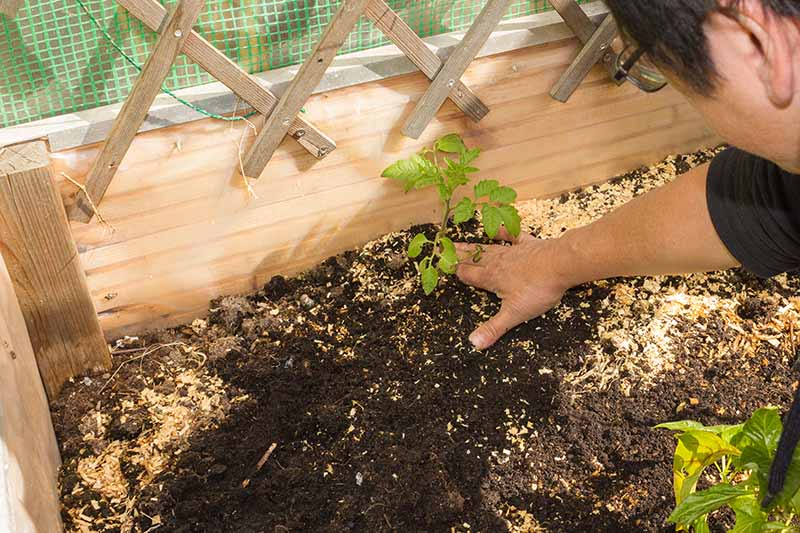
For each plant, use a high-quality spade that’s clean and sharp, and dig up a plug of soil that’s about 16 inches wide and a foot deep. Space these holes at least two feet apart.
Put a couple of inches of wood shavings across the bottom of each hole. You’ll need to make sure they come from wood that’s not treated or sprayed with pesticides.
Also avoid walnut wood shavings, since they produce juglone, a toxic chemical that will kill your tomatoes or anything else you try to grow.
But natural, untreated wood shavings will prevent water from accumulating in the dense clay below the amended soil. The layer acts like an absorbent towel, retaining moisture without allowing it to pool.
Also, be sure to add extra nitrogen to the mini-gardening holes if you switch to growing another vegetable in the same spot next year. Wood shavings tend to leach nitrogen from the soil.
That’s okay for tomatoes, which thrive in slightly acidic soil, but other vegetables might react poorly to the lack of nitrogen.
Once you’ve completed the layer of wood shavings, fill each hole with equal parts organic compost, composted manure, and topsoil, along with any amendments like wood ash or gypsum that were indicated by your soil test.
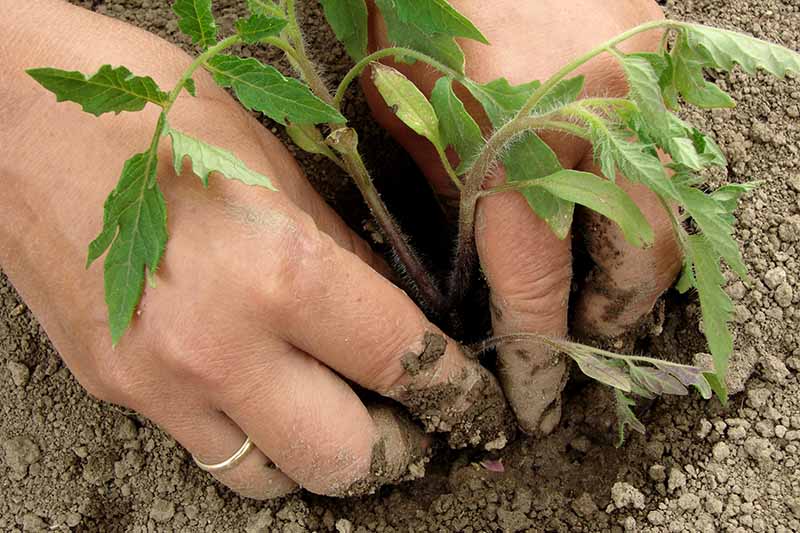
Mix all these components lightly with your hands or a garden fork. This mix is nutritious and also offers the aeration the roots need to thrive.
Within these amended soil basins, you’ll dig another hole that’s about six inches deep to plant your seedlings. For the scoop on this part of the process, check out the planting section of our guide to starting tomatoes from seed.
If you like, you can also make a few larger basins using the same layering concept, and then grow two or three plants in each one. Be sure to give them plenty of room to spread – most cultivars grow into large plants!
Whether you go for the multi-plant or individual basins, make sure to work some sand or silt into the top three inches of any dense dirt that surrounds your planting areas.
Mulch them when you mulch the basins where the tomatoes are growing, and soon all the compacted earth near your plants will begin to soften a bit.
See our guide for more tips on understanding the soil in your own backyard, whether clay or any other variety.
Staking Tomatoes in Clay Soil
It may seem overly optimistic to “plant” a stake at the same time you plant the seedlings, but it makes good sense.

You want to stake while the ground is still soft and accessible. Make sure to determine just how tall your bush or vining variety will grow before selecting appropriate stakes, cages, or trellises.
Mark a spot about eight inches away from the center stalk of each transplant, and pound each support about 10 inches deep into the ground. Be sure to watch the plants as they get taller and start to spread, making sure that each one still has ample support.
Learn more about staking your tomatoes in this guide.
When to Mulch
I recommend mulching to retain moisture and prevent weeds from growing.
When you grow in clay, the mulch also helps to prevent rainwater from pouring through the peat, compost and other amendments you’ve added and pooling on top of the clay at the bottom.

And mulch is an absolute must for keeping the garden bed from drying out, because any of the clay in your growing mix will become dense and compact if it’s not nice and moist.
Do watch for slugs and snails, because they like to hide away in mulch by day and then slither out in the dark to eat holes in your precious fruits. To keep them at bay, consult our guide to protecting your garden from slugs and snails.
What to use for mulch is up to you. Straw is always a good option, or you can use mulch paper sold by suppliers including ARBICO Organics. Newspaper is okay, too, as long as you steer away from glossy circulars or multi-color ink.
Start with a heavy layer of whatever you choose. Check out our guide to mulching and low maintenance gardening for more information.
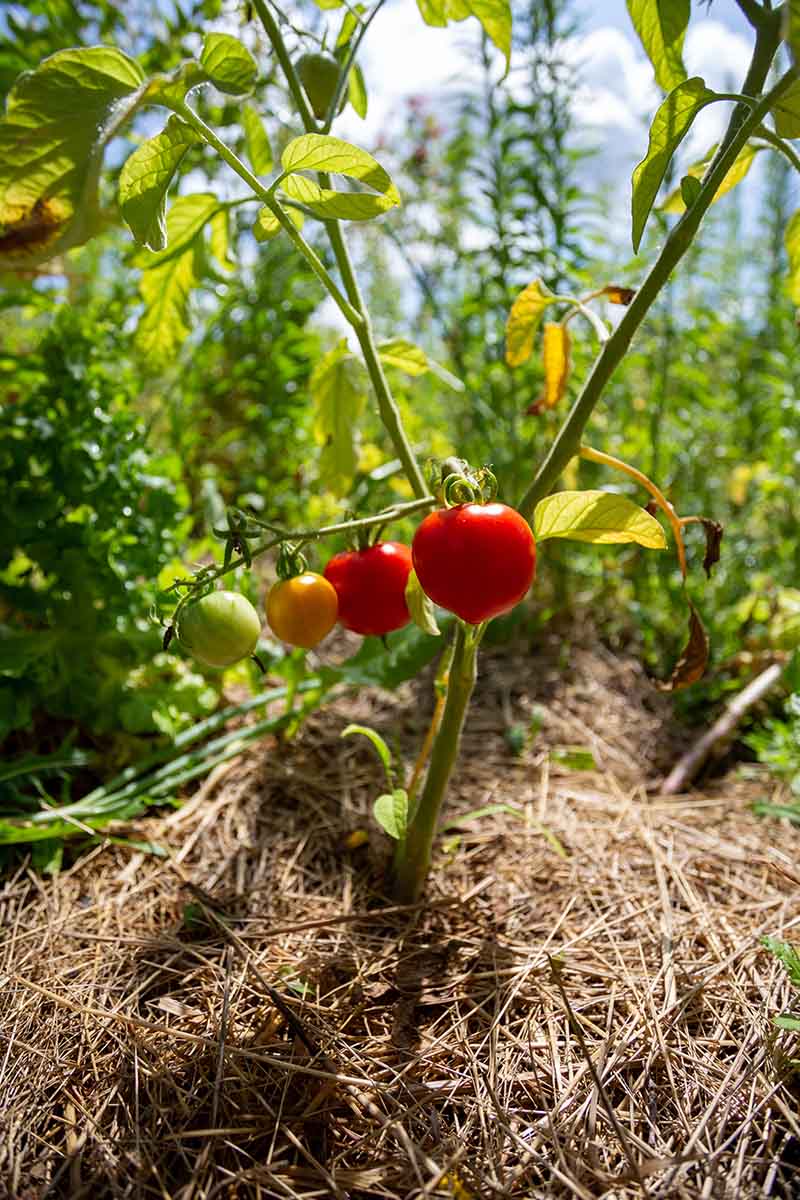
Mulching is not a one-time thing when you live in clay-soil country. You should start with several inches when you plant, and replenish whenever the layer gets lower than that.
As the organic matter in your mulch of choice breaks down during the growing season, it will loosen the clay. You can cover your bed in leaf mold, grass clippings, straw, or hay, too.
This will keep the dirt from compacting during winter rains or snowfall. Read more about mulching in the wintertime here.
Special Watering Tips
If you’ve stuck with me this far, you’re probably getting the idea that it’s going to take a bit of extra work to grow tomatoes when you have clay soil.
It is, yes. But do remember that the payoff is worth every bit of mulch you tote in the wheelbarrow, and every particle of wood ash you stir into the planting holes.
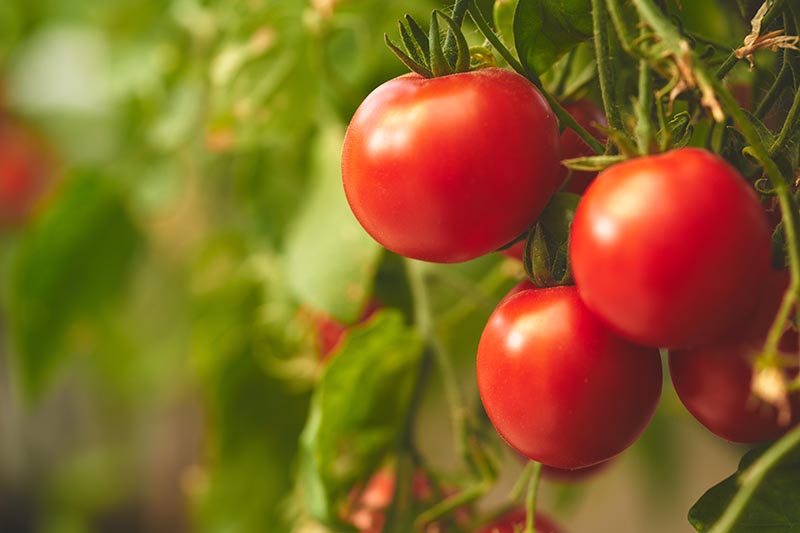
All of these efforts together yield homegrown goodness. And if you live in an area where everyone’s soil is made up of clay, I’m betting those delicious, juicy, fresh from the garden fruits are hard to come by.
Even if every store stocks them, there’s no taste like that of your own garden-fresh tomatoes. Remember this payoff when you’re watering your plants!
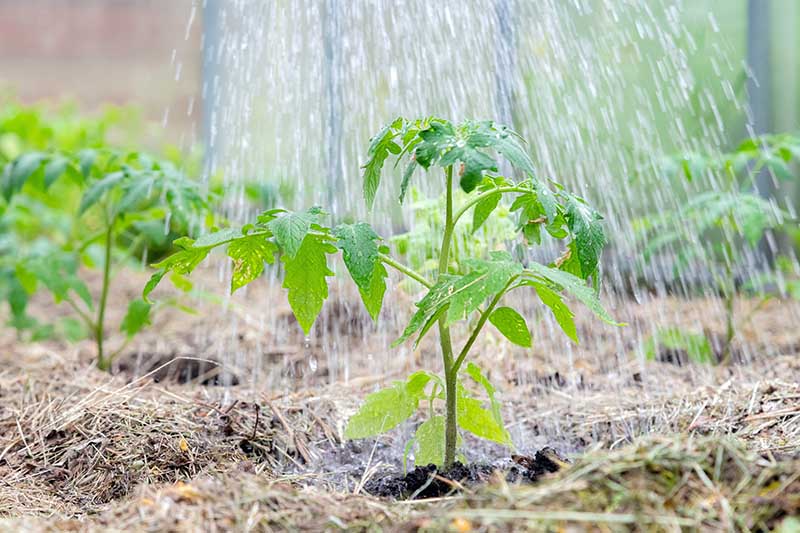
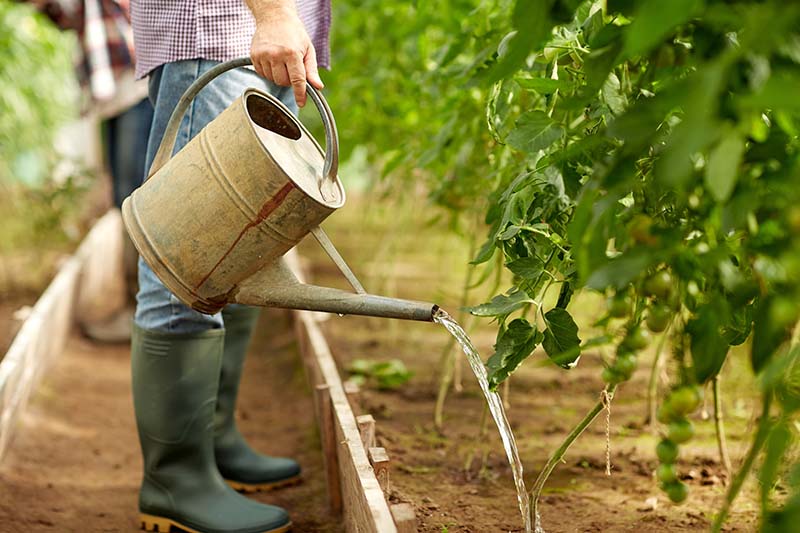
This chore starts with a couple of inches for the new transplants, usually a couple of cups of water apiece.
And then you’ll need to make sure these garden areas stay moist but not waterlogged for the rest of the growing season.
If it gets too soggy and then dries out, your dirt could crack, which may expose the tomatoes’ roots and make it hard for the plants to draw nutrition from the soil or stay hydrated.
Or, worse yet, wet clay that dries completely can form dense lumps at the bottom of your amended planting area. Those hunks of clay will prevent the roots from growing any deeper, or from drawing up nutrients into the plants’ leaves and stems.
The Easiest Way to Grow Tomatoes in Hard Clay Soil
As a parting thought, I want to encourage my fellow gardeners contending with heavy soil to recognize the rewards that go beyond harvesting at season’s end.
Having hard dirt instead of the type that you can till with a kitchen fork and weed with ease gives you a chance to persevere and come out on top.
It’s especially soul-satisfying to try to grow what you want with what you’ve got, even when your area’s sunlight, season length, or, yes, soil, aren’t ideal.
This time, maybe you’re trying to harvest a bounty of tomatoes from inhospitable soil. Next time, maybe you’ll be attempting to grow sunflowers in part shade, or broccoli in a short spring, or any number of other “make-do” gardening projects.
If you fail, you can always tinker and tweak and try again. And when you succeed, wow!
While we’re on the topic of success, how about sharing your tomato-growing secrets in the comment section below?
And if these tips were helpful, you might be interested in the advice that you’ll find in some of our other tomato growing guides:
I find your statement to remove leaves so sunlight will hit the tomatoes and they will ripen faster a bit odd. I learned in school many many years ago that sunlight results in the production of chlorophyl which I believe is the source of green in plants. Wouldn’t direct sunlight enhance the production of chlorophyl and prolong ripening? I always store pre ripened tomatoes in dark places to enhance ripening. Is this not a good idea?
Hi W.,
Thanks for reading! You’re right about chlorophyll- but this doesn’t affect the ripening of fruit. Heat actually helps to speed this process along, and tomatoes release ethylene gas. It actually helps other fruits nearby on the vine to ripen as well- the same process that takes place when several unripe toms are places together in a closed paper bag.
Pretty neat, huh?
You can find more information on the process that makes tomatoes turn red in this article.
I’ve tried this in the past and the hole fills up with water in any heavy rain storm since the clay soil doesn’t let it disperse and the plants eventually drown and rot away.
I have had that problem a bit. I dig bigger deeper holes, like 2.5 deep by 2 feet wide. Then, after the plant grows a bit, I spread mulch about 3 inches deep over the soils.
The clay is so bad here that my crawl space sometimes floods and doesn’t drain for a week!
What I found that seems to work…is taking some plastic drink bottles cutting off the very bottom portion so the top is straight and push the top down into the fertilizer/mulch and whatever (like Nitrogen and other products). Now what do you have? A plastic container with a drain spout directly to the plants ROOTS…uh, ask Alex Hailey about Roots and not me….just trying to be politically correct (don’t you see?)…anyways….a source to keep those roots wet….but don’t ever forget those healthy watered plant roots can NOT penetrate cement like soil in the hot, summer time…when the tomatoes should be… Read more »
Hello 1BraveHeart. I love the idea of repurposing plastic to help keep tomato plants hydrated (I like puns, too.) Thanks for reading, and happy gardening.
Hi this is my first time having a garden I planted from the sides 45 tomatoes and 12 peppers in my garden that has clay type soil. When I started the garden I shaved the grass off then I flipped the soil over to make sure the weeds will not come back. I planted the seed of tomatoes and peppers in the house. One and a half weeks later I planted them in the garden. Now, 2 months later, the tomatoes are 2 to 3 feet tall with ???? on them, flowers and blooms. Most of my tomatoes have one… Read more »
Sounds like you’ve made good progress so far this season. Do you know if you are growing determinate or indeterminate type tomatoes? Determinate plants are usually smaller when mature, and they will produce a single harvest with fruit that ripens all around the same time. Indeterminate types will continue to grow throughout the season, with a continual harvest. Rather than letting them spread on the ground, they should be staked in some way that will allow them to continue to grow taller through the summer. I’m not sure exactly what you mean re: the big, funny-looking tomatoes. Can you attach… Read more »
Those tomatoes that grow together are called cat faced. It’s when a group of flowers merge together and all get pollinated. They are okay to eat but you have to cut out the good flesh.
I save egg shells, dry them out, grind them up, then add them to soil for calcium.
Also, if I do the inverted tomatoes I like to hang them on the south side of the brick house. I have harvested tomatoes as late as November, in Detroit, Michigan that way, because of the heat to the plant during the day and the bricks give off warmth at night for a longer growing season.
I have found many Cafe cooks will save egg shells for me. I give them a bucket with my name and number but I go back in no more than a week. Morning cooks of course, go through a ton of eggs.
What a great idea, Lynne, especially since you’re careful not to introduce any bits of egg that might be rotten. No one needs that kind of bacteria in the vegetable garden! Best of luck with this year’s garden. It’s almost tomato time!
Hello Tom H. Great idea! Of course, you have to be careful to wash and dry them to discourage any bacteria. And I’m in awe of your late harvest in chilly Michigan. Us dedicated tomato growers can always find a way, right?
When it rains our ‘clay hole’ fills with water and generally retains the full water hole for two days after the rain. Is this bad for the tomatoes and what do we do about it?
That pooling water isn’t good, Melody. When clay soil gets waterlogged like that it keeps plant roots from being able to get oxygen, which can kill your tomatoes. When you plant tomatoes in a top layer of soft dirt with a layer of hardened soil beneath, it can also prevent the roots from growing deep enough so the plant can draw nutrients into its leaves and stems. If the growing season is still ahead of you, you can prevent this water trap from forming by creating pockets of soil with better drainage and aeration than the clay. Use a spade… Read more »
Hi Rose, I just moved to Talbott tn and am looking forward to starting a garden. I notice that the new homes being built around me has red dirt. Is that clay? I’m planning on starting with 2 raised beds so I can afford to amend the soil. I’m finding it hard to find someone to deliver good compost to me. Any suggestions?
Hello Judy and welcome to East Tennessee. You’ll meet lots of avid gardeners here. The soil you’re speaking of probably is clay. A good way to determine that is by moistening a little and then squeezing it into a ball in your hand. If it sticks together, there you go. Starting with raised beds is a splendid idea. One mistake I made in the early days that I am careful not to repeat was lining my beds with a liner that wasn’t biodegradable. You want to place the beds on top of soil, not a liner, so the roots can… Read more »