Capsicum spp.
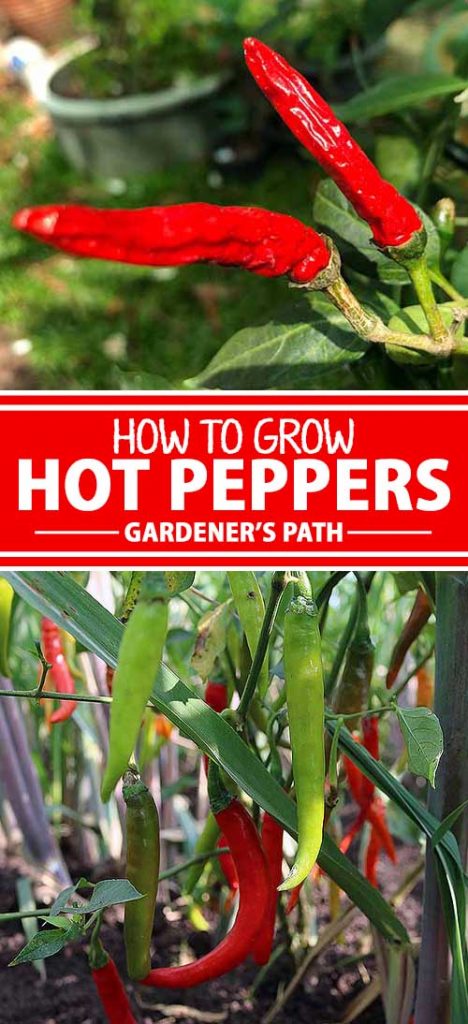
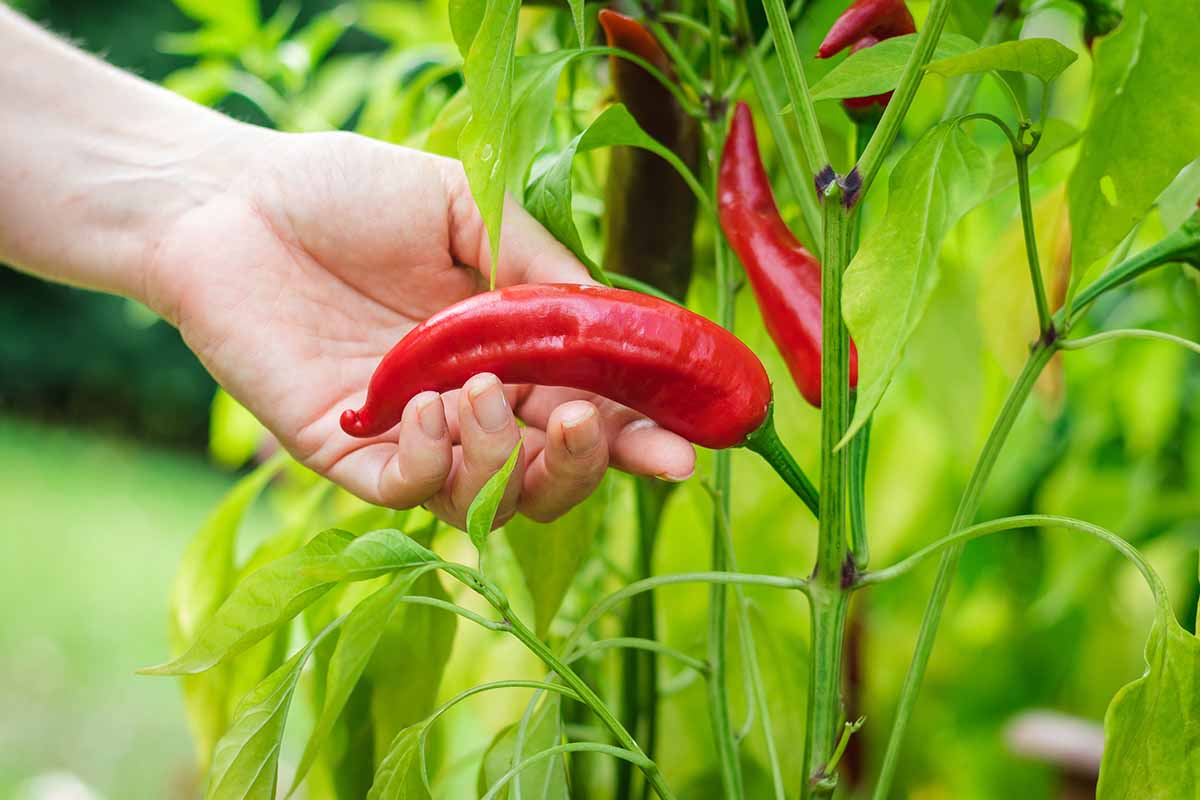
From the gentle heat of a banana pepper to the searing, sinus-clearing pain of a ‘Carolina Reaper,’ there’s a hot pepper for everyone.
We link to vendors to help you find relevant products. If you buy from one of our links, we may earn a commission.
With a huge variety of different hybrids and cultivars to choose from, these members of the nightshade family, Solanaceae, are available in a wide range of heat levels to suit (almost!) every palate.
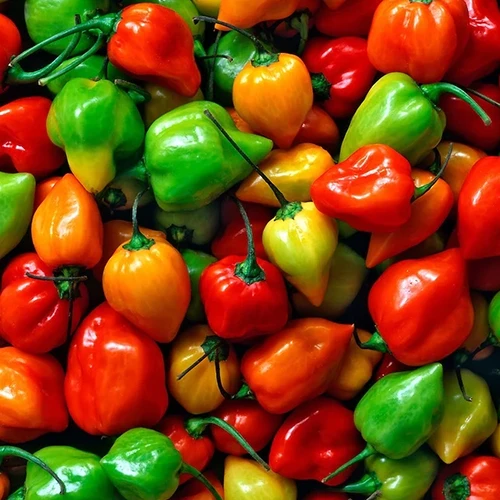
They’re gorgeous, too.
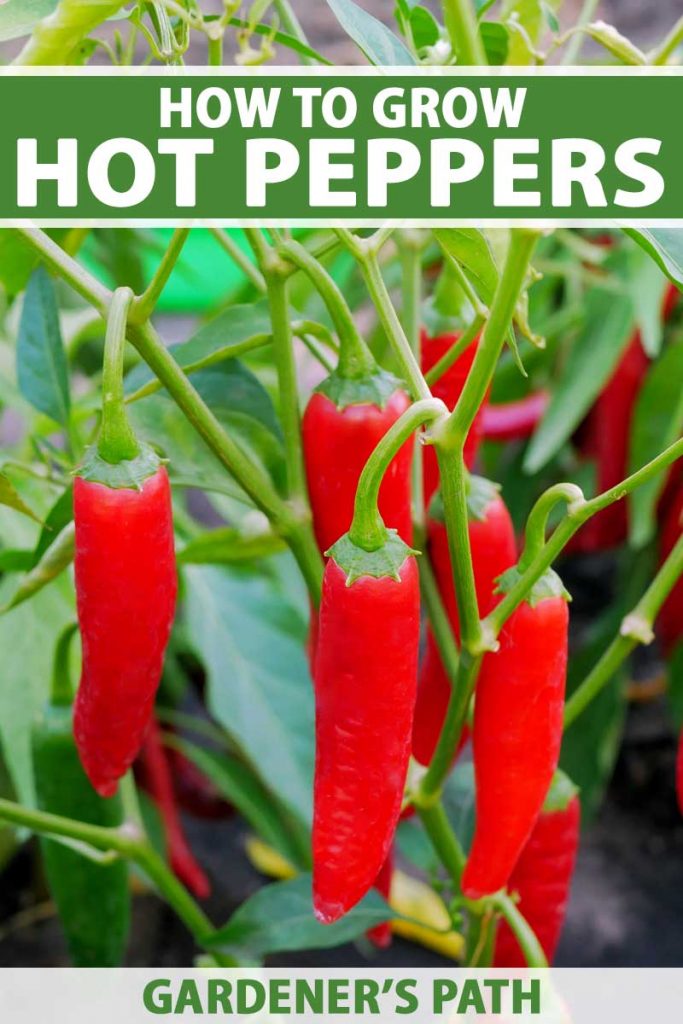
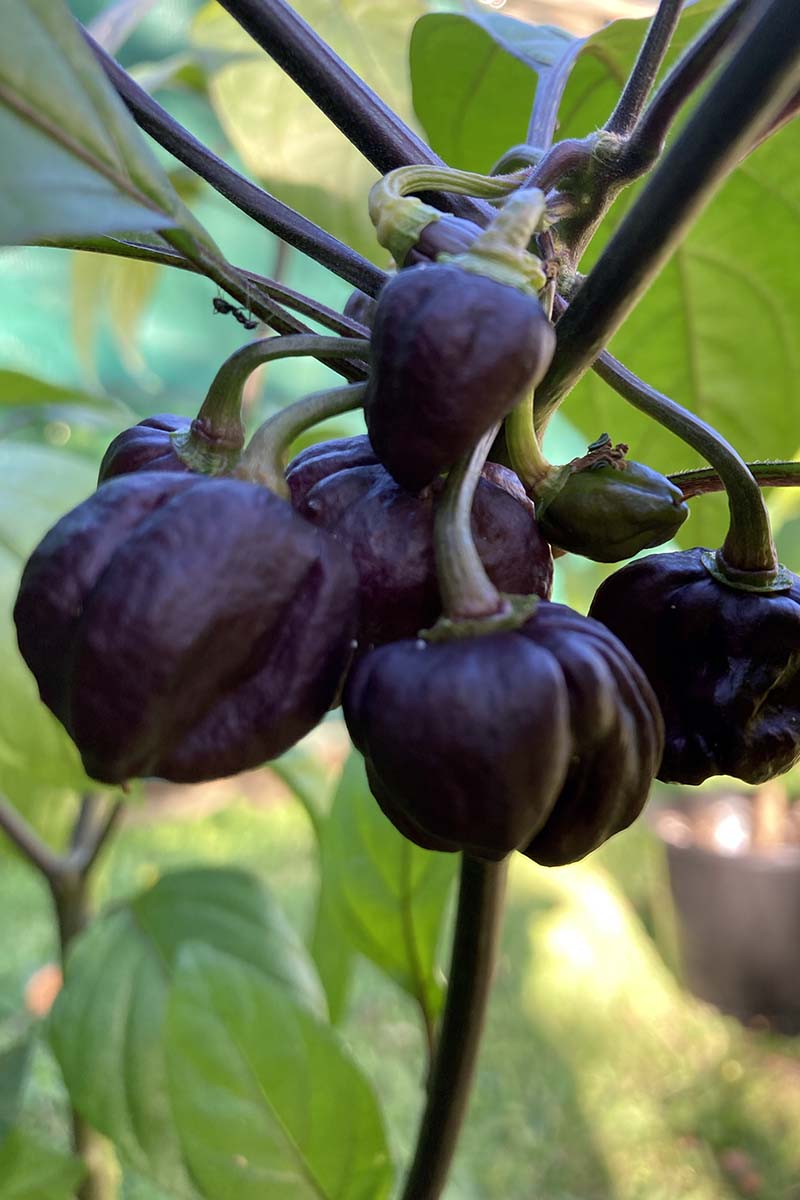
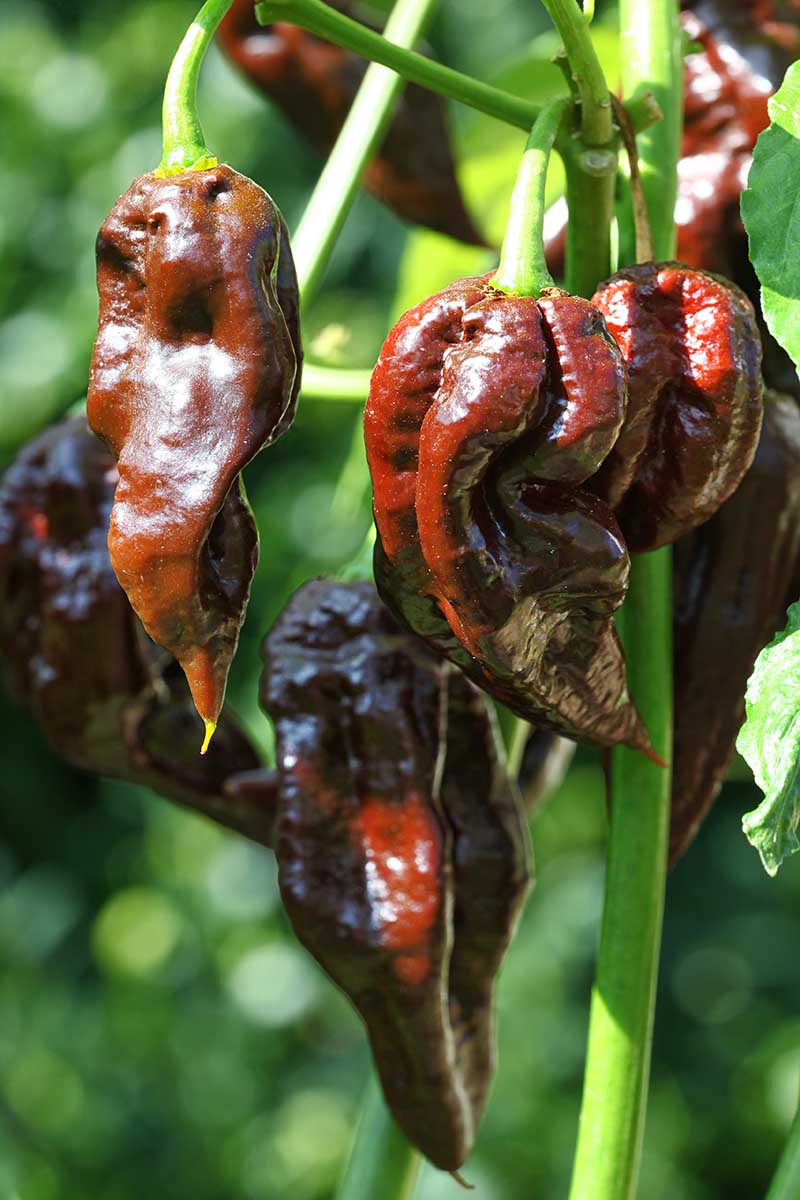
From the pale lemony hues of the ‘White Ghost’ to the deep burgundy ‘Chocolate Devil’s Tongue,’ there are purple, red, green, yellow, and orange varieties that will add ornamental charm to your garden or patio.
If you’re ready to add hot peppers to your garden planner, let’s dig in.
Here’s what we’ll cover:
What You’ll Learn
If you live in Zones 9 to 11, you can grow peppers as short-lived perennials. The rest of us grow them as annuals. Peppers can’t even stand a hint of a freeze.
Ready to turn up the heat?
What Are Hot Peppers?
Many hot peppers available today originate from Capsicum annuum, including the popular jalapeno, cayenne, and the sweet bell pepper.
There are five other Capsicum species commonly cultivated: C. baccatum, which comprises the Aji peppers; C. assamicum, which includes ‘Ghost’ and other super-hots; C. chinense, such as habanero peppers; C. frutescens, the popular tabasco chili; and one of my personal favorites, C. pubescens, the manzano or rocoto chili.
Selectively bred over the years, and thanks to their ability to cross-pollinate, there is a huge range of different cultivars and hybrids to choose from, and pepper aficionados are creating new and exciting varieties every year.

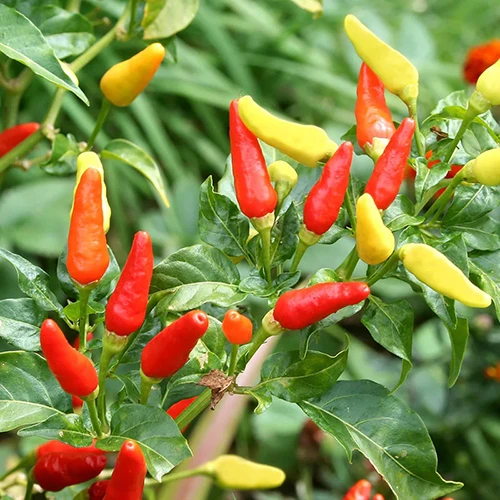
The shape of the pods can vary widely: from long and thin, to oblate, round, or bell-like. Some may have a pointed “tail,” like the ‘Carolina Reaper’ with its characteristic sting.
Plants generally grow up to three feet tall with a bushy growth habit, though some may grow up to nine feet tall in ideal conditions. C. pubescens is a vining species that thrives when trellised up a fence or other supporting structure.
Hot peppers get their “heat” from an alkaloid known as capsaicin which is found in the flesh, seeds, and the white interior ribs (known as the placenta) of the fruit. This helps the plant to deter mammals (deer be gone!), and can help you to deter unwanted dinner guests if you wish.
Birds are unaffected by capsaicin, which allows them to ingest and spread the seeds.
To help us all get on the same page when it comes to describing the heat, experts have come up with a rating system.
The heat in peppers is measured in Scoville Heat Units (SHU) and is expressed on a scale ranging from 500 or less to over 1.5 million SHU. For example, the Anaheim is rated 500 to 2,500 SHU, mild in contrast with the ‘Trinidad Morgua Scorpion’ at 1.2 to 2 million SHU.

Why the broad variation in these numbers even for a specific type of pepper? There are two reasons for SHUs being expressed in this way.
One is that the fruits can vary quite widely in their heat depending on their level of maturity when harvested, and also because fruits harvested in the same season, from the same plant, can have different levels of capsaicin. No two fruits will be identical.
The other reason is that the method of determining Scoville Heat Units is somewhat subjective.
Developed in 1912, the “test” involves diluting an alcohol extract of the hot pepper oil in ever-increasing quantities of sugar water to the point where a panel of tasters can no longer detect the heat.
Given that each individual’s tolerance for “heat” can vary widely, this test is rather subjective and is not an exact science.
Modern gas chromatography and high-performance liquid chromatography are much more accurate measures than the traditional SHU scale.
In addition to capsaicin, peppers also contain dihydrocapsaicin, which contributes to their overall heat and flavor profile.
While most mammals are deterred by the spiciness of capsaicin, some of us humans are drawn to it.
Capsaicin activates a specific receptor, TRPV1 (transient receptor potential cation channel, subfamily V, member 1 – that’s a mouthful!), which is responsible for mediating the burning sensation felt in the mouth when hot peppers are consumed.
Once you bite into that spicy pepper, the capsaicin goes to work, irritating your skin and mucous membranes as it binds to your TRPV1 receptors.
It’s not just you. Capsaicin is an irritant for all mammals, and when we consume it, it triggers a chemical response that tells our brain that the tongue is experiencing pain and physical heat.
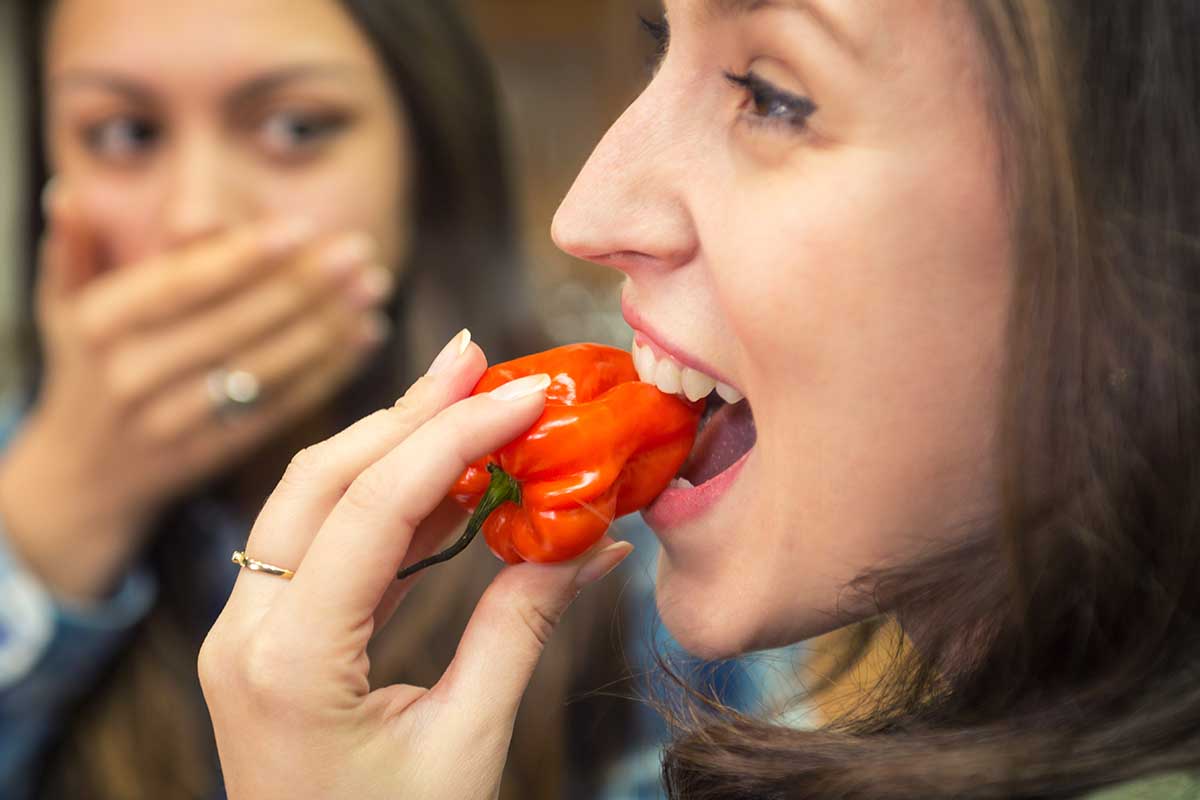
Your brain truly believes that there is fire in your mouth and reacts accordingly. That’s why you start to sweat, your face might turn red, your eyes water, your nose runs, and you start huffing and sucking in air to try to “cool” the flames.
Some people even drool and vomit, depending on how hot the pepper is and their tolerance for heat.
My husband’s reaction when he chomped into a ‘Carolina Reaper’ was to hiccup for hours afterward, accompanied by a pain in his stomach so intense that he started chewing antacids like they were candy.
It didn’t help, by the way, and I opted not to help myself to a serving of that particular pepper.
Should you find yourself in a similar position, just know that it’s normal. The hiccups arrive because your phrenic nerve has been irritated, and the belly pain is there because the capsaicin irritates the stomach.
The pain will keep going as it moves through your intestines, causing diarrhea, and it can even irritate things as they come out the, ahem, other end.
Don’t worry, it isn’t actually causing burns. This is the point where you thank the heavens that you installed that bidet seat with its cooling stream, though.
There are actually health benefits to peppers, and people who have worked to breed extraordinarily hot peppers have done so with the aim of making medicines. Many pain-relieving gels, patches, and creams contain capsaicin.
If you eat a pepper that exceeds your tolerance, don’t reach for a tall glass of water, no matter how appealing it looks glistening there on the table. It’s trying to lead you astray. That water can just spread the capsaicin even further throughout your mouth.
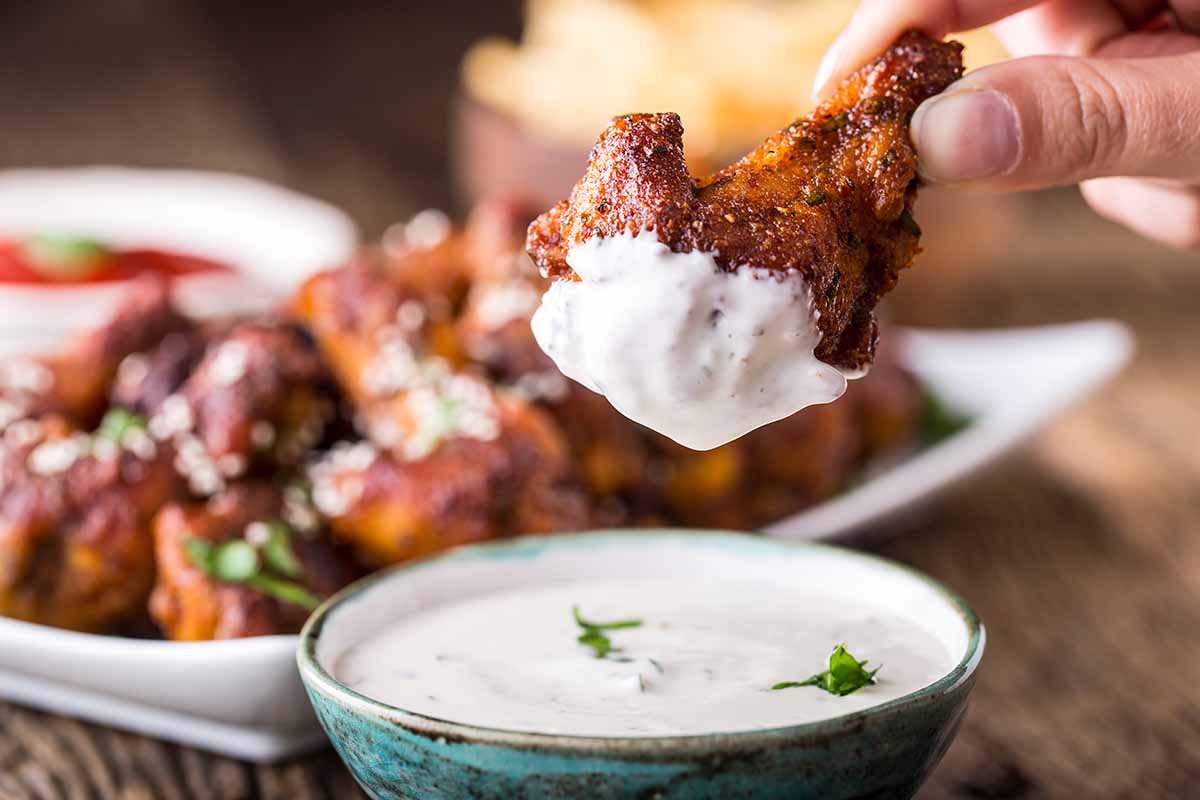
The people who drink beer and swipe their hot wings into creamy dipping sauces know what they’re doing, even if they don’t realize it.
Dairy and alcohol both ease the pain by dissolving the capsaicin. Fat does the same thing. You’d be better off chugging that bleu cheese dressing rather than an ice-cold glass of water.
The flavor in the pepper isn’t derived from the spice. Spicy heat actually isn’t a flavor. What you’re tasting is the rest of the pepper, and the spice is that chemical reaction going on in your mouth.
If you could take the heat out of a ‘Carolina Reaper,’ it would be extremely sweet and somewhat grassy.
There’s an ongoing debate about whether we should call these chilis, how to spell this word in English, and whether we should even call them peppers.
When Christopher Columbus sailed the ocean blue in 1492, he and his fellow travelers were offered a bit of this magnificent fruit.
They concluded that the heat was similar to that of the black pepper from the Piper nigrum plant they were looking for, and they called it by the same name.
Aficionados usually call them chiles or chilis. Both spellings are fine, and so is calling them peppers. They might not belong to the Piper genus, but we all know what you mean.
Cultivation and History
Chili pepper plants originated in South America and southern North America, in areas like modern-day Mexico, Belize, Brazil, Honduras, Costa Rica, and Columbia.
Brazil boasts the highest density of wild species of chilis, and they likely spread from there originally, thanks to those capsaicin-immune birds that ate the fruits and winged off to distant locales.
We have the people living in what is now Mexico to thank for first cultivating chilis.
They started doing it hundreds of years ago, from what we can tell through carbon dating, in order to cultivate a spice to combine with staples like maize, tomatillos, and beans.
As European explorers came to the New World and took plants back to their homeland, they took chilis back with them. They rapidly spread through Spain, Turkey, India, Egypt, Yemen, Persia, Tunisia, and eventually east Asia.
The more spice-adverse countries in Europe? It took them longer to catch onto the trend. But they didn’t know what they were missing.
Now, it seems like everyone is in on the hot pepper trend and pepperheads even compete to see who can withstand the most extreme heat.
Propagation
If you’ve never grown a pepper from seed, give it a try. It’s incredibly fulfilling as you watch that tiny seed grow into a plant draped in deliciousness.
It’s especially exciting when you grew and harvested the seeds you’re using yourself.

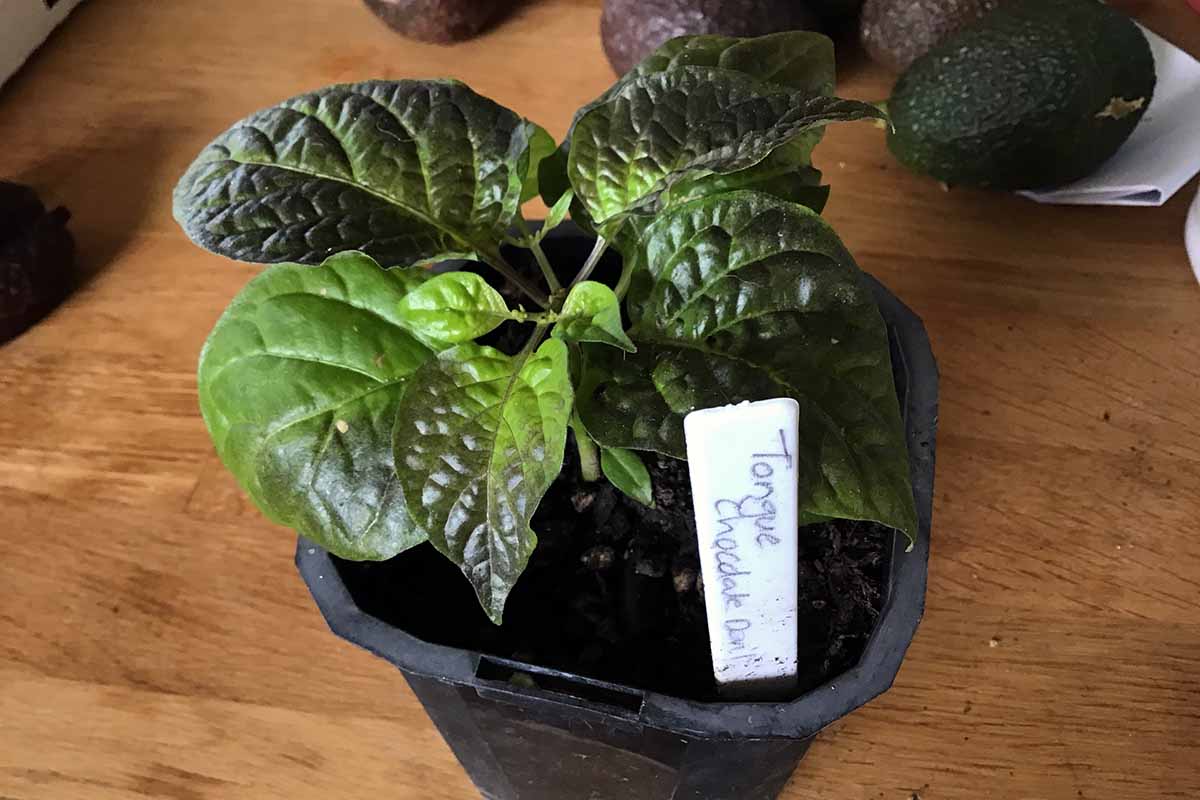
Of course, there’s nothing wrong with buying a seedling at the store. You can find some pretty unique and interesting options that way.
Here’s how to propagate peppers:
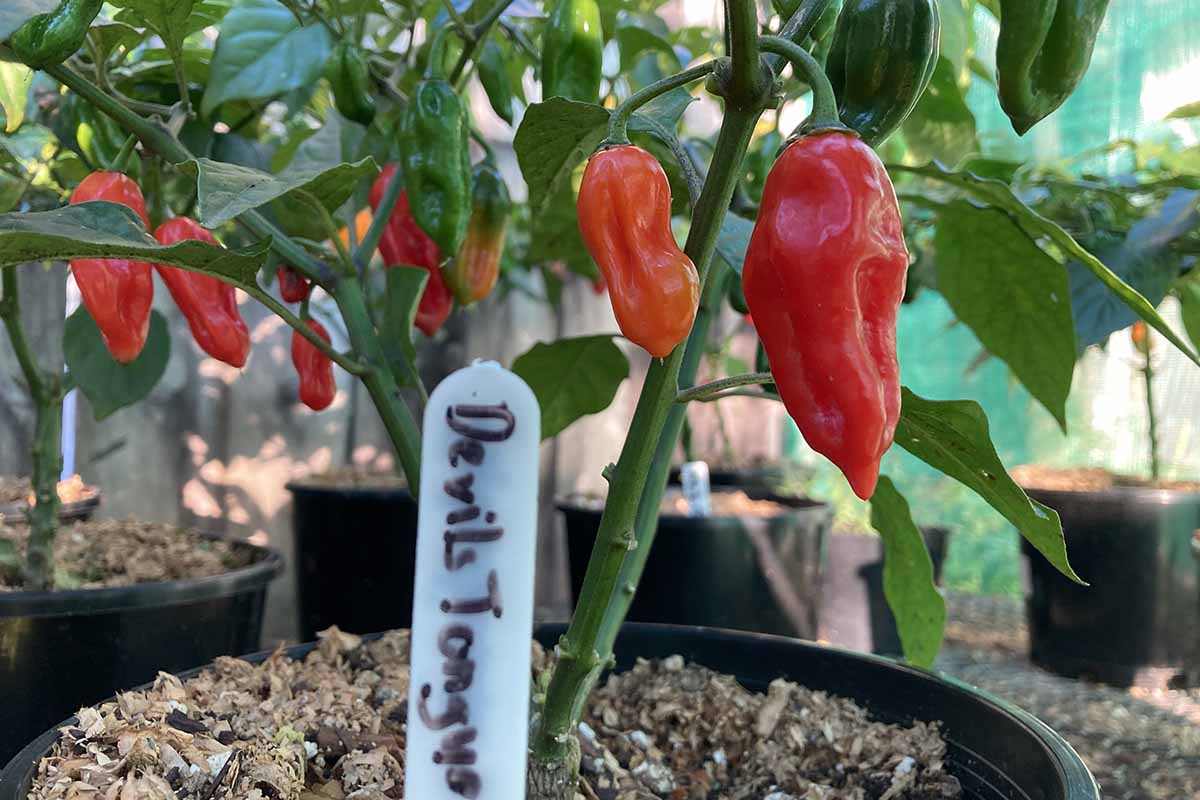
From Seed
Peppers grow fairly well from seed, and it’s the way to go if you want to breed your own unique chilis. The two things you need are time, and more seeds than you think you might require.
Every year, I used to have an entire pot of seeds that failed to germinate, so now I always plant four seeds per pot and twice as many pots as I need. If I want two plants, I start four pots.
There are things you can do to increase the chances of successful germination, and we’ll discuss those. You don’t want to risk losing the seeds of a plant that you’re excited about.
About eight to 12 weeks before the last predicted frost date in your area, fill as many pots as you need with a seed-starting mix. Each plant needs its own four-inch pot.
I use biodegradable pots to reduce the possibility of transplant shock, but you can use standard plastic pots if you want.
If you go the biodegradable route, CowPots makes an excellent option from a highly renewable resource: cow poop. As they break down in the soil, they release nutrients that support your growing plant.
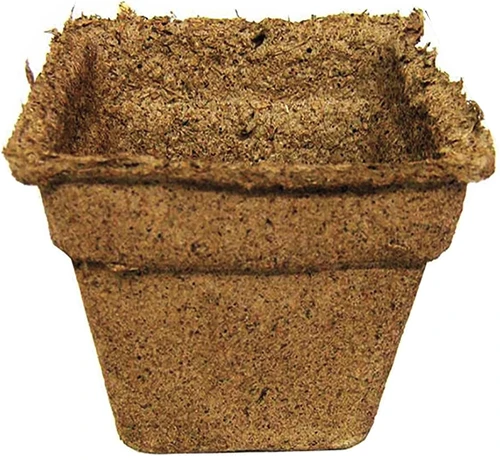
You can buy them in packs of 12, 180, or 450 from Arbico Organics.
Give the seeds a quick swish in hydrogen peroxide to kill any fungi or bacteria. Then place the seeds a quarter-inch deep in the medium.
As I said, I usually place several seeds in each pot. If they all germinate, you can pull the smaller seedlings out, or you can scoop them out with a spoon and put them in their own pot.
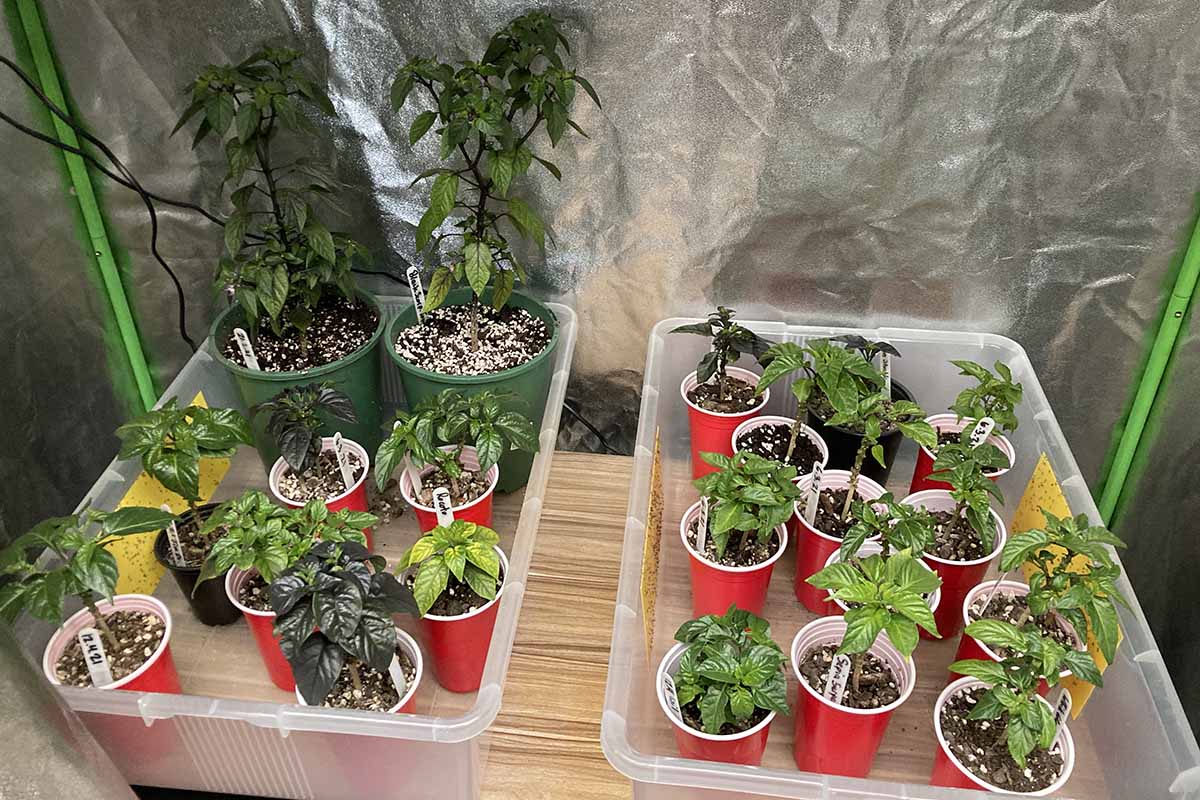
Gently add water to the medium so as not to disturb the seeds. Place the pots on a heat mat under grow lights. The soil should be about 70°F, but something a little warmer than that is better than going cooler than that.
The heat mat will dry the medium out faster, and biodegradable pots tend to dry out faster too, so you need to keep a close eye on them. It’s quite possible you’ll have to add water every day.
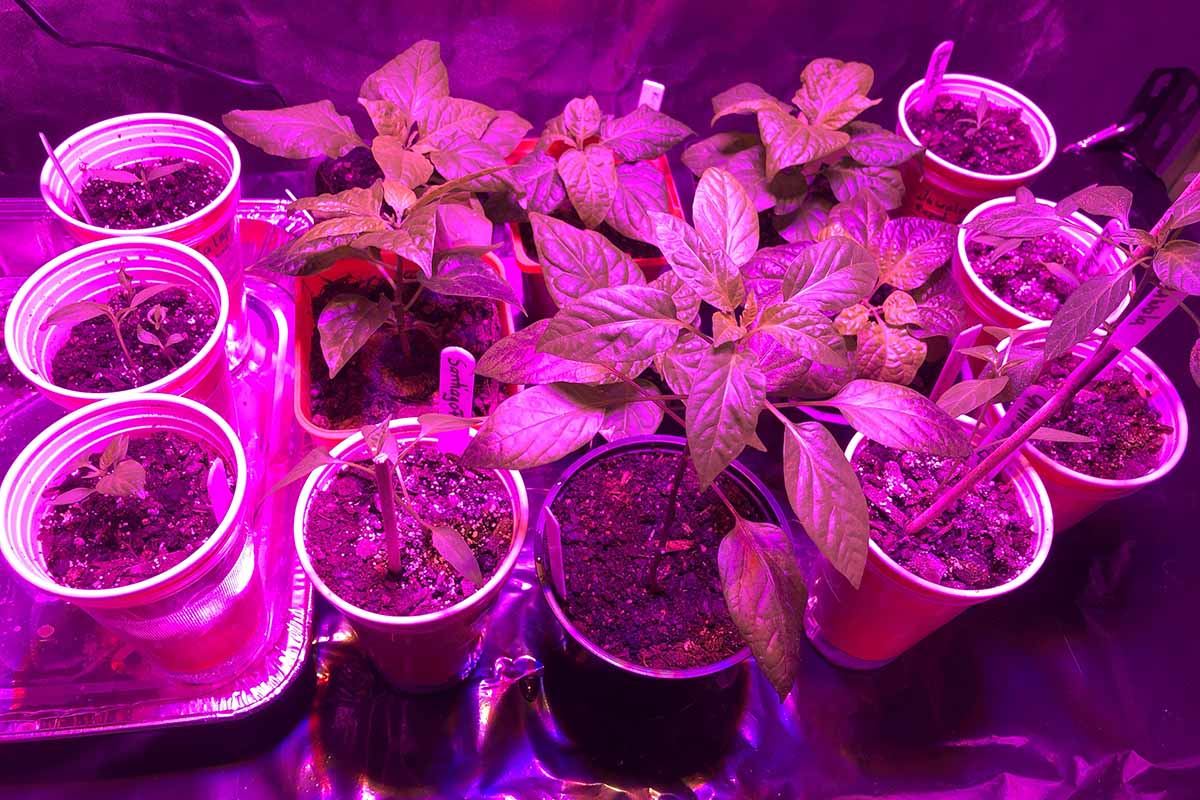
Don’t lose heart if the seedlings don’t emerge in a week or so. They can take a few weeks to show up.
Keep the grow light on for at least eight or up to 12 hours per day, and make sure the light is close enough to the top of the soil.
Chili seedlings that don’t have enough light will be thin and long, and they’ll tip over.
The distance depends on the type and strength of the lights you’re using, but if you notice leggy growth, the light is too far away. If you see brown or yellow spots forming on the young leaves, the light is too close, and it’s burning the foliage.
Once the plants are about five inches tall, you can reduce watering. If any of the plants start to flower, pinch the flowers off.
Once the last predicted frost date has passed and the plants are six inches tall, you can start moving them outside.
Peppers should be hardened off for two weeks to gradually introduce them to the big, bad world outdoors.
Take the pepper plant pots (say that 10 times fast) and put them in a spot protected from wind. Let them sit in direct sunlight for 30 minutes, and then bring them back inside.
Each day, add 30 minutes until two weeks have passed. If the temperatures ever drop below 55°F, bring the plants back inside.
Don’t rush this process. Trust me, I’ve tried to hurry things along, and it never ends well.
Finally, you can transplant them outside in your containers or in the ground.
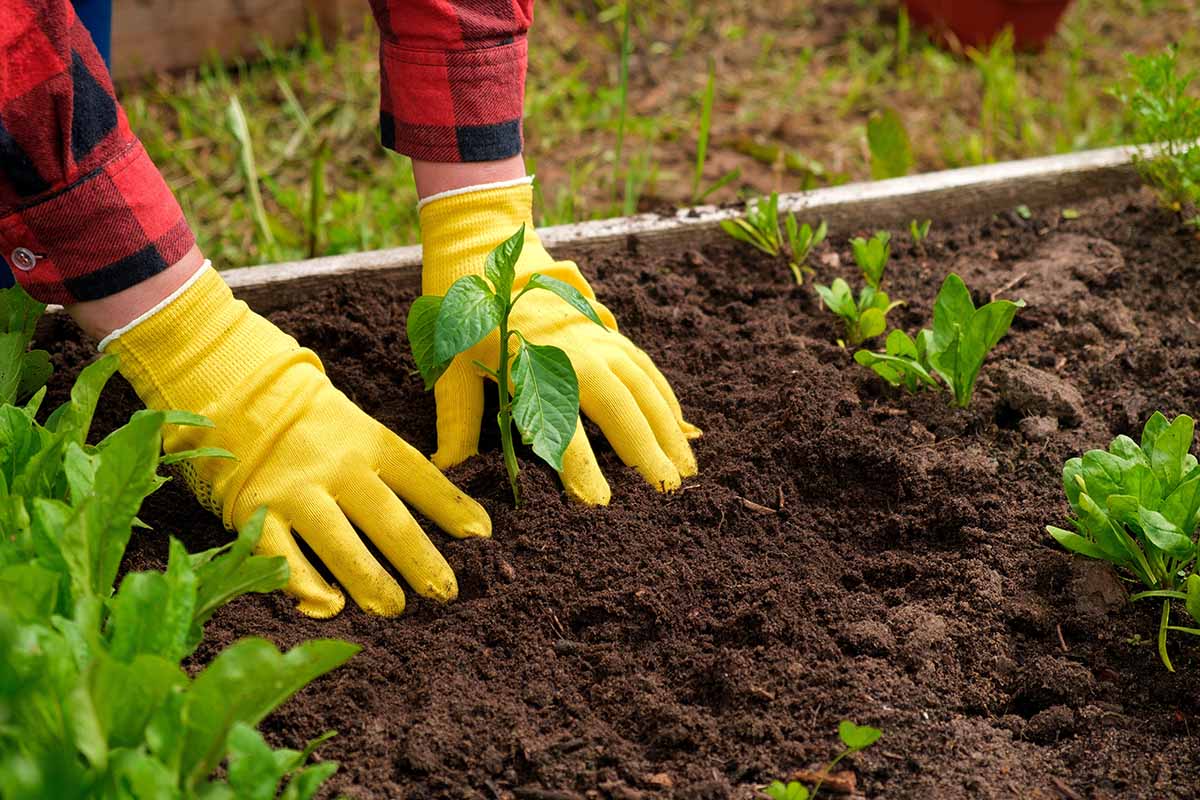
Transplanting Seedlings
The first thing to keep in mind when growing anything in the Solanaceae family is that you have to be diligent about crop rotation.
If you grew tomatoes, peppers, or eggplants in that spot last year, or even in the last three years, don’t plant peppers there.
If you have a limited area and you just can’t spare the room, grow your chilis in containers for a few years. Otherwise, you’re likely to run into diseases you don’t want to have to deal with thanks to overcrowding.
The second thing is temperature. Peppers don’t mess around with cold weather. Anything below 50°F is no bueno.
Wait for a cloudy, windless day, if possible. When you’re ready to plant, water the seedlings well.
Dig holes 30 inches apart in an area where you’ve loosened up the soil and worked in lots of well-rotted compost. Peppers need loose, rich soil.
If you intend to continue growing in a container, choose one that has good drainage and holds at least two gallons. Fill it with a water-retentive potting mix.
I swear by Ocean Forest potting mix by FoxFarm. They’ve never let me down and all of my plants, whether they’re houseplants or veggies growing outdoors, do extremely well in it.
If you want to pick up some for your garden, visit Amazon to grab 12 quarts.
Take the plants out of the containers if you need to, and place them in the holes you’ve made.
Firm the soil up around the roots and water well.
Plant at the same depth that the chili was in its growing container. If you used a biodegradable pot, cut any excess off that is sitting above the soil, or plant the pot deeper so the edges are below the soil and fill in with more soil.
If a biodegradable pot is sitting above the soil line, it acts as a wick and draws moisture out of the soil. For some plants, this is no biggie. But peppers shouldn’t be water stressed at any time.
How to Grow
I know you can’t control Mother Nature, and if you can, I need to know your secrets. The rest of us will just have to make do with a few tricks to make our peppers as tasty as possible.
Lots of bright, sunny, hot days make for the most flavorful peppers. Grow your plants in a location where they will receive at least eight hours of sun per day.
Cloudy, cold, rainy weather translates to milder flavor. If you live somewhere with a short summer and/or cool days, there are some tools out there that you might want to get your green thumbs on.
Usually, I’m all for sticking with plants that thrive in your region, but sometimes you just gotta do what you gotta do to grow the plants you adore.
Make use of cold frames, if you have them, to increase the heat in the early part of the year. They’re particularly useful for hardening off seedlings.
When your plants are in the ground, use black plastic mulch to increase the temperature around the peppers. Instead of, or in addition to the mulch, you can also add a plastic polytunnel.
Early in the growing season, you can also utilize a Season Starter, which is a plant protector that adds insulation and increases the heat around the plants.

Pick up a three-pack at Amazon.
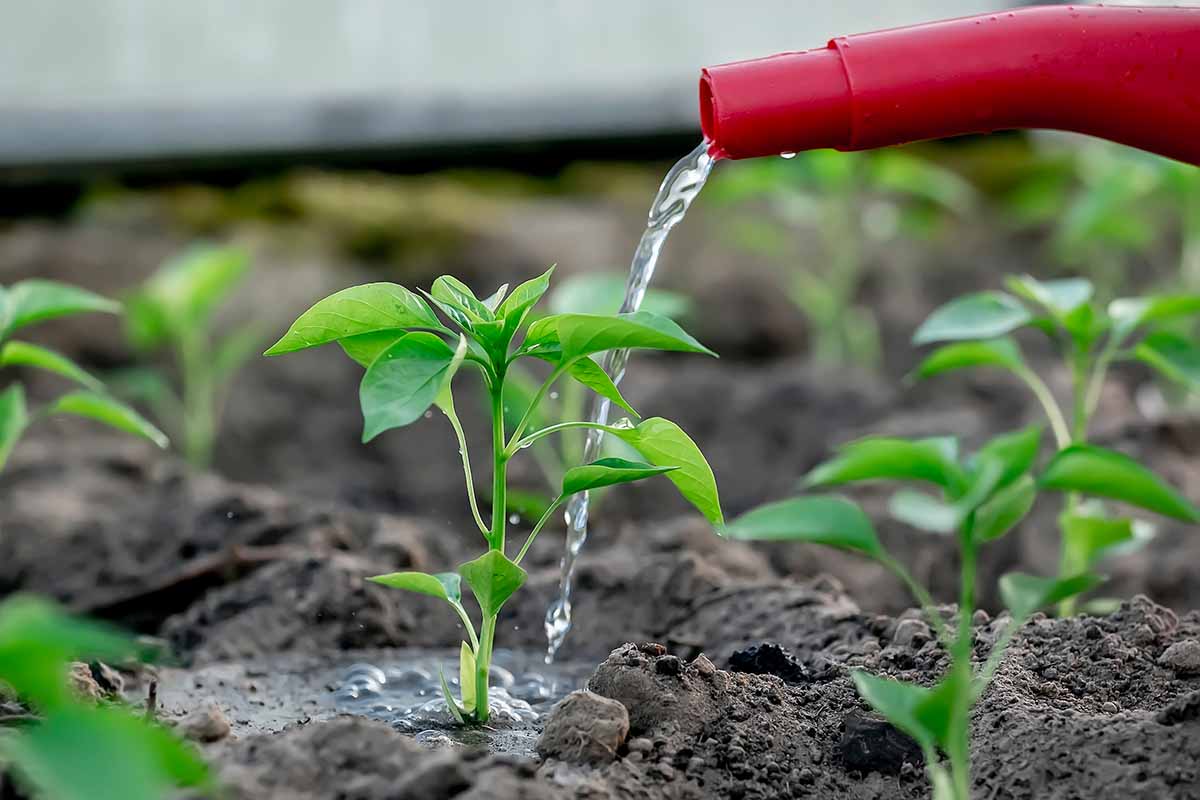
The other thing that makes for tasty fruits is consistent water. If your plants regularly dry out, there won’t be as many fruits, and they won’t be as flavorful. Dryness also contributes to blossom end rot.
Keep the soil moist at all times. Once the top inch dries out, it’s time for more water.
When we say moist, we don’t mean wet. It should not be soggy. If you have ever wrung out a sponge really well, that’s the level you’re aiming for.
When you water, water at the soil level, not on the leaves. You should also water deeply rather than providing less water more frequently. Deep watering encourages deeper roots.
Mulch can help the soil retain moisture. Use straw, grass clippings, or finely shredded wood.
A thick layer of mulch will also keep weeds from growing and competing with the chilis or taking nutrients. You can lightly till the soil around the plants to kill any weeds if you aren’t using mulch.
If you struggle with keeping the soil moist, I urge you to install drip irrigation. Don’t use sprinklers that throw water on the foliage rather than the soil. Wet leaves lead to fungal issues.
Proper fertilization requires balance. Too little and the growth will be slow and stunted. Too much and you’ll delay flowering and fruiting.
Fertilizer must be applied before fruit set. Your goal is to support the plant as it’s establishing the foundation for the developing chilis.
Before you plant, test your soil. It won’t help to add a bunch of nitrogen if your soil is already high in it.
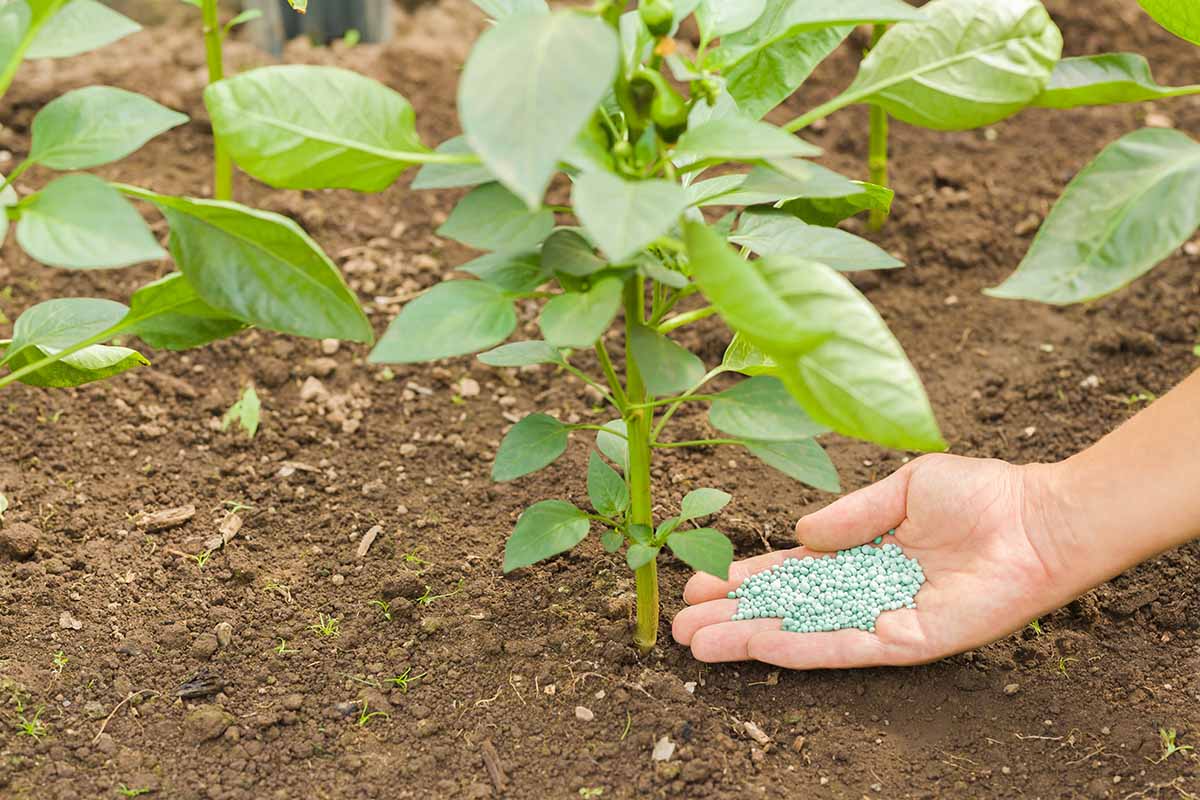
Assuming your soil is average and not extremely high or low in any of the main plant nutrients (nitrogen, potassium, phosphorus), apply an all-purpose fertilizer that’s a touch lower in nitrogen to your soil before planting, or just after planting.
I’m always singing the praises of Down to Earth. They make a variety of fertilizers using natural ingredients that are packaged in compostable boxes.
Their All Purpose Mix is just right for our purposes.
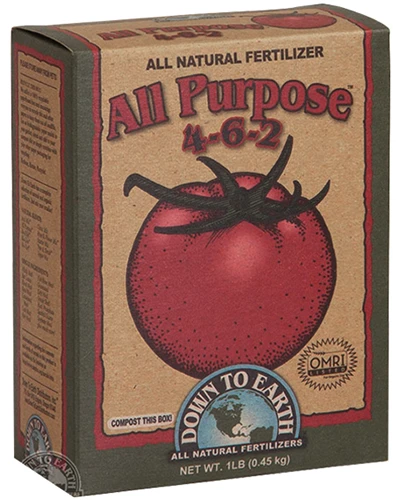
If you don’t already have a product you plan to use, grab a single-, four-, or 15-pound container at Arbico Organics.
Three weeks after that, apply a balanced vegetable fertilizer.
Then, in another three to four weeks, do it again. Down to Earth’s Vegetable Garden Mix, which you can also pick up at Arbico Organics in the same container sizes, offers the right balance.
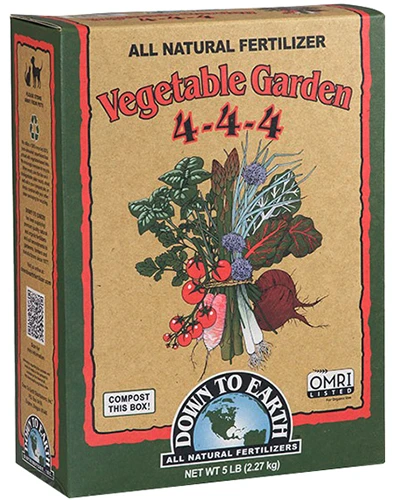
Down to Earth Vegetable Garden Mix
Be sure to follow the manufacturer’s directions and avoid getting any fertilizer on the plant itself. This can cause burning.
If you’re interested in growing your peppers in containers, be sure to pick a dwarf or container variety. Skip the initial fertilizing step.
Growing Tips
- Keep the soil consistently moist.
- Plant in full sun, at least eight hours per day.
- Use cold frames, black mulch, and tunnels to increase heat in cooler regions.
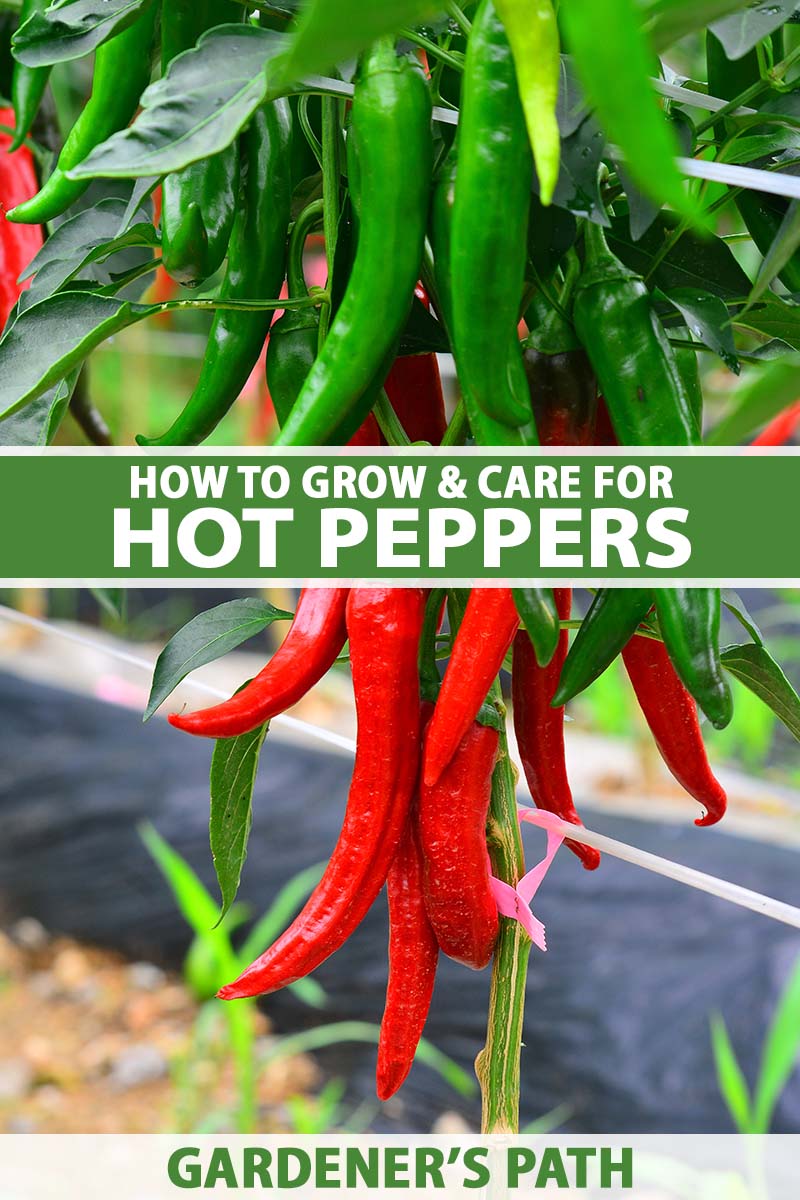
Maintenance
If you follow the tips in this guide, you’re going to run into a problem: your plants are going to thrive.
Why is that bad? They might topple right over with the weight of the foliage and fruits.
When they’re young seedlings, you can use something small like a skewer, bamboo stake, or small branch from a tree to support them. As they grow larger, you’ll need something sturdier, like a tomato cage or a large stake.

If you’re growing multiple plants, the easiest option is to hammer stakes into the ground between the plants and weave rope around the area for the plants to grow in.
This is sometimes referred to as a Florida weave. You might need to secure the stems using plant tape or twine.
Prune your peppers when they’re young to encourage branching. All this requires is pinching a few stems while they’re short and tender. You can use your fingernails or a pair of scissors.
Pinch off any flowers that form before the plant has reached its mature size.
Read our guide for tips on overwintering your pepper plants so you can grow them as perennials in cooler Zones.
Cultivars and Hybrids to Select
Now for the hardest part of all. Picking the cultivars and hybrids that you want to plant.
There are so, so many good options. If you want to go straight to the spicy end of things, go for a ‘Ghost’ pepper. We have a whole guide to help you out with these steamy fruits.
If you’re one of those pepperheads who just can’t get enough heat, the hottest pepper currently on the market is ‘Pepper X.’ Bred by the same guy who brought us the ‘Carolina Reaper,’ it rates at an astonishing 3,100,000 SHU. We’re gonna need a new scale soon!
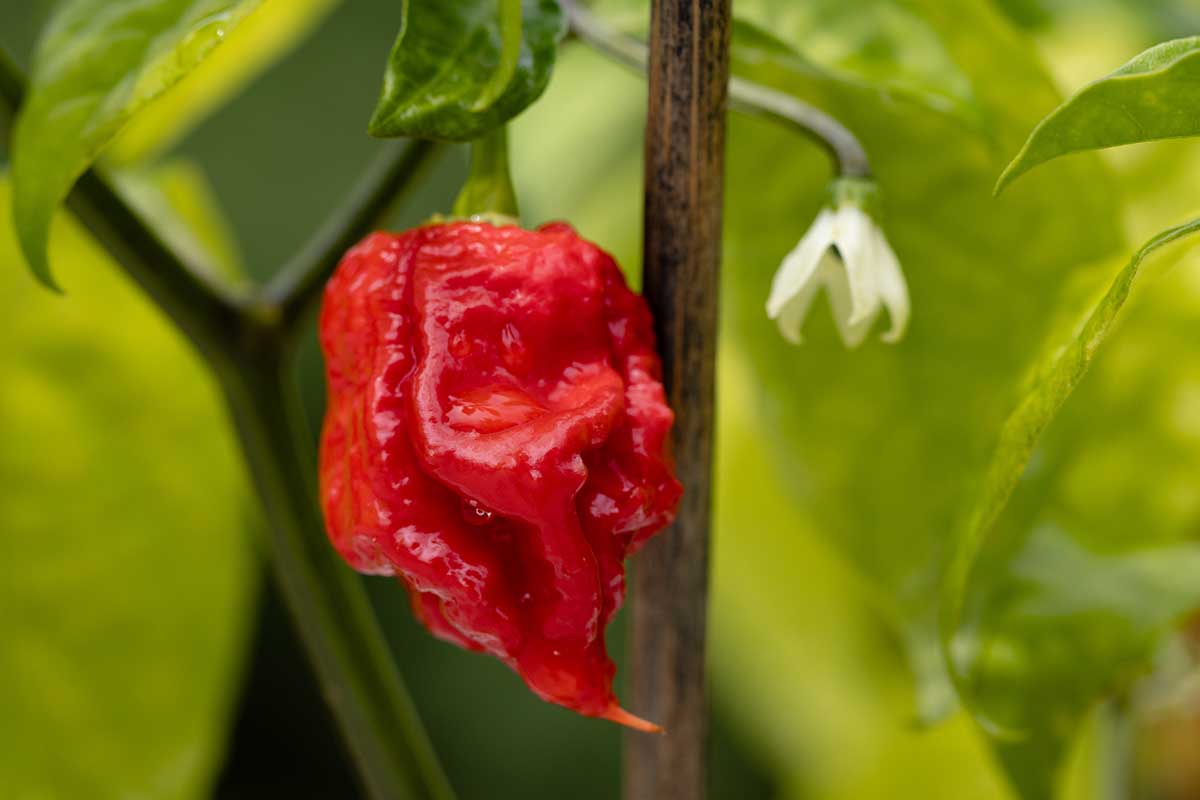
If you can detect it behind the heat, it has a sweet, fruity flavor.
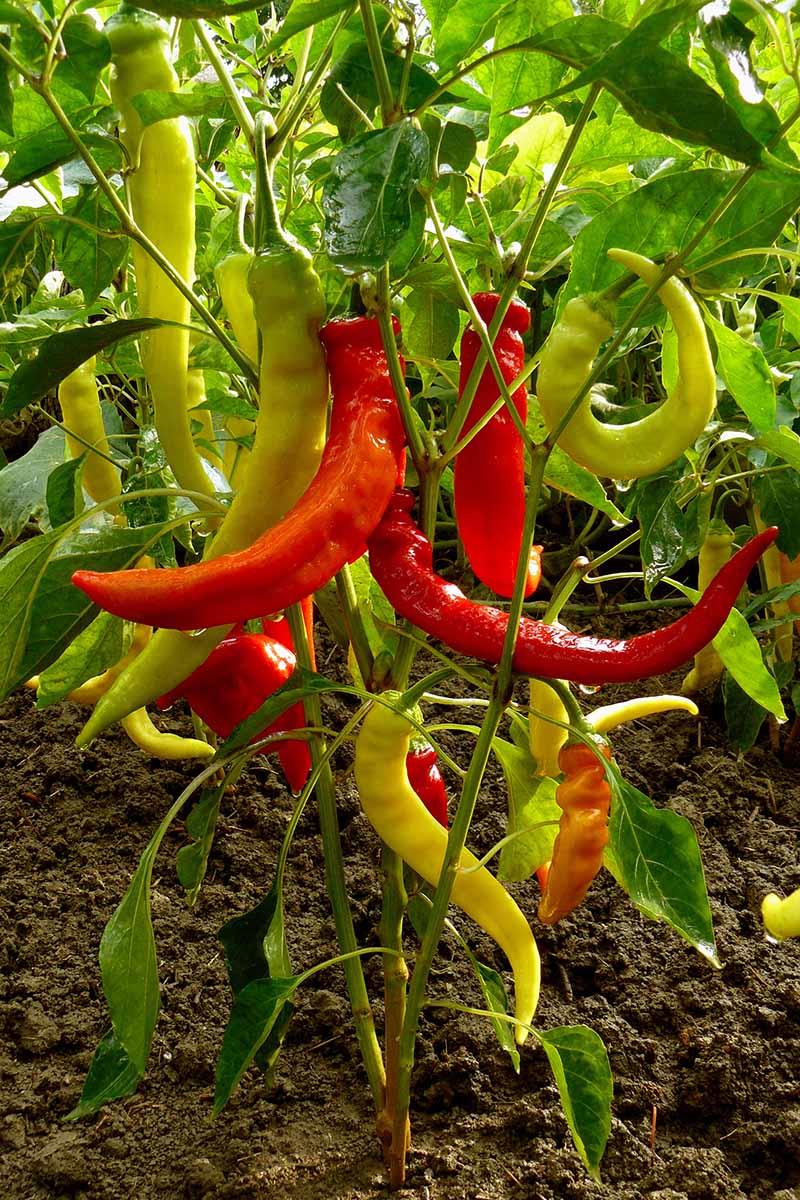
Blazing Banana
Sweet, fruity ‘Blazing Banana’ is an heirloom hybrid with an SHU rating of 5,000. It ripens earlier than most other peppers, and the plants produce a ton of fruit.
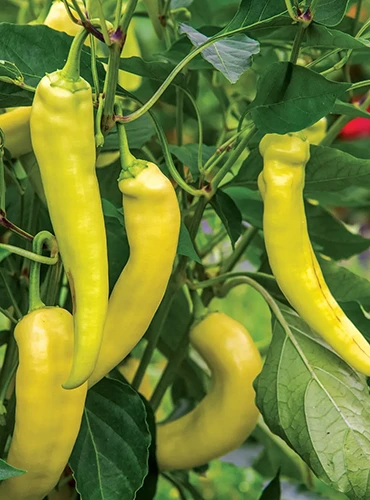
Nab 25 seeds or a live plant at Burpee.
Learn more about growing banana peppers in our guide.
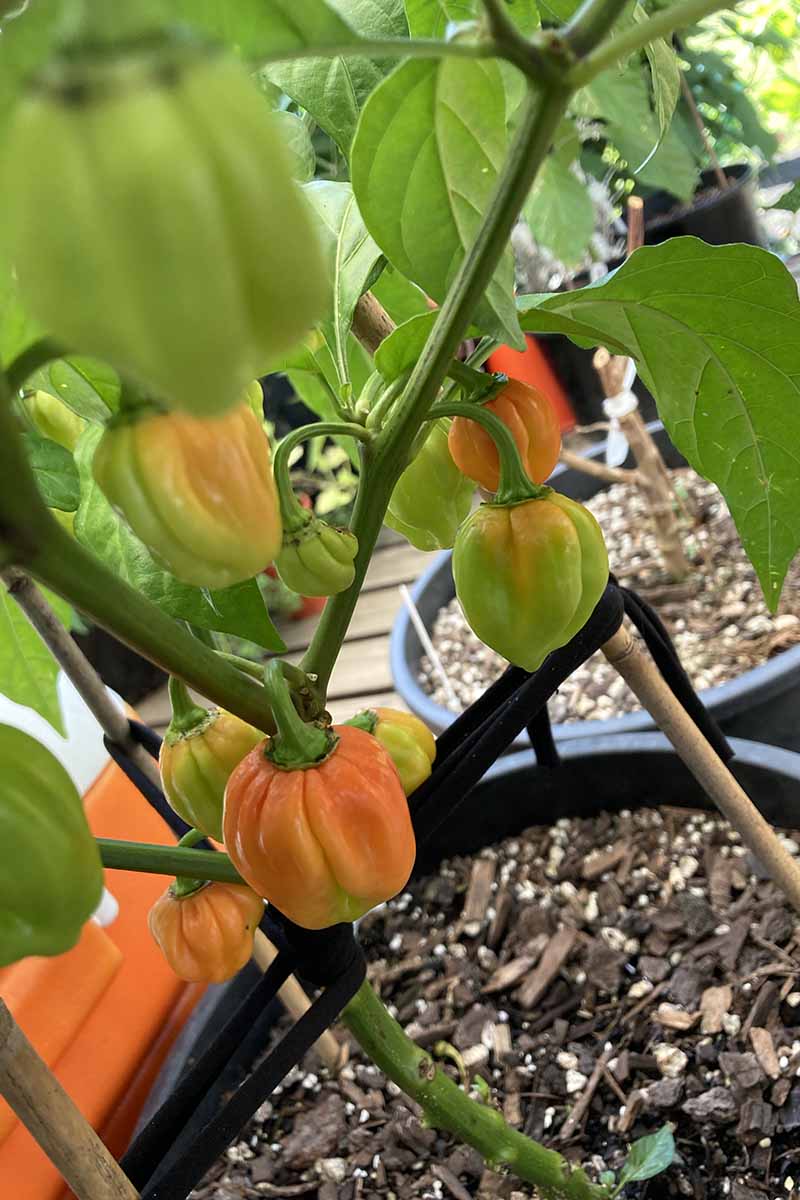
Habanero
If you want something a bit more manageable, one of my all-time favorites is C. chinense ‘Chocolate Habanero.’
It still packs a punch with 425,000 SHU, making it the hottest habanero, but it also has a complex earthy, smoky flavor with a base of fruity sweetness.
‘Scotch Bonnet’ (100,000 SHU) has a sweet, tropical flavor, or it can be more fruity if you harvest the peppers when they’re slightly immature.
Eden Brothers carries a Habanero Mix if these are calling your name.
Hatch
On the lower end of the scale, the 1,000 SHU ‘Hatch’ chili has a buttery, earthy flavor that has made it so extraordinarily popular.
Tabasco
If you love the smoky flavor of Tabasco hot sauce, you should be growing ‘Tabasco.’ With 40,000 SHU, it’s spicy, but it isn’t going to blow your head off.
If that sounds just about right for you, purchase a packet or ounce of seeds at Eden Brothers.
Managing Pests and Disease
Pests in the nightshade family have quite a few pests and diseases that can take the fun right out of growing them. If you support your plant and grow it in the ideal environment, it’ll be less likely to suffer from issues.
Those that suffer from drought stress or crowded conditions, on the other hand, are more likely to experience problems.
Most herbivores avoid peppers, but birds will eat them by the bushelful. Netting is your best defense against our avian friends.
Insects
Insects are a double whammy of bad news because not only can they harm your plant directly, but they also spread diseases. Here are the most common ones:
Aphids
Aphids are extremely common on all kinds of veggies, and peppers aren’t special.

Beyond the fact that a heavy infestation can stunt a plant, these sap-sucking pests also spread diseases.
Read our comprehensive guide to learn more about aphids and how to deal with them.
Cutworms
In my opinion, there should be a special place in hell for cutworms.
With other pests, it feels like you have a fighting chance. You see them on your plant, and you work to get rid of them. But with cutworms, often the first sign is that the plant is completely dead, cut off at the base and lying limply on the ground.
It’s a little hard to come back from that.
There is a bright side, though. They’re not that hard to thwart. If you want to know more about identifying and eliminating them, read our guide.
Thrips
Like aphids, thrips are sap-sucking insects that will weaken your plants and turn the leaves mottled yellow.
Even worse, they, too, carry diseases that can kill your pepper plant. Our guide to identifying, avoiding, and eliminating thrips can help.
Tomato Hornworms
Where cutworms make me feel angry and a little violent, tomato hornworms make me want to give them a little pat. I don’t know why, I just think they’re kind of cute. Maybe it’s because these green caterpillars are so big they could practically be housepets.
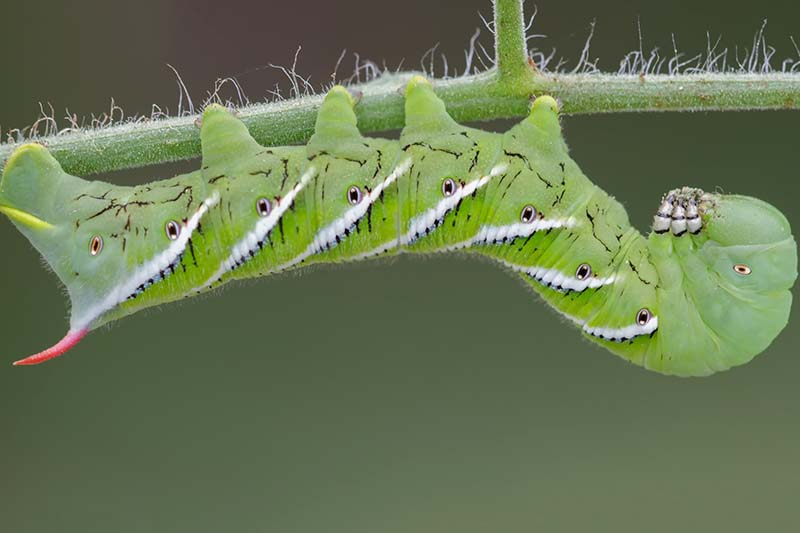
Not so cute is what they do to your plants. They can defoliate a young plant pretty rapidly.
As with the other pests on this list, we have a guide that can help you figure out how to control them. Hand-picking is an easy first line of defense, but there’s lots more you can do.
Need more help identifying the pests attacking your pepper plants? We have a guide for that too!
Disease
Bacterial wilt and spot are the two common issues for home growers, and the two most destructive pepper diseases.
Mosaic virus and blossom end rot can also cause problems.
Bacterial Spot
Bacterial spot is bad news. Partially, that’s because it’s hard to identify until it’s way too late.
Caused by Xanthomonas vesicatoria, X. euvesicatoria, X. gardneri, and X. perforans, the initial symptoms are brown spots, but they aren’t distinct, and they look like those caused by many other diseases, such as blight.
These brown spots might also develop on the fruit or the stems. If they do, they’ll be slightly raised.
While this won’t cure the disease, a product containing the beneficial bacteria Bacillus subtilis can suppress the pathogens enough that the plant can survive and even produce fruit.
Otherwise, just pull the plant and toss it if it’s too far gone. Then, treat the soil with B. subtilis, and don’t plant any nightshades there for five years.
Earth Alive Soil Activator contains B. subtilis along with B. amyloliquefaciens to battle the bad bacteria, and Pseudomonas monteilii to improve soil quality.
You should always avoid getting water on the leaves of plants and allowing water to flow from one plant to others.
Crop rotation is also key. At a minimum, don’t plant nightshades in the same area for at least three years.
Bacterial Wilt
Bacterial wilt is caused by the bacteria Ralstonia solanacearum, which can infect any solanaceous veggie.
The pathogen is tenacious. It can survive in the soil for years, lives in plant material, and there’s a lot of genetic diversity among the many different strains, so it can adapt to all kinds of conditions. It can also spread in water.
This disease causes plants to wilt even when it isn’t hot out and they have plenty of water. Wounds on the stems may ooze a viscous liquid.
Rapidly, the entire plant turns yellow and dies. If you have multiple plants, one might be infected while its neighbor is totally healthy.
Treat as you would a bacterial spot infection.
Blossom End Rot
Blossom end rot isn’t caused by a pathogen, it’s caused by a lack of calcium. Now, before you run out and buy some calcium to add to your soil, there’s a bit more to know.
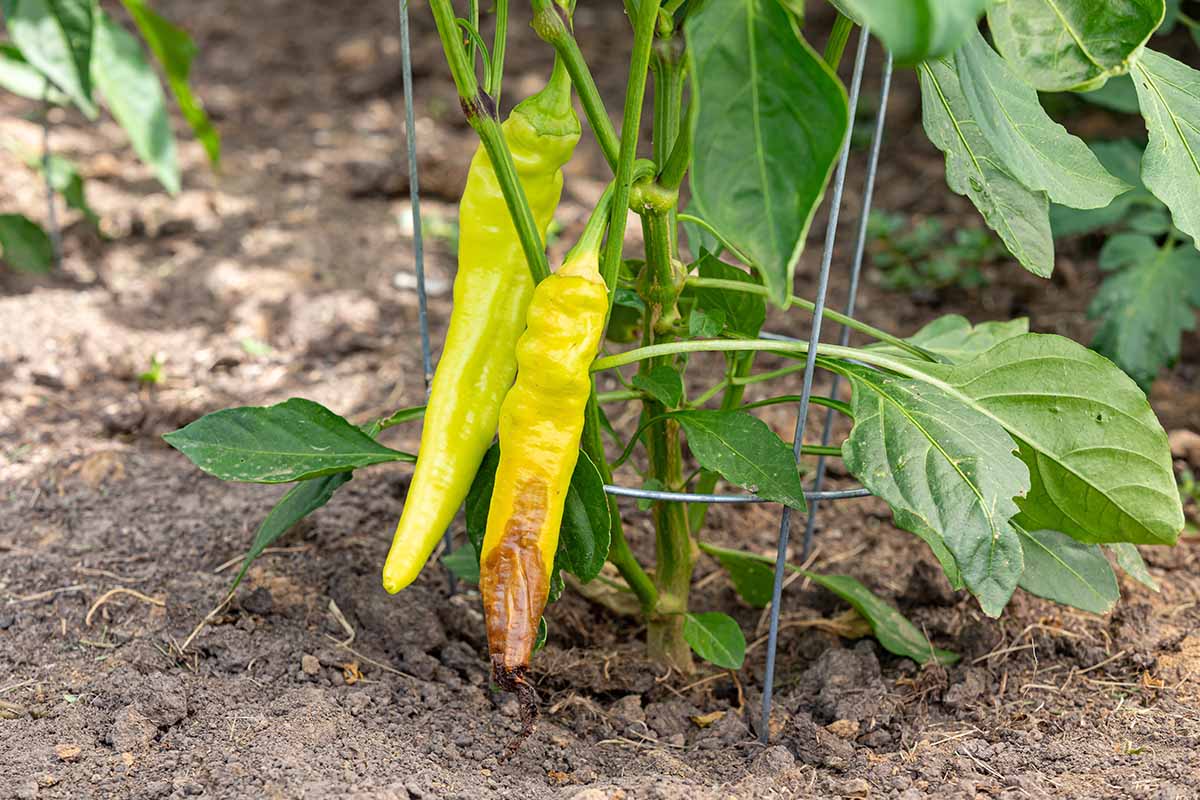
First, what does blossom end rot look like? It’s when the end of the fruit on the opposite side from the stem starts to turn yellow or brown before turning red or yellow as it typically would when it matures and ripens. Then, that spot starts to rot and turn black and soft as bacteria move in.
While it’s possible that your soil is deficient in calcium, it’s usually more of an issue of the existing calcium not being able to move through the plant.
Excess nitrogen can cause the plant to grow extremely fast. When a plant grows too quickly, the calcium can’t reach the growing parts. A lack of water also makes it difficult for the plant to take up calcium.
To avoid blossom end rot, keep the soil moist using whatever method works best for you and avoid overfertilization. You should also test your soil before planting to determine exactly what you’re working with.
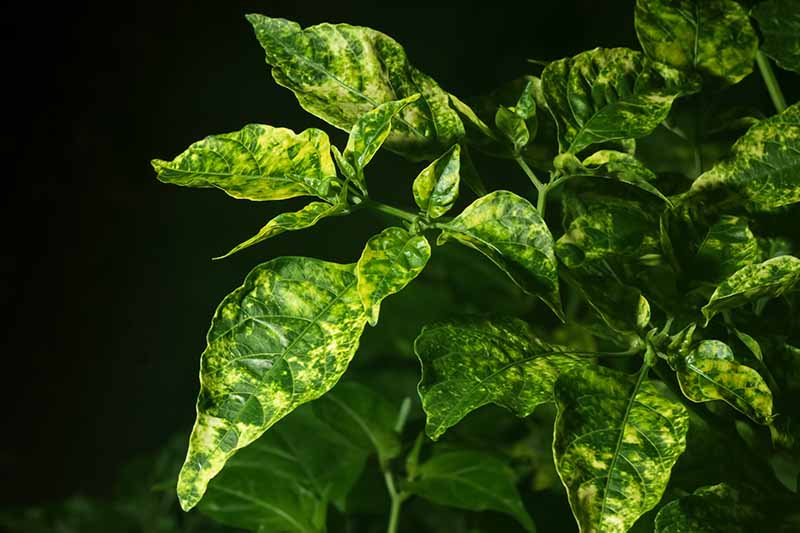
Mosaic Virus
Both cucumber (CMV) and tobacco mosaic virus (TMV) can impact peppers. The viruses that cause these diseases can be spread mechanically or by pests like thrips and aphids.
Do what you can to keep pests away, like using reflective mulches, and be careful not to damage plants when you’re working around them.
Infected plants will be stunted, the leaves might curl, and they might have yellow, light green, and dark green mottling.
There is no cure and the disease will spread to other plants, so it’s best to just pull the infected plants, and dispose of them rather than composting them.
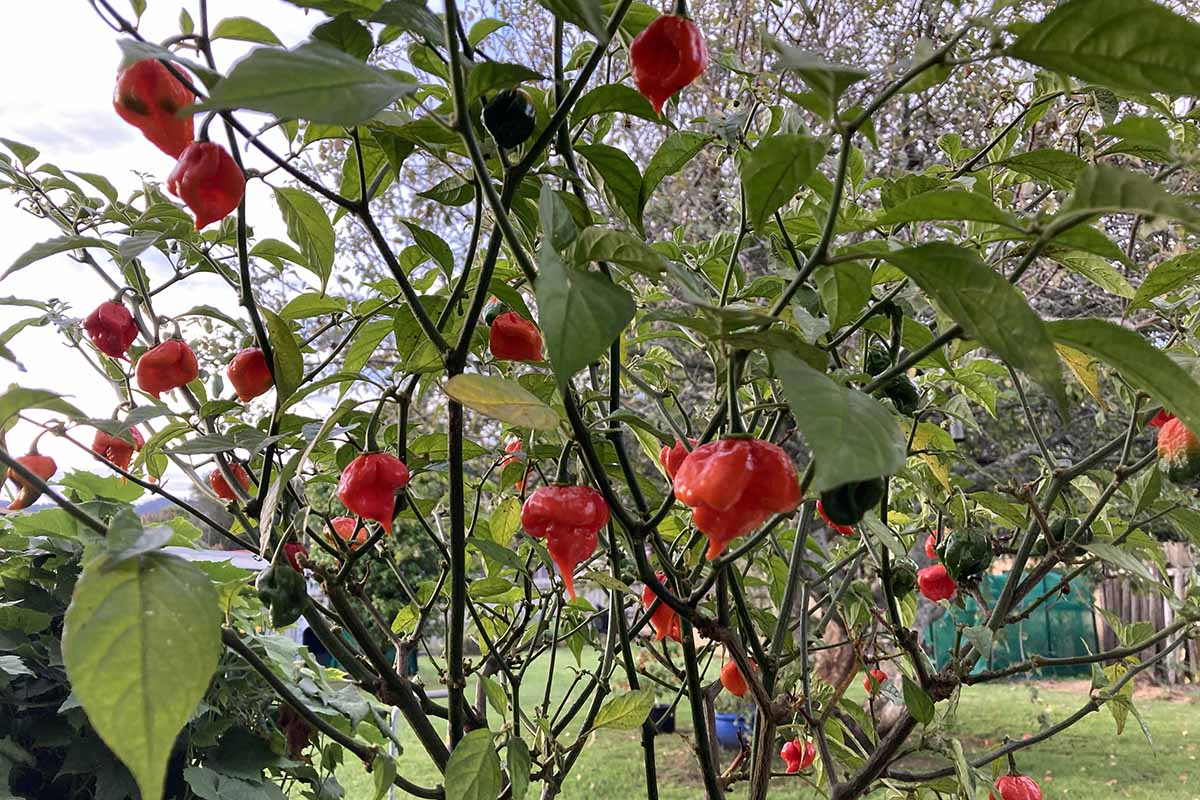
Harvesting
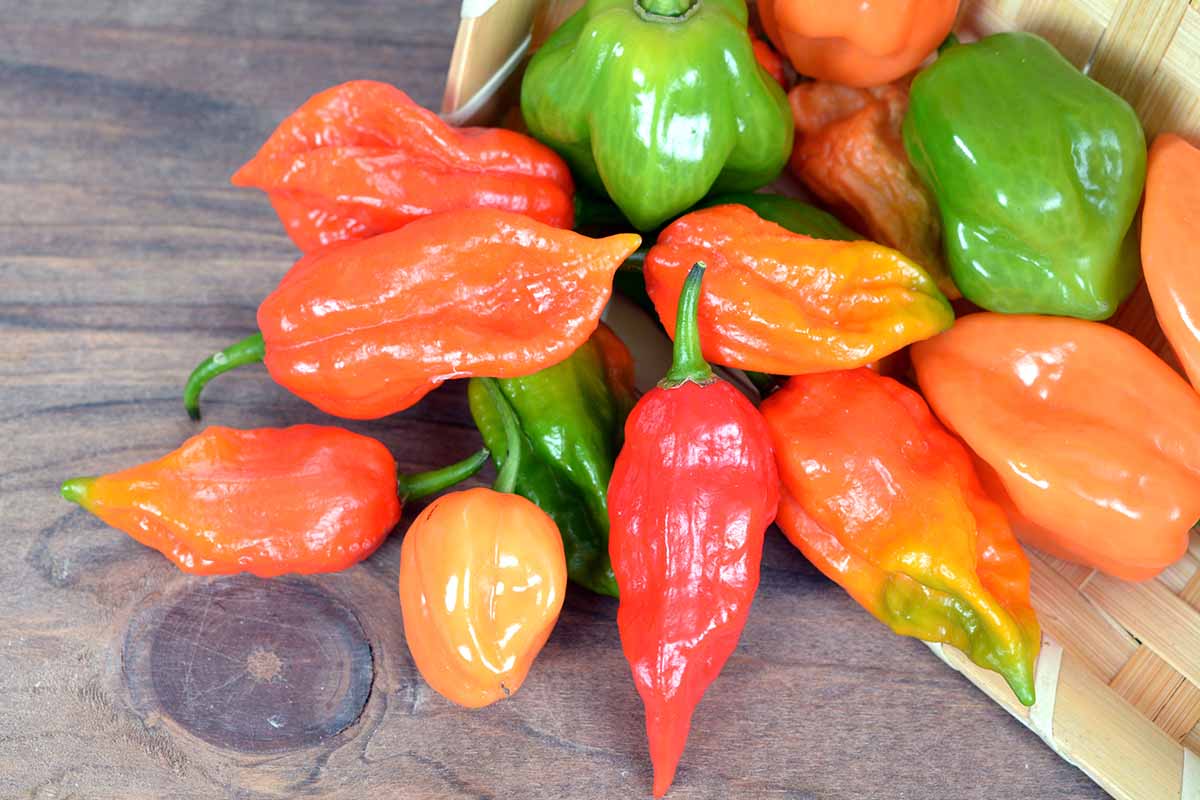
Picking perfect peppers is a matter of experience. Some are best if you wait until they turn their mature color – usually red, but sometimes brown, yellow, or orange. Others are just as good if you pluck them when they’re still green.
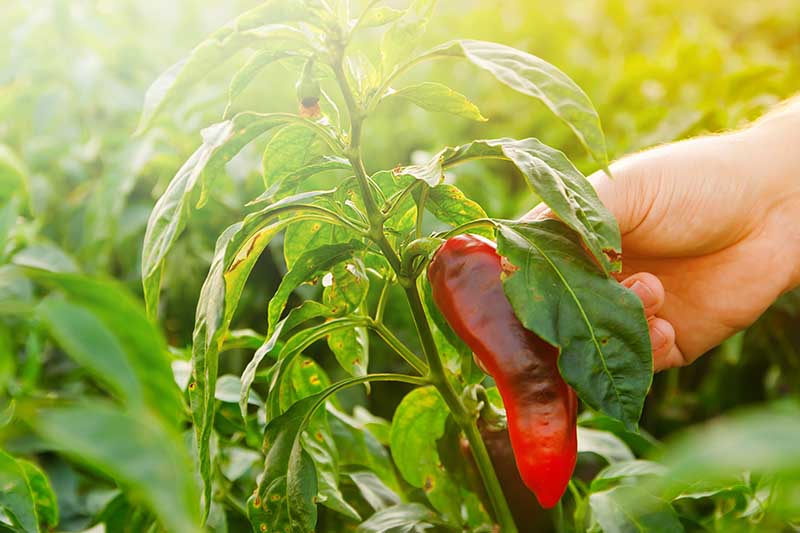
The best way to test is to eat them. Just go out when they are looking good, and they are somewhat close to the maturity date, and just taste one.
If you like the flavor, great! Eat away. But let some mature, and try them again later to see if you prefer the flavor.
The only rule is that you must allow the fruits to fully mature if you want to use the seeds to grow new plants.
One of the ways that peppers evolved is to cling to the plants until they are fully mature. That way, a hungry bird won’t come along and fly off with the immature fruit, eliminating the chance that the seeds will be spread around.
What that means for us is that the peppers will usually come away easily once they’re ripe. As we’ve bred plants for cultivation, not all of them have retained this characteristic, but many do.
Regardless of whether you’re waiting for maturity or you prefer less ripe fruit, you can always use a pair of scissors to clip off the fruits when you’re ready.
If you have a long growing season, you’ll probably be able to get additional harvests because the plant will continue to send out flowers and fruits as you harvest the ripe ones.
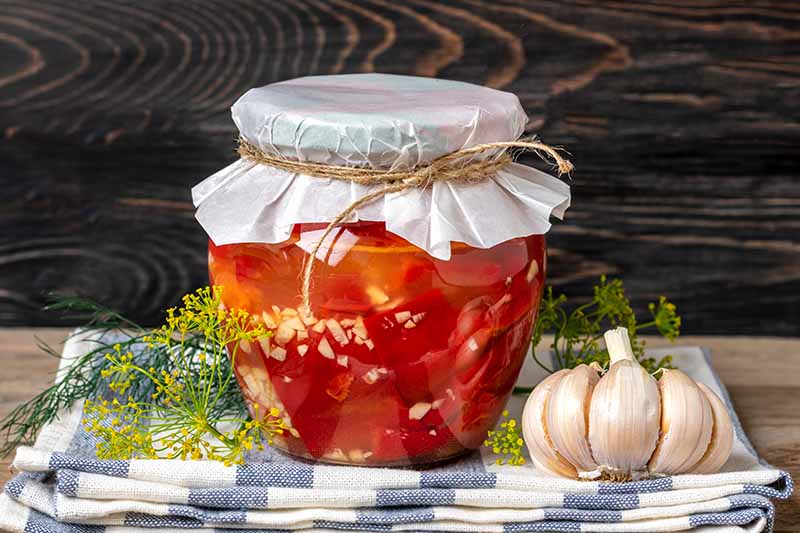
Preserving
If you don’t intend to eat them right away, put your chilis in the crisper drawer of your refrigerator. They can last for a week or so that way.
Pickling or making salsa are classic methods of preserving peppers that you want to keep around longer. A quick pickle can keep your peppers around for up to a month, and lacto-fermentation or shelf-stable canning can preserve peppers for up to a year.
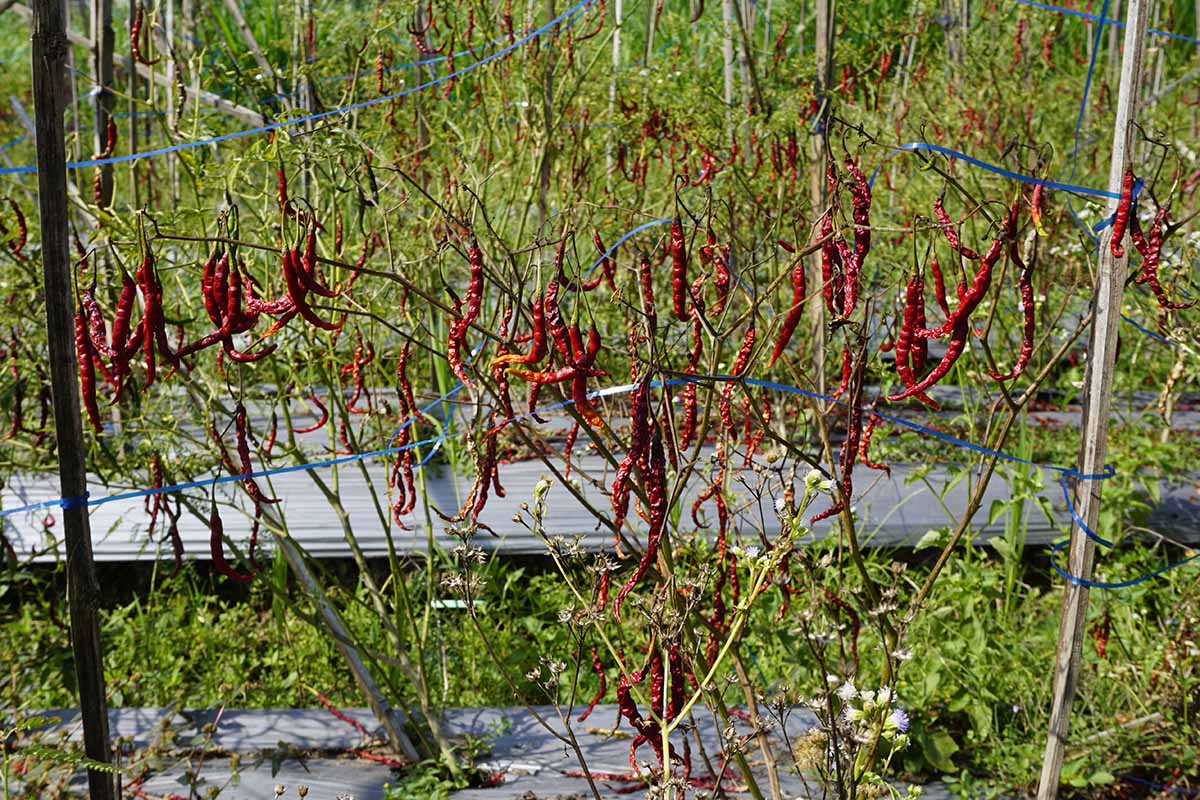
You can also hang and dry the peppers, or lay them out on a cookie sheet in a single layer and dry them in the oven on the lowest setting. Just remember that drying the fruits intensifies their spiciness.
Finally, you can freeze peppers by cleaning them and placing them in a sealed bag with all the air removed.
They can last about six months this way, but when you go to use them, keep in mind that they’ll be soft and mushy. That means they’re better for soups and stews. Chili cook-off, anyone?
Recipes and Cooking Ideas
The options for using up your peppers are endless. Everything from raw slices on a veggie tray to sauces for hot wings or your favorite curry.
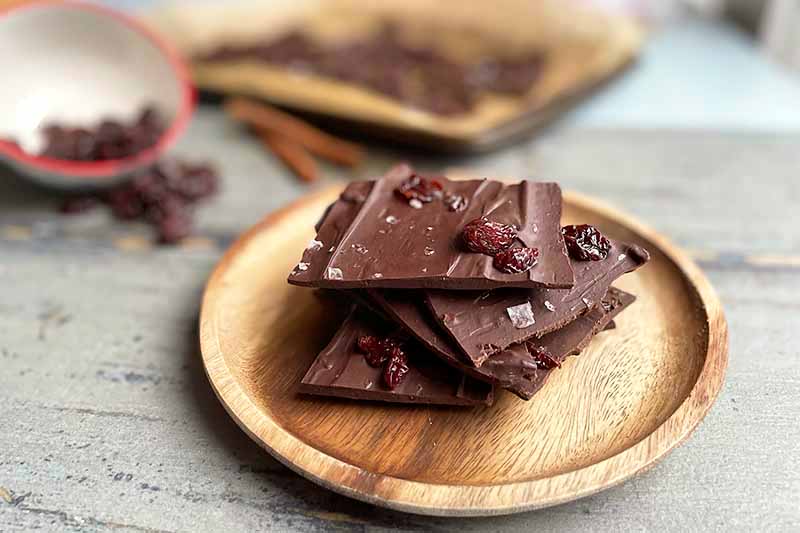
If you have a sweet tooth, imagine a smoky habanero added to chocolate bark. For the recipe, pop on over to our sister site, Foodal.
Or how about some pepper jelly? A fruity pequin used as the highlight of this recipe from Foodal would be a knockout.
More of a savory lover?
Stuff ‘em with cheese, chop them to serve on eggs, make a shrimp ceviche, or wrap them in prosciutto and grill them up.
My grandma made a killer chili recipe, but it was all sweet peppers. I’ve tweaked it to be a bit more, shall we say, heated.
To make it, sear your chosen meat in hot oil in a large pot. I use a pound of beef stew meat, but you do you, or leave it out altogether. This recipe can be made vegetarian.

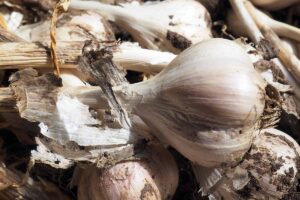
Add one chopped onion and one small chopped garlic bulb.
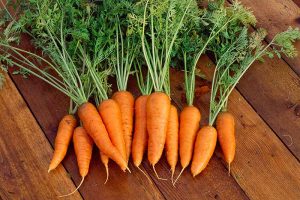
Add five chopped carrots and nine of your chosen chilis, chopped. I use ‘Chocolate Habanero’ because I like the smoky complexity, but any chili will work.
Remove the seeds and placenta if you want to tone down the heat to focus on the flavor of the chilis. Add another splash of oil and cook everything together until soft.
Add two cans of kidney beans, one large can of peeled tomatoes, and one can of tomato paste. To that, add two and a half teaspoons of fennel seeds and a teaspoon each of cinnamon and chipotle powder. Optionally, add a teaspoon of harissa.
Toss in two teaspoons each of garlic powder and cayenne pepper, plus four tablespoons of chili powder.
Add 24 ounces of water and bring to a boil. Immediately turn the heat down to a simmer, cover, and let it meld and reduce a little for an hour or so, stirring occasionally.
Add salt and pepper to taste and dig in.
Quick Reference Growing Guide
| Plant Type: | Short-lived perennial vegetable | Water Needs: | Moderate to high |
| Native To: | South America | Maintenance: | Low |
| Hardiness (USDA Zone): | 8-11 | Tolerance: | Heat, some drought |
| Season: | Summer | Soil Type: | Rich, loamy, loose |
| Exposure: | Full sun | Soil pH: | 6.0-7.0 |
| Time to Maturity: | 90-150 days, depending on variety | Soil Drainage: | Well-draining |
| Spacing: | 18-30 inches | Attracts: | Birds, pollinators |
| Planting Depth: | 1/4 inch (seeds), same depth as original container (seedlings) | Companion Planting: | Basil, chives, dill, fennel, garlic, marigolds, onions, petunias, sweet alyssum, yarrow |
| Height: | Up to 5 feet, depending on variety | Avoid Planting With: | Brassicas, other nightshades |
| Spread: | Up to 2 feet | Family: | Solanaceae |
| Growth Rate: | Moderate to fast | Genus: | Capsicum |
| Common Pests and Diseases: | Aphids, birds, cutworms, thrips, tomato hornworms; bacterial spot, bacterial wilt, blossom end rot, mosaic virus | Species: | Annuum, baccatum, assamicum, chinense, frutescens, pubescens |
Turn Up the Heat
Hot peppers aren’t for everyone. I know some people who will turn their noses up at any food that has even passed close to a hot chili. But on the other end of the spectrum, those who love them seem to really, really love them. We can’t get enough of the heat!
Wherever you fall on the spectrum, let us know which ones you’ll be growing this year. What are your favorite kinds? What’s the hottest pepper you’ve ever managed to keep down? Let’s chat about chilis in the comments.
I hope this guide helped you conquer the pepper planting process. There’s always more to learn, though! We have a few guides that you might find useful. Check out:
I’ve been making friends my whole life! Last year was my first try growing peppers and make friends I did! My neighbors make fun of me by telling everybody to get your peppers from Joe he has the good stuff!
Funny, and true, Joe. My friend Louie and I exchange pepper plants, and then at harvest time, I’m often able to share some of my bounty with other neighbors. It’s what gardening is all about, isn’t it?