A fellow gardener once asked me if growing potatoes was worth it. Why waste the space, dig the trenches, mound the hills, interfere with tomato rotation, and risk battling with potato bugs for a vegetable that we often experience in ways that are far from special?
Here’s why:
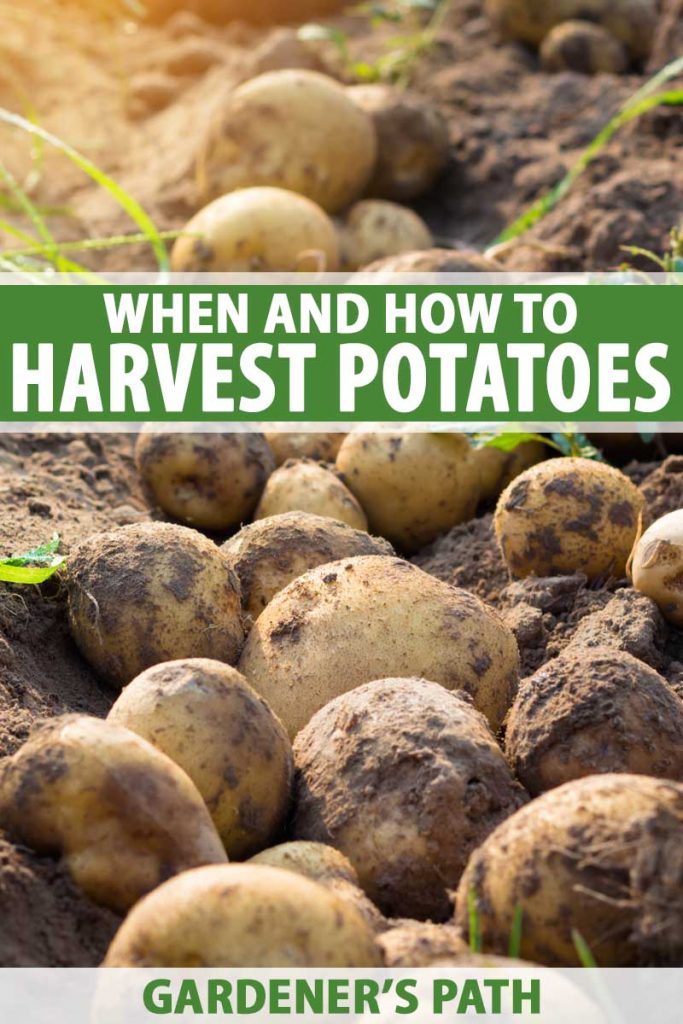
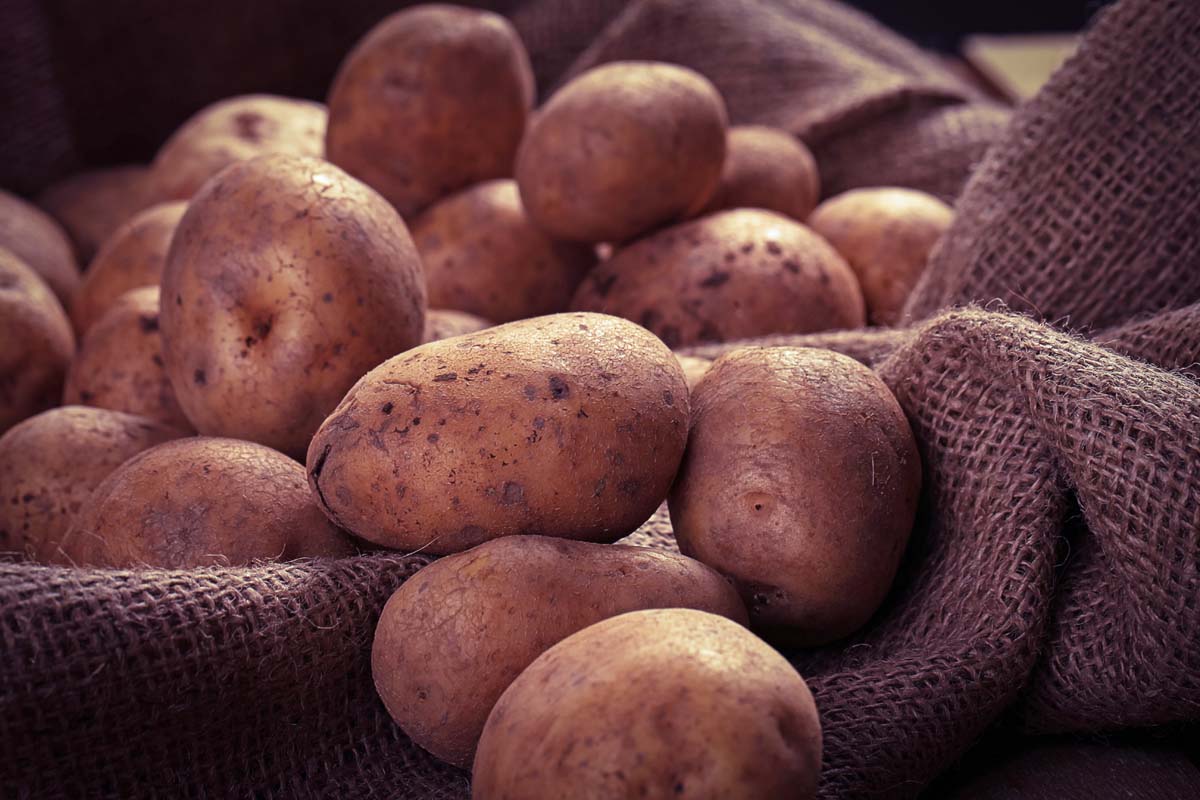
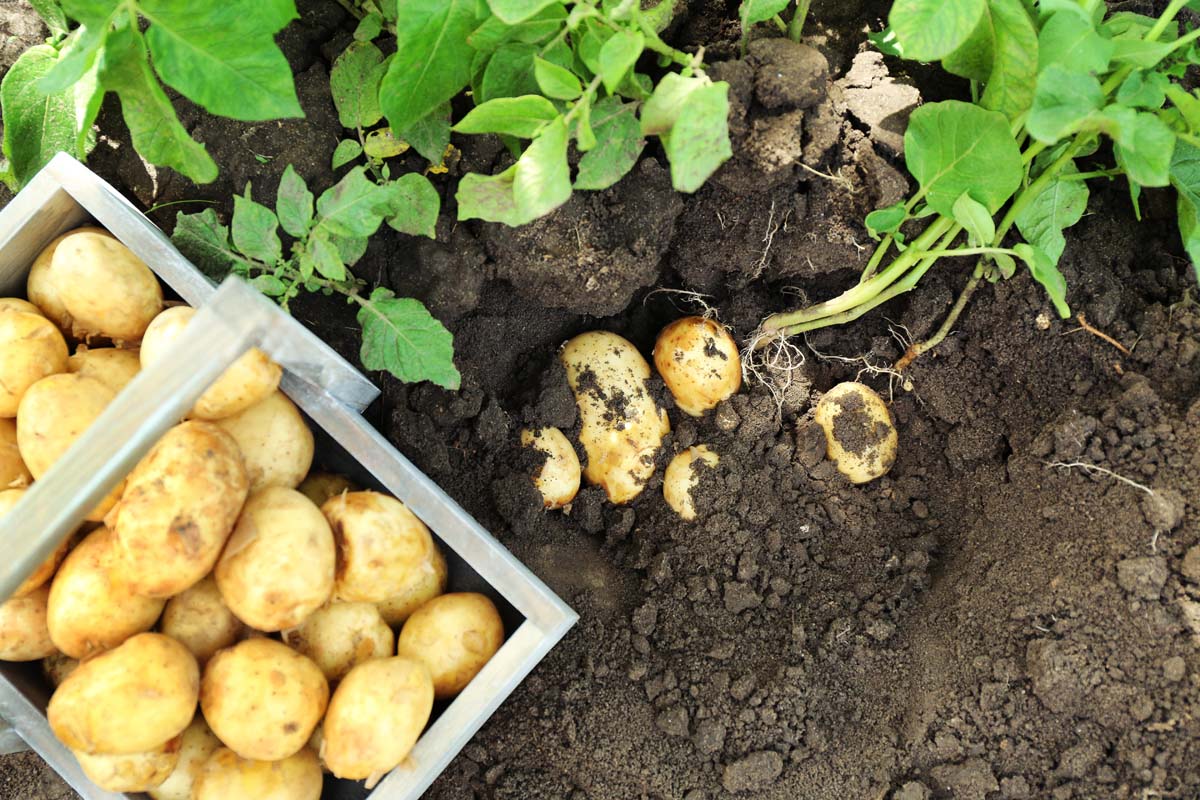
Recently harvested potatoes have a tenderness, a silky texture, and a depth of flavor that makes me look forward to growing these crops every year.
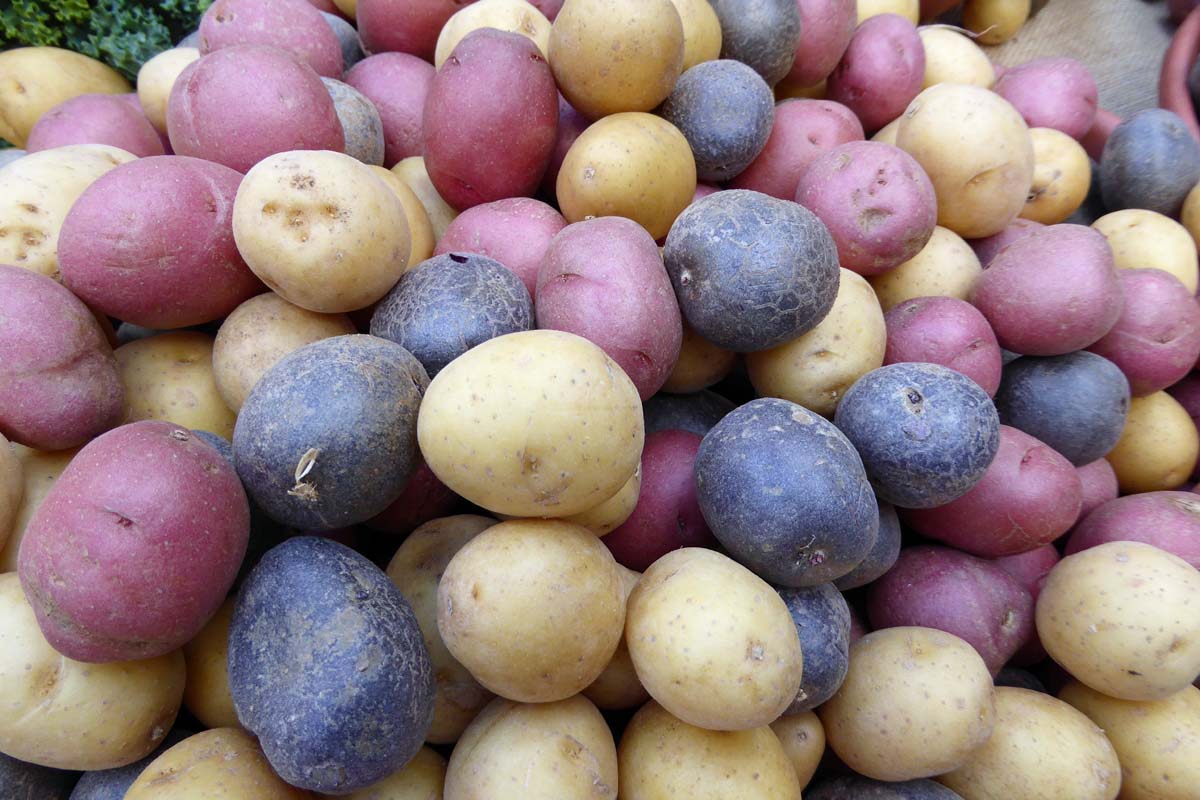
And even a small space like a raised bed or a large container can yield a respectable return on all sorts of potato varieties in dazzling colors, with a variety of uses in the kitchen.

We link to vendors to help you find relevant products. If you buy from one of our links, we may earn a commission.
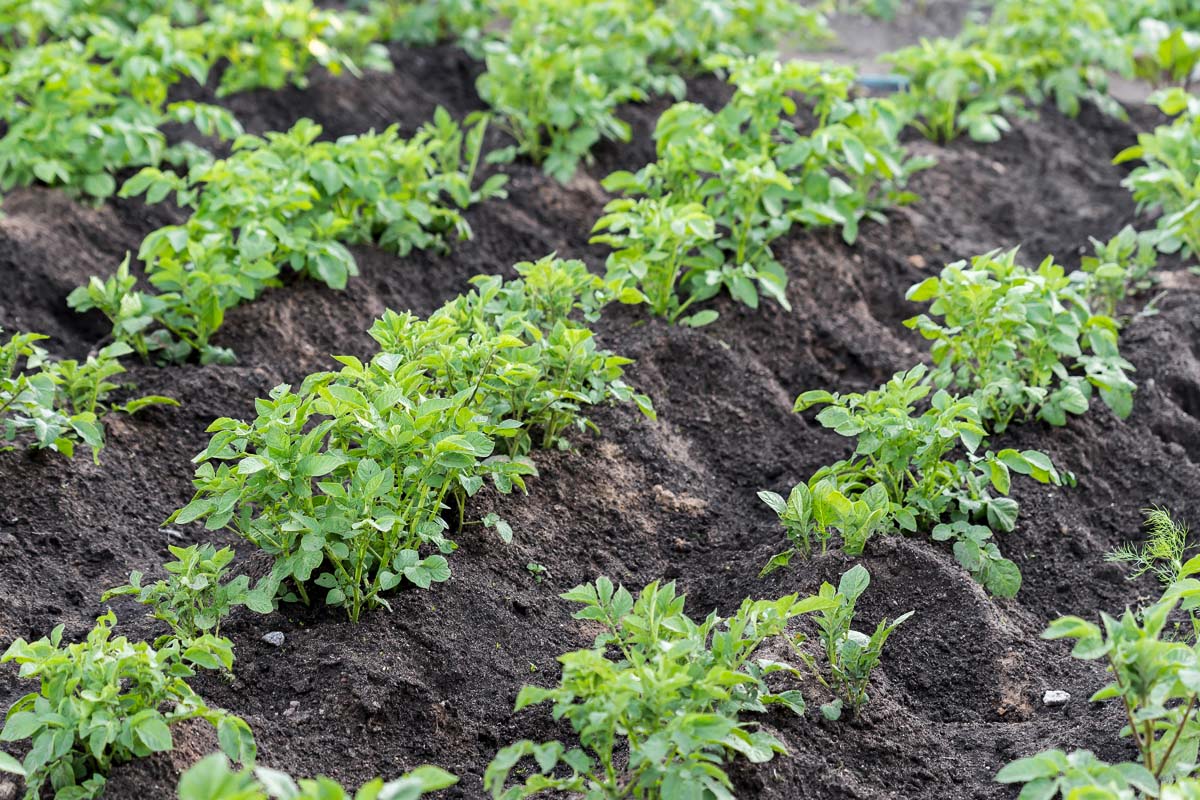
So you sprouted, cut, and dried your seed potatoes in the spring. You dug your trenches, mounded your soil, watered, and waited.
You watched as the sprouts grew into lush green stems. And when the stems started to yellow and die back, you knew it was time to strike!
Let’s get down to the business of digging up those spuds.
What You Will Learn
How to Harvest
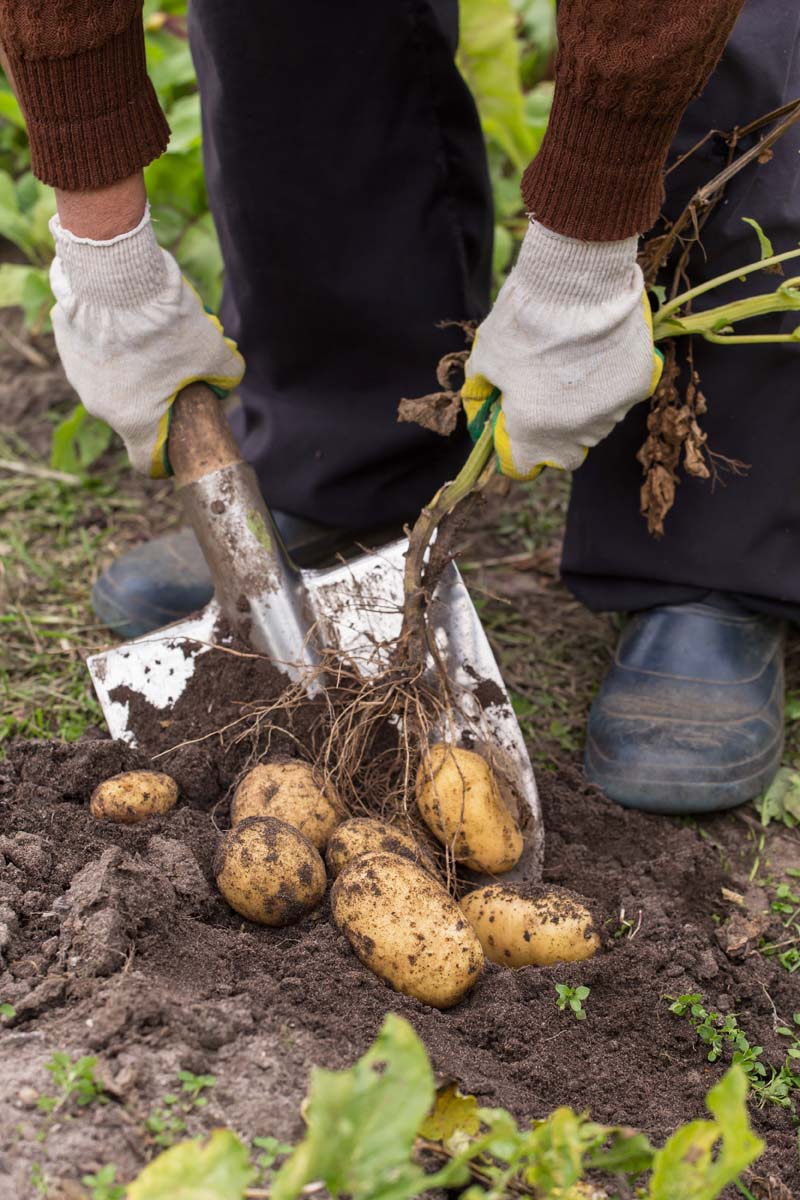
You can use larger tools like shovels and pitchforks or hand tools like trowels and claws to harvest, or – if your soil is shallow and soft enough, as mine is – your garden-gloved hands.
Using spades and shovels tends to result in chopped-up tubers, though, so garden forks or hands are recommended.
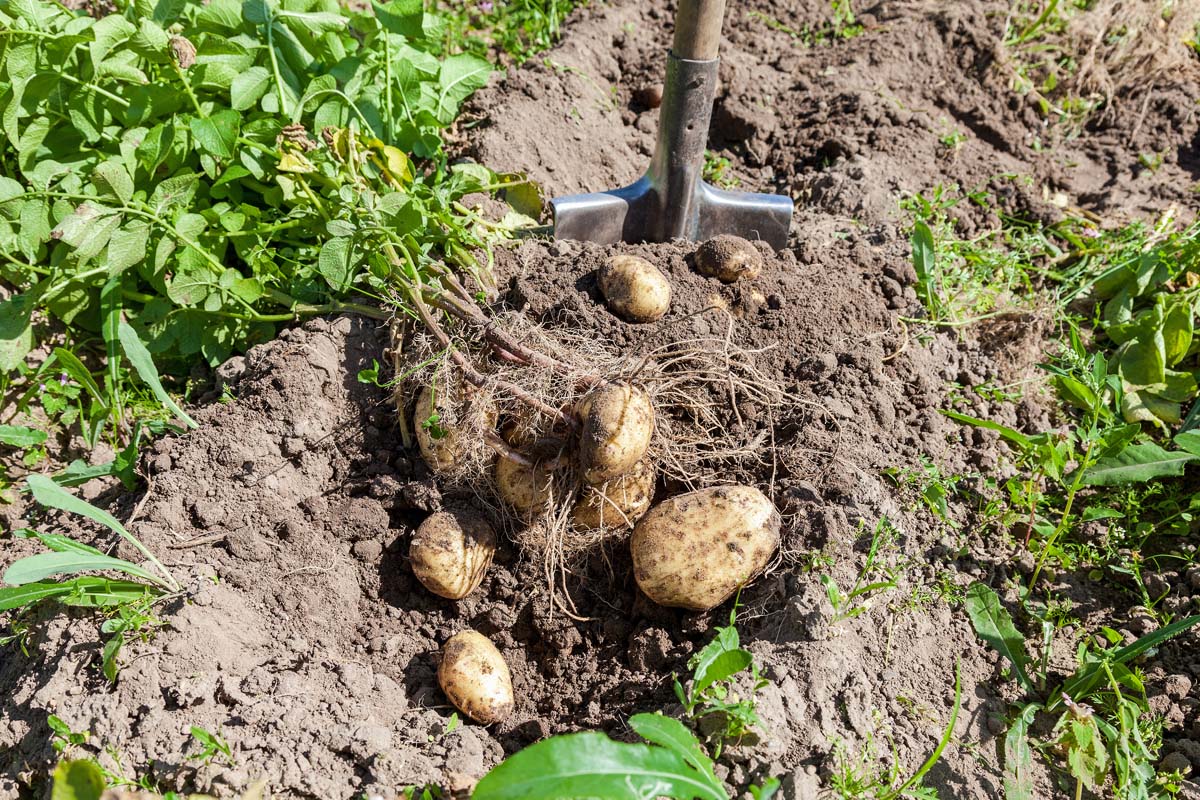
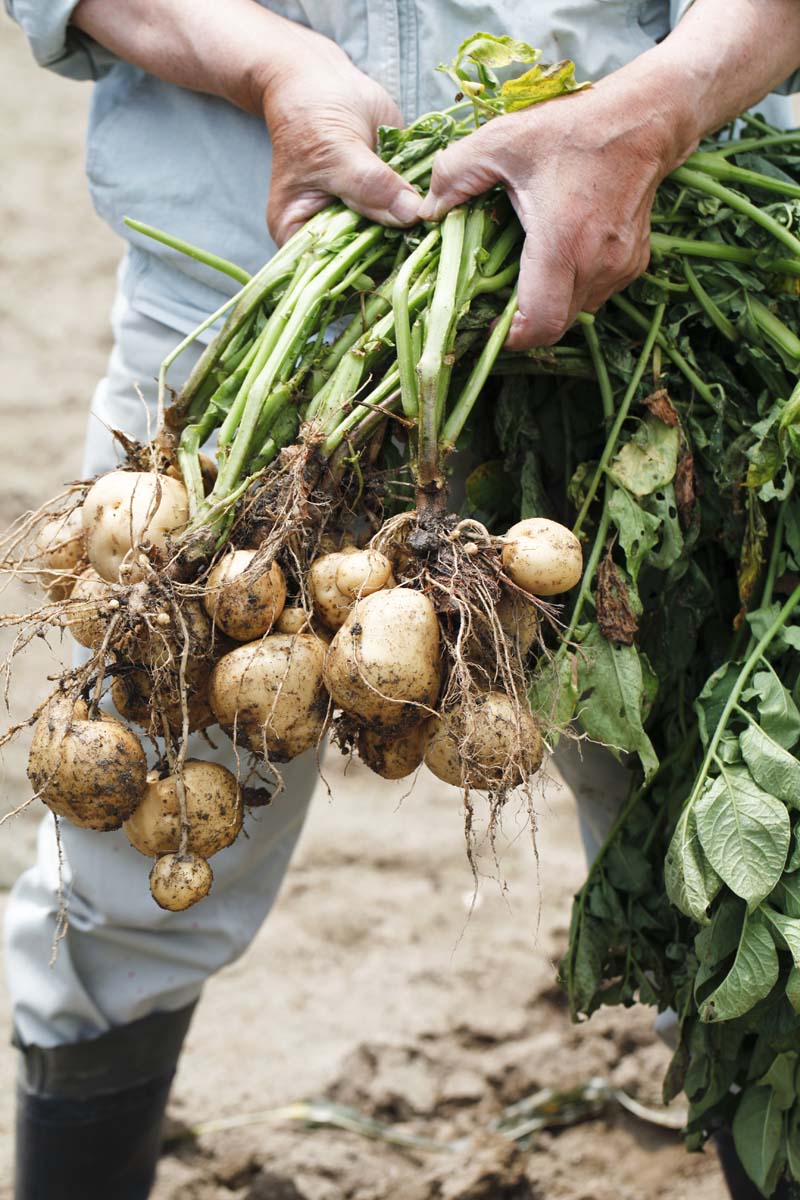
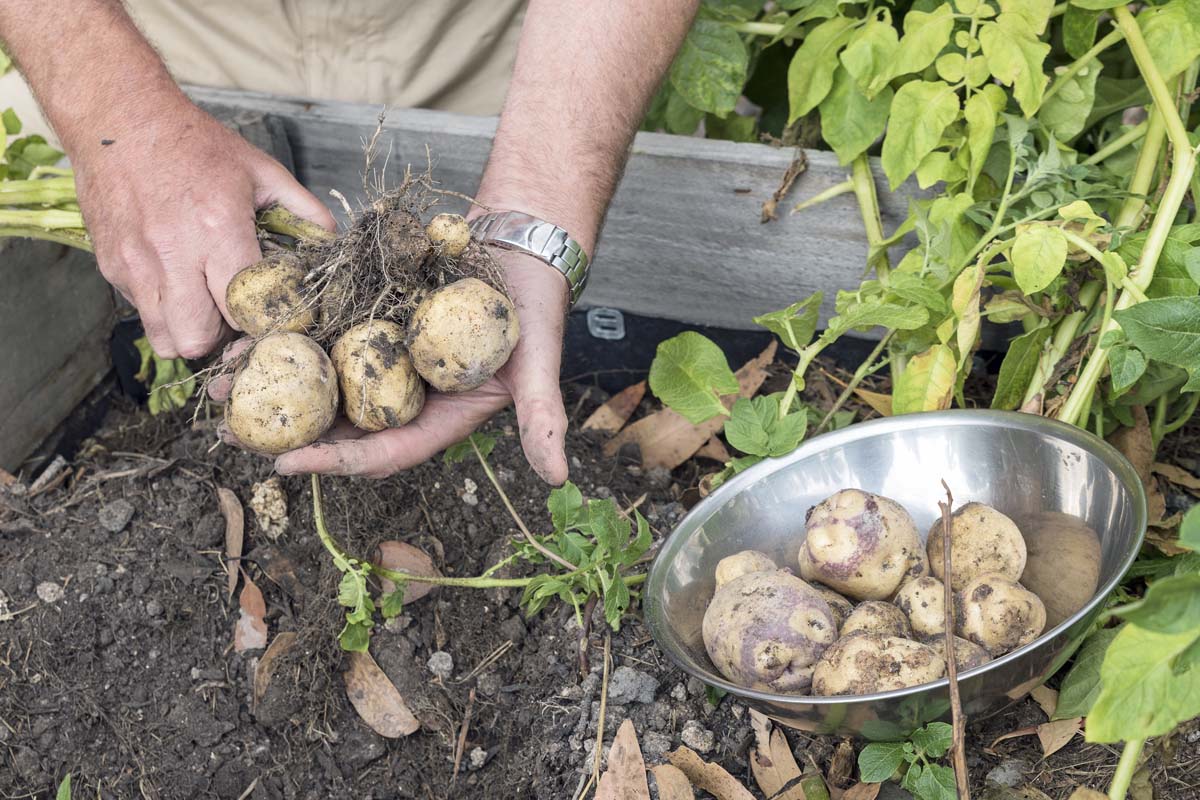
If your potato plants still have strong stems, you can pull them up to start the harvesting process.
You’ll often get a few smaller specimens clinging to the roots. To get the rest of the spuds, or if your stems have totally died back, gently dig several inches away from the base of each plant and lift the soil up. Grab any potatoes that come with it.
Use gloved hands to sift through the upturned soil to make sure you get every last one. Don’t forget to dig down deep so you won’t leave any specimens underground, where they could rot or sprout next season (which might not jibe with your planting or crop rotation plans).
Now that you know the “how,” let’s take a look at timing.
When to Harvest
For “new” potatoes – a wonderful midsummer treat – you can harvest when about a third of the potato greenery has started to yellow or die back.
These potatoes will be on the smaller side, and they’ll have a very delicate skin that’s easy for shovels, forks, or even gloved hands to damage. They’ll also be delicious.
This can be a good time to check on and harvest just a few potatoes to see how they’re coming along in terms of size and skin texture – if you’re planning to store potatoes, or if you want bigger spuds, they’ll need several more weeks to develop. Prep and enjoy your test potatoes now for a delicious preview of future harvests.
Be sure to get even the little marble-sized goodies. A farmer I know sold these recently in half-pint containers as “peanut potatoes.” If you’re roasting, grilling, or frying your spuds, these little guys with their high skin-to-flesh ratio crisp up really nicely.
Now that you know your potatoes are ready, you can harvest your spuds all at once, or as you need them during the hardening-off process, which I’ll discuss in the next section.
I tend to harvest the potatoes from each of my planting areas (in my case, raised beds and containers) all at once, but I do this in stages.
I’ll harvest one container or bed’s worth so that the growing space becomes available for other crops sooner. But I still have a few more beds or container’s worth of potatoes to harvest in following weeks. That way, that I’ve got a pretty good supply that will take me from midsummer to Labor Day.
Besides keeping my root cellar or fridge stocked, this allows me to free up containers or sections of plots for sowing fall crops like carrots, beets, and lettuce.
Speaking of fall, you might want to keep a large crop of potatoes fresh for several months past harvest time. Fortunately, there’s a simple process that can help you to do just that.
Hardening Off
If you’d like your potato skins to be more firm, or if you’re planning to store them long-term, leave them in the ground for up to a month after the tops have totally died back.
Be sure to keep them dry – no watering! Applied irrigation or even heavy rains can cause your potatoes to rot or sprout at this point, so plan your harvest accordingly.
If there’s lots of wet weather in the forecast or a frost is coming up, it’s a good idea to harvest your remaining spuds before this point – unfortunately you won’t be able to harden off underground with these conditions. But you can harvest your potatoes and bring them indoors to continue the hardening off process if you’re dealing with rain or frost.
Proper Storage
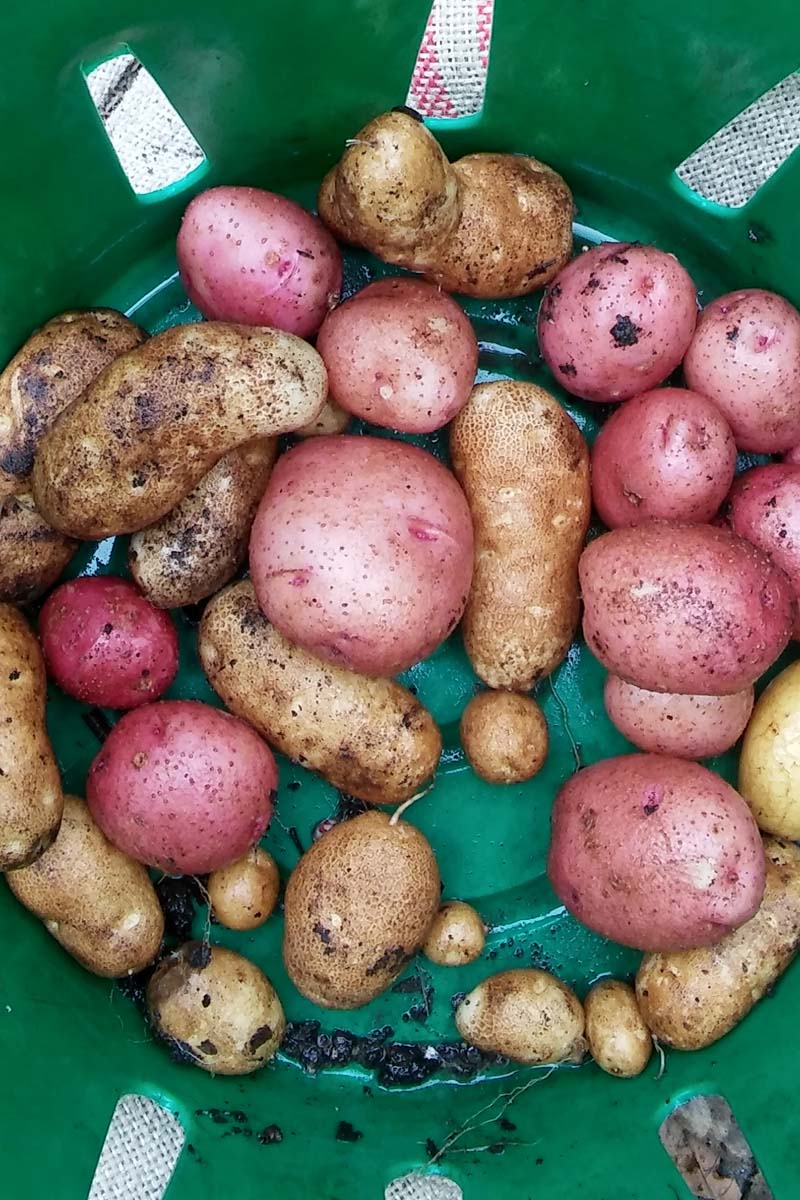
Now that your potatoes have been unearthed, brush off any excess dirt and store them indoors in a cool, dark, dry place.
You can also store them in the fridge for up to 2 months, wrapped well in plastic or stored in a zip-top bag to keep them firm and fresh.
I’ve had success doing this with both unwashed and washed potatoes. If you choose to wash and refrigerate yours, be sure they’ve been dried well before storing in plastic to prevent rot.
If you’ve hardened off your haul and plan to store your potatoes over the winter, do not wash them! Brush off excess soil, let the dirty spuds dry indoors (out of the sun to avoid damaging or sprouting the specimens), and then keep them dry to avoid rot.
It’s fine if some dry soil clings to the skins of the potatoes. Inspect your haul carefully and cull any with cuts, gashes, or broken skin – they won’t keep well, but you can use them quickly with no ill effects.
It’s also a good rule of thumb to pull smaller potatoes from your storage stock before larger ones – smaller taters don’t have quite the keeping power of larger specimens.
The ideal temperature for long-term potato storage is around 50°F. You’ll want to stash them in a dark place – no light whatsoever! – in a well-ventilated container. A wicker basket, paper or mesh bag, plastic storage bin with cutouts, or a cardboard box will do the trick.
If you have a cool, dry, dark basement or other storage space, that’s great for this. And if you’re lucky enough to have an actual root cellar, that’s perfect!
Keep in mind that you’ll want to limit access to hungry critters as much as possible.
Otherwise, a pantry or closet that will stay dark and cool for the long term and that isn’t accessible for pests to invade will do. Your potatoes should keep well this way for several months.
More Potato Tips
Now, for a few important pro tips:
1. Don’t Eat the Green Ones…
As you enjoy your homegrown potatoes, you may notice that the skin of your spuds has taken on a green tint. You’ll sometimes see this at the grocery store as well – don’t buy these!
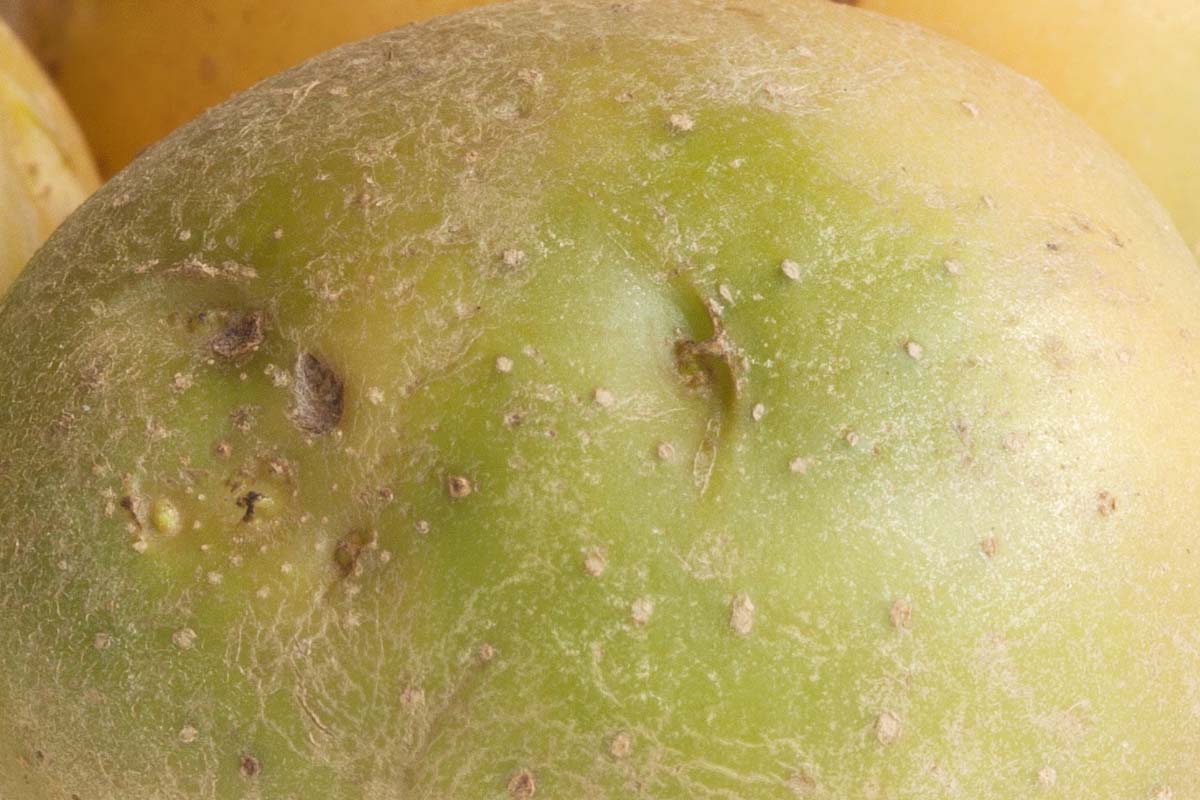
This means your potatoes have been exposed to light, which increases levels of alkaloids and creates a toxin called solanine that’s poisonous to humans. This can also create a bitter flavor in your potatoes.
To avoid greening, be sure to keep them in the dark, with no light exposure during storage whatsoever.
While I definitely recommend avoiding any fully green potatoes entirely, specimens with just a hint of green on their skin can still be eaten safely, as long as you cut away that portion.
2. …Or the Seeds
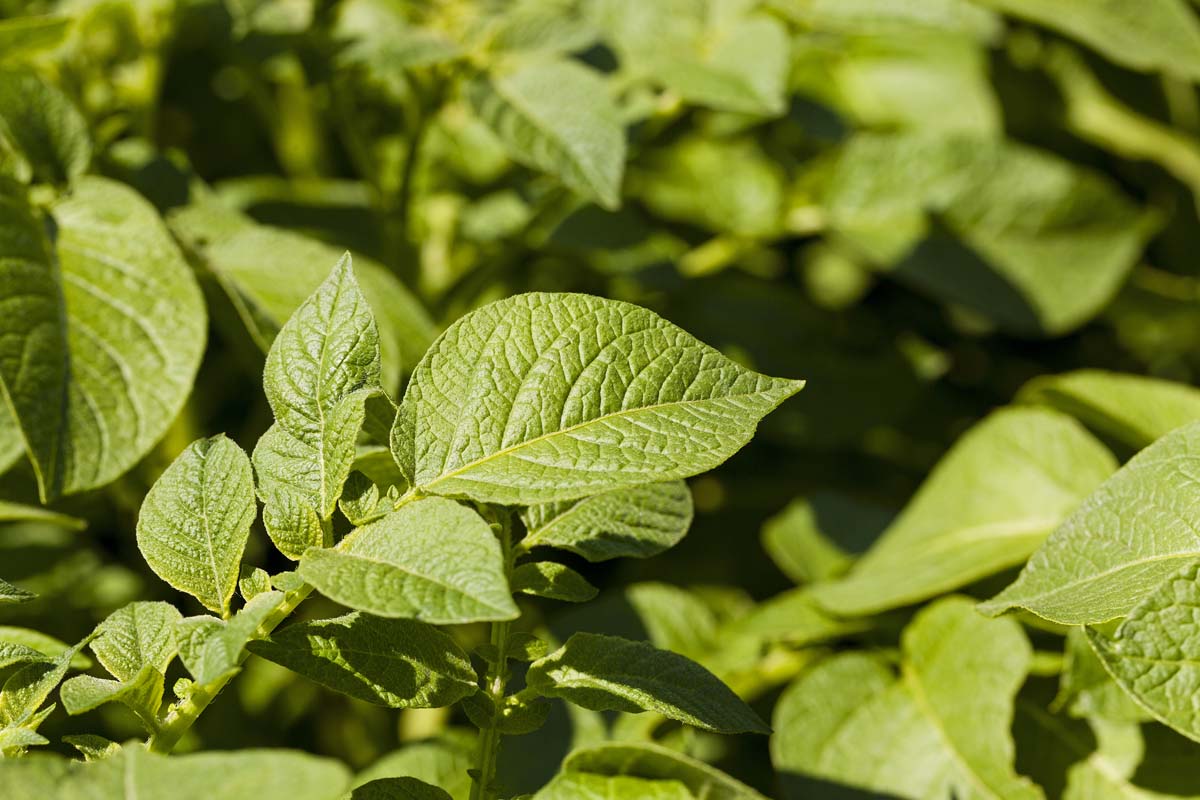
As your potatoes grow to maturity, but before the green tops start to die back, you may notice what look like tiny green cherry tomatoes growing among the leaves. These are the seeds of the potato.
Please resist the urge to pop them in your mouth while weeding like you would a Sungold, because they’re toxic!
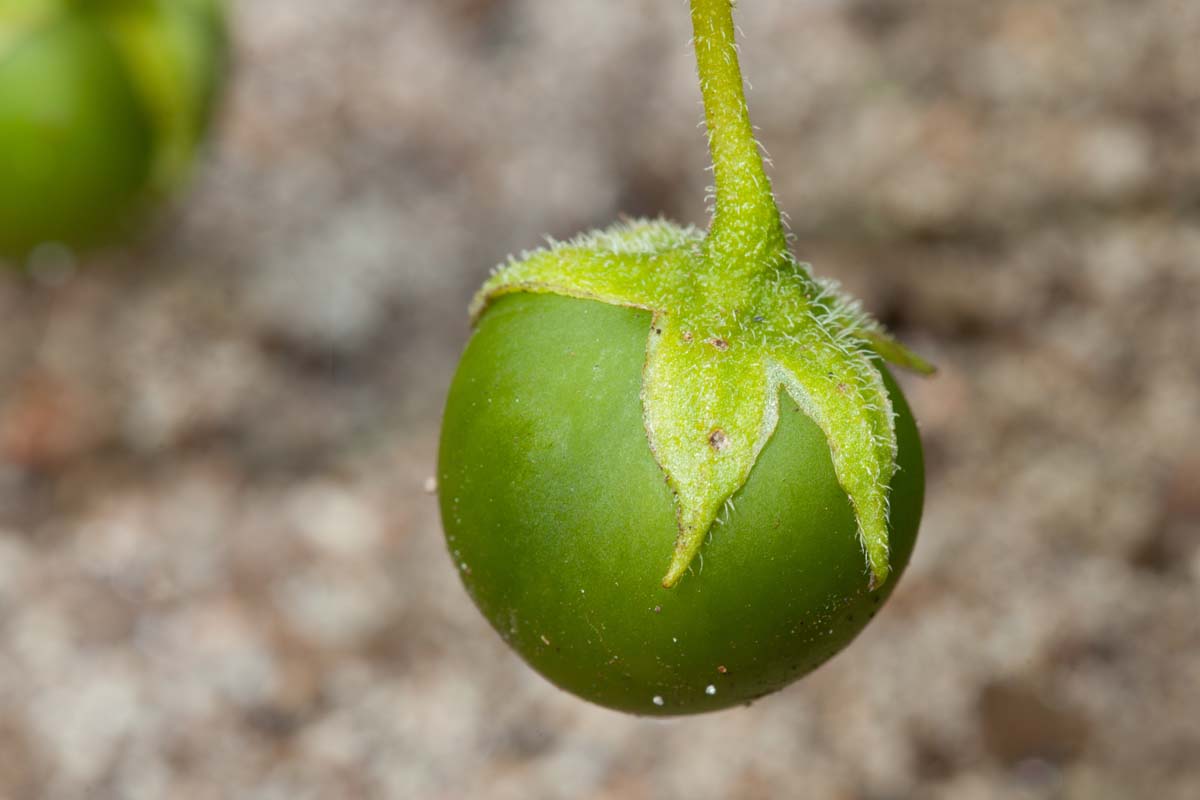
They also won’t give you the same potatoes, even if you were to save and plant them next year. Since potatoes don’t grow true from seed, we propagate them vegetatively, by saving seed potatoes from one year to the next.
Since disease can be passed down from season to season this way, it’s recommended that you always source trusted seed potatoes each year.
3. A Note on Rotation
I’ve touched on it already, but I’d like to offer one more note about rotation, with an urban growing tip:
Growing potatoes and tomatoes on a three-year rotation is recommended – meaning that if you want to grow these crops every year, you’ll need to maintain three separate beds or containers.
This minimizes the chance that you’ll exhaust the soil and build up pests or plant diseases in one bed like you might if you plant these crops in the same place over and over.
In my own garden, I also grow in straight compost, since I can get it for free. Yields seem pretty good so far, although the crops would benefit from something a bit lighter, I’m sure. YMMV.
Since I plant my potatoes in a series of raised beds and containers in various community gardens (as well as my own front yard), I make sure to build up my raised bed soil levels – which inevitably drop throughout each season – by emptying my spent potato container soil into a spent potato or tomato bed.
This way, I’m keeping my rotation properly, and the beds I use that didn’t grow potatoes or tomatoes this season will be ready for them the next season.
Dig In!
Now that you’re armed with the tools you need to harvest and store your spuds, it’s time to find your pitchfork and get digging!
While a simple toss with olive oil, salt, and herbs (like this one) usually does it for me, I also love melting an Alpine-style cheese over boiled or roasted taters, Raclette-style.
What kind of potatoes are you growing this season? Let us know your harvesting and storage tips and share some of your favorite recipes in the comments!
And for more potato growing tips, be sure to check out some of our other guides:

I love planting and for me it’s an escape from my busy world. It’s so wonderful to see your plants growing – you’ll feel like a mother, lol. Great post! Thanks for sharing!
In 2017 I tried to propagate roses by poking stems into potatoes and planting them. It didn’t work and I pulled the rose stems out, leaving the potatoes in the soil thinking they would die off and become one with the soil. When preparing the bed for planting this spring (2018), I found some of the potatoes had started to grow! I had never grown potatoes before and now I had 3 plants that grew to maturity! I just harvested my potatoes and found your post when looking for what to do next with them. You really helped me know… Read more »
Yes, storing in a cool, dark, dry place is definitely recommended. I found that storing them in a box or suitable container filled with very dry sand really helps keep the taters in storage without problems for over 6 months. The trick to proper storage: 1. spread about 1 inch of dry sand in the bottom of your container 2. place potatoes separately on top of this “bedding” without touching each other 3. add in more dry sand until you can add more taters between the first row 4. repeat steps 2 and 3 until you reach the top of… Read more »
Are you storing to eat?
We’ve done sand storage with potatoes, also carrots and apples, with great success. The sand holds the vegetables’ moisture level perfectly. We have a root cellar and keep the sand veg in 5 gal buckets down there. We are Zone 4. The only negative is that we have to brush off the sand before use.
I guess the sand keeps the potatoes dry plus in a dark space.
I planted in March 25 th, i dug them 3rd July ( I had them in containers) my largest was 3 cm. I put compost and ground dirt, watered 2 times a week, I live in Cyprus and its very, hot.
How can I grow best potatoes that yields good spuds?
This guy has a lot about potatoes
https://youtu.be/JrytUqXE9Ns
Well done, I’ll try this. I water every day… ?
See our ultimate guide to growing potatoes for tips, and check our roundup of top cultivars!
What if there’s little nodules on the potato skin?
Hello Nevill Lieschke! The nodules aren’t great, but you can most likely still enjoy eating those potatoes if you cut them out. Here’s what Gardener’s Path author Matt Suwak said in our main potato growing guide, which has lots of helpful advice: You may notice upon harvesting raised white bumps on your spuds. These are engorged lenticels and indicate that the plant is sitting in soil that is too wet. The fruiting body develops these pores to aid in water exchange; they aren’t unsafe to consume but it’s a good indicator that you need to go over your watering practices… Read more »
I started growing my potatoes early already had a lovely container full and another is read .I have a roof terrace with 3 large potatoes pots that give me potatoes all year sheltered roof terrace stay warm so .get planting just add potatoes ,top up soil until 4 inch from top and water .I never spray my potatoes .
never tasted a better potatoes . worth the little amount of time it takes and i work 9am to 5pm everyday . i planted first 3 different potatoes in February .ready for next 3 .
Thanks for sharing your rooftop potato growing success, Alison! I agree that homegrown potatoes are worth the extra TLC. Keep us posted!
Can you plant potatoes in same place where you had tomatoes last year?
Hello lyle stempke! So glad you asked. Potatoes and tomatoes are both nightshades, so ideally you will not plant either one in the same spot two years in a row. When you do, it encourages the soilborne diseases that plague nightshades, and they can be deadly. Not properly rotating nightshades also depletes the soil of crucial nutrients since these plants are both heavy feeders. Other nightshades include eggplants and peppers, so if at all possible, let the area rest for a season or two before returning potatoes or tomatoes–or other nightshade vegetables–to that spot. If this leaves you without a… Read more »
We just harvested potatoes. Should you rinse them or not?
A lovely harvest, thanks for sharing!
As noted above, it’s best to brush off any loose dirt and keep the potatoes dry to avoid introducing rot in storage. All types of produce generally benefit from being washed just before use.