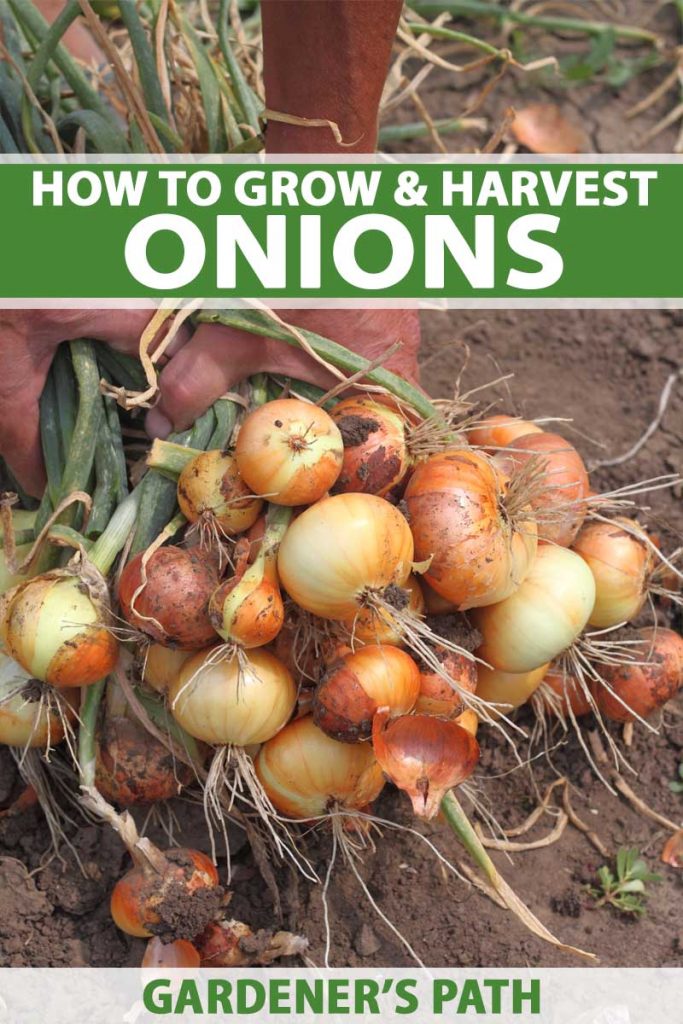
Allium cepa
I can’t even begin to imagine cooking without onions. They’re a staple in so much of what I make. But even though many of us go through them by the bagful, not all of us try to grow them in our own gardens.
But those who don’t grow onions are missing out. Not only do you get to enjoy the scapes, but there is a world of options out there that isn’t available to those who rely on the grocery store.
We link to vendors to help you find relevant products. If you buy from one of our links, we may earn a commission.
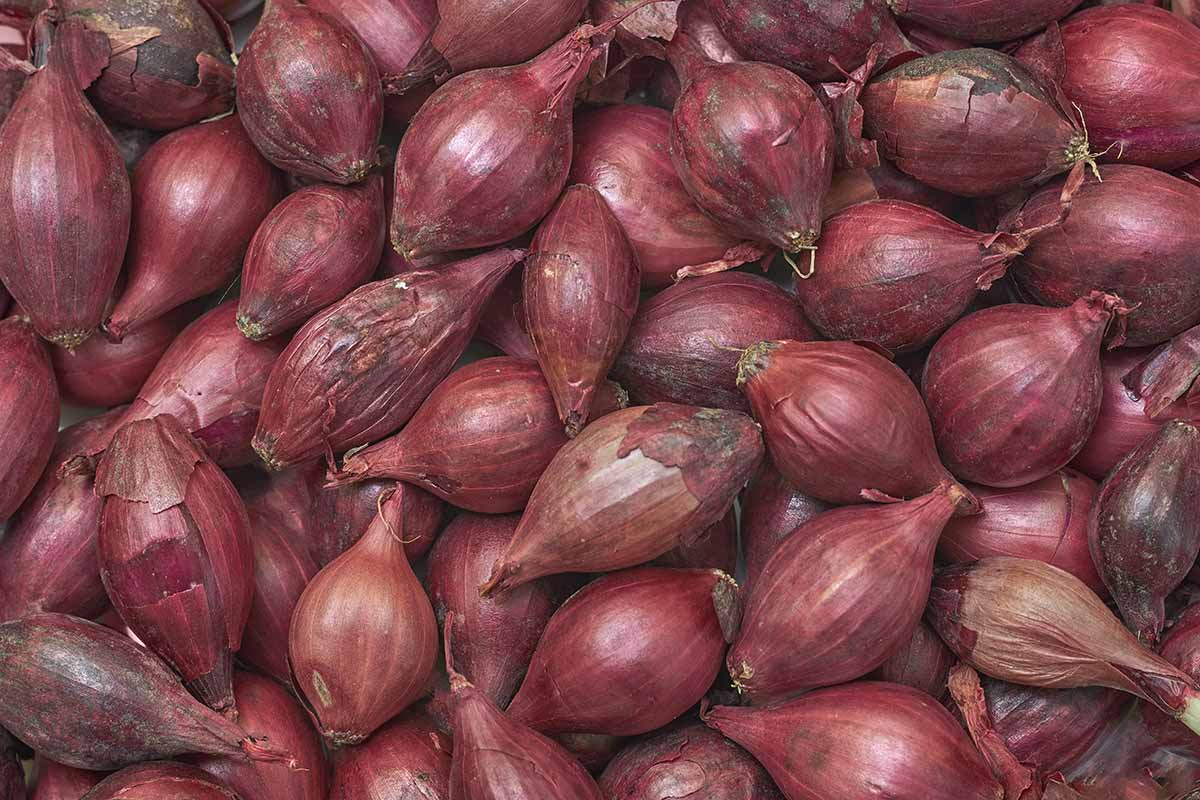
Have you ever enjoyed a walking onion scape that you grabbed at the market? Or how about the striking red, squashed bulb of ‘Flat of Italy’?
And don’t even try to convince me that anything at that megastore is half as good as a massive, supersweet ‘Globo’ fresh out of the soil.
Nope, to truly appreciate onions, you’ve got to grow them yourself. Thank heavens they’re easy to grow.
The key is finding one that matches your available daylight hours and suits your needs.
Then, it’s a little bit of soil prep, some regular water, and in no time flat, you’re crying tears of joy as you slice into your fresh bulbs.
Up ahead, we’re going to cover all things onions so you can be swimming in these sulfurous veggies.
What You’ll Learn
Pull out those tissues and a knife. We’re peeling back all the layers of these veggie staples up ahead.
Cultivation and History
Onions have been a part of human culture for so long that we aren’t sure where they originated, but it was probably in Central Asia, where so many marvelous foods have come from.
We know that they’ve been cultivated since the Bronze Age. Ancient Egyptians worshiped them, athletes in Ancient Greece ate them to improve their performance, and Europeans and later American settlers used them to treat all kinds of ailments.
The term “onion” is a broad descriptor of several different types of plants.
These plants are grouped as either biennials or perennials. Shallots and multiplier onions (Allium cepa var. aggregatum) are perennials and will come back year after year on their own in warmer regions.
Egyptian walking onions (Allium cepa var. proliferum) spread themselves around, effectively acting as perennials.
Biennial types are usually grown as annuals and are harvested in one season.
You can also group them as fresh, common, or storage; bunching (the aggregate group); or walking (the proliferous group).
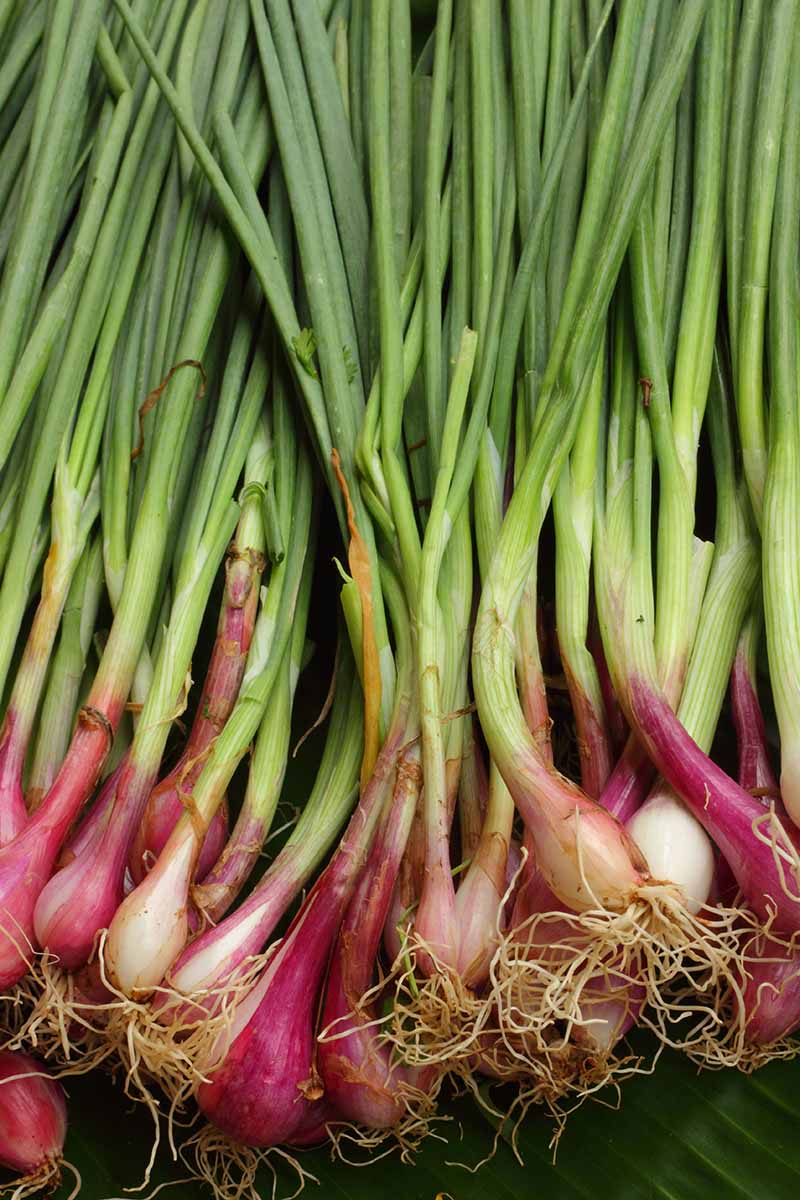
Bunching types include scallions and spring onions, and they’re usually ready in just two months, or sometimes less.
Fresh onions need a long growing season and they typically have a more mellow flavor, with less of a sulfurous punch. Storage types hold less moisture and have a more sulfuric, strong flavor. They can be stored for months in a cool, dry location.
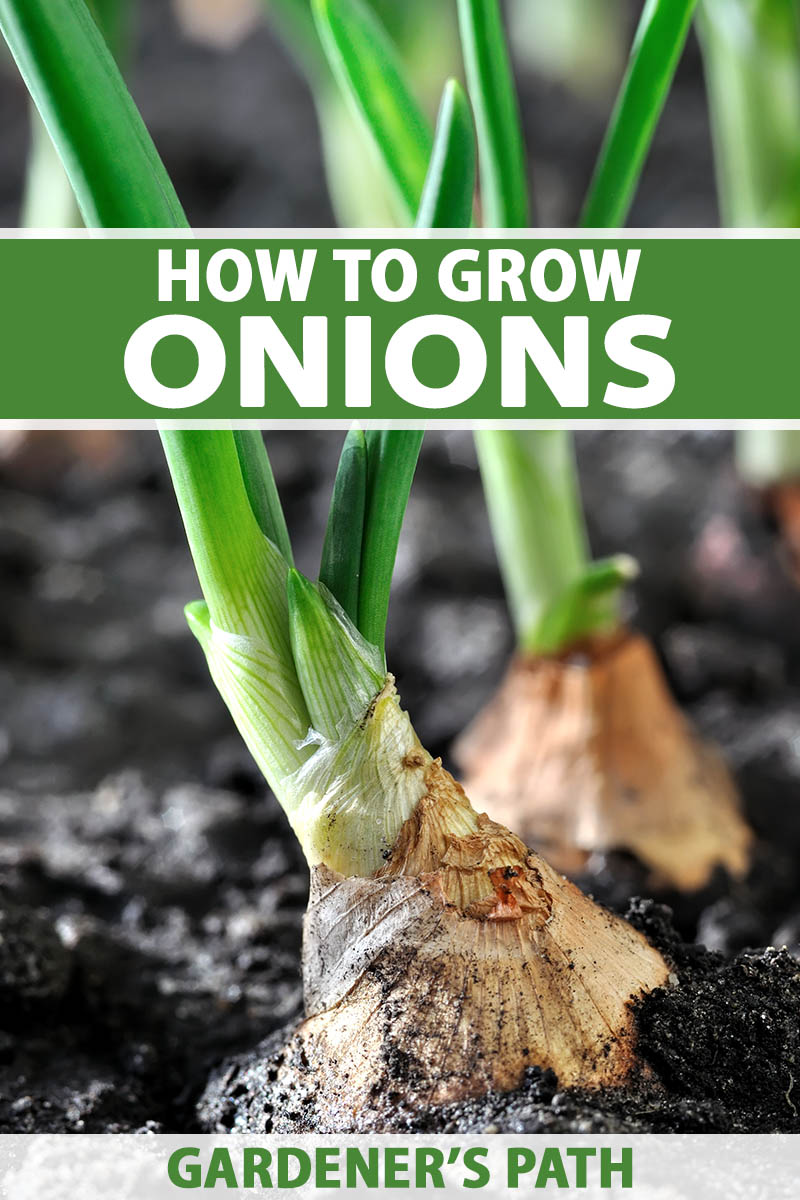
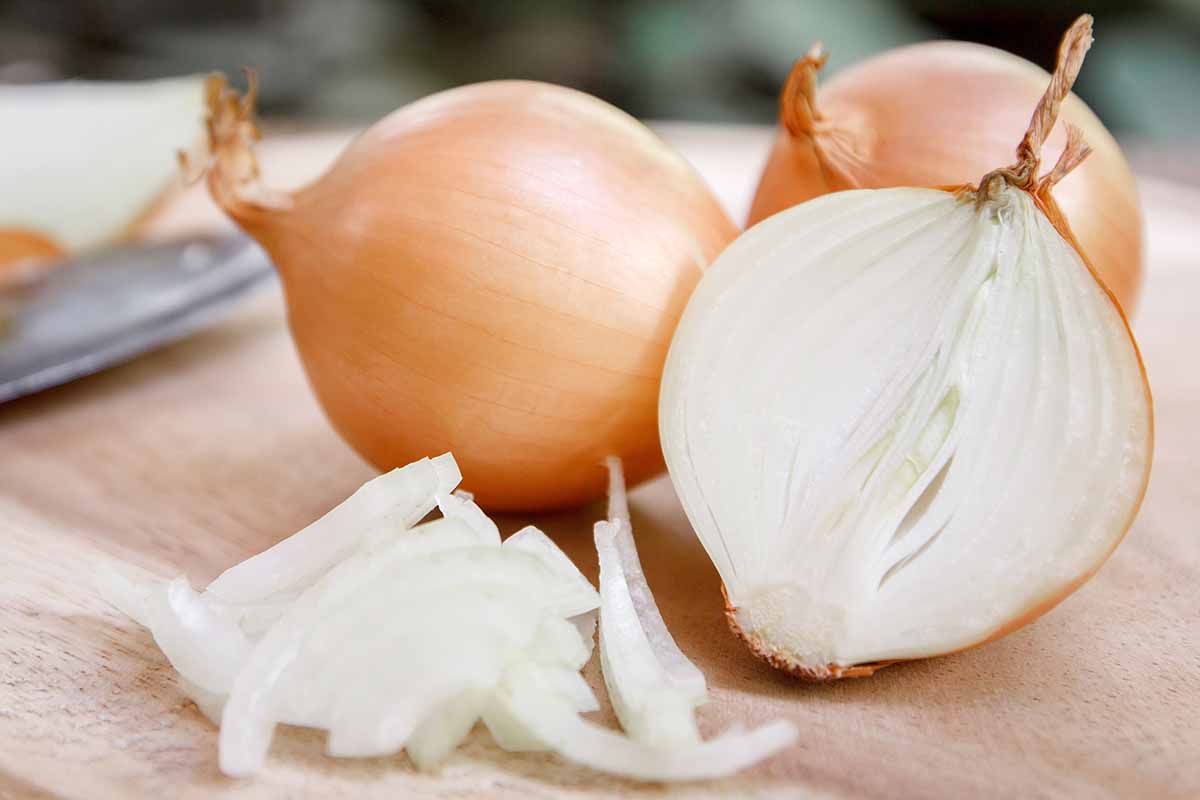
Each onion is made up of a pseudo-stalk composed of overlapping leaves. Underground, the bulb has multiple layers, and each one is linked to a leaf.
On the outside of the bulb is a membrane that dries out to form the papery coating that you peel off before you start chopping.
The pungent flavor is thanks to the sulfur (thiosulfate) in the plant. It’s present throughout but concentrated in the bulbs. The sulfur is also responsible for those tears you might shed when chopping your onions.
In case you’re curious why an onion smells oniony when you pick it up, but it’s not until you slice into it that all the aroma is released, that’s because amino acids and a defensive enzyme called alliinase are stored in separate parts of the plant.
When they combine as you open them up by chopping or crushing the membranes, the scent and flavor is released.
This is the plant’s last-ditch attempt at putting off predators, but fortunately or unfortunately, depending on how you look at it, it’s what draws humans to them.
Onion Propagation
Before planting, it’s wise to do a soil test. That way, you know if you should add fertilizer or alter the pH before planting. It’s always easier to do this before your plants are in the ground.
The plants need a pH between 6.0 and 7.0 with well-draining sandy to loamy soil.
Let’s take a look at a few options for propagating plants.
From Seed
Gardeners in some parts of the country have a consecutive growing season, without the threat of extended freezing temperatures. In those places, there is no need to sow indoors to escape the bitter winter cold.
If you happen to live in a region where your winters are mild enough that you don’t ever get frost or freezing temperatures, you’re lucky!
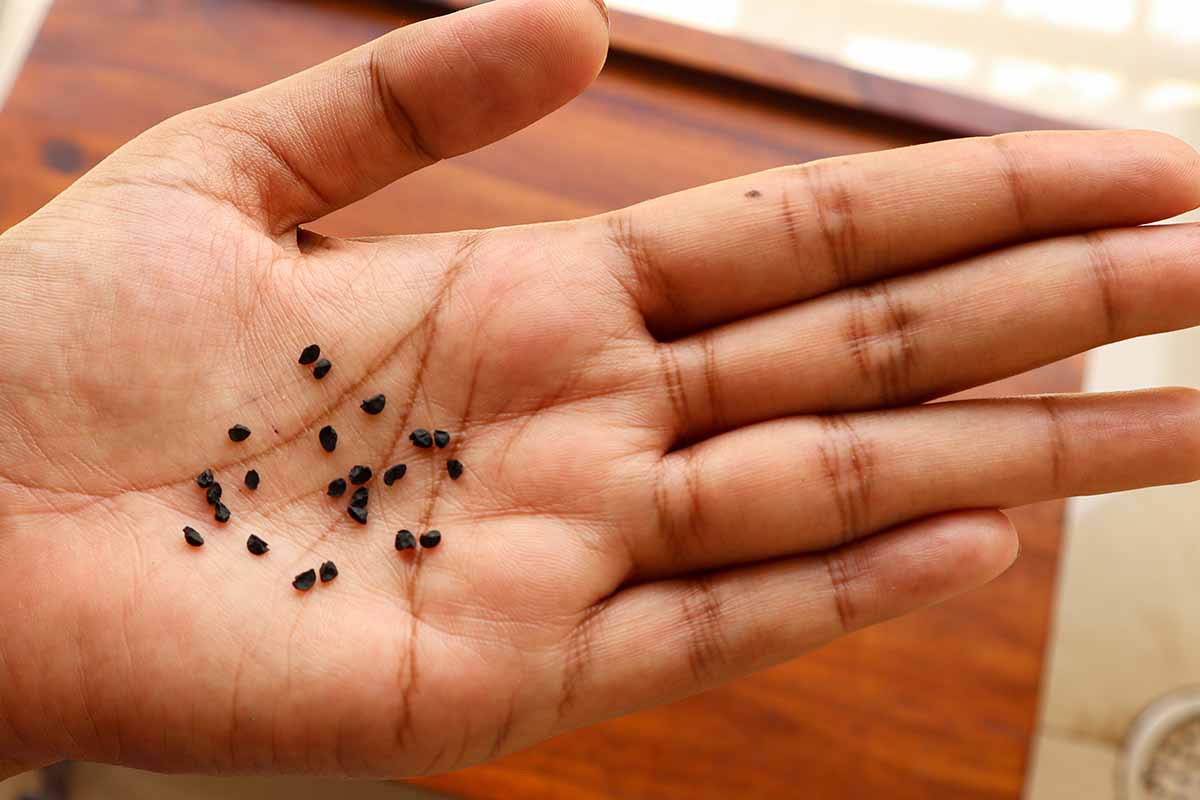
You can sow directly into the ground with confidence that the seeds will be warm enough to germinate and grow. Sow your seeds in mid-fall or early spring.
For those in regions with colder winters, growing onions can feel like a race against the clock to see who will win.
If the ground freezes in winter and you experience frigid temperatures below 32°F, start your seeds inside about eight to 10 weeks before your last predicted frost date.
If you choose this method, there are a few additional steps you must take to ensure a healthy, high-yielding crop. You will need a few things, including seed-starting trays and a good seed-starting medium.
I prefer using Pro-Mix BX, available on Amazon.
This is an all-purpose peat moss-based soil solution that has vermiculite added to it for good drainage, as well as perlite, limestone, and microscopic fungi that work in a symbiotic relationship with growing plants.
I find it to be a very adaptable growing medium that can accommodate a variety of plants and vegetable seeds.
Regarding seed trays, they are easy to find at your local home center or online. You can buy traditional six-packs, starting a few seeds in each cell, or you can buy plug flat trays.
High Mowing Seeds carries a flat that’s just the right size for your onion-starting adventures.
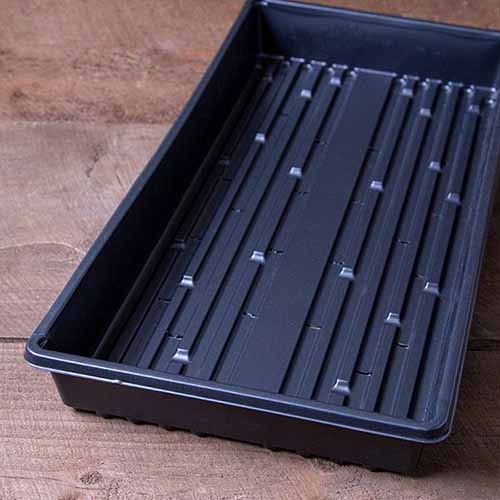
You can also use recycled containers from salad mixes or plastic take-home containers from your local deli, planting in rows of seven to 10 seeds each. The choice is yours.
Fill your chosen trays with moistened soil, tamping down the soil just a bit.
Sow two to four seeds in each cell a quarter-inch deep, or sow seeds about two inches apart, depending on what type you’re growing.
Water and set aside in a warm, well-ventilated location with several hours of direct sunlight.
If your growing environment isn’t regularly above 60°F, use a seedling warming mat to help with propagation. A soil temperature of 75°F is optimum.
Place domes or plastic over the trays to help retain moisture. Water whenever you notice that the soil looks and feels dry on the surface.
When you notice germination, which typically happens within a week, you need to be sure that your onions get enough light from that point on.
Ideally, the plants would like to have 12 hours of light and 12 hours of darkness per day, depending on the type. We’ll talk about long day, short day, and intermediate onions in a bit if you aren’t already familiar with these terms.
During the winter when the sun isn’t particularly strong, use supplemental grow lights to keep your seedlings happy and healthy.
Light hoods are easy to find in any hardware store, as are the accompanying grow bulbs. Look for LEDs designed for starting seedlings, as these typically have a low heat output with suitable coverage.
Once germinated, onion seedlings tend to grow quickly beneath lights. They will emerge from the soil and grow tall very fast, so it is important to monitor them.
Be sure to remove the humidity dome and the warming mat once you have an inch of growth, since your plants are now ready to grow on their own.
When you notice that the seedlings are about five inches tall, take a sharp, clean pair of scissors and cut the tops off, leaving about two inches of the plant intact.
Cutting the tops will make your seedlings stronger and thicker, which will be beneficial when you are transplanting them into your garden.
Also note that you can use these trimmings in salads, soups, or other dishes. They are delicious!
Between propagation and transplanting lies hardening off. It is imperative to make sure that your seedlings will be strong enough to withstand lower temperatures, wind, and less frequent watering.
Now is the time to move your trays outdoors for gradually increasing periods of time, exposing them to the elements.
Put your plants outside in a protected spot during periods of more pleasant weather if possible, starting with a few hours on a sunny day and extending incrementally to an entire day of exposure.
Do this for about a week, just before you are ready to transplant.
If you live in a mild climate that allows for direct seeding without the threat of frozen ground or torrential rains and cold temperatures, then you don’t have to worry about starting onions indoors.
A better option may be to skip the seeds and consider planting onion sets instead.
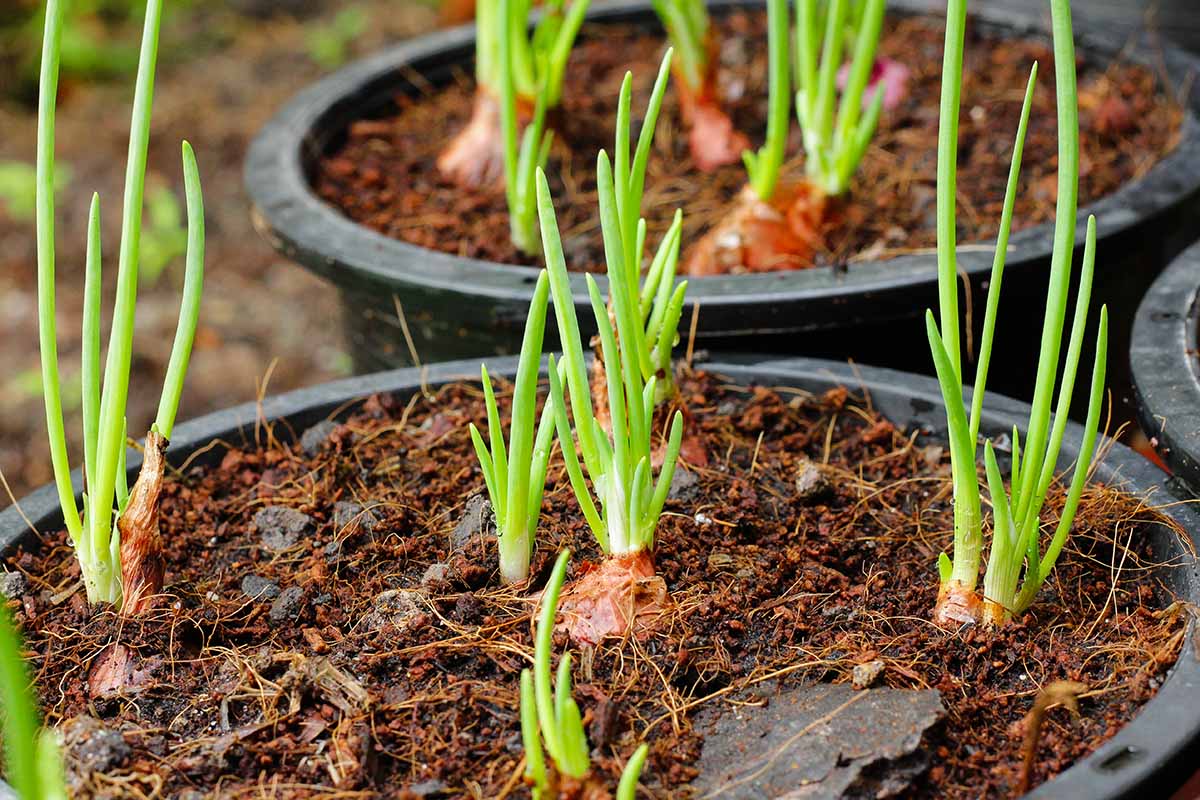
From Transplants or Sets
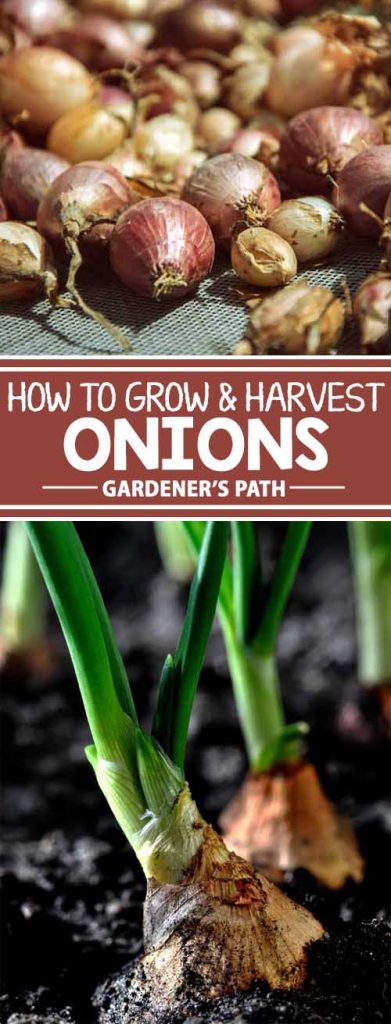
Sets are dormant bulbs grown from seed in the previous season.
They are smaller than full-sized bulbs and were intentionally sewn by growers close together, not thinned out as they matured.
This encourages a robust bulb ideal for planting the following year. Transplants are actively growing plants.
Both of these can be planted the same way. The advantage of these over seeds is your harvest will be ready up to two months sooner, but they cost more.
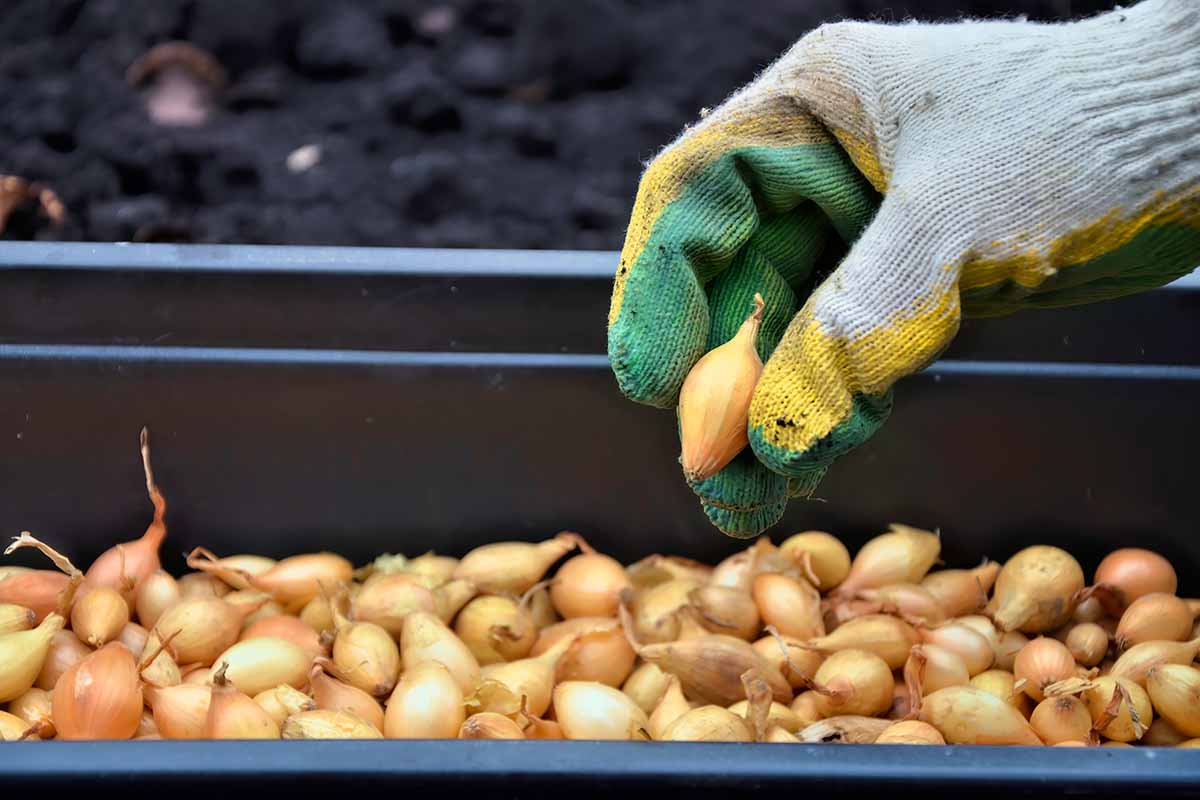
Harvested at the end of the summer and dried for approximately four weeks or more, these bulbs are stored until they’re needed for the next growing season, ready for you to plant in your garden.
Transplant outdoors around your last predicted frost date. They can tolerate a light frost, but cover growing plants if there’s a surprise freeze.
You will need a few tools, such as:
- A spade or shovel
- Stakes or long sturdy sticks
- Twine or thin rope
- Onion sets or seedlings
Though it’s not required, I prefer planting in rows. Decide how many rows you need to accommodate the number of onions you want to plant.
You’ll want to allow for about six inches between seedlings, and 12 to 18 inches between rows.
Put a stake in the ground at either end of where you plan to place each row. Attach a piece of twine to a stick on one end, stretch it to the stick at the other end of the row, and anchor it.
The string and the stakes make it easy to dig a nice straight row, just by using the twine as a guideline.
Using a shovel or any other tool that will dig into the dirt, make your rows about two inches deep.
Sometimes I just bend down and drag my hand along the dirt just below each line of string, using my fingers to make a row. Sometimes I use the tip of a long-handled shovel or a spade. See what works best for you.
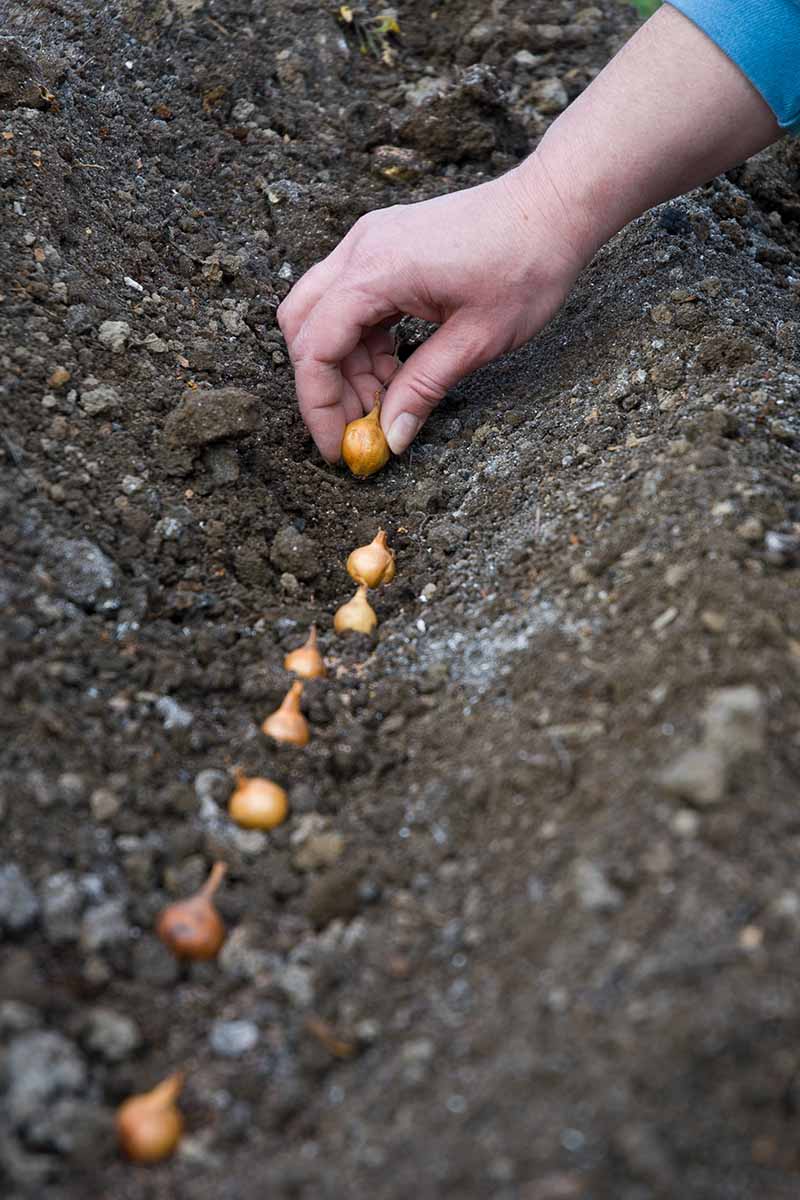
Sow directly into the soil, planting each set about one inch deep and six inches away from the next onion in the row.
Transplants should be planted with an inch of growth below the soil and the top of the bulb. Be sure to leave 12 to 18 inches of space between each row to ensure a proper growing environment.
If you are transplanting seedlings, you can plant three seedlings in a clump together, or you can choose to separate them and plant each one individually.
Some gardeners like to keep a few together, as they feel that it helps to increase yields. Others prefer to keep each one on its own. That’s your choice.
Do what feels right, and keep notes on your successes and failures from year to year in your gardening journal. I group my seedlings together in groups and have great results.
Once you’ve planted all of the onions, cover up the rows with soil and tamp it down lightly. Don’t push too hard. Everything that you plant in the garden needs some breathing room.
Label your rows with garden stake tags, so you’ll know what’s there. I love these wooden field stakes from High Mowing Seeds.

They survive in high temperatures without bending and melting like plastic tags can and you can reuse them for years.
It’s a good idea to put the planting date on your tags as well, so you have an idea of how long maturation actually takes.
I also write down all of my planting dates in my gardening journal. This is a great resource to have and to refer back to at the beginning of each growing season.
How to Grow Onions
As we said, onions need well-draining soil with a pH between 6.0 and 7.0. Loamy, rich soil is best.
If you don’t naturally have perfect soil, and few of us do, work in lots of organic matter like well-rotted compost. This increases drainage, improves water retention, and adds nutrients to the soil.
Manure works too, but make sure it’s aged and not fresh. Fresh manure can contain bacteria and weed seeds, and it might burn plants.
Clay soil is too compacted and heavy for the bulbs to develop, so you must improve the soil or plant in a raised bed instead.
Once planted, make sure your onions receive enough water. You don’t need to soak them, you just want to make sure that the soil is dark and moist. The plants have shallow roots, and they won’t develop large bulbs if it’s too dry.
These plants need about an inch of water per week. Whenever the top inch of soil dries out, it’s time to add more water.
Each time you add water, you want it to soak about six inches deep. Sandy soil will need to be watered more often, and denser soil less often.
A moisture meter can help take the guesswork out of the watering equation or you can use a trowel to dig down next to the bulb and monitor the water depth with your finger.
Some people might need to water once a week and others nearly daily, depending on their soil, the temperature, and recent rainfall.
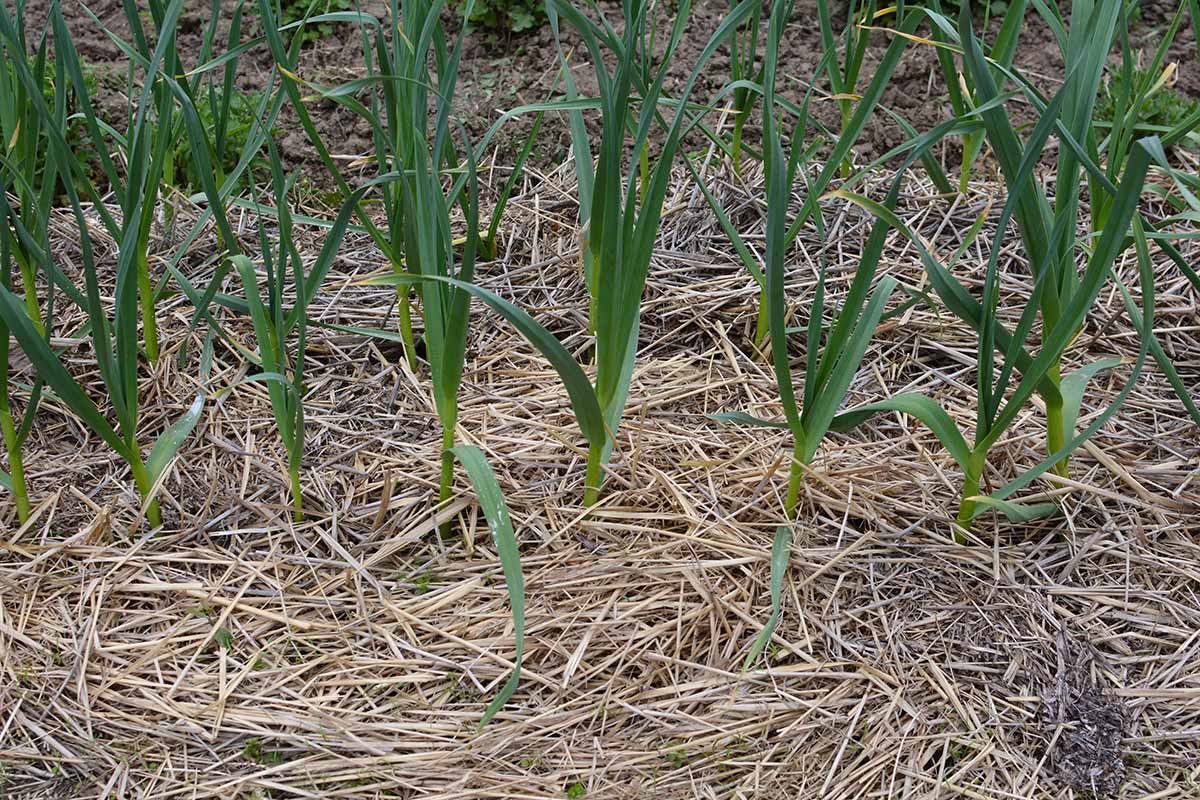
Once they’ve reached close to their mature height, you can place a thick layer of mulch around the plants to help retain moisture, and also to reduce the amount of weeding you will need to do.
I use straw mulch because it locks moisture in and is seasoned enough so that I don’t have to worry about any insects that might be living in the medium, as you might find in hay. The last thing you want at this stage is to have to deal with unwanted insect visitors!
Keep in mind that onions need much more time to grow than some other crops, so you will be watering and weeding them quite a bit. Anything you can do to save time and be more efficient in your garden is a good thing.
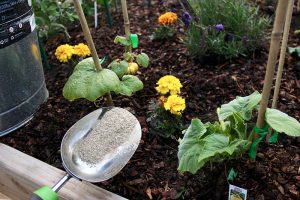
Onions need regular feeding to be healthy and grow big. If you didn’t do a soil test when you planted to determine what your soil is lacking, feed them 30 days after planting, once at the middle of the growing period, and finally, 30 days before harvesting.
If you did a soil test, feed accordingly based on your results.
Onions need lots of nitrogen to develop, but too much will delay bulb formation and cause large necks. We don’t want large necks in storage types because they make the curing process more difficult and lengthy.
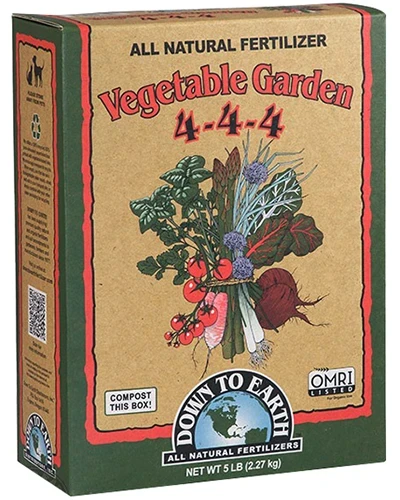
Down to Earth Vegetable Garden Mix
A mild, balanced fertilizer like Down to Earth’s Vegetable Garden Mix, available at Arbico Organics in one-, five-, or 15-pound boxes, is just right. Plus, it comes in compostable containers.
Growing Tips
- Plant in loamy, well-draining soil. Amend your soil or plant in a raised bed, if necessary.
- Water when the top inch of soil has dried out.
- Feed three times during the growing season, but avoid overfeeding with nitrogen.
Maintenance
If you are growing bunching onions, gradually mound up soil around the base of each plant to increase growth of the white portion.
Otherwise, maintenance consists of snipping off any diseased, damaged, or pest-infested leaves.
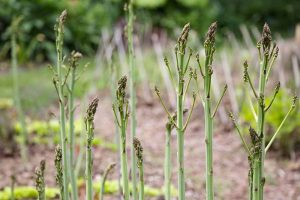
Cut off the scapes when they form, or they will take up some of the nutrients that we want going into the bulb. Scapes are the flower stalks that form as the plant ages.
Weeding is key to a good harvest because onions can’t compete with weeds at all. Just use extreme caution as you weed so as not to disturb the bulbs.
That’s why I usually hand-pull weeds rather than using any sort of tools.
Onion Cultivars to Select
Choosing the best onion cultivar depends in part on where you live. There are three different types: long day, short day, and intermediate or day-neutral.
Long-day types will set bulbs when there are around 16 hours of daylight. Short-day types set bulbs when there is about 10 to 12 hours of daylight. Intermediates sit somewhere in between.
Northern gardeners should choose long types, southern gardeners need short types, and those in the middle can use either, but intermediates will grow best. Most growers in the US will want day-neutral types unless you’re in the extreme north or south.
For a rundown of all of our favorites, visit our guide to the best onions for the home garden.
Here are a few of my personal favorites:
Dakota Tears
Yellow skin covers the firm, dense flesh of this large, strongly flavored storage onion.
This long-day type is open-pollinated but every bit as reliable as the hybrids out there. It’s pest and disease resistant and stores for months without losing flavor.
With lots of marvelous sulfur, it will have you in tears – in the best way – as you slice or dice it.

Not a fan? Read this guide to help you say goodbye to those onion-slicing tears on our sister site, Foodal.
Named one of Organic Gardening’s 10 best in their 2010 trials, ‘Dakota Tears’ is available at High Mowing Organic Seeds in various package sizes.
Red Baron
‘Red Baron’ is beautiful on top of being delicious. The small bulbs of this long-day variety are a deep burgundy from the moment they begin to develop.
Sow this bunching type continuously to enjoy an ongoing harvest. It takes about 65 days to mature if you want scallions and 115 days if you want to harvest the small bulbs.
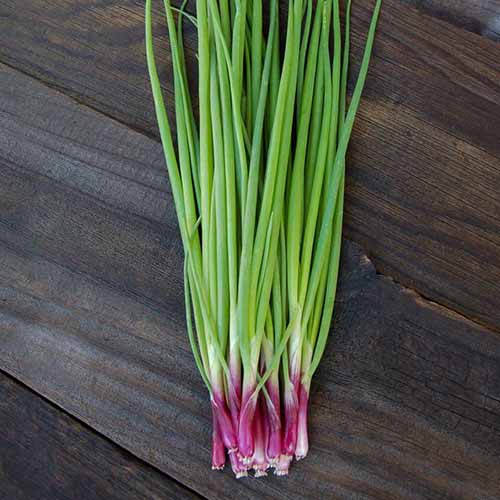
Grab some at High Mowing Organic Seeds for your garden.
Walla Walla
‘Walla Walla’ is an incredibly popular fresh type and it has earned its reputation. Technically a long-day variety, it’s quick to mature so it can be grown as an intermediate type.
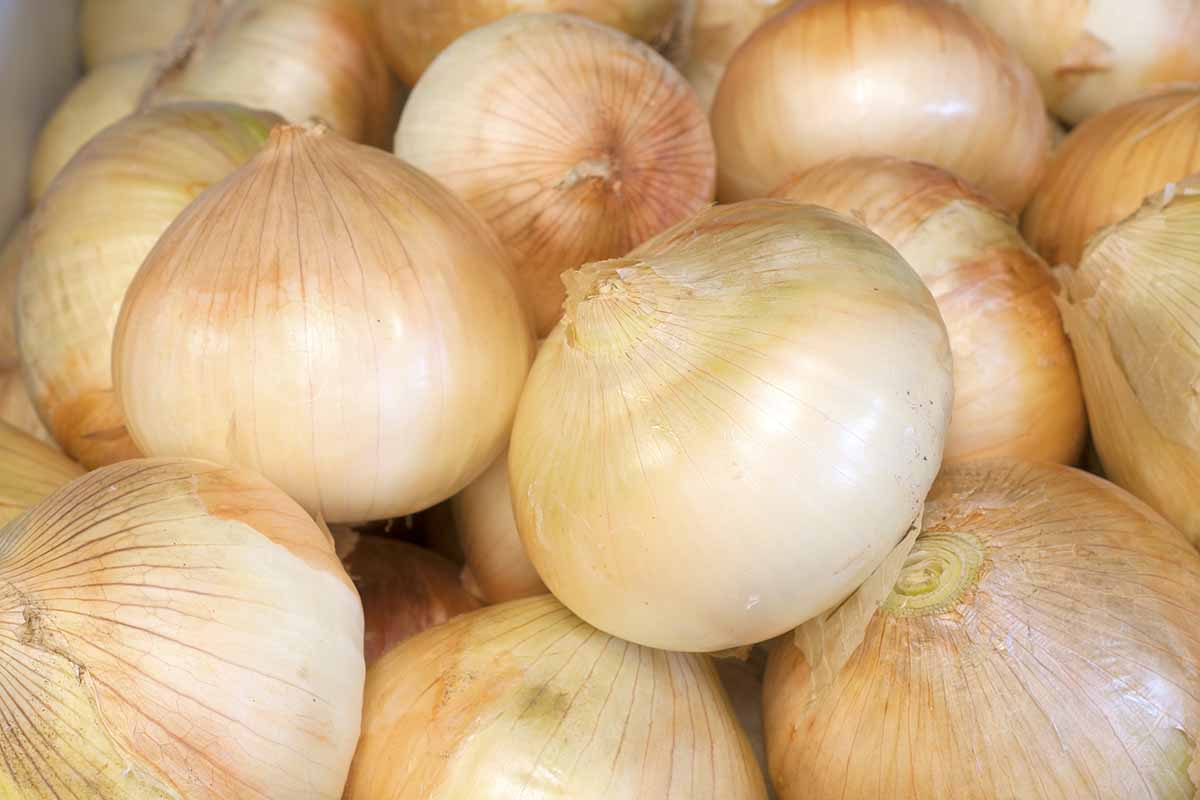
The name comes from the region where this onion is grown in Washington, which is known not only for its marvelous onions but for its wine as well. Lucky so-and-so’s.
The bulbs are huge, mild, and sweet, with lots of juice and sugars and not much sulfur. It gets even sweeter when you cook it. If you’re a fan of caramelized onions, this is the grand champion of them all.
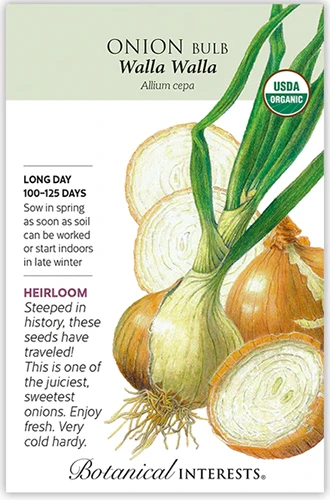
The light brown skin hides heavily-layered white flesh. To pick up 500 milligrams of seeds, visit Botanical Interests.
Managing Pests and Disease
Herbivores aren’t really interested in alliums, in general. If only insects and pathogens felt the same way!
There are a few pests that can totally destroy your crops, and we’ll talk about them first.
Insects
Insects aren’t bothered by that sulfurous scent. While pests might be nothing more than a nuisance in some crops, in onions, they can be a big deal. Let’s start with one of the worst:
Allium Leaf Miners
Allium leaf miners (Phytomyza gymnostoma) can absolutely wreck your entire harvest.
Right now, this pest is most common in the Atlantic states, but it’s making its way across the US.
The adults are small black or gray flies, but it’s not those that we’re concerned with since they don’t harm the plants all that much. It’s the larvae that do the damage.
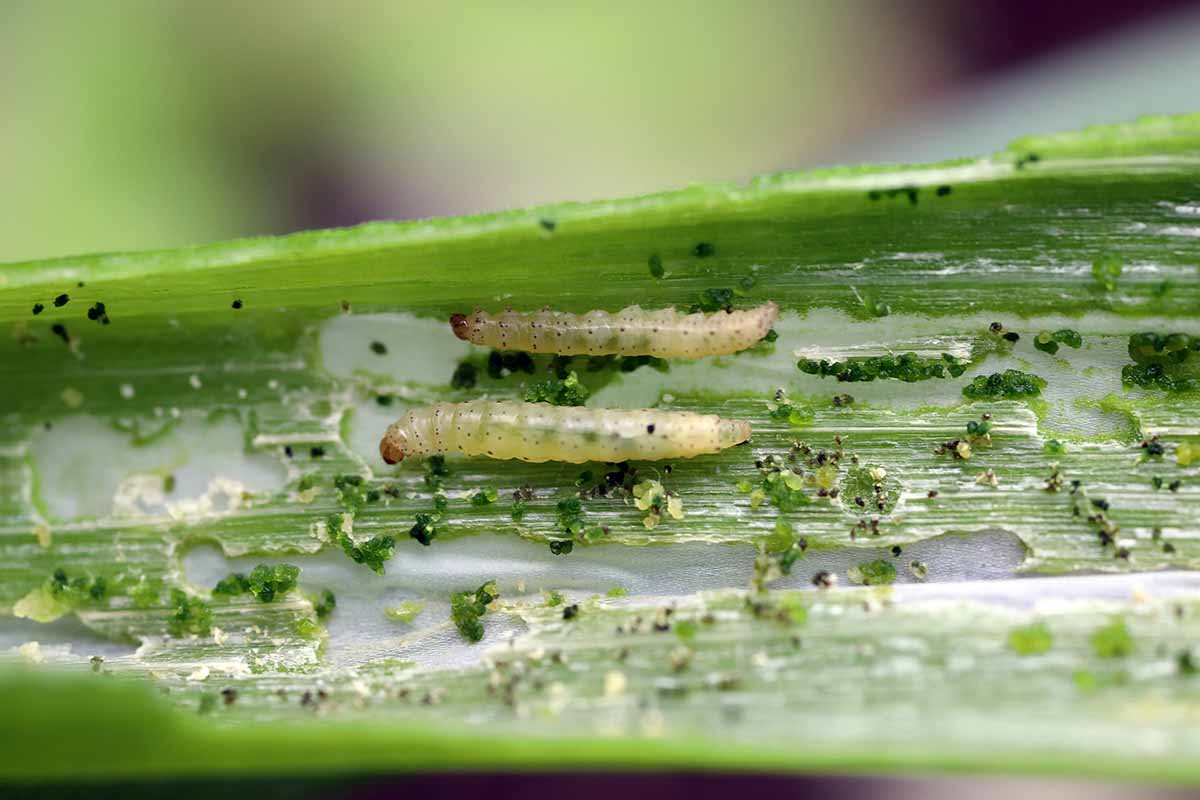
The adult females make several punctures along a leaf and then lay eggs in those punctures. The larvae hatch and begin eating their way through the leaf toward the stem.
Not only do the little trails that they leave behind open the plant up to all kinds of pathogens, but they soften the foliage and this can lead to rot.
The second you see the telltale trails, visit our guide to learn how to deal with allium leaf miners before they destroy your crop.
Onion Maggots
Delia antiqua, or onion maggots in their larval stage, are frustrating pests. The adults look like little houseflies, so most of us overlook them when they’re visiting our gardens.
But they lay eggs on the soil, and the larvae hatch about a week later to feed on the roots of the plant.
The most annoying part is that by the time you see symptoms on the above-ground parts, it’s too late to take action to kill the maggots.
When the maggots feed, they cause the bulb to rot and create an opening for pathogens to enter through. As the bulb rots and disease potentially takes hold, the plant starts to droop and generally look sad.
The best way to head off this problem is to place yellow sticky traps near your onions. If you see adults, which are hump-backed, brownish-gray flies, it’s time to take action.
Control involves floating row covers, inviting beneficial predatory insects to the garden, and using the entomopathogenic nematode Steinernema feltiae.
To learn all about onion maggots and how to deal with them, visit our guide.
Thrips
Along with maggots, Thrips tabaci is the other one that onion growers dread as it has the potential to completely ruin your harvest.
These slender, yellowish-brown insects aren’t easy to see with the naked eye, but the damage they cause is.
Thrips are opportunists and they can eat a variety of crops. They’ll often start out on legumes or grains before moving onto onions. For that reason, it’s best to avoid planting these crops near each other.
They use their rasping-sucking mouthparts to draw out the sap from the leaves of the plant. As they make their way through your garden, your onions will start to develop silvery streaks. The leaves might collapse and fold as well.
These pests also spread onion yellow dwarf virus.
If they come calling to your vegetable patch, run, don’t walk, to our guide on controlling thrips. Once symptoms appear, this indicates an ongoing infestation, so quick action is needed.
Row covers, reflective mulch, lures, predatory insects like lacewings, and insecticides like soap and neem oil are all viable treatment options.
Disease
There is a long list of diseases that can spell disaster for your onions, like pink root, purple blotch, damping off, downy mildew, viruses, and smut.
With good crop rotation and appropriate garden hygiene, you probably won’t run into these.
But the following diseases are more common, and chances are high that you’ll encounter one at some point:
Bacterial Rot
Caused by the bacteria Pseudomonas viridiflava, bacterial rot causes the leaves to develop oval-shaped, water-soaked lesions that expand and spread. The bulb will also develop a ring-like pattern and the scales will rot.
As the disease progresses, the leaves will collapse, with a corrugated appearance caused by the protruding veins.
These bacteria have numerous hosts, including brassicas, stone fruits, nightshades, and legumes like beans.
It also attacks wild radish, dandelion, vetch, and thistle, which is another reason you want to keep weeds out of the garden. In fact, controlling weeds is a huge part of preventing this disease.
It can be seed-borne, or carried on the wind or through water. Watering at the soil level to avoid splashing is another important preventative.
If you see symptoms, act quickly. Once the bulb starts to rot, there isn’t much you can do.
Treat the leaves with a copper fungicide and use a copper drench on the soil. Repeat after two weeks have passed if new symptoms develop.
Basal Rot
Fusarium oxysporum f. sp. cepae is a fungus that causes necrotic, yellowing leaves, beginning at the tips and moving down to the base.
At the same time, the leaves might wilt. Underground, the bulb turns soggy and brown.
Sometimes the symptoms don’t appear until you harvest the bulbs and they start rotting away.
Sounds bad, right? It is.
The fungus thrives when temperatures are between 59 and 80°F and it survives in the soil for decades, just waiting for an onion that has a little bit of damage caused during planting or by pests where it can get in.
It can also find a host in oats, beans, corn, tomatoes, and sunflowers.
Rotate these, along with other alliums, out of your garden so that you only plant them once every four years in the same area. Take care not to injure transplants and prevent pests like maggots from infesting your crops.
You can also plant resistant cultivars, like ‘Dulce Reina,’ ‘Frontier,’ ‘Genesis,’ ‘Great Western,’ ‘Green Banner,’ ‘Montclair,’ ‘Outlander,’ ‘Parade,’ ‘Pirate,’ ‘Red Devil,’ ‘Scorpion,’ ‘Sweet Jasper,’ and ‘White Castle.’
Black Mold
You’ve probably come across an onion rotting away in a bag that you purchased at the store.
Black mold, caused by Aspergillus niger, causes black streaks to form under the paper and at the neck of the bulb. Advanced cases cause the entire bulbs to turn black and shrivel up.
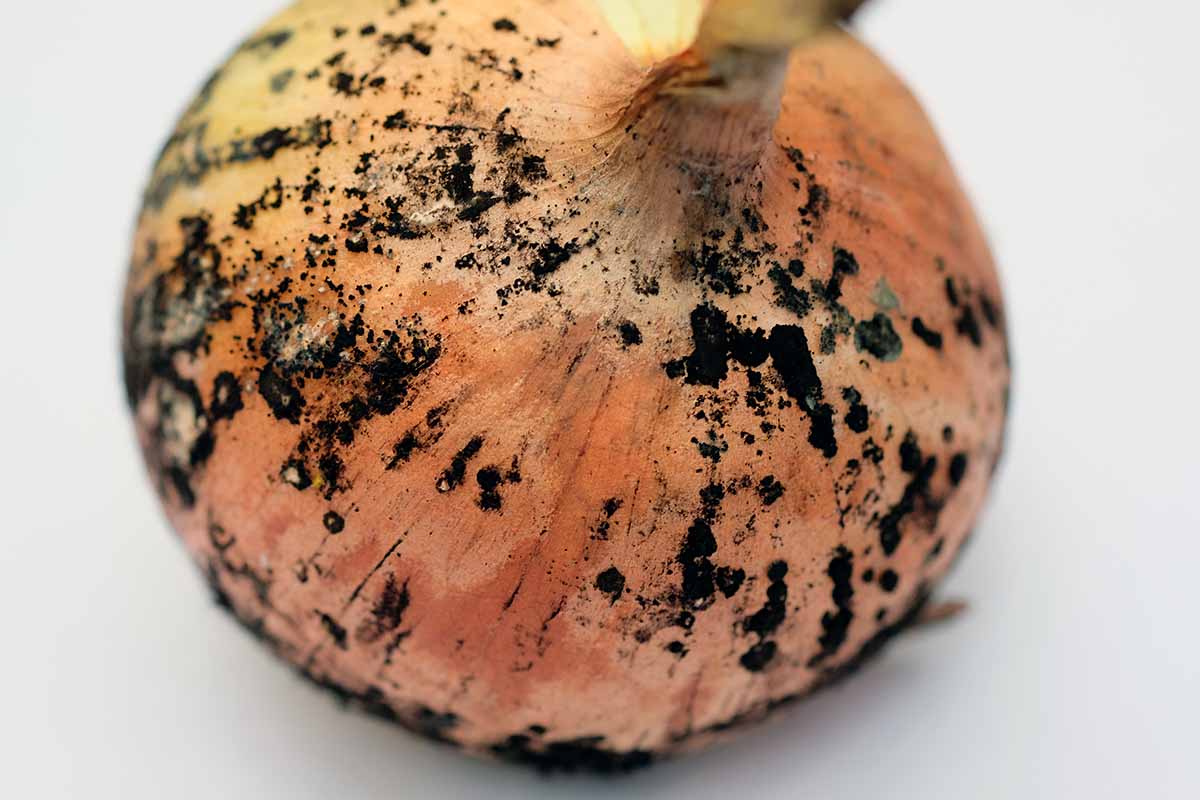
While you can wash the black mold off and use the onion if it isn’t too far gone, it’s better to avoid this disease altogether in your homegrown crop.
Harvest your bulbs the moment they’re ready and dry them right away. There must be moisture present for at least six hours for the fungus to develop, so keeping your harvest dry is key.
Once the onions are cured if you’re growing a storage type, they’re less susceptible to black mold development.
But you can also refrigerate your bulbs to further prevent the fungus from spreading, since it needs temperatures above 59°F to reproduce.
Leaf Blight
Botrytis squamosa is a fungal pathogen that causes oval-shaped, white lesions to develop on the leaves. These may or may not have a silver halo. As the disease advances, it stunts bulb growth, and leaf tips will die. In fact, whole leaves might die off entirely.
Because the pathogen can lie dormant in plant debris or soil, it’s common and tends to return year after year, especially in areas with high humidity or low air circulation.
As with many other diseases, regular crop rotation will help prevent infection. Only plant alliums in the same area once every three years to avoid it. You should also space plants appropriately for airflow and remove all debris at the end of the growing season. Avoid overhead watering.
Copper fungicide can arrest development, but there are some great products out there developed specifically for treating fungal pathogens like botrytis.
CEASE, for instance, contains the beneficial bacteria Bacillus subtilis, which outcompetes botrytis pathogens and disrupts their germination.
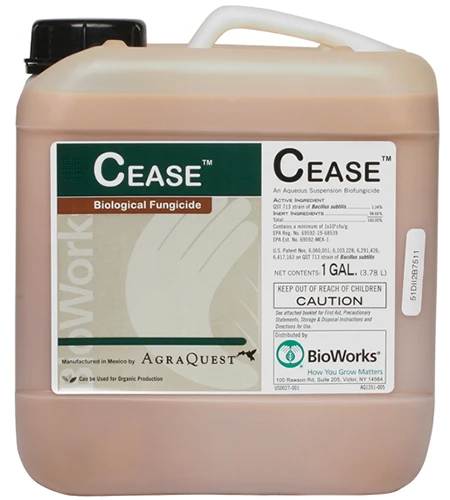
You can bring home a gallon or 2.5 gallon jug from Arbico Organics.
I’ve also had lots of success with Mycostop, which uses a bacteria found in peat moss called Streptomyces strain K61 to destroy pathogens.
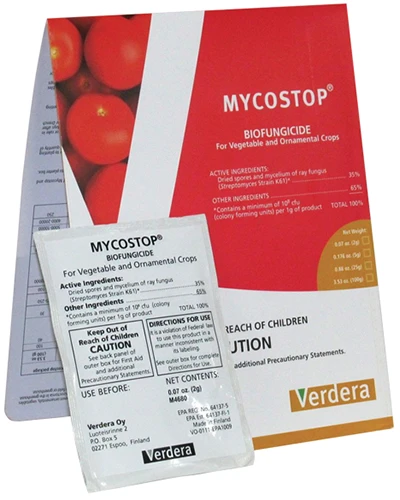
It’s also available at Arbico Organics in five- or 25-gram packets.
Follow the manufacturer’s directions closely and you should be botrytis free in no time.
Rust
Onion rust causes elongated or round pustules to form on the underside of the leaves and on the stems.
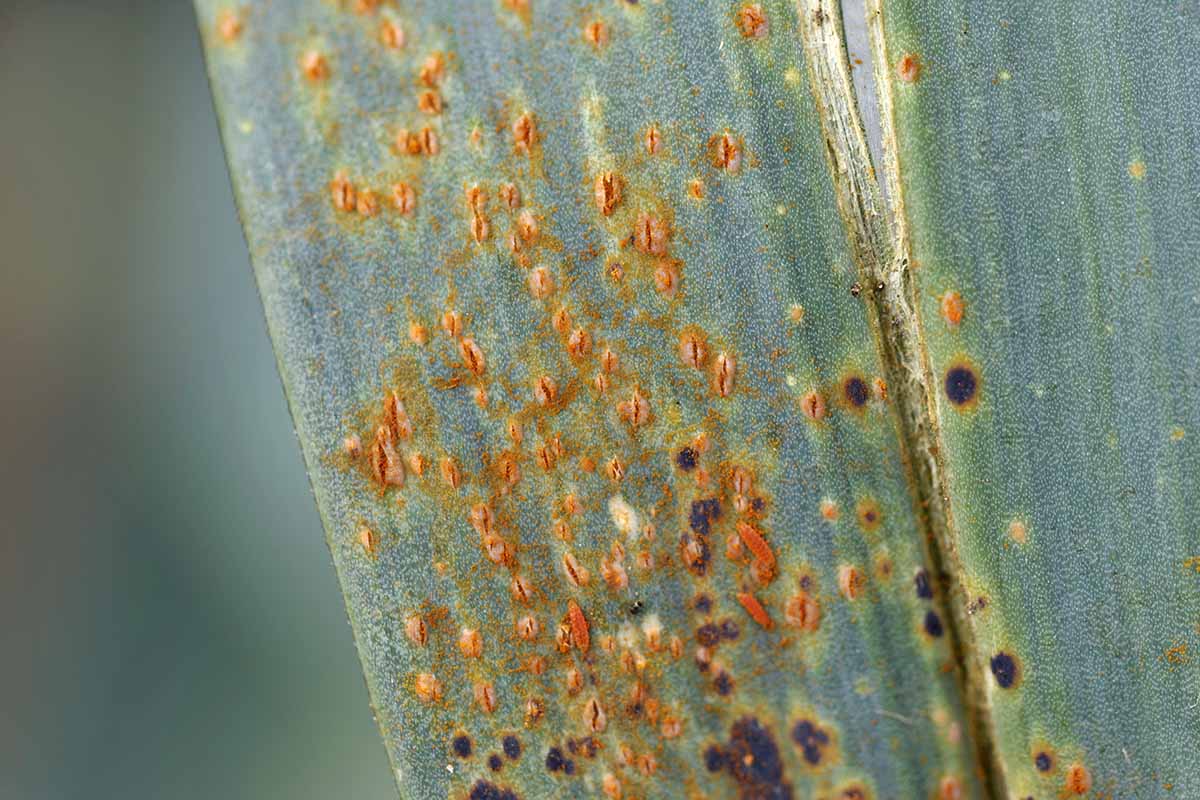
Caused by Puccinia porri, a type of fungus, it won’t usually kill your plant, but it can result in reduced vigor and smaller bulbs.
The aforementioned copper fungicide and CEASE are both effective in treating this common disease.
Harvesting
Onions take up to four months to cultivate from planting to harvest. If you want spring onions, otherwise known as green onions, harvest them about 21 to 28 days after you’ve planted your sets or a bit longer for seed planting.
These spring onions have a lighter and sweeter flavor than mature onions that’s wonderful in many recipes.
Fresh eating onions can be harvested basically any time the bulb or greens have reached a size that you prefer, but before the tops start to turn yellow.
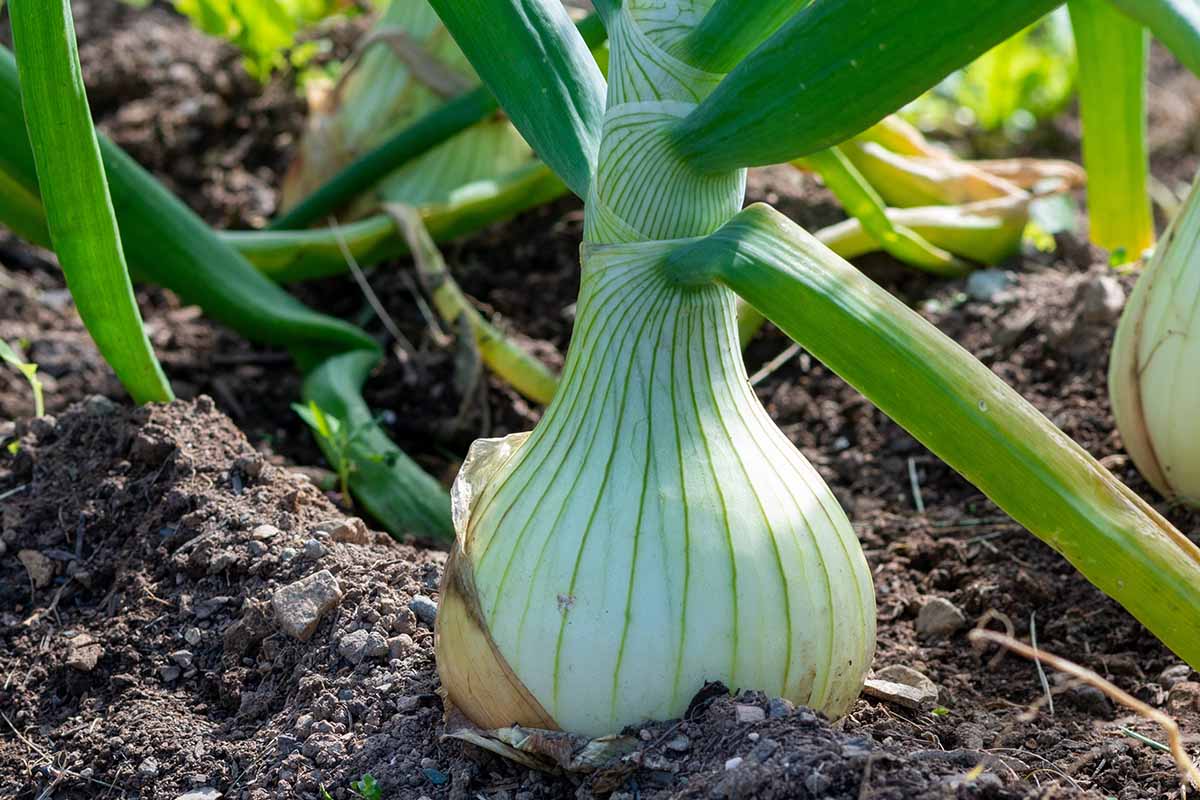
Otherwise, be patient, water, fertilize, and weed. Before you know it, nice and plump onions will peek the crowns of their heads out of the soil to show you their progress, though this won’t always happen.
If you experience lots of overcast days and cool temperatures, the bulbs will take longer than usual to form.
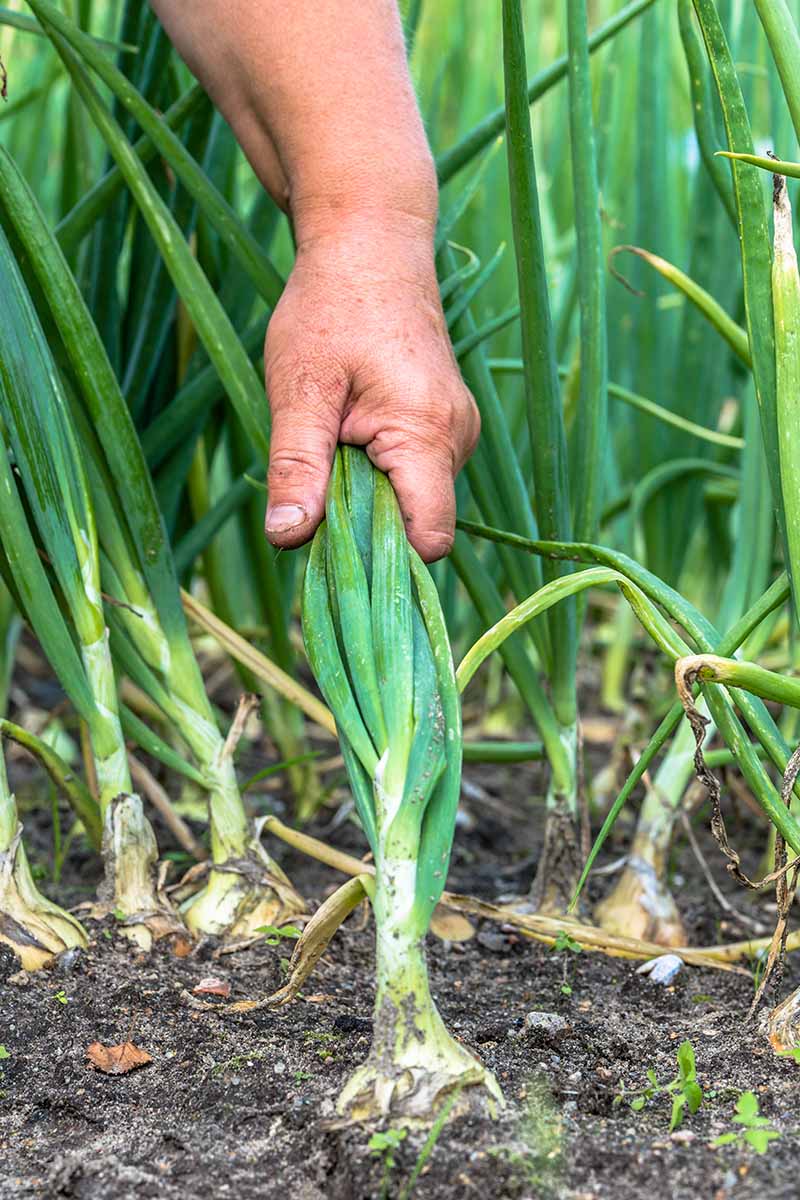
For storage types, monitor them carefully, noticing when the long green tops begin to flop over and lay down, changing color from green to brown, indicating that it is harvest time.
You want about half of the leaves to be falling over and turning yellow or brown before you harvest storage onions that will be cured.
Wait for a cool, dry day to harvest. This helps limit the post-harvest rots that can impact onions.
Remove bulbs from the ground by digging down underneath them with a shovel or trowel and gently lifting. At the same time, grip the tops at the base and gently pull.
Preserving and Storing
When the weather is dry and sunny, many farmers and backyard gardeners will pull up their onions and leave them on top of the soil in rows for up to a week, allowing the sun and air to dry them naturally.
If you do not have such fantastic conditions, harvest your storage onions and bring them into a well-ventilated area like a barn or some kind of open room.
Spread the onions out on a flat surface, like the floor or mesh drying racks, so that they can dry.
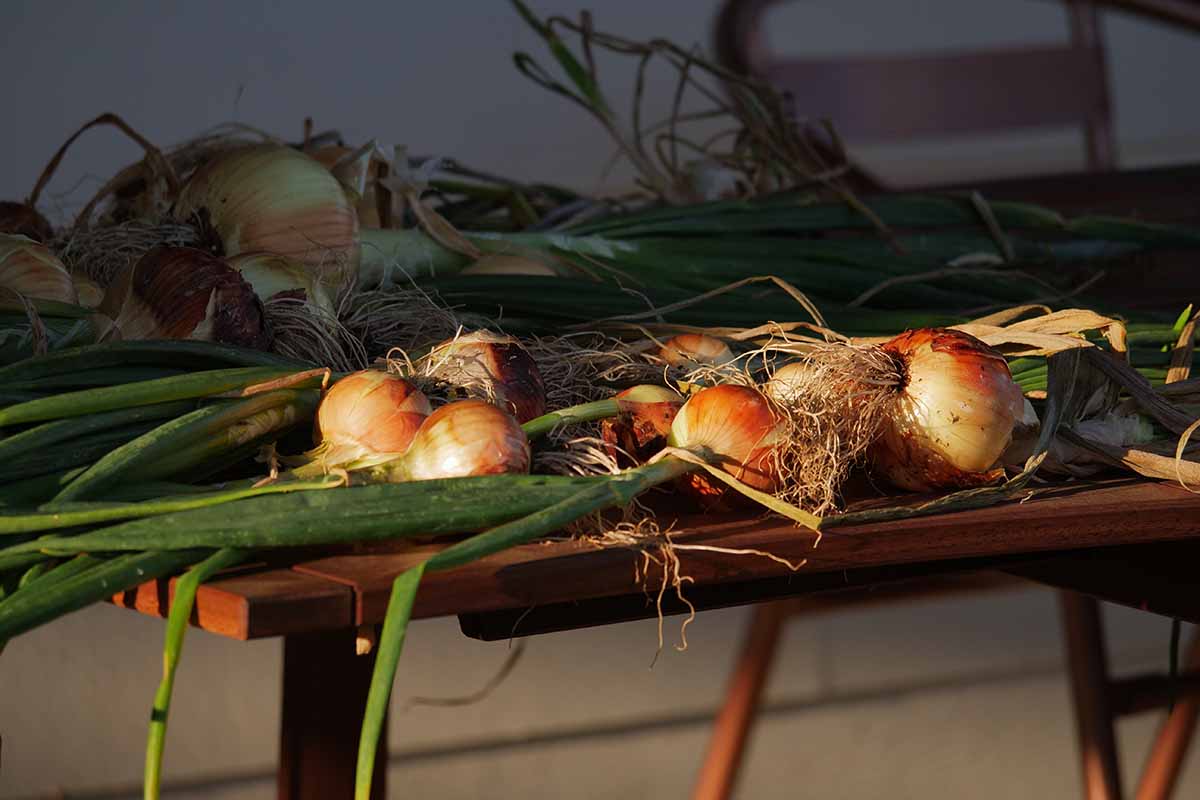
This process is called “curing,” and it is a critical step in the storage process. If they are not properly cured, onions will not have a long storage life at all, because the remaining moisture will cause them to rot.
You’ll know they’re ready when you cut off a top and notice that there isn’t anything oozing from the cut. If they aren’t dry enough, a milky white substance will seep out, telling you that the onions need more curing time.
Hang or lay the onions out in an area with good air circulation and out of direct sun to continue curing.
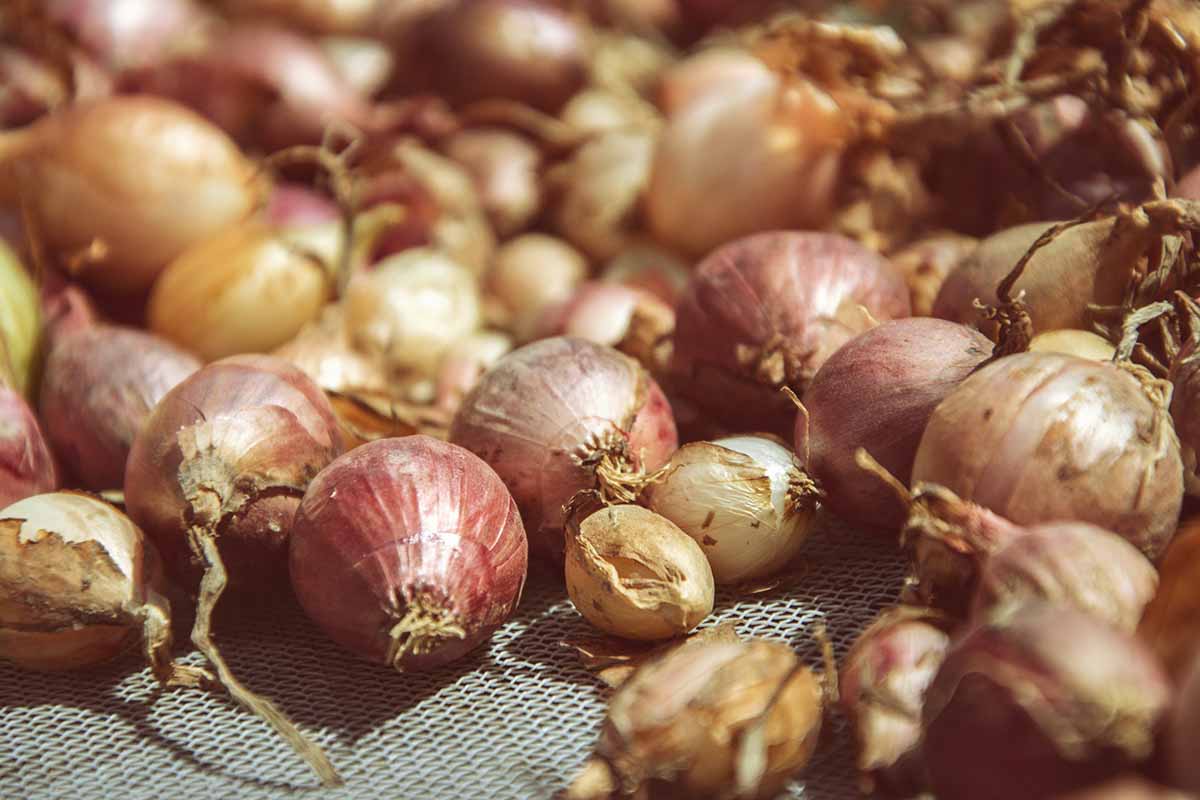
Once properly cured, you can begin the process of cutting off the tops, trimming the roots, and bagging your onions for storage. When cured and stored properly, some storage onions – such as ‘Patterson’ or ‘Red Wing’ – have a storage life of six months or more!
Spring or fresh onions can be stored in the crisper drawer of your refrigerator. Green onions won’t last as long as fresh onions, but expect to get at least a week of cold storage for greens.
Get more tips on storing onions here.
Recipes and Cooking Ideas
Oh boy, where to begin?
First things first, learn how to prep onions on our sister site, Foodal. Once you’re such a master at slicing and dicing that you could win a Top Chef Quickfire challenge, you can start cooking.
One of my favorite ways to use onions is to caramelize them. There is no way to hurry this process, so make sure you have about an hour to do it.
Slice the onions to a uniform width. That’s key, because uneven slices will result in some bits being burnt and others being raw.
Now, put a glug of olive oil in a pan. I prefer to use a heavy glazed cast iron pan because it has enough stick to really get the caramelization going, but it isn’t so sticky that the pieces will adhere to the pan.
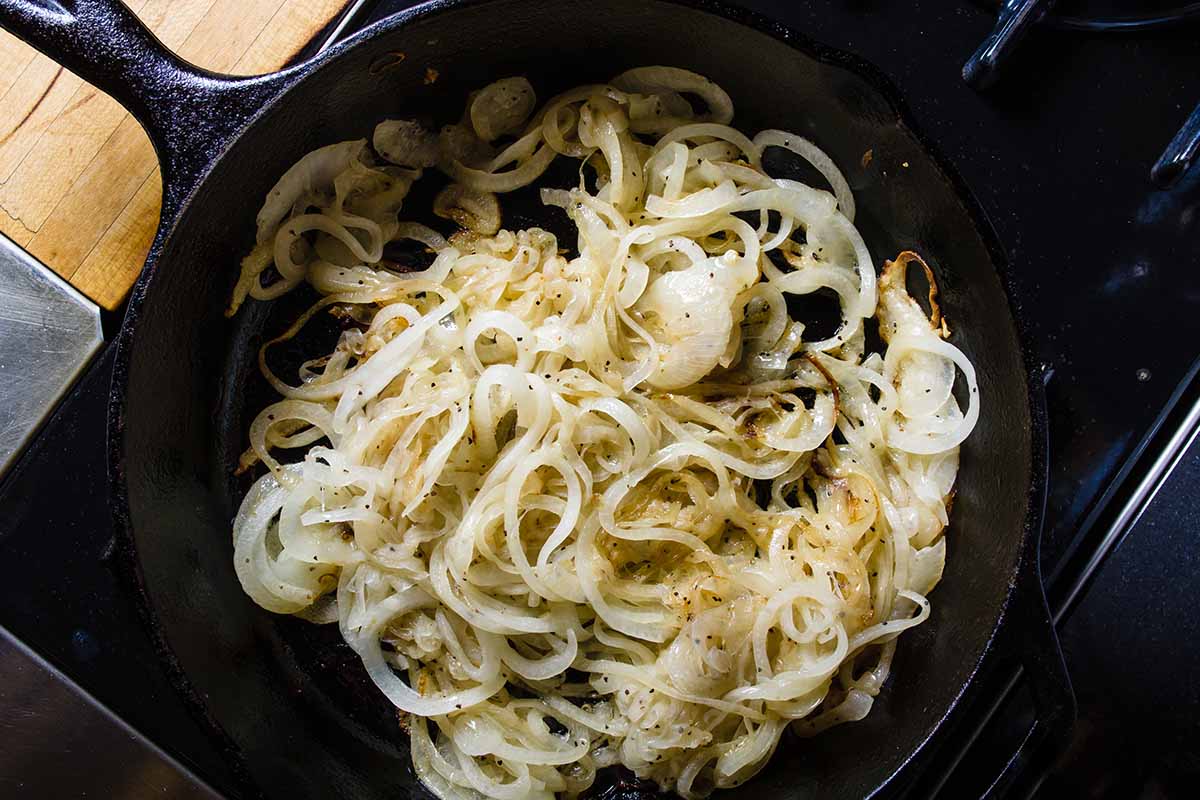
It also spreads the heat evenly, even when you’re cooking on a very unevenly heating stove.
Turn the heat to medium-low and add the onions. You only want to caramelize one or two onions at a time, depending on the size of your container. Too many slices packed into a pan will have a hard time cooking right.
Now cook them slowly, stirring every five minutes or so. You might need to add oil as you go to keep the mixture from sticking.
This process will take about 45 minutes, so if the slices are turning brown after 15 minutes or so, your heat is way too high. They shouldn’t start taking on any color for at least 15 minutes.
Once you have your caramelized onions, you can add them to so many recipes. Sure, burgers are a classic choice. But pasta, casseroles, sandwiches, toasts, pizza, and even salads gain a new complexity when you add this tasty ingredient.

For a few more ideas, check out Foodal’s satsuma, red onion, and pomegranate salad recipe. Or what about Foodal’s recipe for mini green onion frittatas with peas and feta?
Heck, don’t use them in a particular dish. Make them the dish with Foodal’s oven-roasted stuffed Spanish onions.
If your stomach isn’t growling yet, you should have that looked at.
Quick Reference Growing Guide
| Plant Type: | Biennial or perennial bulbous vegetable | Tolerance: | Some heat |
| Native to: | Central Asia | Maintenance: | Low |
| Hardiness (USDA Zone): | 2-9 (depending on daylight hours required) | Soil Type: | Loose, friable, rich |
| Season: | Summer, fall | Soil pH: | 6.0-7.0 |
| Exposure: | Full sun | Soil Drainage: | Well-draining |
| Time to Maturity: | 30-120 days, depending on type | Attracts: | Pollinators |
| Spacing: | 6-18 inches | Companion Planting: | Brassicas, nightshades, herbs |
| Planting Depth: | 1 inch (seeds, sets) | Avoid Planting With: | Other alliums, grains, legumes |
| Height: | Up to 6 feet | Order: | Asparagales |
| Spread: | 9 inches | Family: | Amaryllidaceae |
| Water Needs: | Moderate | Genus: | Allium |
| Common Pests and Diseases: | Allium leaf miners, onion maggots, thrips; bacterial rot, basal rot, black mold, damping off, downy mildew, leaf blight, onion yellow dwarf virus, pink root, purple blotch, rust | Species: | Cepa |
No Tears Here
The mighty onion is one plant you won’t regret growing. Homegrown onions just taste different and there are so many fun options that you would never find at the grocery store.
Which kind do you plan to grow? And how do you like to use your onions? Let us know in the comments!
I don’t know about you, but I can’t get enough alliums. If you enjoyed this guide and you’d like to learn more about onions and their relatives, check these guides out next:
I enjoyed your article about onions and gardening. Good range of topic there. Just a few comments I have- I grow my onions from seed starts that I buy in bunches of 50. I never really fertilize them at all and my several varieties grow big. I sometimes amend the soil with compost and dead leaves. I water deeply only every week or so. Also, I’m wondering why in your article you are promoting Amazon mail order so much, when probably all of our/your local farm stores might prefer and need the business ?
Cheers
Greg
Forest Grove, OR
Local nurseries and farm stores are an excellent resource, and being able to get advice localized to your growing area while supporting a local business is fantastic! But many of our readers do not have access to this type of retail business, and we’re pleased to be able to promote mail order products from many of our trusted affiliates.
I enjoyed this article too. Great tips. I am going to try to grow green onions. I have little space so I hope it works.
I am growing three different types of shallots—I live in North Texas growing them in pots, on patio, so weather isn’t much of an issue. I prefer to use natural fertilizer, so I make my own ground banana peel, sterilized coffee grounds, finely ground egg shells, and finely ground green tea leaves. Which would you recommend as a shot of nitrogen for the shallots? So far they are doing great without-but interested in your thoughts. Thanks
Liquid fish fertilizer is one of our favorites!
Shallots don’t typically need extra nitrogen, since they are root vegetables. We generally recommend a balanced liquid fertilizer, or supplementing with something like bone meal or kelp fertilizer. But we are fans of homemade amendments like you’ve described as well!
Banana peels are an excellent source of potassium primarily, while coffee grounds and tea provide a nitrogen boost, and eggshells provide calcium. See our guide to growing shallots for more tips.
I live in SC and when I picked my onions a lot of them were already rotting. What did I do wrong? I laid the rest on racks in my garage and most of them continued to rot. I wound up with a very few small onions. So disappointed.
Sorry to hear it, Barbara. Did you have long bouts of warm and humid weather this summer? Soft rot is a common culprit that can cause onions to rot in the ground. This bacterial disease may be transmitted by onion maggots, and the bacteria are often present in the soil or in decaying plant matter in the garden. Fusarium, a fungal infection, can causing rotting as well. As for what you might have done wrong, it’s difficult to say exactly until you have determined the specific disease in question. Planting onions at the wrong time, bouts of adverse weather conditions,… Read more »
Thank you for this great info! I tried growing onions last year and was not successful so I did a bit of research and am ready to try again!
How can I space onion seedlings.
See the section of our guide on transplanting above. Planting 4 to 6 inches apart is recommended for most varieties.