I admit it: I haven’t always loved beets (Beta vulgaris).
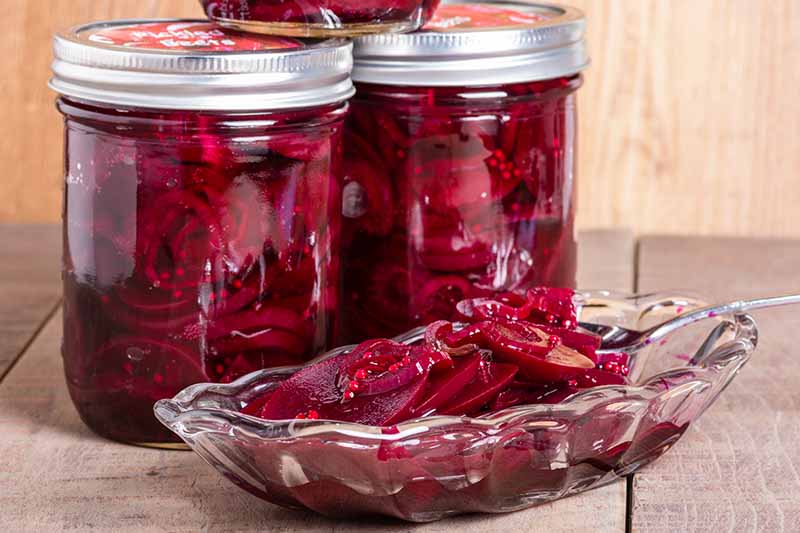
But that all changed the day I tried home-pickled beets in a sandwich for the first time, and was shocked by how much more flavorful they were than the ones that come in a can.
Home-pickled beets taste fantastic in all sorts of Mediterranean and Middle Eastern dishes, and the recipe I use is this one, from our sister site Foodal.
Nothing makes me feel cozier than the idea of a root cellar filled with homegrown beets and other root vegetables with a long storage life.

We link to vendors to help you find relevant products. If you buy from one of our links, we may earn a commission.
But does anyone even have a root cellar anymore?
If you do, I’m supremely jealous.
Since most of us aren’t lucky enough to have adorable root cellars in our backyards, we have to resort to purchasing store-bought veggies at some point during the year.
It either gets too hot outside to grow root vegetables, or too cold, thanks to the frozen ground and all that.
If you are lucky enough to be able to grow these tasty roots outside practically all year, see our complete guide to growing beets.
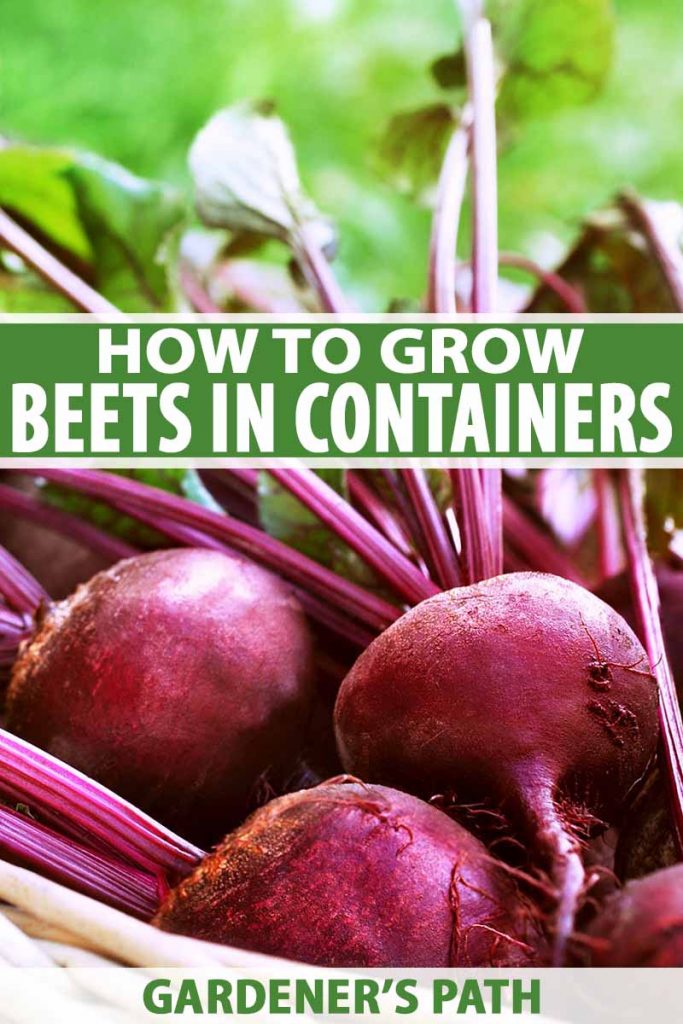
Thanks to modern HVAC systems and grow lights, you can grow juicy, ruby-colored beetroot in containers year-round.
In this article, I’ll show you exactly how to do it.
What You’ll Learn
The Best Weather
You can grow beets in containers indoors or outdoors.
For outdoor container growing, the hardy roots do well in a wide range of USDA Hardiness Zones: anywhere from Zone 2 with its extreme low of -50°F to Zone 10 with its low of 30°F.
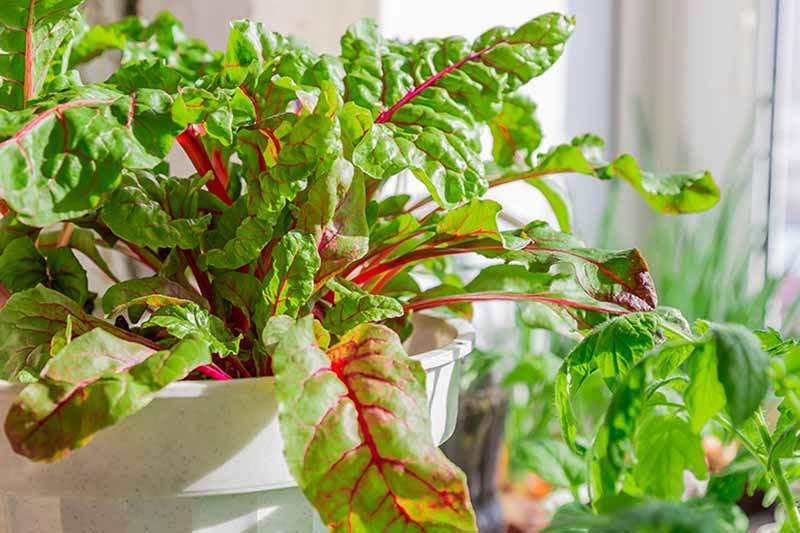
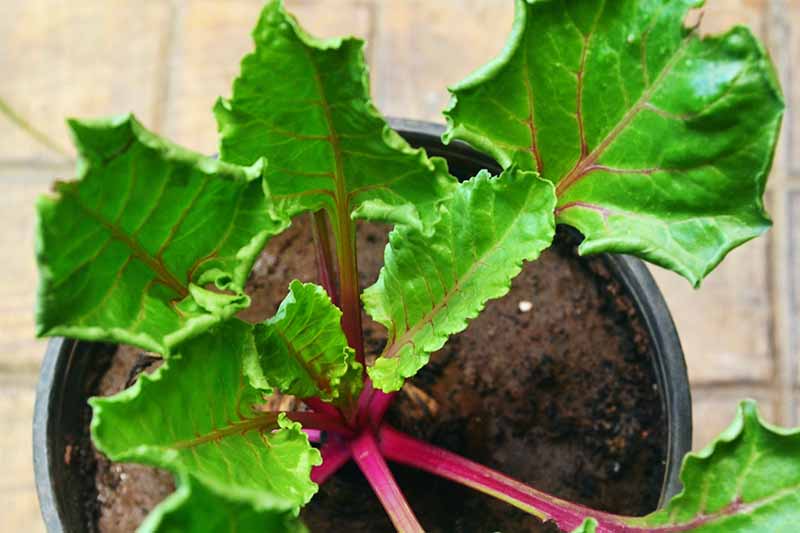
Beets are as versatile as they are colorful. But keep this in mind: they love cool weather and scads of sunshine.
Members of the goosefoot, or Chenopodiaceae family, beets are closely related to chard, the difference being that chard is grown for its leafy greens, not the roots.
You can grow beets outdoors in containers through fall, winter, and spring if you have a greenhouse or a cold frame and you live in USDA Hardiness Zones 7-10.
In Zones 2-6, you’ll need to bring them inside for the winter. But that doesn’t mean you can ignore the temperature set on your thermostat. Beets like temperatures that sit right around 50-70°F.
You don’t want your home or greenhouse to be too hot, or too cold.
For reference, when it’s -10°F outside here in the Anchorage area of Alaska, I tend to set my house’s heater at 67°F – perfect for growing beets!
Choose the Right Container
The most important thing to consider when growing this root vegetable is the depth of your container.
Beets need a pot that’s ten inches deep at the very least, so the roots have plenty of room to grow and stretch.
The container can be as wide or long as you want it to be, depending on how many beets you’d like to plant.
Keep in mind that they need to be sowed three inches apart in order to have enough room to mature.
For a nice-sized crop, try a 15- to 20-gallon soft-sided Smart Pot, available on Amazon.

Keep in mind that a pot this big is best for growing veggies on a deck or porch – it’s too cumbersome for indoor gardening or moving around.
A longer hard-sided planter like this one from the Home Depot is also an excellent choice.
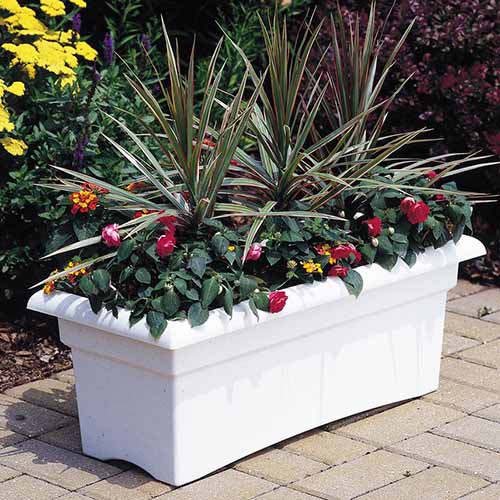
At 10 inches deep and 26 inches long, it’s the perfect size for an indoor crop.
Make sure the container has drainage holes – and consider spreading small pebbles over the bottom of the container so any excess water can drain down below the soil and the roots don’t get waterlogged.
Prepare the Soil
You can use garden soil for an indoor or outdoor container, but you may have to amend it. Beets need a pH of 6.0-7.0, so if you’re using soil from the yard, it’s worth conducting a soil test.
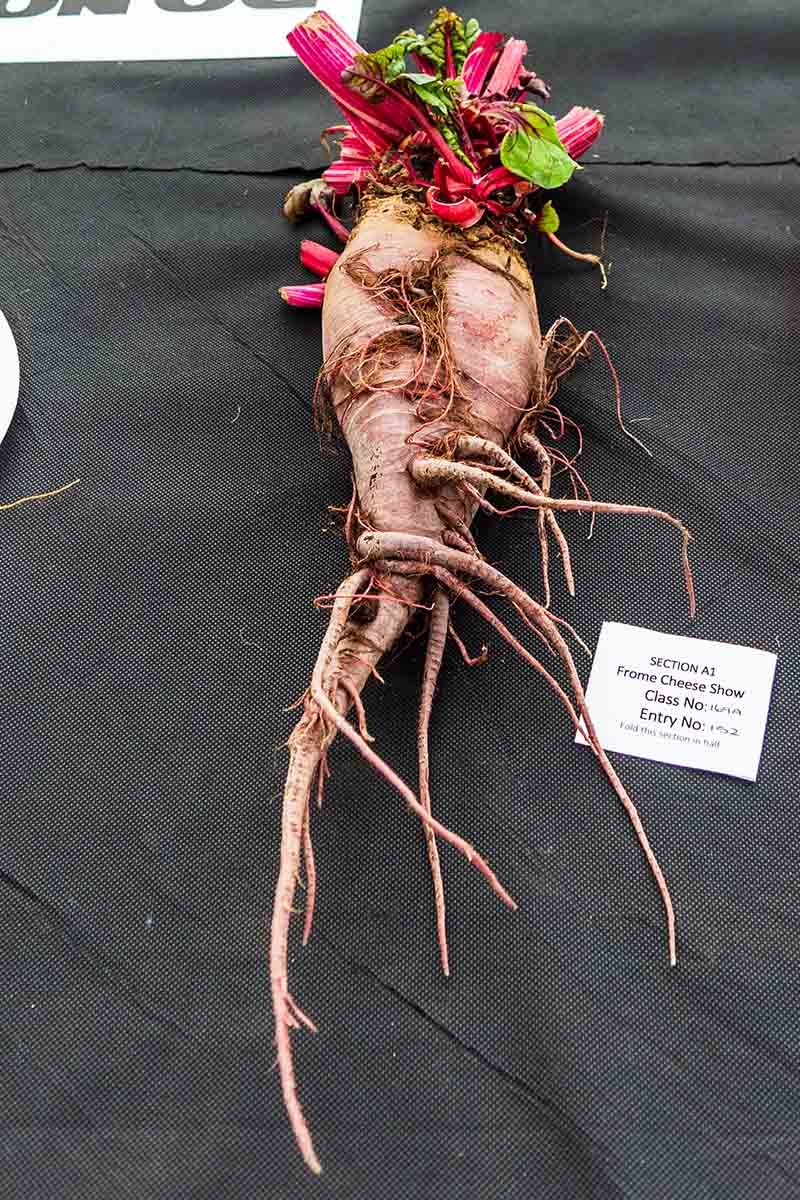
They need well-draining, light soil to allow the roots to expand as they develop.
To make a healthy soil from your own materials, add well-rotted manure or compost to garden soil and mix in some bone meal for additional phosphorous, if you need to.
Your soil should be light and fluffy. If it’s too heavy, your roots might turn out looking like this:
For prepackaged potting soil, I love Miracle-Gro Nature’s Care Natural and Organic Potting Mix, available from Amazon.
It’s fluffy soil that drains well.
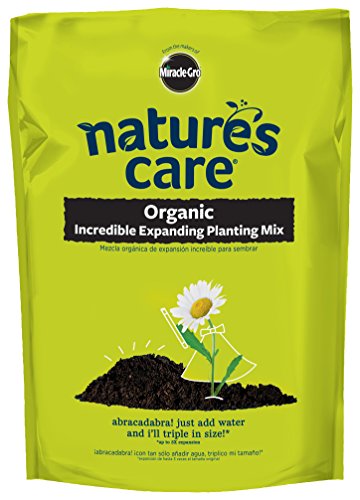
Nature’s Care Natural Organic Potting Mix
If you didn’t mix compost into your garden-amended soil or are using store-bought potting mix, you may need to add a little fertilizer.
I like to use a balanced vegetable-specific fertilizer for my plants’ nitrogen, phosphorous, and potassium needs.
My favorite vegetable fertilizer is this organic option from Dr. Earth, available on Amazon.
It smells funky – kind of like a horse barn – but it’s safe for use around pets and people, which is important to me as the parent of both a child and a dog.

Dr. Earth Organic Balanced Fertilizer
Simply mix one or two tablespoons of the fertilizer into every four square inches of soil. And remember to blend the fertilizer thoroughly into the dirt before you plant.
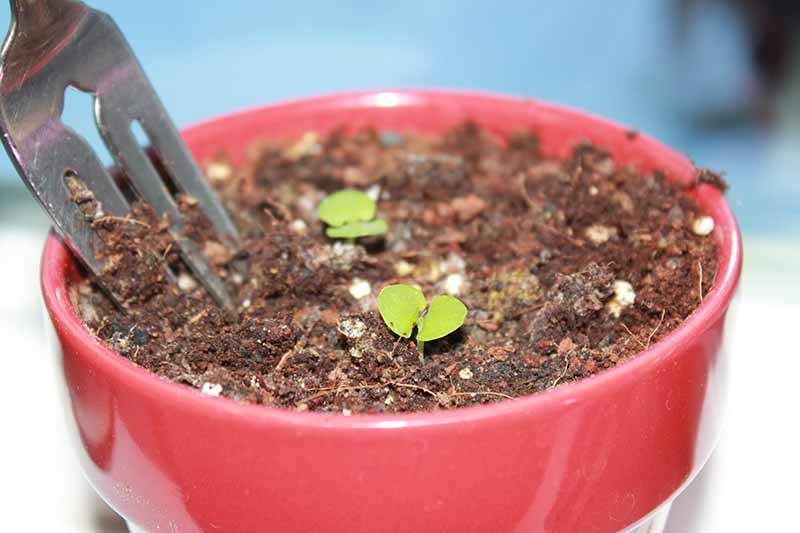
I failed to do this with my basil plant recently. Since I didn’t want to disturb the tender new leaves, I shook a little bit of Dr. Earth fertilizer on the soil around the leaves and then watered it in.
A couple days later, I found fuzzy white mold – saprophytic fungus – all over the surface of the soil.
After doing a bit of research, I discovered that saprophytic fungus is harmless to your plant, but it’s unsightly.
The mold develops because potting soil is already full of fungi that are good for your plant.
When you sprinkle organic fertilizer onto the surface of your potting mix without working it in, the fungi in the soil start feeding on the nutrients.
The high concentration of fertilizer in one place is basically a dream buffet for the fungi – and it’s a sign that the fertilizer is working just as it should.
So instead of freaking out, just take a fork or trowel and gently mix the moldy goodness into the soil.
Now that we’ve cleared that up, let’s move on to the actual sowing of your seeds!
How to Sow
While you can technically start beets in seedling trays, the delicate roots can get blunted or damaged easily if you aren’t extremely careful when transplanting.
If you’re planning to grow a beet crop on your deck in early spring and it’s still too cold out to keep the plant outside, you can start the seeds indoors in two-inch-deep seed trays or a biodegradable starter tray.
You’ll want to do this just two to three weeks before the average last frost date, when the weather warms up enough for your beets to survive outdoors.
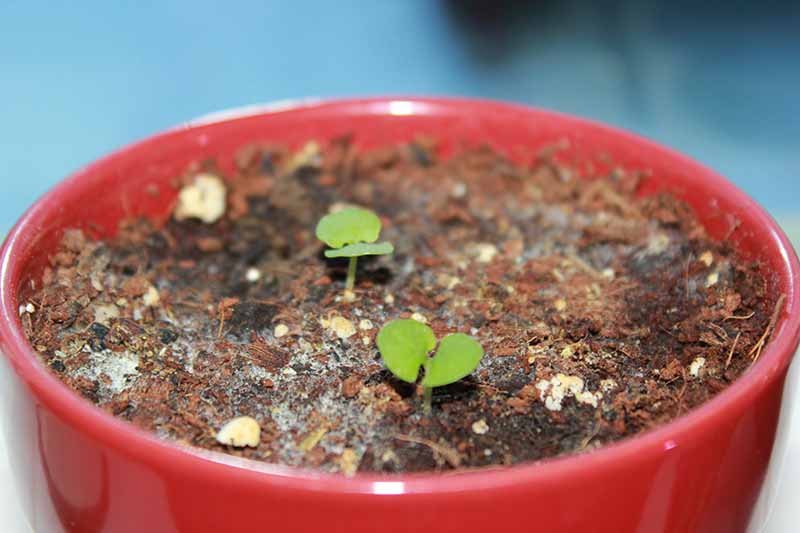
Once the seedlings are about two inches tall, it’s time to transplant them into deeper containers.
Sowing the seeds directly into your containers is usually the best option.
Now, onto the actual sowing process.
Beetroot seeds strike an uncanny resemblance to a handful of nutritious cereal.
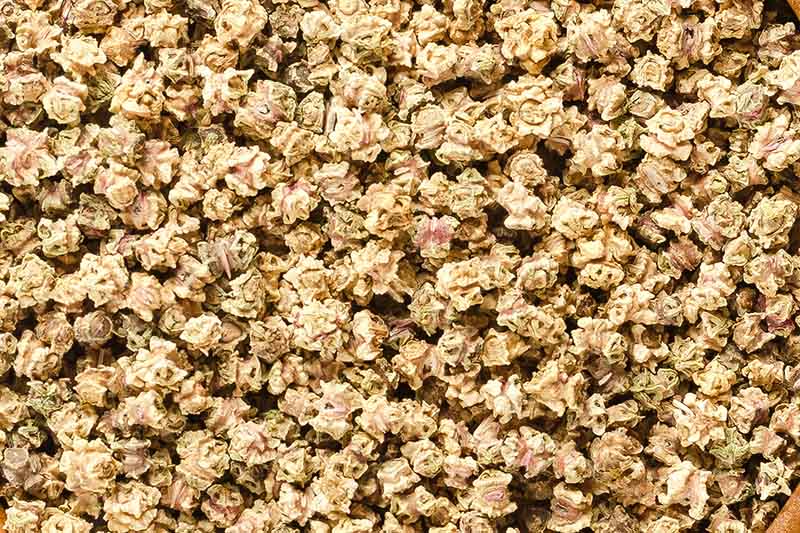
This is because each seed you’ll get in a packet is actually a spiky protective pod containing several smaller seeds. Or you can get a monogerm variety, which has one seed per pod.
To help with germination, soak the pods in warm water for two to three hours before you sow. This helps to open them up.
Spaced three inches apart, poke one-inch-deep holes into the soil with your finger.
Drop two of these delightfully funky seeds into each hole and cover lightly with soil. That way if one seedling doesn’t sprout, you still have another.
The same guidelines apply if you’re planting in seed trays.

Now you’re ready to give your seeds a good soaking.
How to Grow
I’ve got a lovely container garden going in my home office right now, and I used to carry each container to the kitchen and water it with the gentle rain feature on my kitchen faucet.
Obviously, this was rather time-consuming. Especially since I tried to water each of my containers without my toddler catching me – or inadvertently tripping me.
And with beets, dragging a 10-inch-deep container all over the place would be even harder.I solved the problem by getting this little galvanized watering can from Amazon.
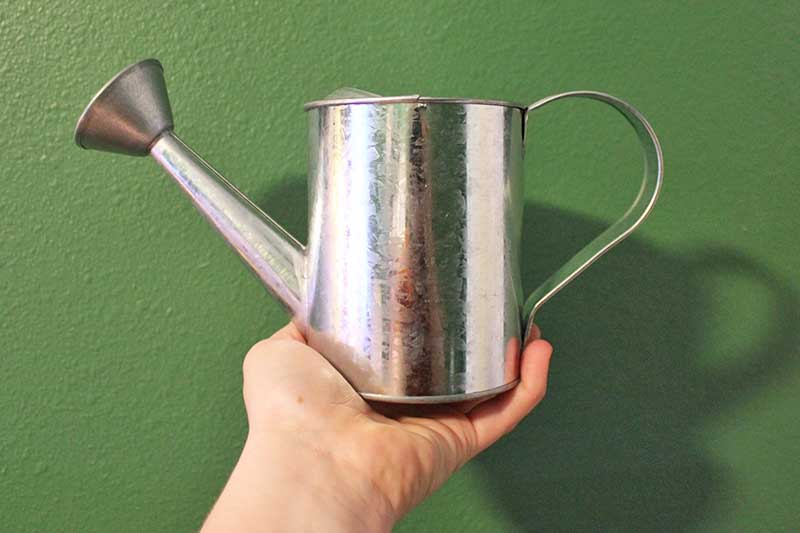
It fits in the palm of my hand and I can use it to water all of my office plants with just two trips to the faucet.
My other favorite thing about this watering can is its sprinkle spout.
Instead of a fat stream of water that displaces teensy new seeds in a heartbeat, the watering can gently and evenly drizzles water on the soil.

Make sure to use a similar method to water your freshly planted seeds so they don’t move around.
After planting, water them thoroughly.
If the seeds are growing in seed trays with covers on them or any other sort of humidity-retaining feature, you will probably only need to water them every two or three days.
In pots or containers, the moisture tends to evaporate more quickly, so water every other day.
Your seeds should germinate within five to ten days. After that, water your seedlings when the top inch of soil dries out. You want to keep the soil moist, but not waterlogged.
Thin the seedlings about a week after germination by cutting the weaker stems at their base with a pair of sharp, clean scissors.
You probably won’t meet too many weeds unless you used garden soil to pot your beet seeds, but if you do see weeds, tug them out right away so that they don’t steal any water or food from your roots.
Read on to discover the most important not-so-secret secret to growing great beets.
Provide Plenty of Light
Here it is: beets love sunshine.
If you’re growing this root vegetable on a brightly lit deck, that’s perfect.
Beets need six to eight hours of sunlight, whether they’re grown in containers indoors or outdoors.
For indoor growers, placing your container on a milk crate, chair, or table next to a sunny window can work to help them germinate and grow.
Make sure the window provides at least six hours of direct sunlight per day.
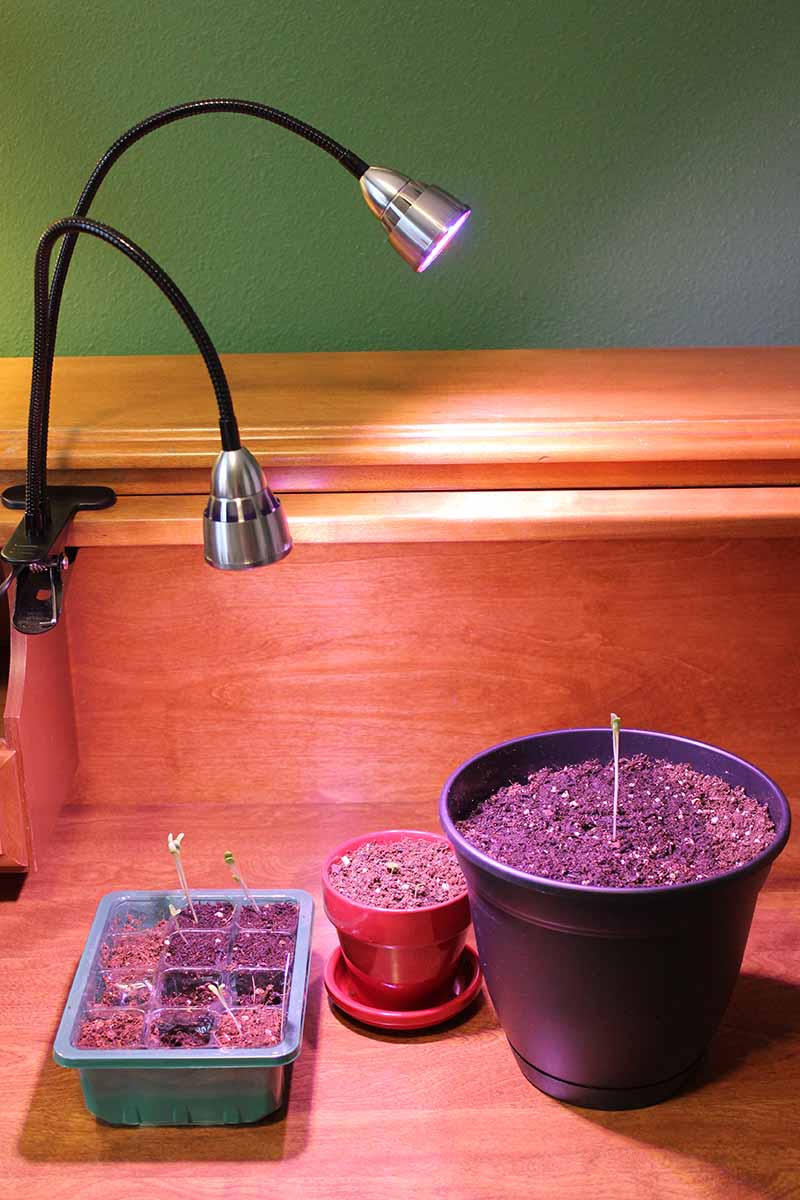
If you’re like me and live in a location where it tends to be pretty dark (and cold) in the winter, you’ll need a grow light.
With this budget-friendly grow light that’s available from Amazon, my seeds have all germinated in six or seven days. Even the carrots I recently sowed – and those can take up to two weeks.
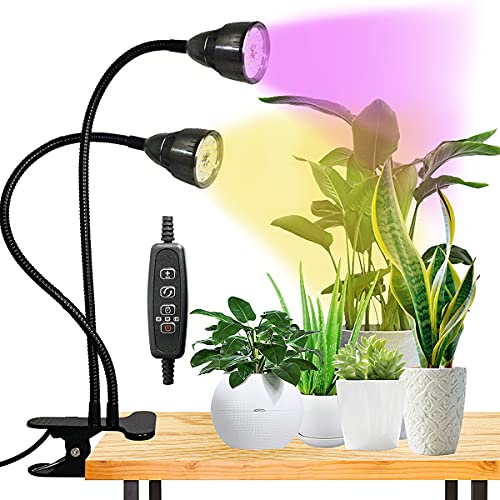
LED Dual Head Clip-on Grow Light
While you can set it on just a red-blue combination for germination and chlorophyll synthesis or a yellow-bulb-only setting for full-spectrum photosynthesis, I like to set it on the third setting: combination of red, blue, and full-spectrum yellow light for optimal photosynthesis and growth.
While beets will grow leafy greens even without full sun, they won’t develop the juicy roots they’re known for.
The grow light described above features a handy timer function that allows you to keep it on for three, nine, or twelve-hour periods. I often set mine for nine or twelve hours a day.
For a beet-utiful veggie, don’t skimp on light.
Growing Tips
- If weeds pop up, gently tug them up and out of your containers ASAP
- Keep the soil moist but not waterlogged
- Provide plenty of sunlight, or use a grow light
Cultivars to Select
Most beet varieties will grow just fine in containers, as long as they’re deep enough.
Here are two smaller cultivars for you to try growing in pots first.
Red Ace Hybrid
This extra cold-hardy, lightly sweet root produces smaller globes than other varieties, making it perfect for a container crop.
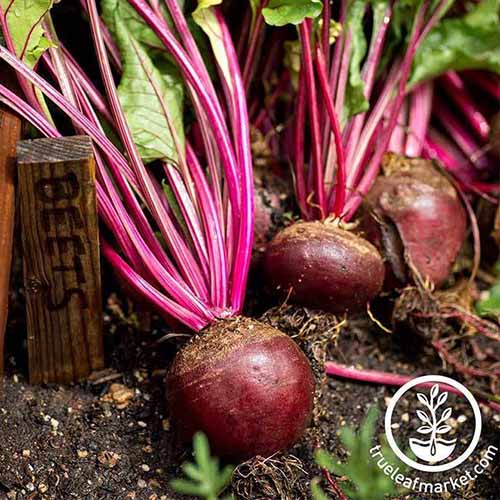
The cold hardiness of ‘Red Ace’ also makes it an ideal variety to grow on your deck if you live somewhere with mild winters.
Find four-ounce packets at True Leaf Market.
Moulin Rouge
This beautiful dark-red beet also produces smaller fruit, but it’s no less tasty than larger varieties.
‘Moulin Rouge’ beets are ideal for those with gardens in extra-sunny areas, as they demand full sun and warmer temperatures.
Get packets of 300 seeds from Burpee.
Managing Pests and Disease
Pests and diseases can crop up whether you grow your beets indoors or outdoors, but because your plants are growing in containers, you shouldn’t have too many problems.
A container does just that – contains beets in their own little world, separate from the many different plants and critters that can contribute to problems.
If aphids, beet webworms, and flea beetles gnaw on your leaves, spray the leaves with a neem oil solution. Learn more about how to manage aphids here.
For more information on combating creepy crawlies that are attacking your crop, be sure to check out our guide to common beet pests.
Diseases are also less of an issue with container-grown beetroot.
Plus, the soil in containers tends to be less humid and dry out more quickly than the earth does, which helps keep fungal diseases away.
But keep an eye out for cercospora leaf spot, one of the most common fungal diseases to plague this plant.
It appears as patchy spots on the foliage, eventually spreading over the entire leaf area.
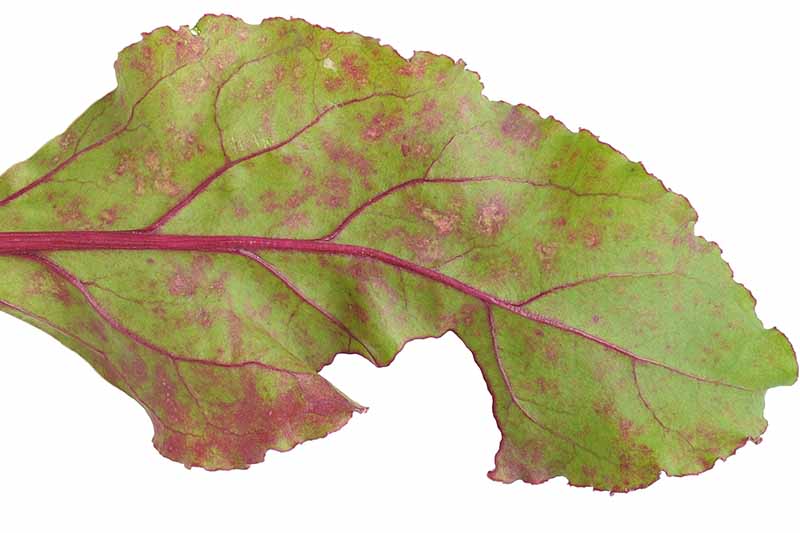
If your plants become infected, remove the affected leaves right away.
The beetroot should still thrive if only some leaves were infected. But if the entire plant is covered with leaf spot, uproot the beet and dispose of all plant matter.
As a general preventative measure against disease, keep your beet greens well thinned as they grow taller, to promote good airflow, avoid overcrowding, and prevent the spread of fungus.
Taking two to four leaves from the outer portion of the plant will help with this while allowing the root to keep growing well – plus you’ll get a tasty treat for your salad.
In addition, avoid watering the actual leaves of the beet so that they don’t get damp and prone to fungal diseases.
In cases of a severe infection, use an organic fungal spray if you need to.
Learn more about common beet diseases in this guide.
Harvest Time
You can harvest beet greens for salads and stir-fries whenever you want, depending on whether you like tender young leaves or bigger, mature greens.
Simply snip a leaf or two from the outer portion of the plant; this helps with airflow, too! To learn exactly how and when to do this, see our full guide on how to harvest beet greens here.
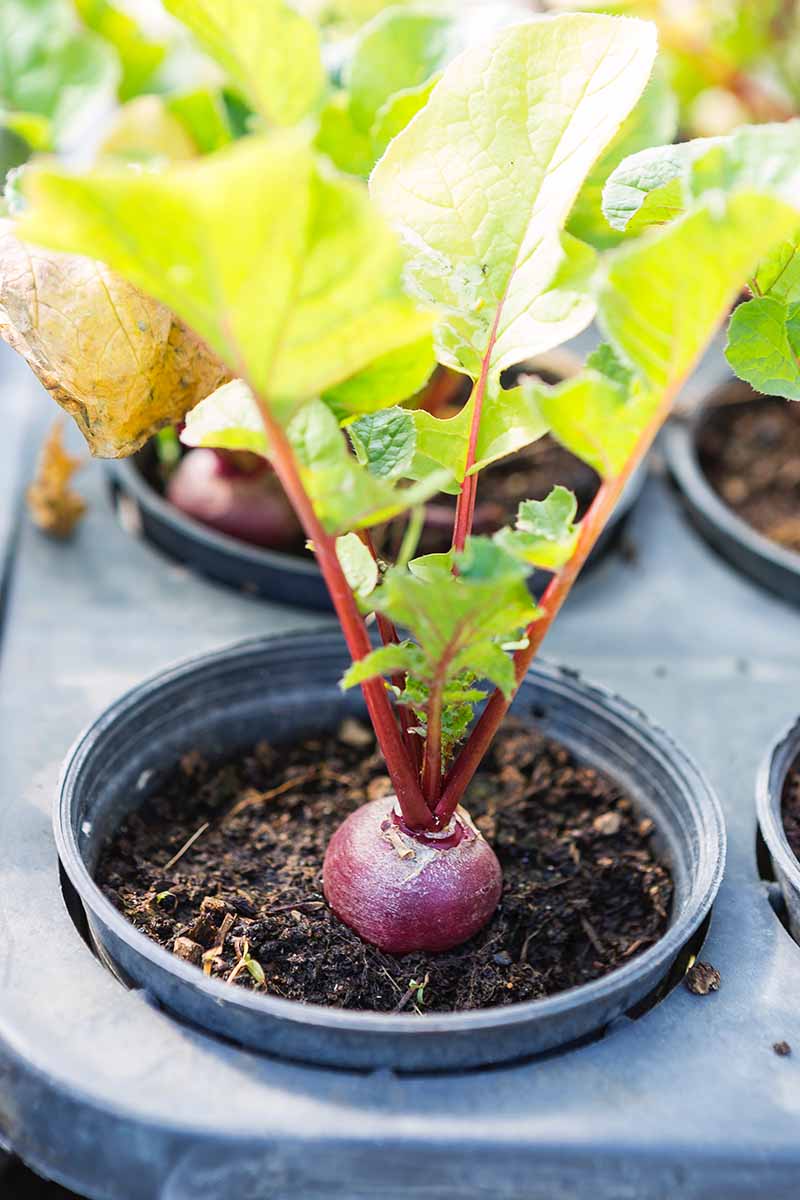
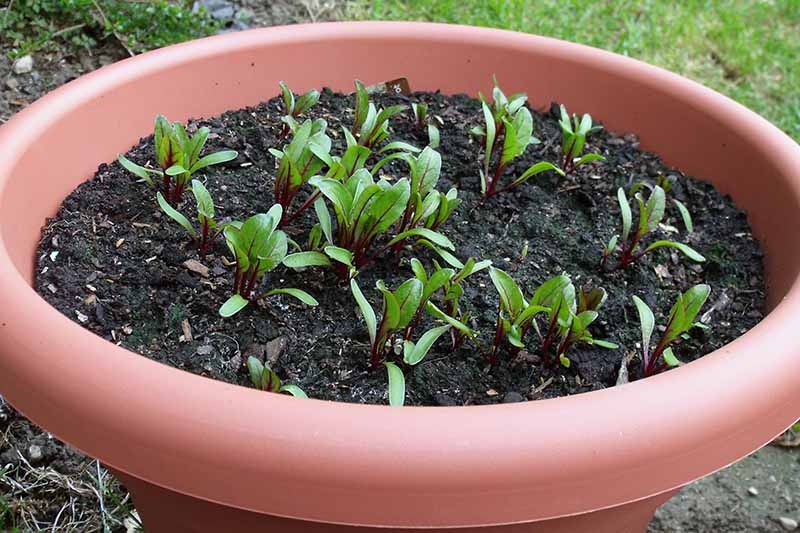
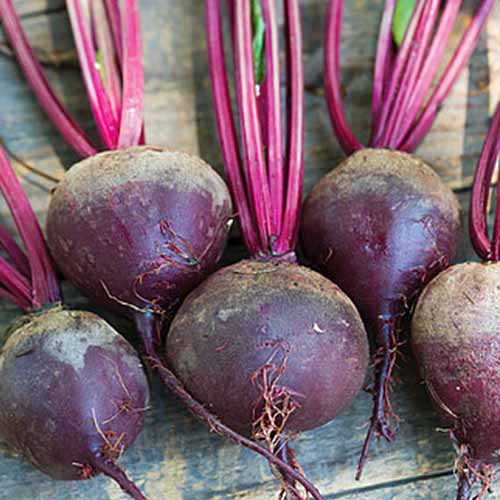
Around six to eight weeks after the germination of your seedlings – check your seed packet for maturity date – you’ll have leafy green tops with juicy bulbs waiting just below the surface of the soil.
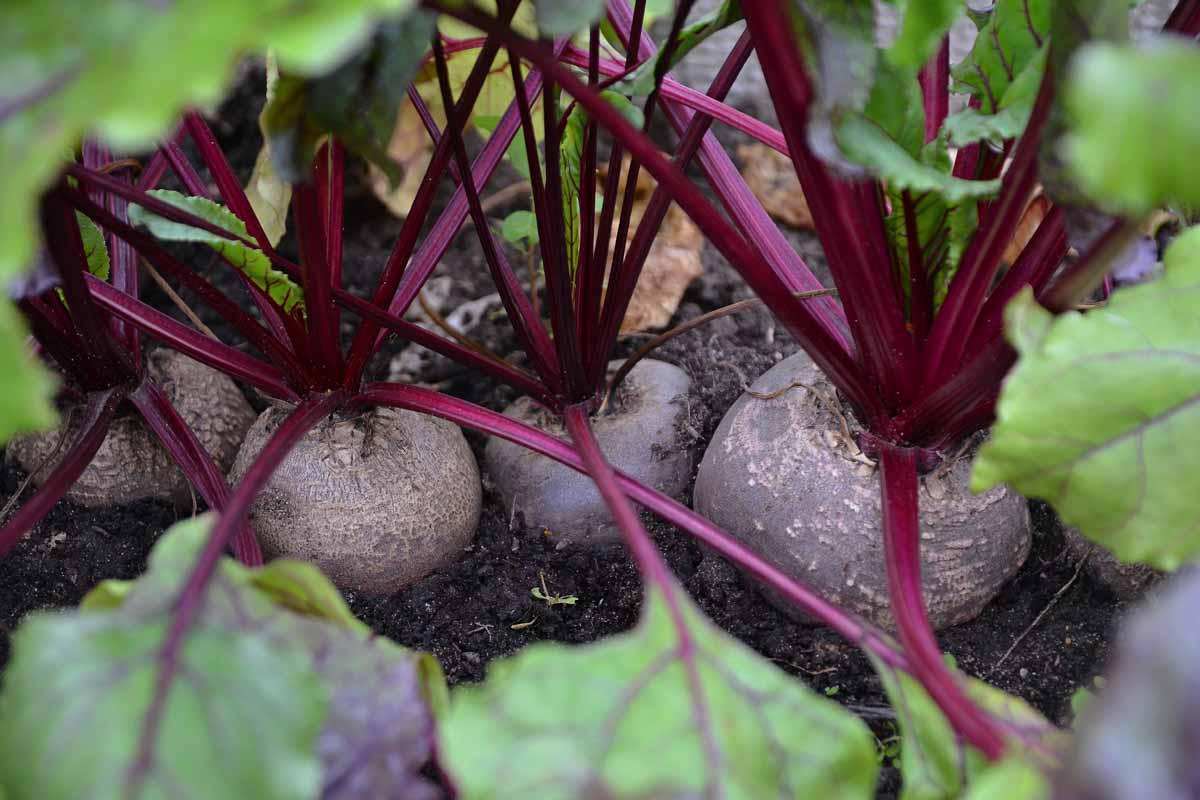
Or maybe they’ve even popped out of the soil a bit, unable to contain their glory.
That means it’s the most exciting moment of all: root harvest time.
Uproot your hard-won bulbs for pickling, roasting, juicing, and more.
Another added bonus is that container-grown beets are often the most perfectly shaped roots of all, since it’s easy to give them exactly the type of growing conditions they need.
An Un-Beet-Able Bounty
When you think about it, beetroots are a truly special veggie.
Not only are they absolutely gorgeous and tasty, but they’re also high in folate, fiber, iron, vitamin C, and potassium, making them a star snack and an excellent addition to everything from sweet baked goods to salads and soups.

If you have kids who are interested in gardening, growing beets in containers is a fantastic activity to battle the winter doldrums.
In the summer, give them their own containers full of different veggies to tend. They’ll be so eager to watch their plants’ development and enjoy their very own homegrown harvests.
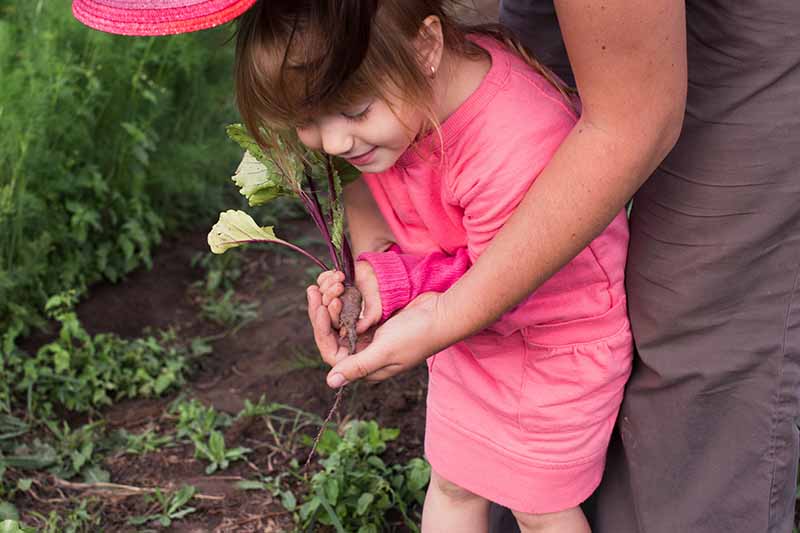
In fact, I bet they’ll be much more likely to try this veggie in the first place if they grow it themselves.
Have you ever grown beets in containers? Share any tips, tricks, or questions with us in the comments below.
And don’t miss these articles on growing tasty root vegetables:

I enjoyed reading the article. Especially after eating the first fruit of beet root I developed so much interest for beets but they are not available.
Isn’t it tasty? I’m sorry that they aren’t available where you are — maybe you could order seeds and plant them at home? Or if not, perhaps there’s a similar vegetable to try in your area, such as radishes, rutabagas, turnips, or even carrots? Let me know if I can help you in any way. 🙂
So much useful information packed into this article. Thank you for all your help!
I’m glad it helped, Natasha! Thank you for reading!
I loved the article. Very good and informative. This article is also very appealing.