

One of the most exciting moments of my childhood was the sweet summer’s day when my mom gave me an entire raised bed in her square foot garden.
I had helped with the detestable task of digging post holes for a fence to keep deer and bears out of the garden – we lived in Montana in a place aptly named Bear Canyon – and my reward was well worth it.
My nine-year-old self didn’t care much for vegetables, but I did love herbs and flowers.
So that’s what I planted.
We link to vendors to help you find relevant products. If you buy from one of our links, we may earn a commission.
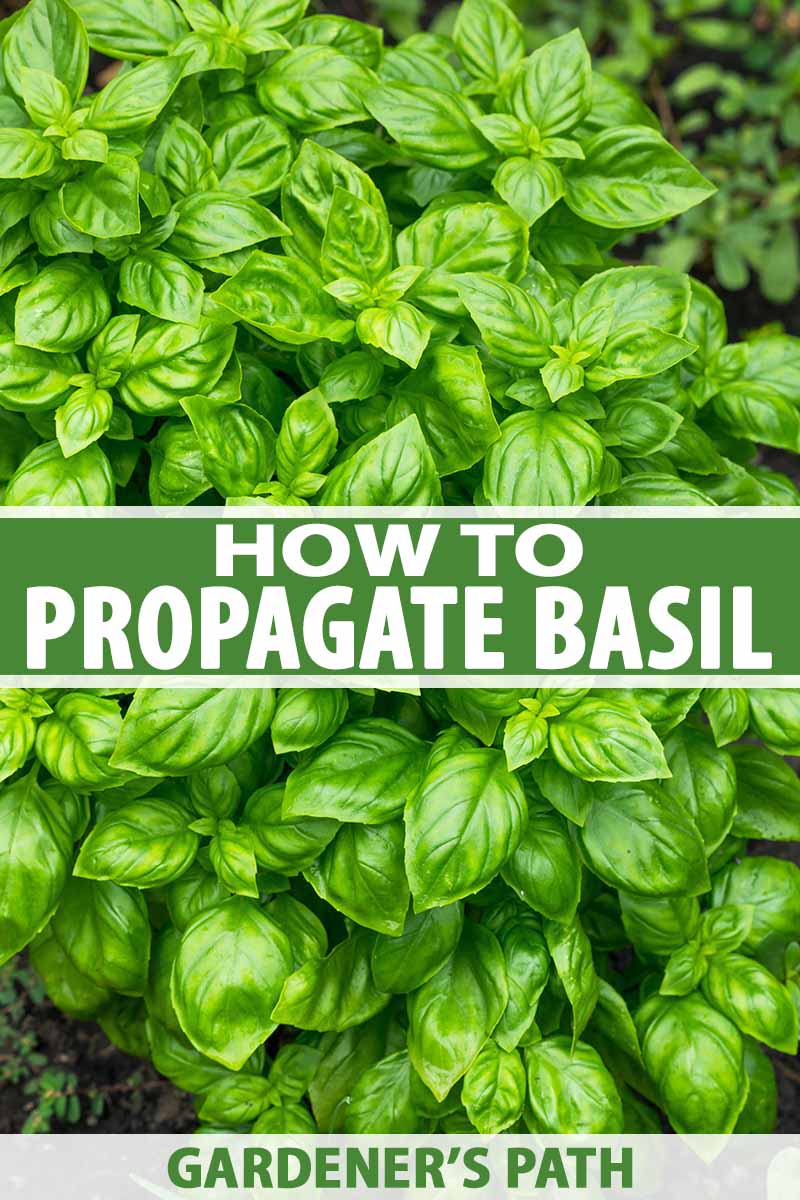
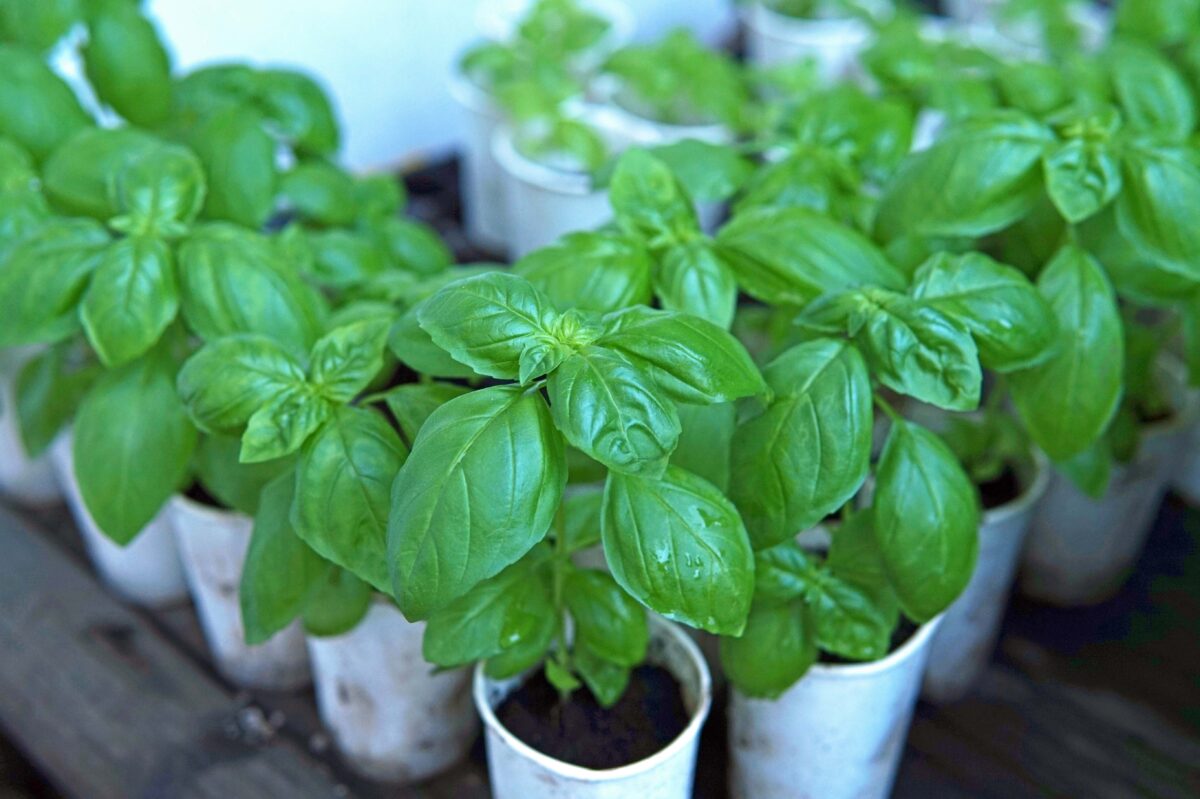
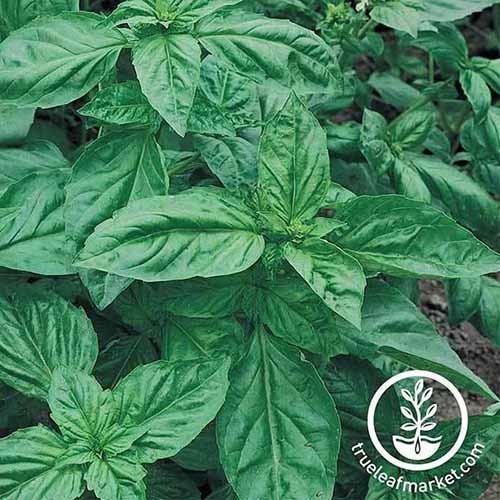
Since it’s so easy to propagate, basil (Ocimum basilicum) earned a spot in my treasured little garden. Every morning that summer I’d leap out of bed and grab my watering can. Watching those tiny green seedlings grow and thrive gave me an unmatched sense of accomplishment.
If you’re just starting your adventure in the world of gardening or you love pesto, bruschetta, tomato and basil soup, pho, margherita pizza, and all the countless dishes where this herb is an absolute, unequivocal necessity, keep reading.
This guide will show you tips, tricks, and a secret or two on how to propagate it at home. For more information about basil, including history and cultivars, check out our complete growing guide.
Methods of Propagating Basil
Divide Grocery Store Plants
If you live in USDA Hardiness Zones 6-13, you can probably find basil at your grocery store in the spring and summer, and possibly into the fall and winter.
You know the type I’m talking about, right?
Those little packets or pots of “live basil plants,” complete with dirt and root balls? The ones you buy in the fresh produce section that say “store in the refrigerator” and are not specifically intended for planting?
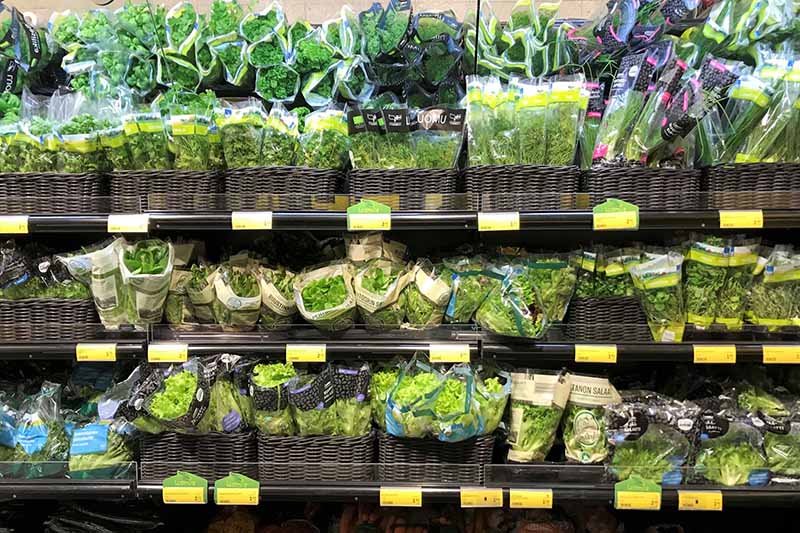
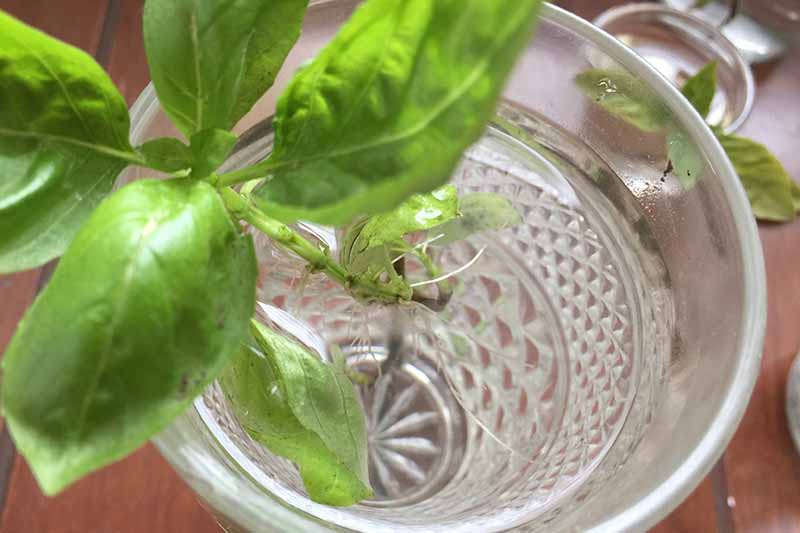
Here’s a secret you should know: you can plant them, but these basil plants aren’t really one plant at all.
Supermarket basil is often a manufactured root ball comprised of a number of seedlings. This makes it look like an extremely healthy plant with scads of leaves, when really it’s a few different plants smushed together.
It’s a smart and inexpensive marketing tactic. And it’s fine for shoppers who are going to use all the leaves at once to make their own pesto, like this one from our sister site, Foodal.
But it’s bad news for beginner gardeners, who often try to plant this deceitful root ball at home only to watch it die within days. All the roots start competing with each other for water and sunshine, and none of them win.
There’s a silver lining here, though. Now that you know the secret of store bought basil plants, you’re equipped with knowledge to help you successfully propagate your own at home.
Here’s how:
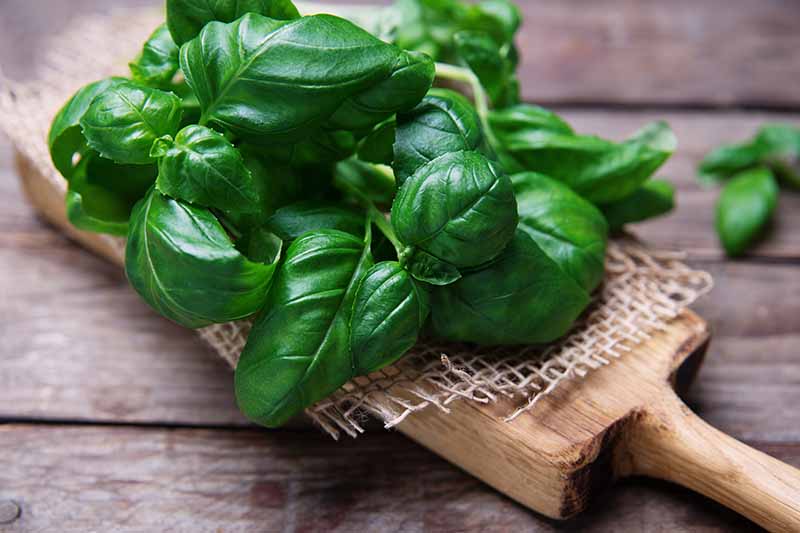
First off, this herb isn’t a plant you’d typically divide because it’s so easy to grow new roots from a cutting.
With supermarket basil, though, as opposed to nursery plants, you’re not truly dividing one plant. You’re separating all those squished-together roots into separate plants that can actually grow and thrive.
To do this, you’ll need:
- 1 supermarket plant (live herbs with roots, sold in the produce section)
- Soil-based potting mix
- Scissors
- Plastic or ceramic pots at least 5 inches deep with good drainage (a draining hole) and saucers
First, gently remove the plant from its original container and lay it on a clean surface.
With your fingers, pry the root ball into two halves. Then divide those halves again and cut off weak or leggy shoots so that you have separate clumps with 3-4 leafy shoots per clump.
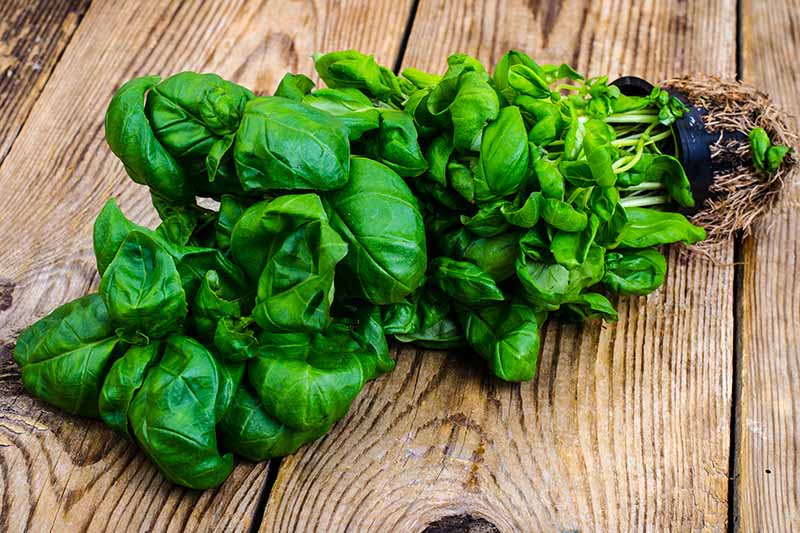
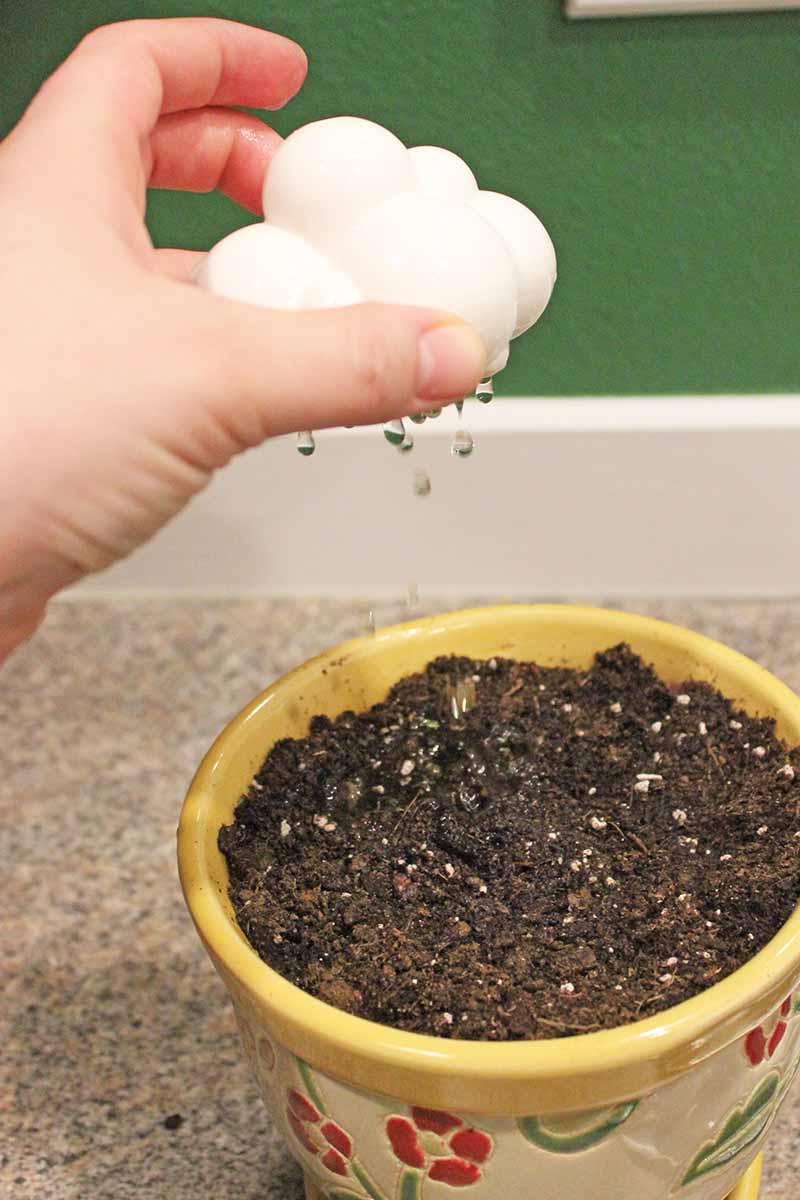
Plant each clump in its own container with fresh potting soil and water it with lukewarm water.
Basil likes to stay warm – hence the tepid water – and moist, yet well-drained, so give it water every other day or so for a total of 1-2 inches per week. Pour the water on the soil and not the leaves to avoid fungal problems.
Dump any liquid that leaks into the draining dish after each watering. The plant will take what it needs and let the rest drain, and you don’t want your plants to sit in waterlogged soil. This herb thrives in moist, well-drained soil, but it doesn’t like wet feet.
Finally, make sure you give each pot a spot on a sunny, south-facing windowsill.
If it’s not summertime, you may want to invest in a grow light. I like this one, available from Amazon. It’s a dual-headed clip-on gooseneck lamp, which means I can clip it on the windowsill and point it directly at my plants.
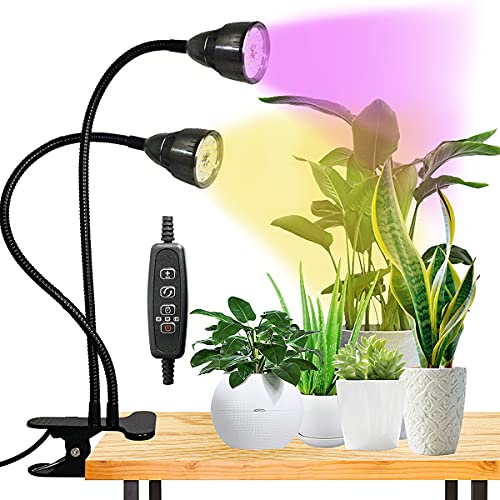
LED Dual-Headed Grow Light for Indoor Plants via Amazon
I can even point it at several plants at once, thanks to the two separate adjustable heads.
As the plants grow, pinch or cut the terminal bud – at the top of the plant – to support the growth of side shoots.
This will help your plant grow outward, not just upward, and will result in a bounty of deliciously fragrant leaves.
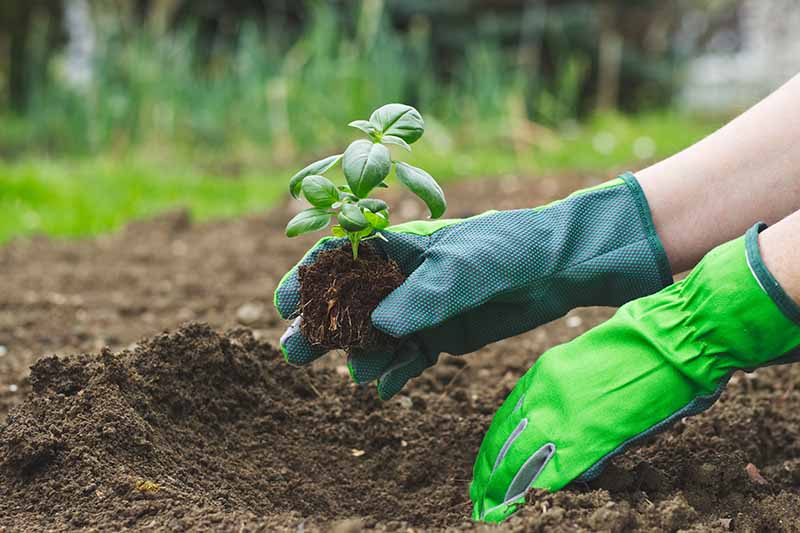
After two weeks, you can transplant the basil into larger pots and gift them to your friends.
Or, at least one week after your last frost date, start hardening the plants off by putting them outside for an increasing amount of time each day.
By the end of a full week, the plants should be ready for their home in your outdoor garden.
But what if you can’t find grocery store basil anywhere?
For those of us who live in USDA Hardiness Zones 1-5, it can be considerably harder to find live plants in our local stores – especially if it’s not summertime.
The good news is that if you can find a cutting, you can grow a new plant.
From Cuttings
It’s really almost magical, the things a basil plant can do, like growing new roots from a cutting.
Luckily for you, there are several places where you can get cuttings.
Are potted herbs available from a nursery in your area?
If you purchase just one plant and bring it home, you’ll be able to propagate more plants from the original parent, and you’ll get more basil for your buck in the long run.
If you’re like me and you live in Alaska, where the weather is currently hovering around 0°F and there’s no fresh basil for sale across the entire state, you’ll have to get creative.
Maybe you have a friend who would let you take a cutting from her indoor plant?
Or perhaps you enjoy Thai or Vietnamese dishes? (Stick with me here.)
If you’ve ever eaten pho, you’ve probably received a garnish plate featuring at least one basil cutting to enjoy with your meal.
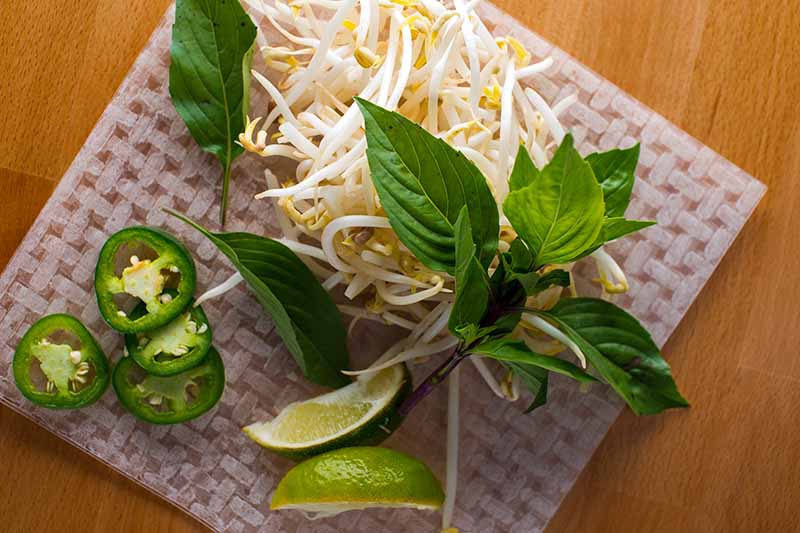
Restaurants may have basil plants of their own, or a special way to import fresh cuttings to even the coldest states.
So the next time you’re at your favorite Vietnamese or Thai restaurant, order a dish that comes with a basil cutting, wrap the stem in a napkin, and bring it home.
You might get a Thai basil (O. basilicum var. thyrsiflorum) cultivar or a Genovese basil (O. basilicum ‘Genovese’) stem, depending on the restaurant’s preference, so be prepared for a surprise.
If you like to experiment with different types, be sure to check out our 13 Favorite Basil Varieties for the Garden.
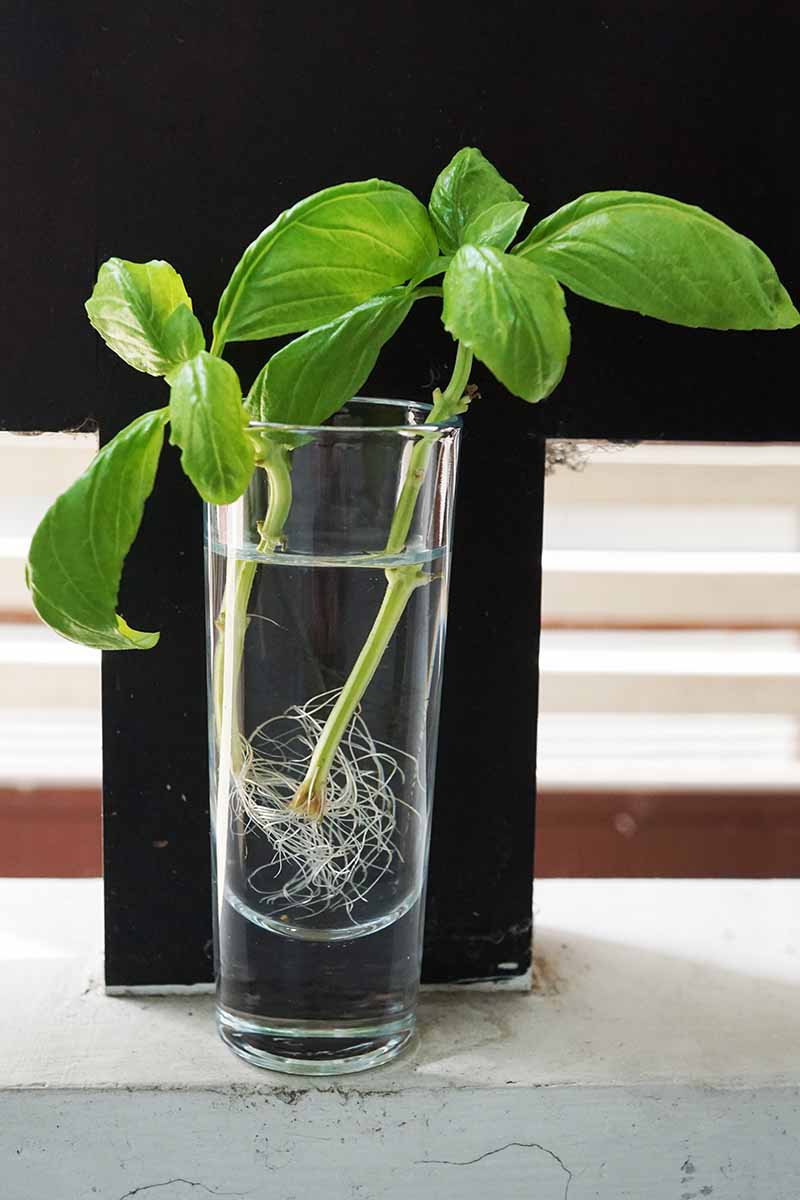
If you’ve got an established plant handy to take a cutting from, find a nice long stem and cut just below the last leaf node.
If you’ve got a cutting from a restaurant, it’s probably a decent length already, but you can cut below the last leaf node as long as you’ve still got at least three inches left of the stem after you cut. Four or more inches of stem is even better.
You’ll need:
- A basil cutting
- A glass of fresh water
- Powdered rooting hormone (optional)
To get started, trim the leaves off a two-inch section of the stem, starting from the base.
Place the trimmed cutting in a clear glass of water and find it a spot on a sunny windowsill.
You can first dip the bottom part of the stem in water and then roll it in a small amount of powdered rooting hormone if you wish. Just make sure you don’t overdo the amount of powder you apply, and be sure to tap the end of your cutting to remove any excess.
Keep in mind that many gardeners easily propagate basil from cuttings without using rooting hormone.
Some friends of mine have even experimented with growing cuttings with and without the powder and found that the cutting without it thrived while the other died.
Try this experiment yourself if you have several cuttings to work with, and see which method works best!
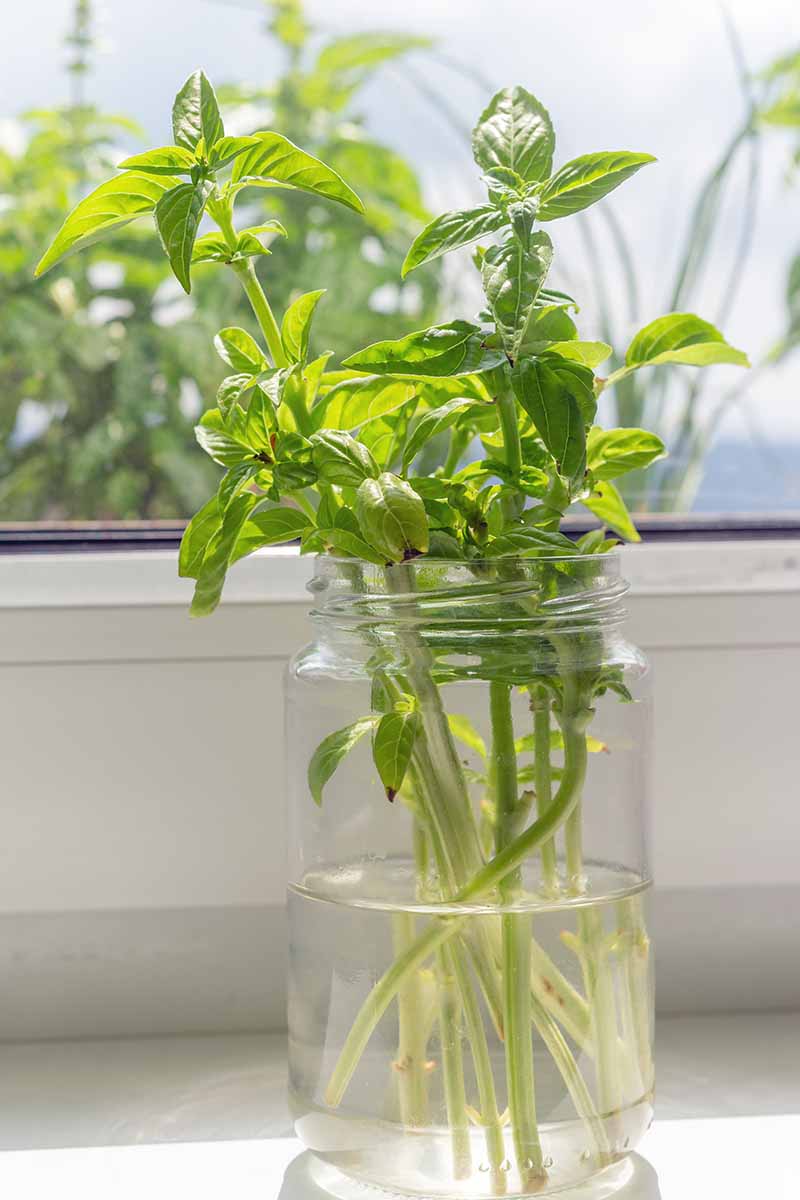
Ideally, give each cutting its own glass of water. However, you can propagate several cuttings at once by putting them in the same water glass to save space on your windowsill.
You’ll just need to separate the roots carefully when you remove the stems.
Keep the Water Clean
Change the water in your glass every other day. The rooting stems need clean, fresh water in order to thrive. If you leave the same water in the glass for too long, the stems are prone to rot.
Once the roots begin to form, wait until they’ve grown to at least two inches in length.
This can take anywhere from two to four weeks, so don’t worry if they seem a little slow to grow.
Pot Up the Rooted Cuttings
When the roots are two inches long, prepare an indoor planter or pot with fresh potting soil. Make sure the pot is at least five inches deep so that your basil cutting has plenty of room to flourish.
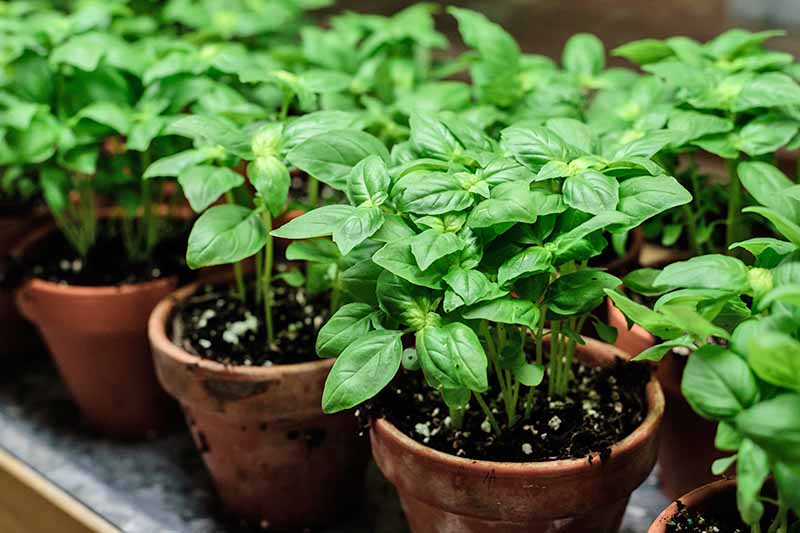
Plant one rooted stem per pot to avoid overcrowding. Cover the entire root system and the two inches of leafless stem with soil.
You’ll want to keep the transplants in the same sunny windowsill or use a grow light if needed.
Remember to pinch leaves off regularly to encourage new growth. A well-groomed basil plant is a happy one.
Sowing Seeds
Basil is easily propagated from seed with a little bit of care and attention.
A couple of days ago, the beautiful basil plant I brought indoors from my summertime garden died when I went out of town over Christmas because someone (ahem, my significant other) forgot to water it for me.
Sigh. Thankfully, I had a packet of seeds left over from the summer and I decided to propagate basil the old-fashioned way: by sowing seeds.
We love these ‘Genovese’ basil seeds from True Leaf Market.
Since it’s bitterly cold here in Alaska, as it is in many places in the northerly regions of the US through the winter, it’s the perfect time to plant seeds indoors.
Gardening supplies won’t hit stores until April here, so I decided to plant my seeds in a container I already had: a big pot with a draining dish attached.
You can also plant your basil seeds in starter trays, like these peat pots available on Amazon.
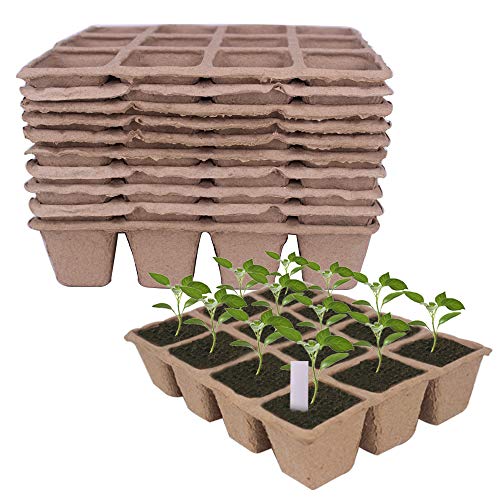
Peat Pot Seedling Starter Trays
Planting them in peat pots makes it easier to transplant the basil outdoors once it’s established, but plastic pots work well too.
If you want to give your seeds a head start on germination, soak them overnight in 1/4 cup of lukewarm water.
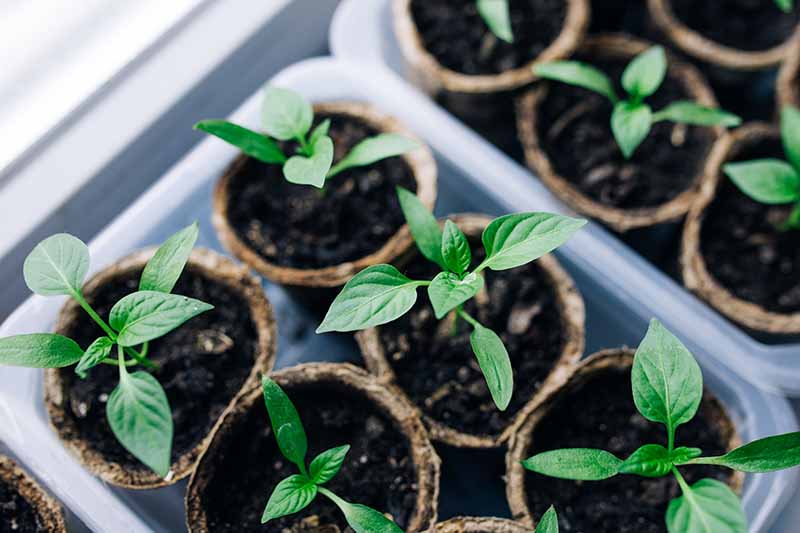
Sow one or two seeds per pot and cover with 1/4 inch of soil. Or, if you’re planting directly into a larger ceramic or plastic pot, plant several seeds in a circle, about two inches apart.
You can thin them once they’ve germinated, or transplant them into different pots once they’re established.
After you’ve planted the seeds, give the basil an even, gentle watering. I used my son’s bath toy for an extremely gentle rain drip because I didn’t want to displace the tiny seeds.
Basil doesn’t need light to germinate, but it does need warmth, which a grow light can provide.
You can also wrap plastic over the top of your pot to keep the soil warm and moist.
Just remember to remove the covering once the seeds start sprouting.
They should germinate within two weeks – and once germinated, the seedlings will need at least six hours of light each day.
Sow Seeds Outdoors
You can also sow seeds directly outside, especially if it’s summertime or you live in USDA Hardiness Zones 10-13.
Make sure that the last frost is at least a week behind you and sow the seeds six inches apart in a sunny patch of your garden. Cover with 1/4 inch of soil and water thoroughly.
Find even more details about growing basil from seed here.
A Bevy of Basil Dishes Awaits You
No matter how you propagate your basil, as soon as your plant has several pairs of mature leaves, you can start harvesting the delicious herb.

Just remember to cut from the top so that your plant keeps growing outward, and to prevent bolting.
Use your fresh herbs in classic Mediterranean dishes, cocktails, and even sweet dishes like this recipe for lemon curd on basil shortbread from our sister site, Foodal. Or this one for citrus honey basil creamsicles, also from Foodal.
Whether you propagated one basil plant or ten, a whole lot of deliciousness awaits you.
To learn more about growing various basils, check out these articles next:

Thank you for your information on how to plant basil. I purchased four plants at Trader Joe’s yesterday, and was not sure of how to plant them. I appreciate your step by step directions.
Hi Carolyn! Thank you for reading. Enjoy those basil plants, and feel free to post questions if they arise!
I too appreciate your clear instructions. One thing, though. I tried to get a couple of cuttings from a store-bought bundle (not a plant) here in BC, Canada. When nothing happened after a couple of weeks, I browsed around and found a site where one commenter said if your water is mineral-poor, you may benefit from the addition of some plant food. I tried that and within a week, roots have started to sprout! This site cautioned not to use hormones except on ornamentals, as they could make the plant unhealthy for human consumption. Do you have an opinion on… Read more »
Hi Maxine! I’m glad you were able to get that basil to start growing roots. As for the hormones in rooting powder, the best thing to do is check the label. If it says it’s safe for only ornamentals, I wouldn’t use it on basil. But there are several rooting hormone mixes out there that do say they’re safe for vegetables, berry bushes, herbs, and the like. Still, I’m glad the plant food worked! Happy basil growing!
Hi Maxine, we are in BC as well. We bought Basil plants from Save On Foods and placed the cuttings in salt and pepper shakers from the Dollar Store (with narrow tops to prevent cuttings from falling in and wide bottoms for root growth they work great for propagation). Within 1 week we had small roots showing and within 2 weeks there were full roots and we transplanted. We used water from our backyard hose – nothing fancy : )
I love your idea to use these containers for propagation- I have some cuttings rooting right now in a reused glass bottle with a wide bottom and narrow neck. Works great!
Can you root basil cuttings which have thin stems and smallish leaves? They would be from basil which has been cut all the way down and is growing back spindly (tall and thin).
Hi Janet! You can certainly try. With lots of love and care, they may just grow into robust new plants that you can pot up or plant out into your garden.
Hello, thank you for a very thorough, detailed article! When putting the cutting in water did I read correctly that the stem should not have any leaves on it at all? And how tall/long should cutting be? Thank you very much.
Hi Kathy! Thank you for reading. The stem that goes in the water shouldn’t have leaves, but you do want to leave 2-4 leaves on the top portion of the cutting. Anything from a 3-6 inch cutting should work fine.