Maybe you have a small yard, or a tiny patio garden that you lovingly tend.
Or maybe your garden is already chock-full of green goodness and you don’t have any space for any huge, hungry melons.
Whatever the reason, if you think you don’t have the space to grow your own sweet cantaloupe, think again.
We link to vendors to help you find relevant products. If you buy from one of our links, we may earn a commission.
With the right care, cantaloupe can thrive in a container – even a smallish one – which means anyone, anywhere, in whatever size house or garden, can enjoy its sweet deliciousness.
In this guide, I’ll show you exactly how. Here’s what I’ll cover:
What You’ll Learn
Getting Started
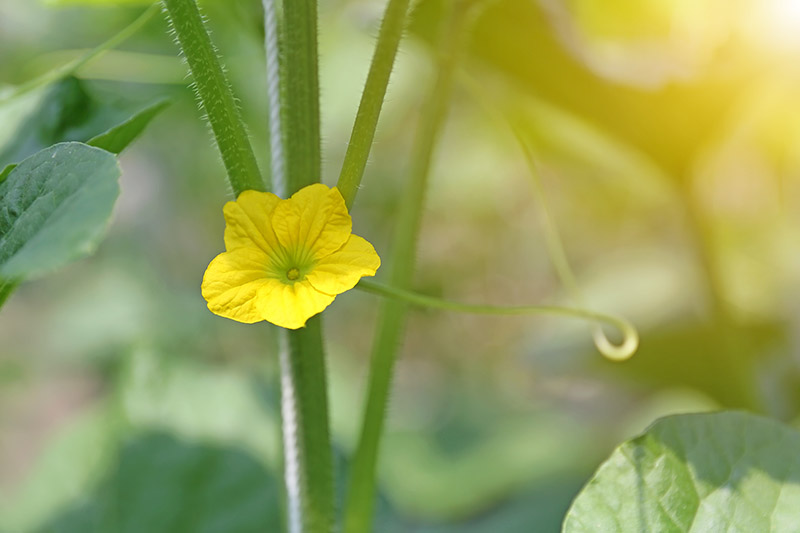
Like pumpkins, watermelon, and cucumbers, the cantaloupe is a member of the Cucurbitaceae family.
Originating in south Asia, cultivated in Europe, and sold commercially in the United States since 1890, there are two major varieties we enjoy today: the North American Cucumis melo var. reticulatus, and the European C. melo var. cantalupensis.
To find out more about this best-ever melon (in my opinion!), check out our cantaloupe growing guide.
This article will focus on making your container-grown cantaloupe dreams come true.
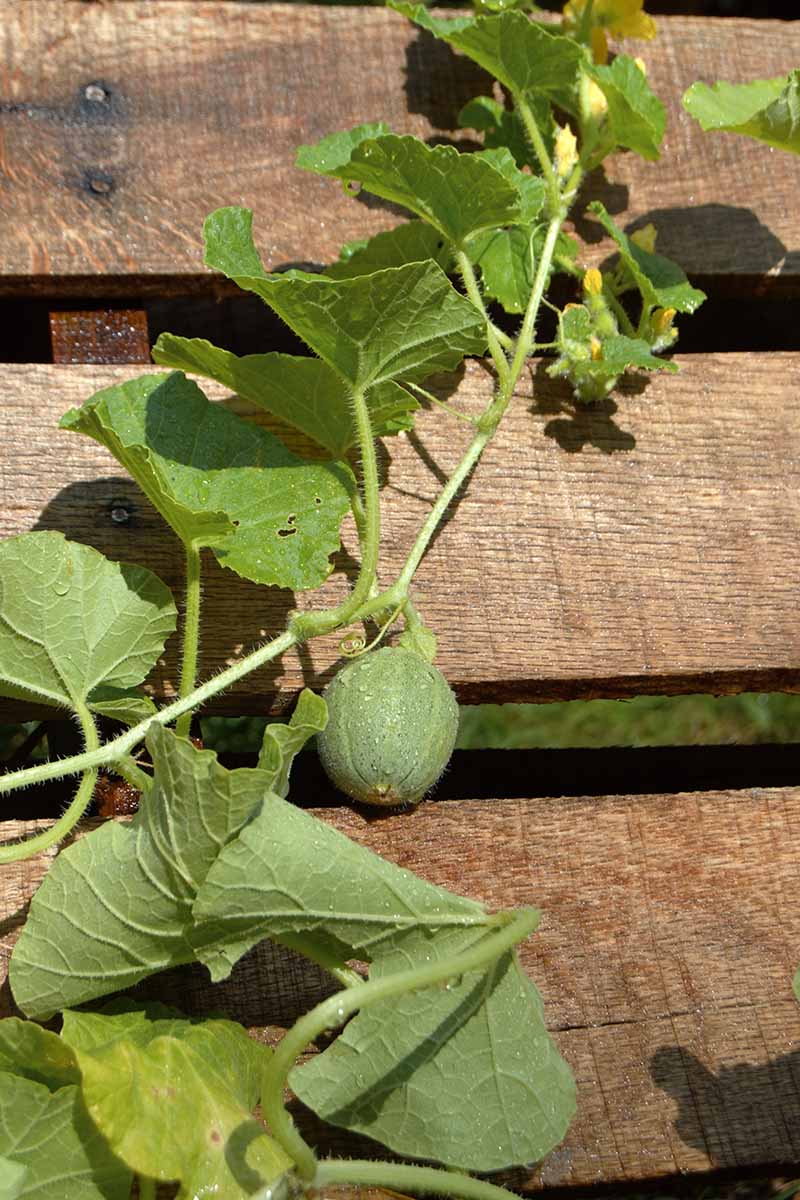
To start, these are vining plants, with a sprawling growth habit.
For a container garden, you’ll need to select a dwarf variety – I’ve provided a couple of recommendations below – and you’ll also need to train them to grow vertically, using a trellis, or a tomato cage.
Ready to grow? Let’s go!
Why Grow in a Container?
Aside from lack of space, what other reasons might there be for growing your cantaloupe in a container? One prominent reason I can think of is this: the weather.
Melons adore the heat.
They grow best when daytime temperatures hover between 70 and 90°F, with nighttime temperatures dipping no lower than 50°F.
If you’re like me and you live in Alaska, or in any other chilly zone, you know that your ability to maintain these temperatures is likely unreliable.
Especially not for the whole of the 65 to 90-day growing period cantaloupes need, depending on the cultivar.
That’s why containers are the perfect match for cold-zone growers who want garden-fresh melons: grow your cantaloupe indoors, or in a greenhouse for as long as you need to.
Or you can set them outside during the day and bring them indoors at night.
The same goes for those of you in extra-hot locations. Melons love heat, but they don’t want to be inundated by it.
So if temperatures regularly rise above 100°F in your area, containers allow you to move your cantaloupes out of the heat when needed.
The flexibility a container offers is key to your success.
With a container, you can grow cantaloupe as an annual in any zone, at just about any time of the year. Talk about an extended growing season!
Right now in my area (Zone 4), nights dip down to the low 40s and daytime temperatures struggle to reach 60°F.
And June is just a couple of weeks away. My young cantaloupe plants are safely ensconced indoors, where they don’t have to worry about freezing to death.
To maximize my chances of pulling in a successful harvest, I’ve decided to keep two of my five melon seedlings indoors, and I’ll plant the other three out in pots on my patio come July.
I’ll show you how I’m doing it so you can try it too.
Choosing the Right Container
These vining plants need plenty of space for their roots to grow, so choose a container that’s at least 16 inches deep and 14 inches wide.
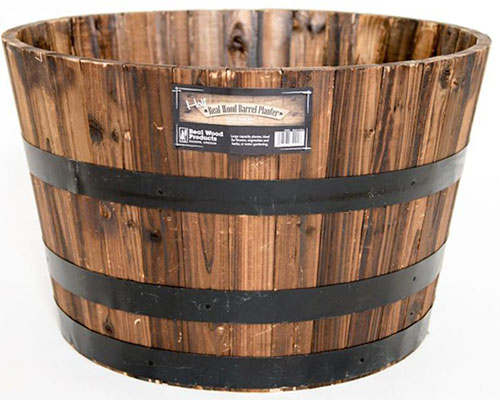
If you have the space, you could try these giant whiskey barrel planters, available from Home Depot, if you want to grow full-size varieties.
Indoor or patio-garden growers may want something smaller and easier to move around. The pot you choose can be made from sturdy plastic, terra cotta, or breathable fabric.

As long as it provides good drainage with holes at the bottom, or a self-watering planter insert, you’re ready to get started.
And you can always add pebbles to the bottom of the container for drainage if needed – and if you’re not planning to move it around.
When I got started with the task of transplanting my young plants from seed trays into containers, I realized that none of the pots I had on hand were truly big enough.
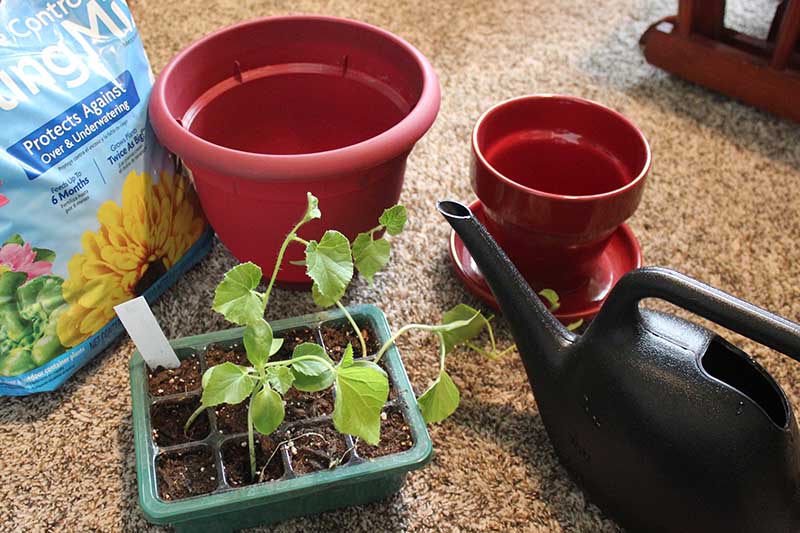
As the plants are still smallish, I decided to transplant them anyway. I’ll move them into their larger, permanent containers in a few weeks.
You can do the same if you’re still trying to locate the ideal planter for your young melons.
Preparing Your Container
Before you get growing, find a full sun location where your container will receive 6-8 hours of sunshine per day.
This can either be a sunny area of your house, under artificial light, or outdoors.
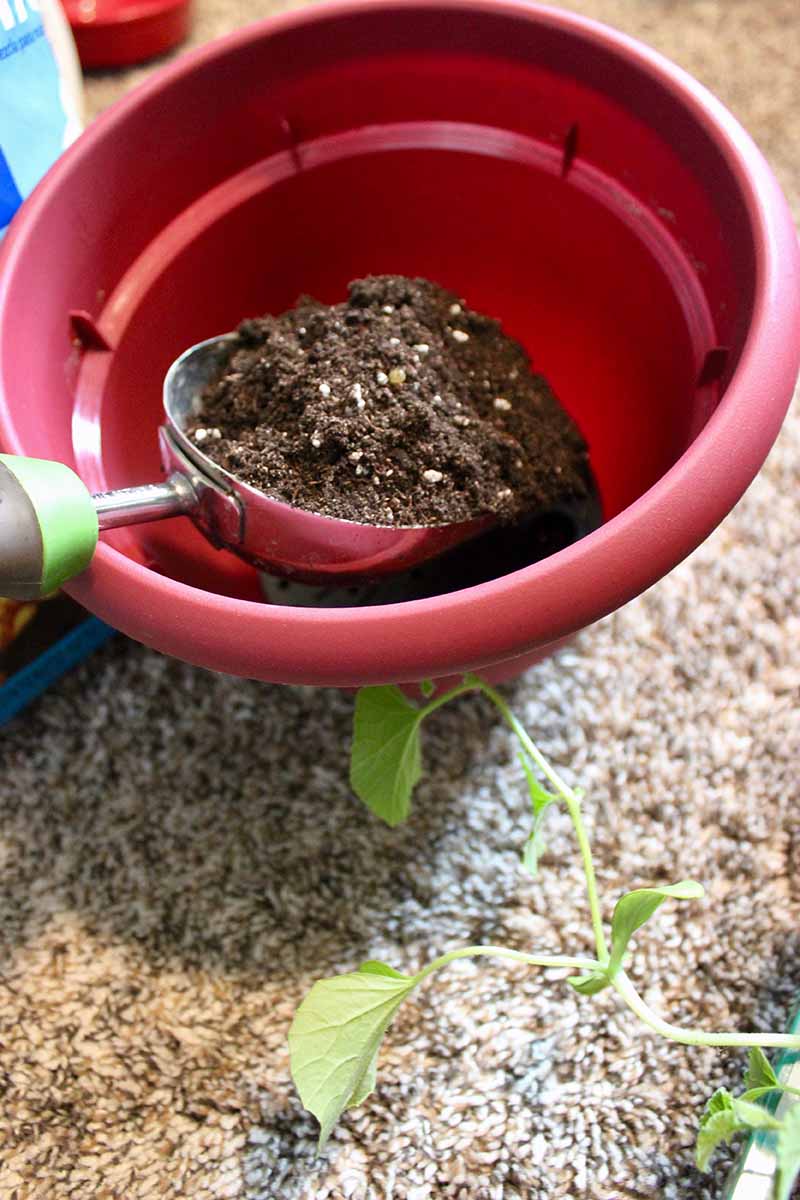
Fill your container to an inch below the top with either:
- Good quality, well-draining potting mix (don’t add fertilizer yet)
- Well-draining garden soil amended with compost or well-rotted manure.
If you decide to use soil from your garden, don’t use soil that has been previously planted with cucurbits, as it can harbor disease.
Cantaloupes prefer soil with a mildly acidic pH of 6.0-6.5, that is loose and well-draining to encourage the growth of healthy roots.
How to Grow
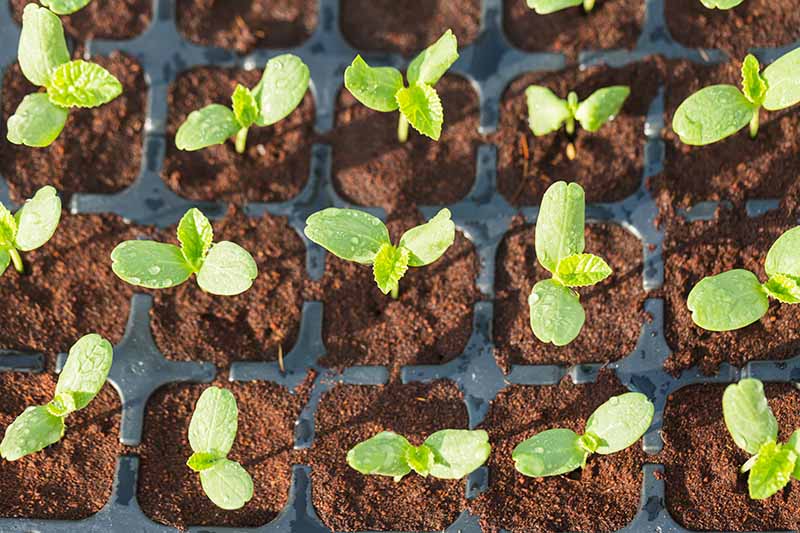
You can either direct sow seeds in your container or start them in seed trays. If you live in a cold area, it’s best to sow seeds indoors at least four weeks before your average last frost date.
For those in warmer areas, sow in containers outdoors anytime after your average last frost date, provided your growing season is long enough to give your chosen variety time to mature.
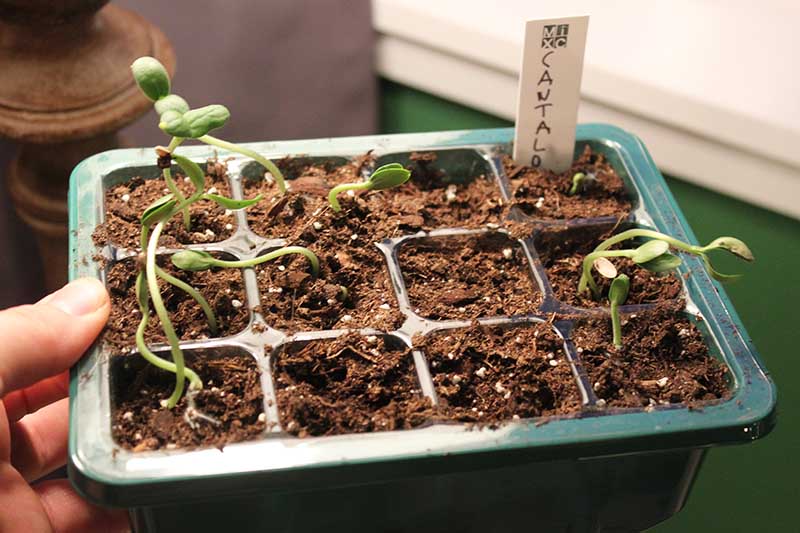
Since I live in frigid Alaska, I started mine in seed trays a couple of months before last frost. Because I planted them pointy-side-up, only half the seeds germinated. Oops!
You should plant them pointy-side-down, as that’s where the roots emerge.
To sow seeds in containers, dig a half-inch-deep hole and drop two seeds inside, pointy-side-down. Do the same thing in seed cells. Cover with soil, and water with a spray bottle so you don’t displace the seeds.
To encourage them to germinate quickly, you can cover the pot or seed tray with plastic to trap humidity inside.
Just make sure to remove the covering the moment the first green shoot pokes through the soil. Keep them evenly moist, in a sunny spot or under a grow light.
Thin seedlings to one per container or seed cell when they have their first set of true leaves.
When to Transplant
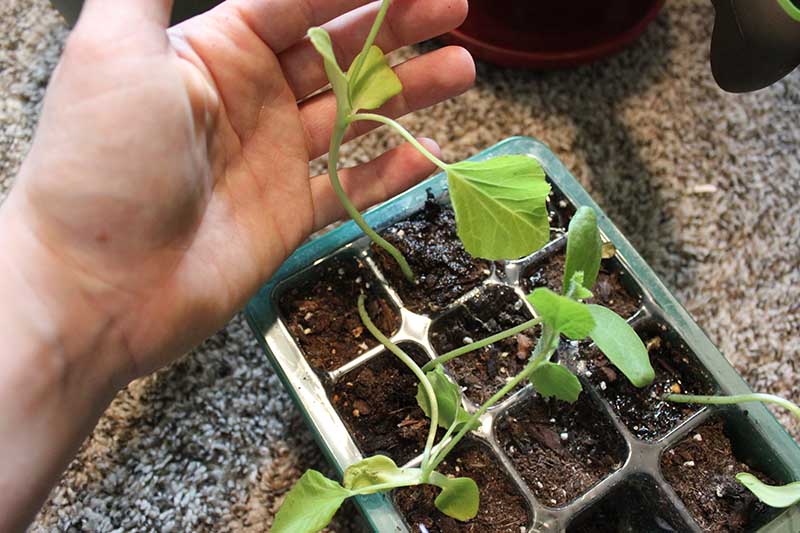
If you start your seeds in trays (or have purchased seedlings from the nursery), you’ll need to transplant them to their permanent container when they have at least two sets of true leaves.
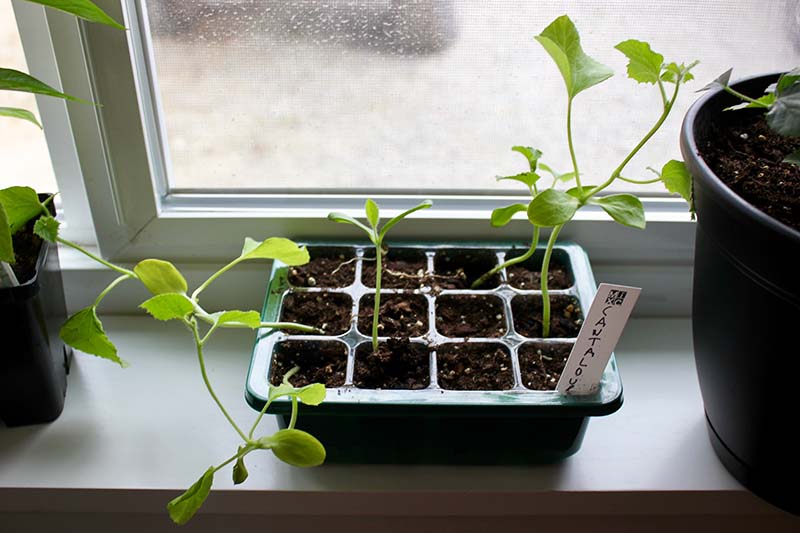
I left mine in their trays for two months, and one of the plants started getting droopy and unhappy.
I’m pretty sure it felt cramped, and didn’t have enough root space.
If you are transplanting your seedlings to an outdoor container, make sure you harden them off first.
To do this, place them outside in a sunny location for a few hours per day, gradually increasing the amount of time over the course of a week.
To transplant, all you have to do is dig a hole the size of the root ball, gently remove the seedling from the tray, and set each one in its new container. To make this easier, water the seedlings about half an hour before transplanting.
Backfill the hole, give the seedling a slow, deep watering, and add half an inch of extra soil on top for support.
Then, place the containers near a sunny windowsill, under a grow light, or in your chosen location outdoors.
Container Care
When the plant is about four to six inches tall, fertilize with a balanced liquid fertilizer such as 5-5-5 (NPK) according to package instructions.
Fertilize again in about two or three weeks, or when flowers start to develop. But this time, use a lower nitrogen fertilizer, such as 5-10-10 (NPK), so you don’t promote too much leafy growth and not enough fruit development.
Another important aspect of keeping cantaloupes happy is to provide adequate water. These plants need consistent moisture, but don’t allow them to become waterlogged.
This is especially important when you’re growing them in containers, which dry out more quickly than garden soil. To help keep the soil moist, you can apply a layer of straw or other mulching material.
Keep the foliage dry by irrigating at the base of the plant, not from overhead.
In the last week before harvest, water only when the top two inches of soil is dry and the leaves are slightly wilted. This allows the sugars to concentrate in the melons and prevents them from cracking.
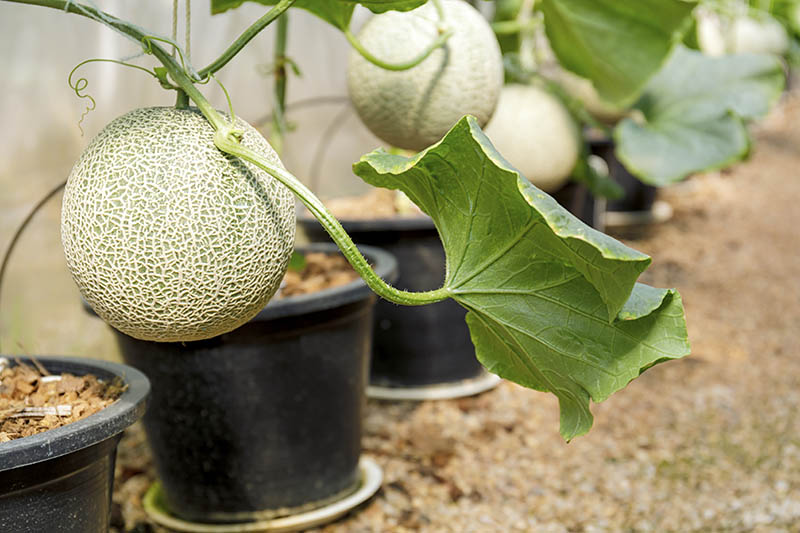
Training the Vines on a Trellis
Remember how I said not to worry about managing unruly vines in a 16-inch container? Here’s why: it’s easy to train them to grow vertically on a trellis or similar support structure.

Easy supports for container-grown cantaloupes are bamboo u-hoops, like these from the Home Depot.
You can also use tomato cages, or train them up a trellis against a wall in your garden.
To attach the plant, take some garden tape and wrap it around the vine, and tie it to the hoop or trellis. Add more tape to attach new growth to the structure as the vines get longer.
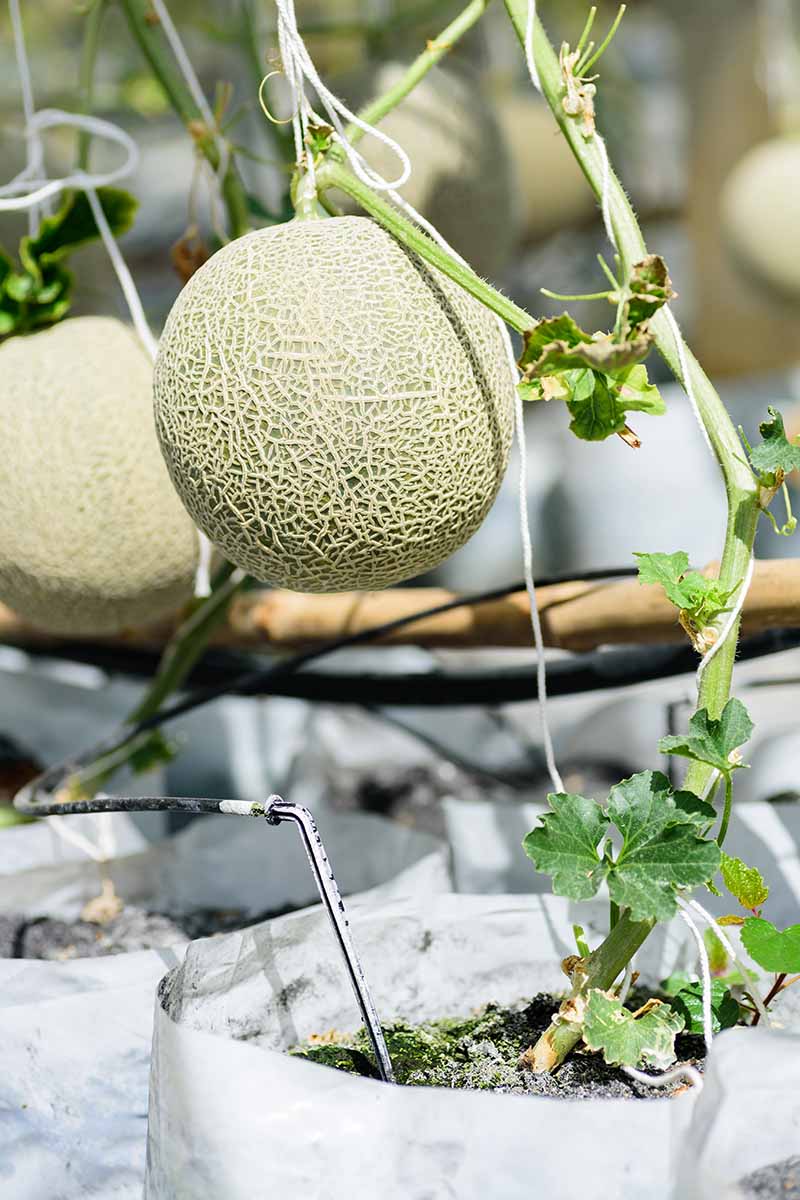
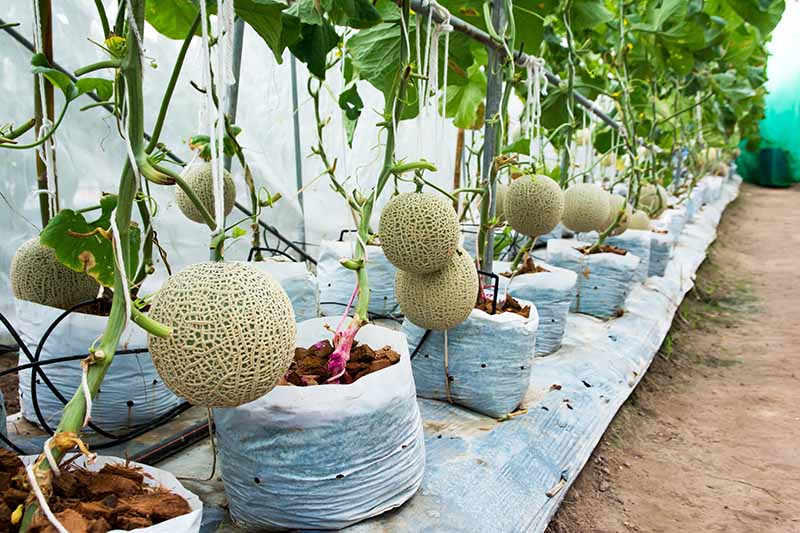
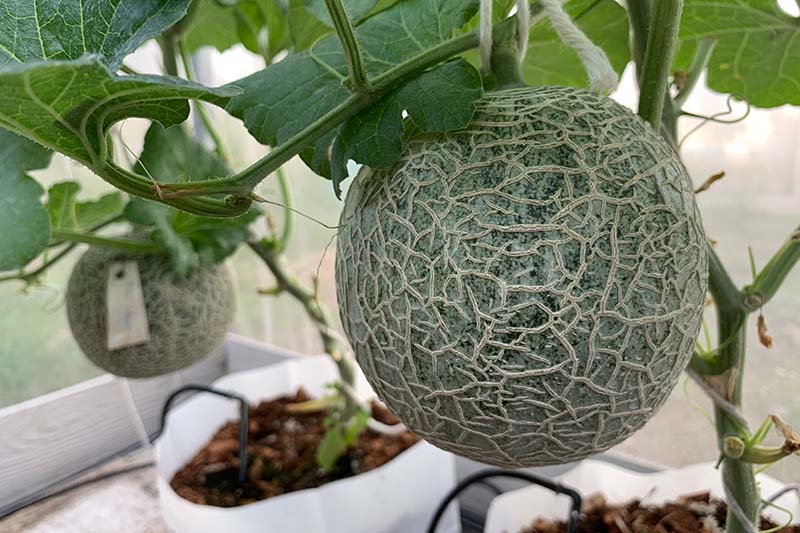
When the melons have grown to about the size of a fist, you can use ankle-length nylons or netted produce bags to sling the fruit to the structure, to give the vine extra support.
Simply place the produce bag around the developing fruit, and attach it to the trellis or other support. As the fruit grows, the bag will expand and prevent the vine from breaking.
Read more about growing cantaloupe on a trellis here.
Growing Tips
- Choose a container that’s at least 16 inches deep and 14 inches wide
- Maintain even moisture until the last week before harvest, then reduce watering to only when dry
- Train vines to grow vertically on a trellis to save even more space
Cultivars to Select
While you can grow full-size melons in containers, you’ll get the best results with dwarf cultivars that produce smaller fruits and shorter vines.
Here are a couple of my favorites:
Sugar Cube
True to its name, ‘Sugar Cube’ delivers sweet flavor. It is resistant to many common diseases, including fusarium wilt.
This hybrid cultivar produces small fruits of just 2-4 pounds in weight, so it’s ideal for container growing.
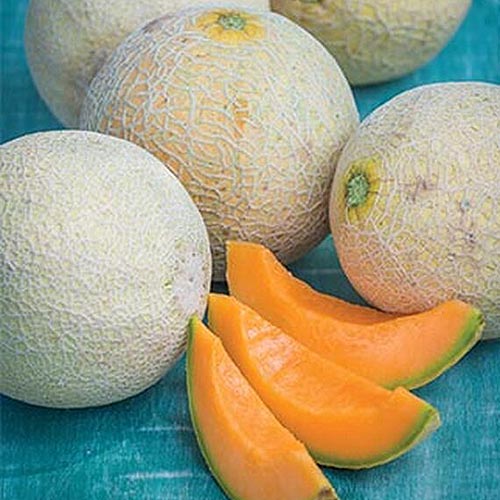
Like other melons, ‘Sugar Cube’ needs full sun, and fruits will be ready to harvest in 80 days.
Find packets of 30 seeds available at Burpee.
Tuscanito
This “baby” melon reaches about 2 pounds in weight, with a firm flesh and sweet flavor.
You can even store these babies in the refrigerator for up to two weeks before cutting, and they’ll stay fresh.
Hailing from Italy, ‘Tuscanito’ is a popular hybrid to wrap in prosciutto for a tasty snack.
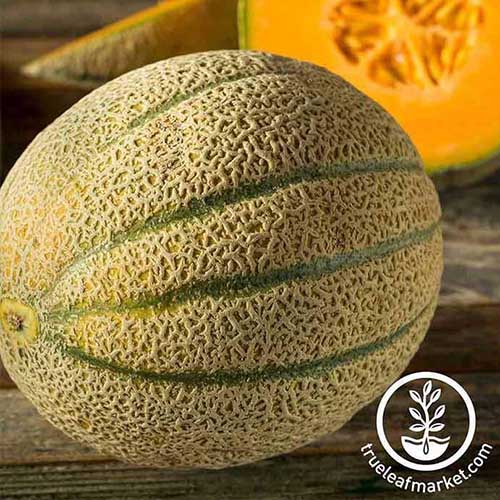
With plenty of sunshine, you can njoy your ‘Tuscanito’ fruit in just 70 days.
You can find seeds in a variety of packet sizes at True Leaf Market.
Managing Pests and Disease
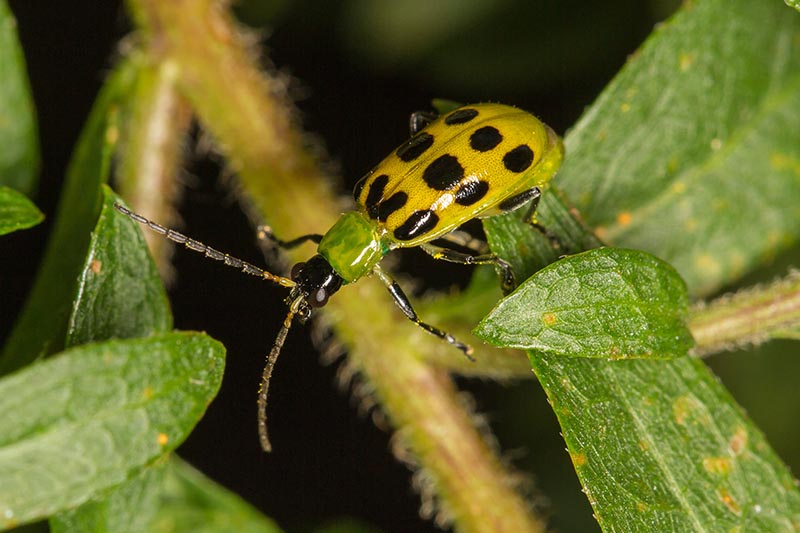
Cantaloupe can fall prey to damage from aphids, cucumber beetles, cutworms, and squash bugs.
But because you’re growing it in containers, you can keep a closer eye on the plants and nip any infestations in the bud.
To manage aphids, spray the vines and leaves with a strong blast of water and then apply diatomaceous earth – which can also help manage squash bug infestations.
In the case of bad infestations you can use neem oil or insecticidal soap, which can also help get rid of cutworms and cucumber beetles.
Alternaria leaf blight affects plants in hot, humid conditions, and it’s caused by the fungus Alternaria cucumerina.
The disease begins as small brownish-yellow spots that grow bigger and spread to other foliage.
Remove affected leaves and spray with fungicide. To avoid this condition, bring your plants indoors during very hot and rainy weather.
Downy mildew is a common but annoying disease that causes brown spots on the leaves and eventually kills them.
It’s caused by Pseudoperonospora cubensis, and is best treated with fungicide. To avoid it in the first place, keep the plant out of overly humid conditions and abstain from overhead watering.
Harvest Time
To harvest your container-grown cantaloupe, watch the netting and the rind underneath.
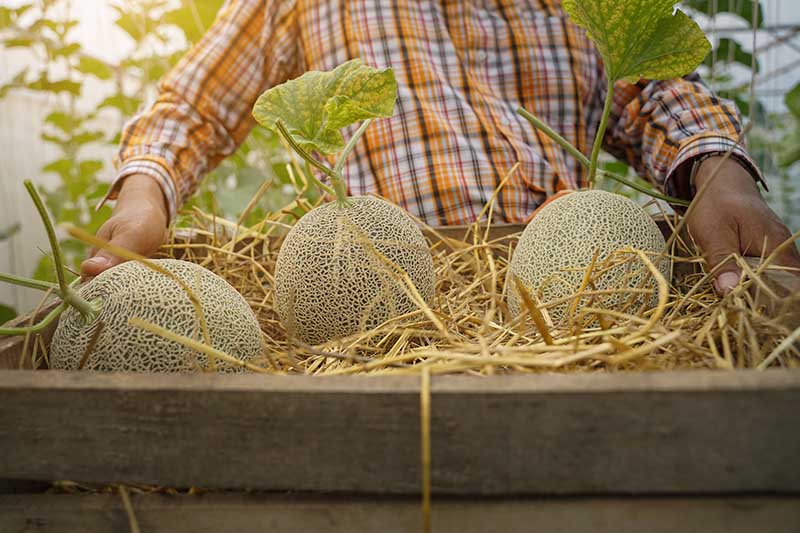
When the rind turns from green to yellow and the netting from white to creamy-gold, it’s harvest time.
The stem should be starting to separate from the melon, and all it takes is a gentle tug to remove it.
The cantaloupe should also smell sweet and juicy, especially in the spot where the vine meets the fruit.
If you want a longer shelf life for your melons, harvest them when there’s just a slight depression at the stem, not a full crack.
The flavor may not be quite as sweet, but you’ll be able to keep it in the fridge for up to two weeks.
Otherwise, wash that melon and slice it up fresh, or store it in the fridge for up to 3-5 days.
See our guide for more ideas on how to harvest, preserve, and enjoy cantaloupe.
Melony Delights in Small Spaces
Now that you know how to grow cantaloupes in containers, there’s no reason you can’t enjoy garden-fresh melons, no matter how small your growing space.
Invite your friends over and wow them with a cantaloupe and prosciutto snack. Watch their eyebrows rise when they realize you grew the fruit on your patio.
Or, like me, simply enjoy keeping your melons protected from the weather by planting them in the safe flexibility of a container.
Have you ever grown melons in containers? Did you succeed, or fail? Let us know in the comments below!
And if you want to expand your container garden, check out these guides next:
- How to Grow Zucchini in Containers
- How to Grow Broccoli in Containers
- How to Grow Beets in Containers
Photos by Laura Melchor © Ask the Experts, LLC. ALL RIGHTS RESERVED. See our TOS for more details. Product photos via Burpee, Home Depot, and True Leaf Market. Uncredited photos: Shutterstock.
I value your contribution in garden tips, Hopefully it will benefit many others .
Thank you Rasta!
Can you grow them from a cantaloupe you can buy from a store?
If you can figure out whether the store-bought cantaloupe is an open-pollinated (heirloom) variety, or not, yes! If it’s an heirloom, you can grow the seeds. If it’s a hybrid, you might get a pretty plant but no fruit, or a plant with strange, not-very-good fruit. You might have better luck growing seeds from melons purchased at a farmer’s market, where you can ask the growers whether the melons are heirlooms or not.
Heirlooms are not seen at farmers markets, and if you can find one, I would be shocked. The modern melons grow much better due to the breeding programs that are underway that have more wilt and powdery mildew protection. You will find that it is smarter to stay away from older varieties for they would need more chemicals to bring a crop to harvest.
Hello Chuck, and thanks for commenting on this article. I agree that some of the heirloom varieties are more susceptible to powdery mildew and that the new hybrids are easier to grow, especially if you seed out a type that is resistant to diseases common in your area. Of course, when you’re just growing a couple of plants in a container it’s not as difficult to treat powdery mildew as it would be for a whole garden patch of cantaloupes. Here in Knoxville, Tennessee, I’ve definitely seen heirloom cantaloupe melons at a farmer’s market, but of course, I’m in the… Read more »
I’ve been planting cantaloupe seeds the past several years in pots but the fruit never ends up getting any larger that a baseball.. this particular variety is called Sugar Kiss, and for a good reason! Do I need to pinch off the smaller melons for the maturation process to come to fruition? I live in the St Louis area, btw
Hi Judy! Pinching off some of the smaller melons can definitely help, because then the plant can focus more of its nutrients and energy on growing the other melons bigger.
I am considering using some big pots I grew tomatoes in last year. I am told that tomatoes and cucumbers should not be grown in the same soil. Should I change the soil and disinfect the pots before I use them for melons?
That’s definitely a good idea, Barbara! I would disinfect the pots and then put fresh soil in.
I have some germinated melon seeds and went out to buy some really big pots so I don’t have to transplant that much. The sizes are at least 16in deep & 14in wide. How many seeds shall I put per container? Thanks in advance
Hi Tim! Cantaloupe can take up quite a bit of space, so I’d just keep one in each container.
I saw the photos the the cantaloupe melons hanging from a post, great idea. But my question is the vines on the melons, well at least for watermelons grow really long. (15 feet +/_). Do cantaloupes and honeydews have short vines? Thanks! Bob
Hi Bob, if you select dwarf varieties these typically have shorter vines and smaller fruits, making them ideal for containers or small spaces.
Just read your canteloupe instructions.
The best!
Thank you so much.
Now to read instructions for Cucumber and zucchini
Thanks
Thanks for reading!
Great information on growing cantaloupe.
Thanks for reading, Carolyn.