Is there anything more hopeful than the first signs of growth in spring?
It’s the beginning of all the adventures of watching your plants grow, seeing them flourish, harvesting, and even putting them to bed in the fall.
I get so excited for spring that I literally start celebrating the day after the winter solstice because I know the days are getting longer from then onwards.
We link to vendors to help you find relevant products. If you buy from one of our links, we may earn a commission.
I know, I probably sound unhinged. Despite all the work required to get everything up and running in the garden, spring is my favorite time of year.
But before you can enjoy the abundance of colorful flowers and flavorful vegetables, there’s a lot of preparation work to do.
The steps necessary to enjoy the spring garden start long before the daffodils start emerging. Let’s talk about how to prepare your garden for spring!
Here’s what we’ll go through in this guide:
The first place to start is with a good plan:
1. Plan Your Garden
You don’t have to create an elaborate diagram of your garden with precise measurements and a strict timeline, but having a basic outline of what you want to accomplish is helpful.

Write down a to-do list of things you’d like to get done in your gardening journal.
It helps to walk around the garden with a pen and paper or a notes app on your phone while you do this. I’ve tried making lists while I’m indoors where it’s nice and warm, and I inevitably forget something. Get out there and look around while you make notes.
Make a note of what you want to grow and where. I like to add a little note next to each species reminding me of how long the seeds will take to germinate and whether they should be started indoors or outdoors so I can organize my sowing schedule.
Speaking of seed starting, you might want to get started on that right away if you haven’t already.
2. Buy and Start Seeds
Some seeds need to be started indoors in late winter and most others in early spring. If you order your supplies online and have them shipped, you’ll need to plan even further ahead.
When you have your seeds, look back at that plan you made and start sowing them in the ground, or in containers indoors in plenty of time to plant them out when appropriate.
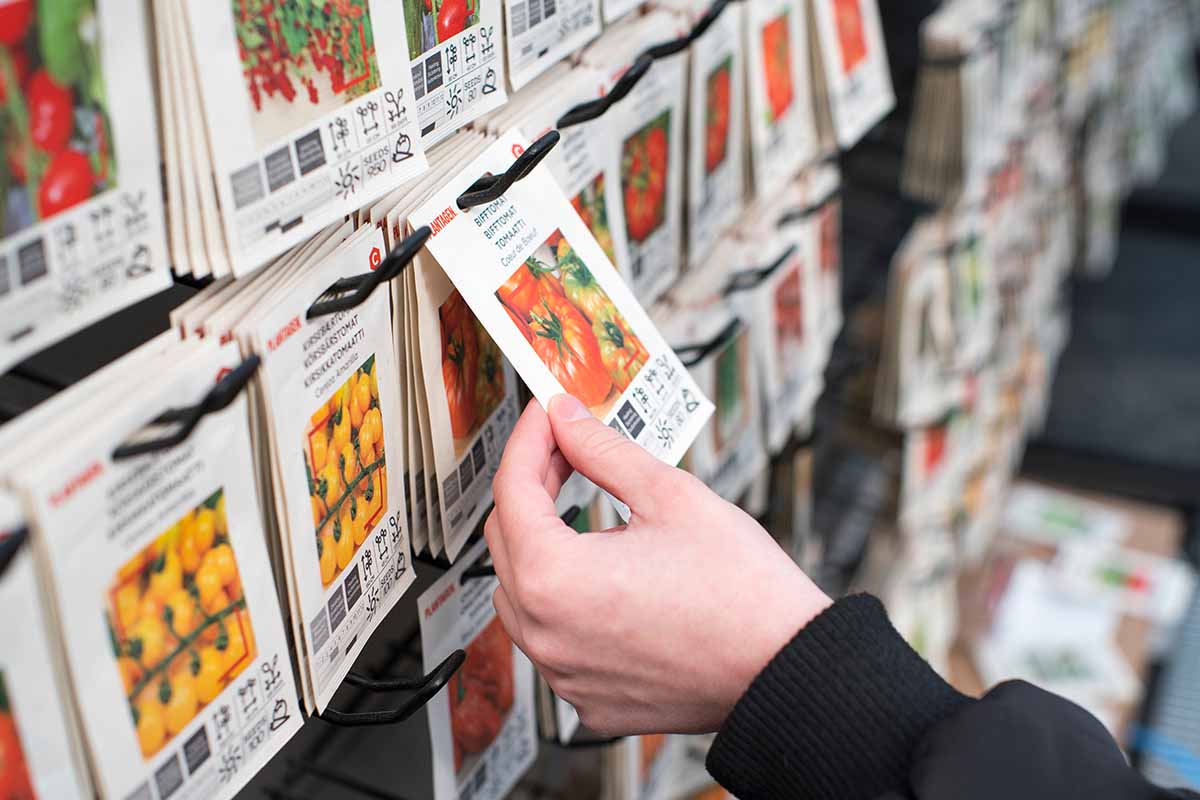
For example, if you’re starting tomatoes, the seeds should be sown indoors six to eight weeks before the last predicted frost date.
You might want to add an additional week for slow growers and allow time for hardening off.
If you order the seeds online, you might want to add an extra week for shipping, particularly during the holidays.
That means you’ll need to place an order ten weeks before the last predicted frost date.
3. Build or Repair Infrastructure
If you need to build any new beds or structures, do this as soon as the weather allows.
The most important consideration is light exposure. If you dream of growing big, beautiful dahlias, you’re not going to be very successful if you set up your garden in a shady area.
Spend a few days observing the sun exposure of the area you want to build in, and remember that the sun will change its position throughout the year.
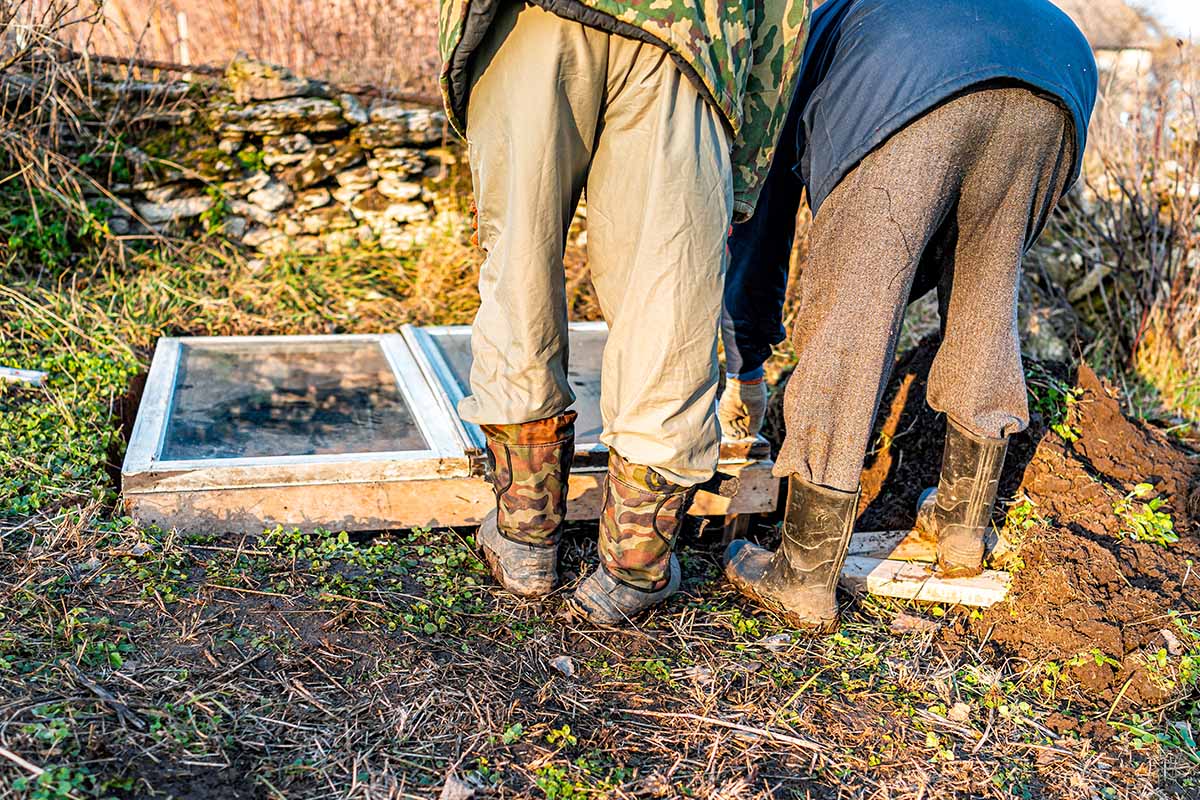
Over the winter months, rain, snow, and fluctuating temperatures can wreak havoc on fences and other garden structures.
Check your trellises, fences, raised bed walls, and any other supports or structures for signs of damage. It’s much easier to repair infrastructure before plants are growing in, on, or in front of them.
Look at your raised beds, greenhouse, cold frames, and other growing areas. Are they all clean and in good repair? If not, make a plan to have them fixed.
Clean out any drainage channels, low, pooling areas, or gutters that you have. Leaves and other debris can collect in these locations and prevent water from moving.
4. Prepare the Beds
If you skip any step, don’t skip this one. I know, we all get busy, and we can’t do absolutely everything that the professionals advise.
I have a job and other responsibilities, I don’t have time to do everything! But preparing the beds is non-negotiable.
It’s the basis of all the other work we’ll do in the garden, and you can’t have healthy plants without healthy soil.
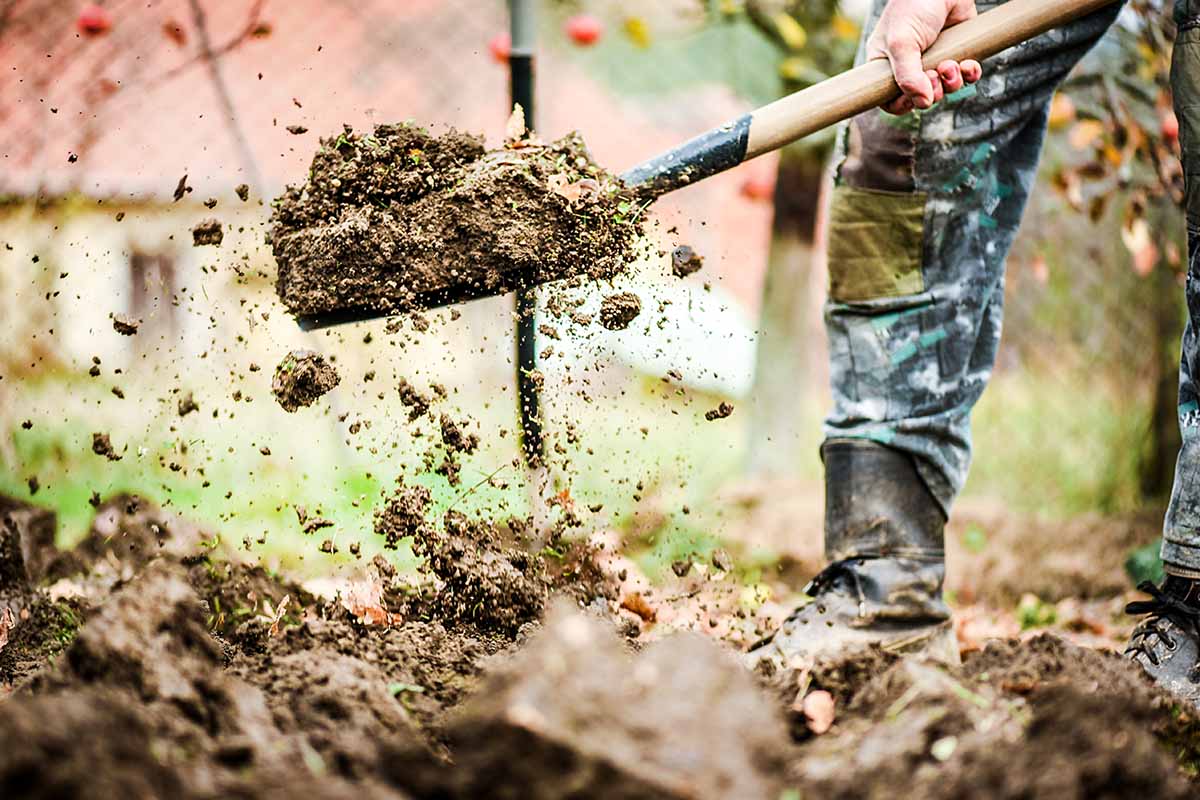
Get out there as soon as the soil is workable, and start working. You don’t want to start too early because you risk compacting the soil, and that can be a death sentence for seeds and seedlings.
If the ground is still frozen, head back inside and pass the time by reading more of our articles about gardening or jumping to other tasks on this list until the timing is right.
When the ground has thawed out, grab a handful of soil and give it a good squeeze. Does water come juicing out? Does the earth stick together in a clump? If so, the soil is still too wet to work with. Wait for the soil to dry out a little.
Different soil types retain moisture longer or shorter, depending on the composition.
Here’s a quick guide to different soil types:
- Fine particle clay – forms a ball in the hand, even when there is less than 50 percent water.
- Sandy or silty loam – will form a ball at around 50 percent moisture.
- Coarse, sandy soil – will only form a ball at about 75 percent.
Knowing what type of soil you have in your beds will give you an understanding of whether you can expect your soil to be ready sooner or later in the spring.
Once the timing is right, remove any weeds you find that have overwintered. If you like to till your soil, do it now.
Then, work in some well-rotted compost. Compost does it all – it helps sandy soil be more water retentive and it makes clay soil less dense.
Compost adds nutrients to depleted soil without going overboard or washing off into the waterways.
Unless you already have perfect soil, I don’t think you can ever add too much compost.
In a perfect world, work it in as deep and wide as you can until the earth you’ll be gardening in is half compost and half original soil. But even if you can’t add that much, a little is better than nothing.
Top the soil with mulch, if you want, or you can wait until you have put the plants in place to add mulch. It’s a personal preference.
You should also define your beds by digging out the edge between the beds and any lawn or other areas. Shore up any edging material if it ends up sagging and collapsing during the winter.
This is also the time to test the soil, if you didn’t do it during the fall. When you get your results back, amend according to the recommendations in the report.
5. Prune and Remove Dead Material
If you left any seed heads in place for winter interest, now is the time to prune them out.
Look for any dead annuals or perennials that die back in the winter, such as hostas, and remove the material that you missed in the fall.
You should also prune off any tree or shrub branches that are broken or obviously dead.
Species such as boxwood, most fruit trees, maple, oak, and most evergreens should be pruned in the early spring for shape and to encourage flowering and fruiting, if applicable.
Most trees should have any branches that cross over each other removed.
Removing one of the crossed twigs stops the pieces from rubbing against each other, creating an opening for pathogens or pests to enter, and also opens up the crown.
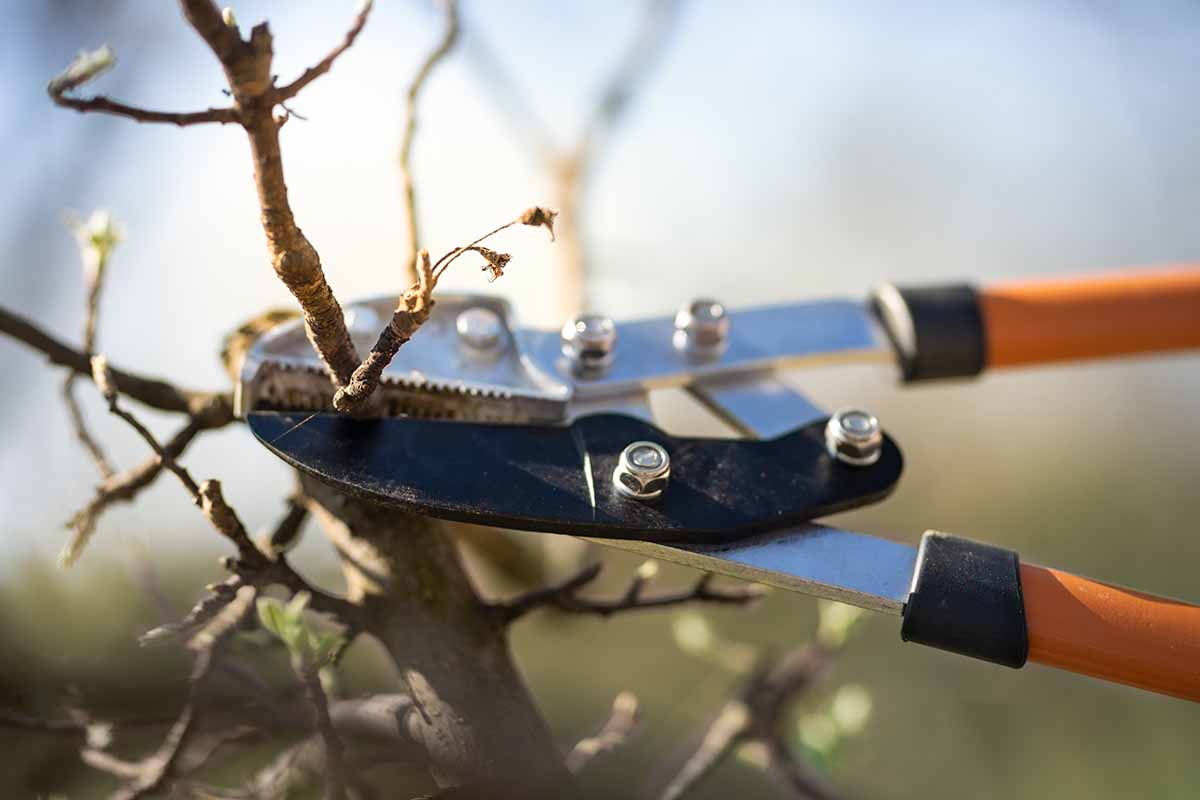
All dead and decayed wood should be cut away as well, and you should also remove any remaining withered foliage that’s retained from the year before.
Roses should be tidied up at this point. Feel free to cut them back by about a third to encourage branching and a large display come summer. Learn more in our guide to pruning roses.
Remove all weeds and any volunteer seedlings that you don’t want. I have to escort errant mustard greens and marigolds out of the areas where I don’t want them every year.
Sometimes, if you aren’t sure whether those emerging greens are weeds or seedlings that you might want, you need to let them grow a little larger.
But keep a close eye on them. I made the mistake one year of letting a bed of greens grow a little bigger so I could figure out what was what and I forgot about it for a few weeks.
I ended up with way more mallow weed than I could ever use and had to battle them back all summer.
Also, make sure to check that ties already in place are not too tight, or cutting into trunks that have grown over the past year.
6. Remove Old and Add Fresh Mulch
If you heaped any mulch on your plants to protect them during the winter, remove that now.
You don’t have to take it out of the garden altogether. Spread it out evenly around the entire bed and work it into the soil where you can.
Be especially sure to remove any thick mulch from above plants that die back to under the ground in the fall.
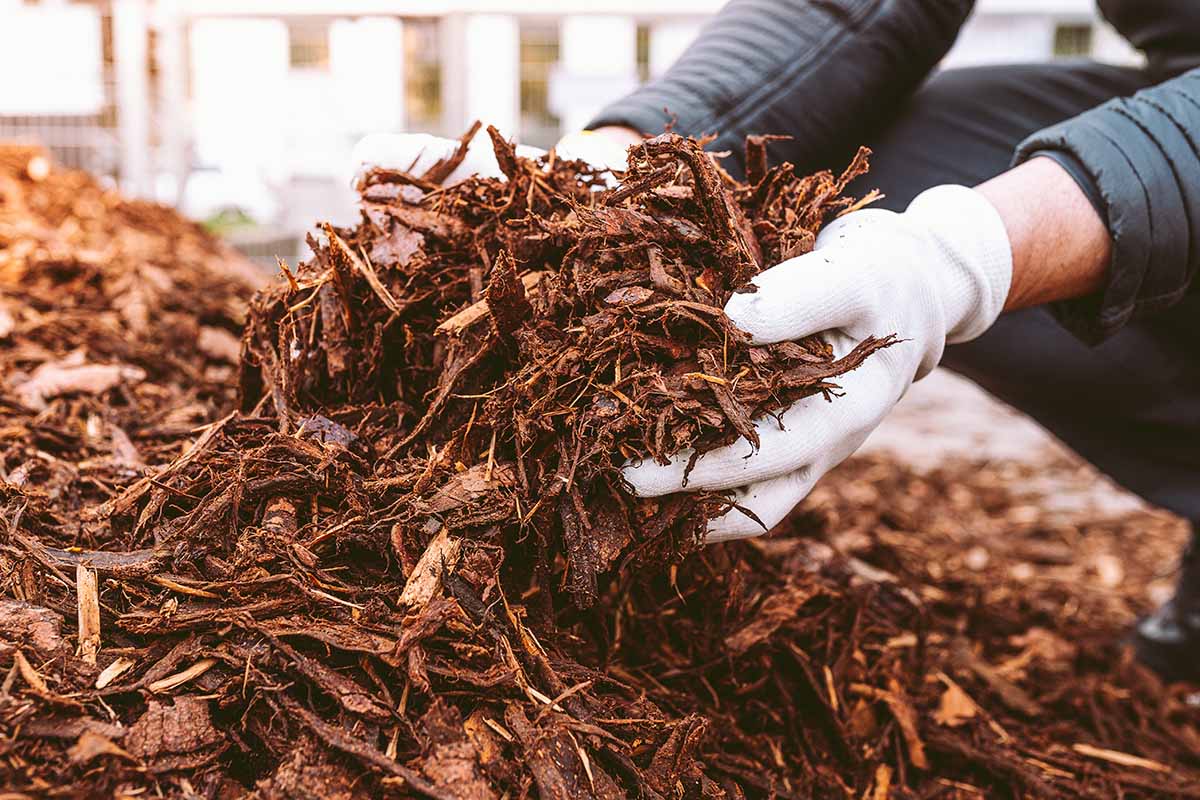
Now is the time to add some fresh mulch if you’re using it.
I always recommend organic mulch. It adds organic matter, improves soil texture, suppresses weeds, and protects plant roots. Plus, it just looks better than bare soil, in my opinion.
Shredded bark or wood chips are classic choices, but grass clippings, pine needles, compost, and straw can work, as well.
Avoid placing too thick of a layer over plants that are hiding underground, like trilliums and bleeding hearts.
7. Divide and Transplant Perennials
This time of the year is usually the best to divide perennials and increase your stock.
For example, if a plant like daylily (Hemerocallis spp.), rock rose (Helianthemum), or a hosta is growing overly large in recent seasons, it can be taken up in a large clump and split into smaller parts. You can do this with many different plants!
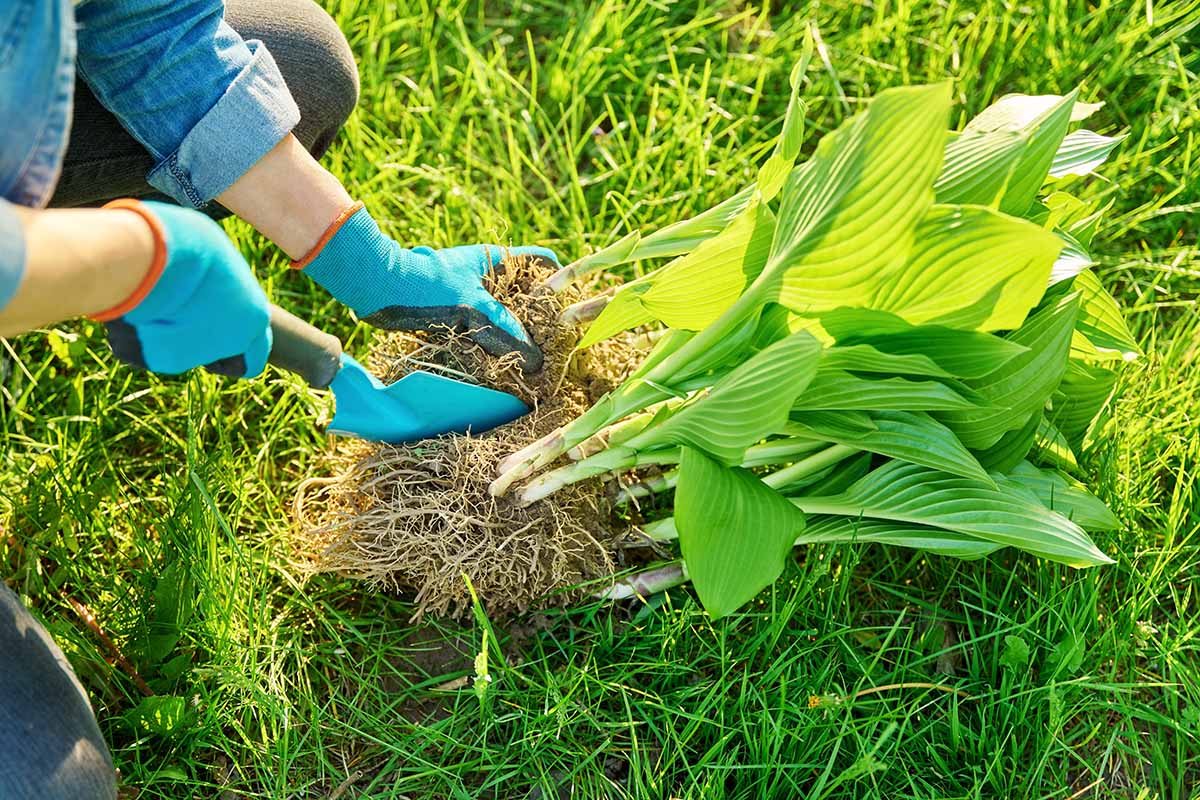
The standard way that most guides and gardeners will tell you to do this: put two forks back to back into the center of the clump, and pry the roots apart. A sharp spade or hori hori might be called for when splitting plants with thick root systems, like hostas.
Once the first cut has been made, the rest of the divisions usually prove to be relatively easy because you’ve loosened up the roots somewhat.
A large plant can give you enough to spread new plants around your own garden, and leave some to give away to friends. These sections can also be potted up. In fact, plants like hostas do amazingly well in containers.

Remember to water in freshly planted divisions. This settles the soil in snugly around the roots, and helps to prevent transplant shock – which can be caused by air pockets that stop fibrous roots from extending throughout the soil to access the nutrients and moisture they need for growth.
This is a good time to divide up bulbs and rhizomes, as well. Irises, fall-flowering alliums, and lily of the valley should all be divided in the early spring.
Dig up the plant and gently tease away the bulbs from the main bulb, or cut up the root, taking care to leave a few root or stem nodes on each rhizome.
It’s best to transplant any trees and shrubs that need relocation before they start to bud.
8. Clean Tools and Organize Storage
It’s easy to forget this step, but it can have a huge impact on the health of your garden. As we use our tools, they not only get dirty, but nasty pathogens can hitch a ride too.
Some of these pathogens can live a long time without a host, so they could still be hiding on your tools.
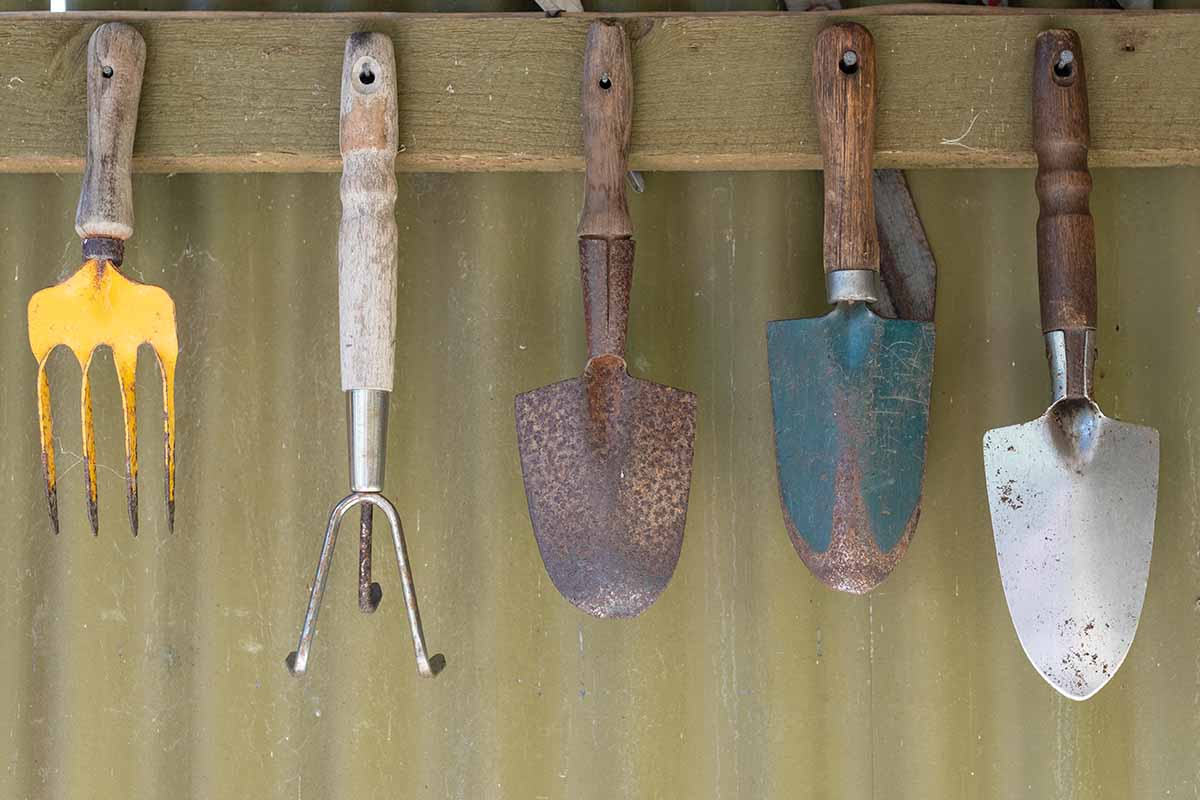
Wipe everything down with a 10 percent bleach solution of one part bleach and nine parts water mixed together. This includes mower blades, pruners, shovels, and anything else you use in your garden.
I like to sharpen my tools during the winter when there’s little chance I’ll need them, but if you haven’t already done that, do it now.
Check out your storage area and get everything organized. I like to do this in the winter, as well, but if you didn’t get around to it, do it now. Once things ramp up in spring, you’ll be glad you did.
9. Sort Out Compost
If you don’t cover your compost pile during the winter, it can become a soggy mess.
Cover the pile now to protect it from spring rain. Then, work in some additional material to help aerate the pile and start the composting process back up.
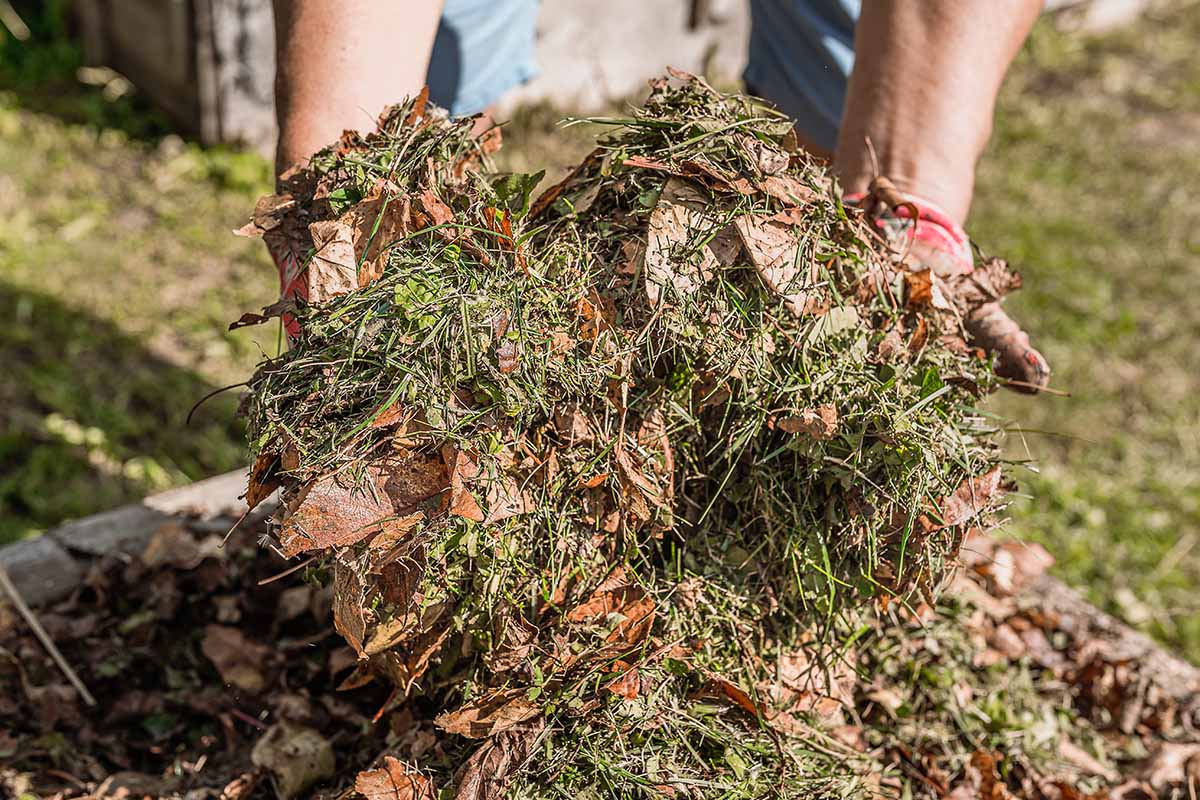
Chopped dead leaves, lawn clippings, sawdust, straw, pine needles, and lichen are all good options.
Turn the pile at least once a week while keeping it covered in between.
Learn more about composting in our guide.
Bring on Spring!
The old adage is true: a little preparation goes a long way. Once the weather is warm, the flowers are popping up, and you’re busy with gardening chores, you’ll be glad you took the time to do the work in advance.
Your life will be easier, your plants will be happier, and you’ll be able to enjoy your garden rather than scrambling to catch up.
What are you planting this year? Will you be tending big old beds of roses? Or maybe a small veggie garden? Let us know in the comments section below.
I hope this guide got you set for the coming season. If you found it helpful and you want more tips about seasonal gardening, you might want to check out these guides next: