It’s a sad sight to see. And it happens every year.
Planters and containers that were once rich with color and foliage slowly fade and fail, becoming worn out and tired-looking by the time mid-summer rolls around.
And the higher the temperatures climb, the more those pretty blossoms and plump leaves shrivel and disappear.
Well, this doesn’t have to be your tale of woe this year. You can help your containers to flourish with vibrant good health all summer long just by doing one little thing differently.
We link to vendors to help you find relevant products. If you buy from one of our links, we may earn a commission.
Sounds good, right? It is! But first, let’s take a look at all of the steps that will help your pots and containers to put on a peacock-worthy display throughout the season this year.
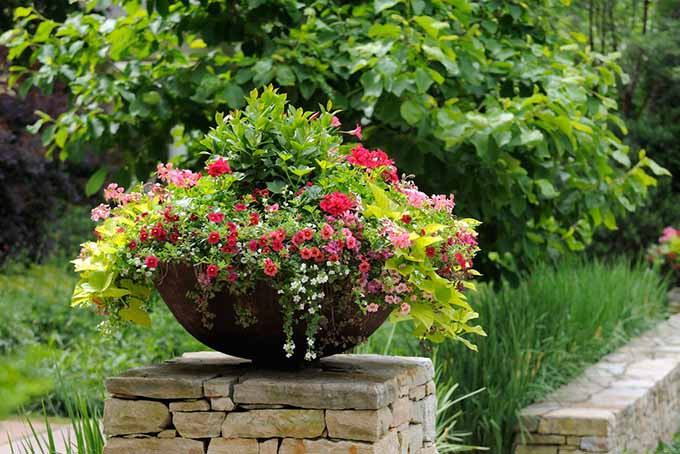
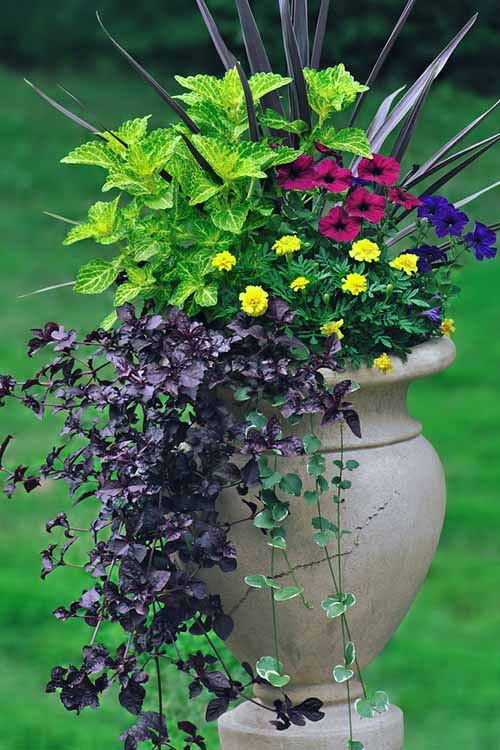
Botanical Beauty for Containers
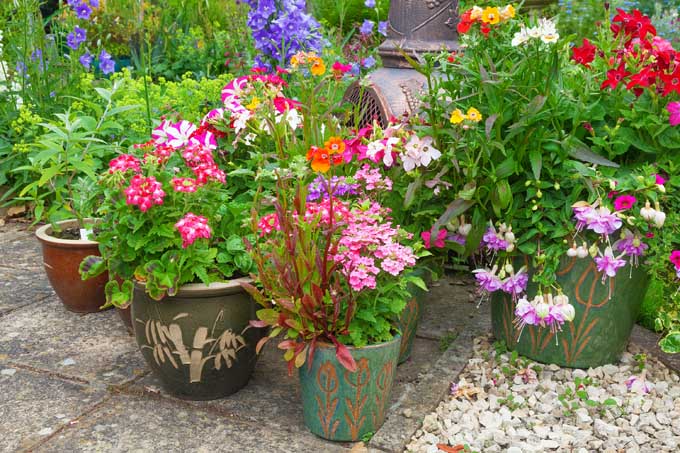
In today’s world, nurseries and garden centers have such an amazing selection of lovely, healthy plants that it’s pretty easy to create an attractive-looking container. The tough part is to keep them looking good from spring right through to autumn.
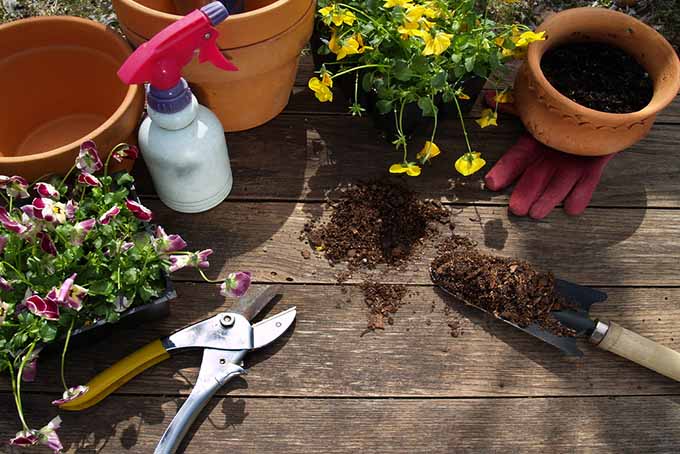
Here’s a brief review of the steps that you can take to create and maintain a brilliant display all summer long.
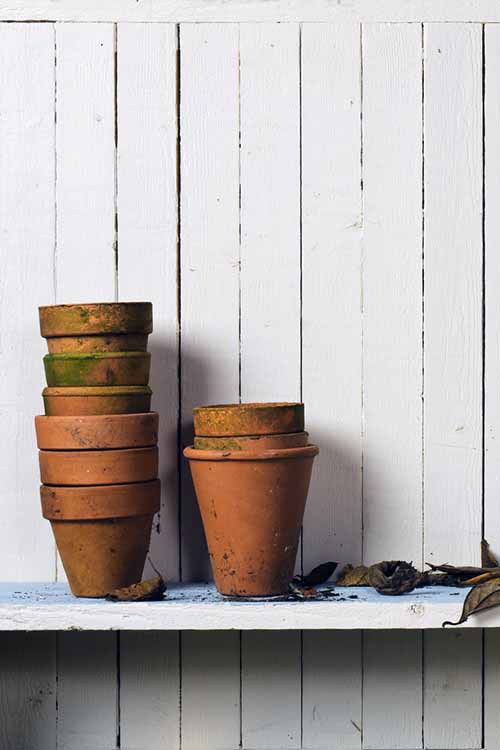
1. Pick the Perfect Pot
The first step for a robust planter is to choose the correct pot size. This is determined by a few different factors.
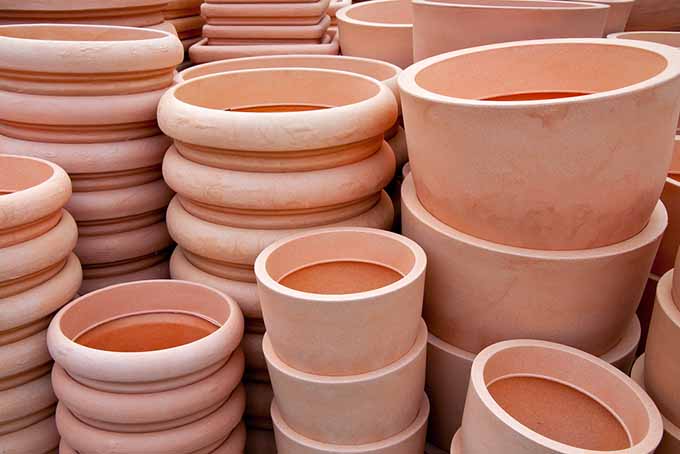
A planter that’s too small will crowd roots, resulting in a scarcity of water, oxygen, and nutrients that are vital for healthy, vigorous growth.
Containers that are too big can result in overly moist soil, cutting off oxygen and drowning the roots. And the cool, moist soil often found in planters with too much room is also a welcome mat for plant problems. Fungal growth such as powdery mildew and leaf spot are common visitors, as are damping off and root or stem rot.
Bedding plants, seasonal kitchen herbs, annuals, and bulbs can all be arranged a little closer and tighter than plants in the ground, to make an impressive and healthy visual display.
So, if the recommended spacing is, say, 10-12 inches, item that thrive in containers can be planted about 6-8 inches apart.
And as a general rule, if their normal growth is 10-12 inches tall, you’ll want a pot that’s a bit more than half that size, or around 6-8 inches in diameter. For plants that grow from 24-36 inches in height, a larger container around 24 inches in diameter would be appropriate.
Your pot will need drainage holes with adequate drainage material on the bottom, to allow excess water to flow away easily.
Inverting a smaller plastic pot over the drainage holes will work if adding more weight is an issue, as will using packing chips or peanuts – although there is some controversy about styrene from styrofoam leeching into edibles.
This controversy arose after the 2011 publication of the National Toxicology Program’s Report on Carcinogens, reporting that “Styrene is reasonably anticipated to be a human carcinogen…” It also reported finding low levels of styrene in packaged food was primarily due to leaching from the polystyrene containers they were packed in.
But the report also concluded that these low levels from leaching are still considered to be within acceptable standards for human health. The greatest risk comes from long term occupational exposure in industries that use a lot of this material.
Gravel, pebbles, pieces of broken pottery, nut shells, pinecones, sticks, and coffee filters can all been used for drainage.

As a rule of (green) thumb, container plants don’t like to have wet feet – that is, having their roots sitting in water makes them unhappy.
A soggy root environment will cause most bedding plants to sulk and underperform. Or the roots may simply rot, which is not conducive for pretty planters!
Drainage is also needed to provide aeration for potted roots, as it’s harder for them to “breathe” and access oxygen in a container than it is for plants in the ground.
Are you a succulent gardener? Check out our guide to the best containers for these plants.
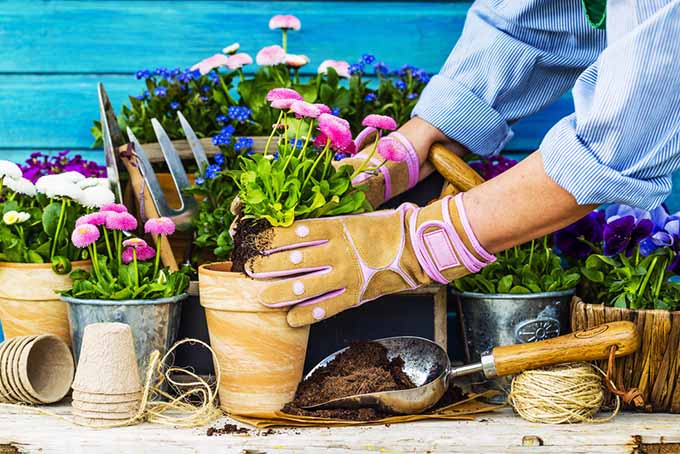
2. Plant with a Plan
For many of us, the garden center has the same effect as a candy shop does on kids. “I want some of these, and six of those, and oh, I need a whole flat of the pretty pink ones…” And as we all know, impulse buying does not always mean we’ve made the best choices!
So, a little discernment (and self-discipline!) will help in selecting plants that will produce the best results for your location.
Choose plants that will thrive in your particular climate and light conditions. And if you like to mix plants together in one pot, select ones that have similar requirements for water and light.
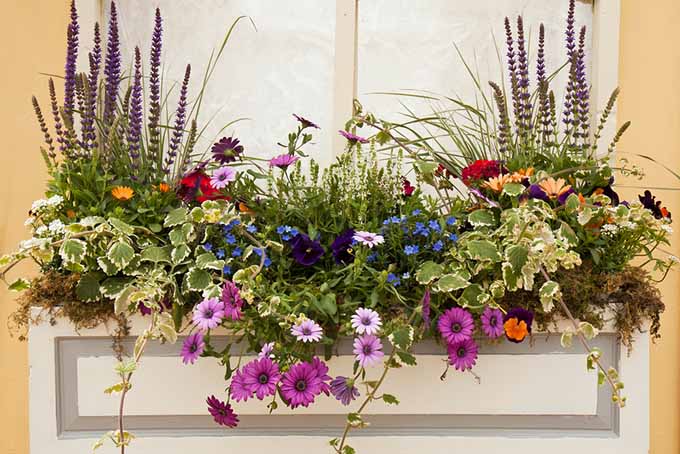
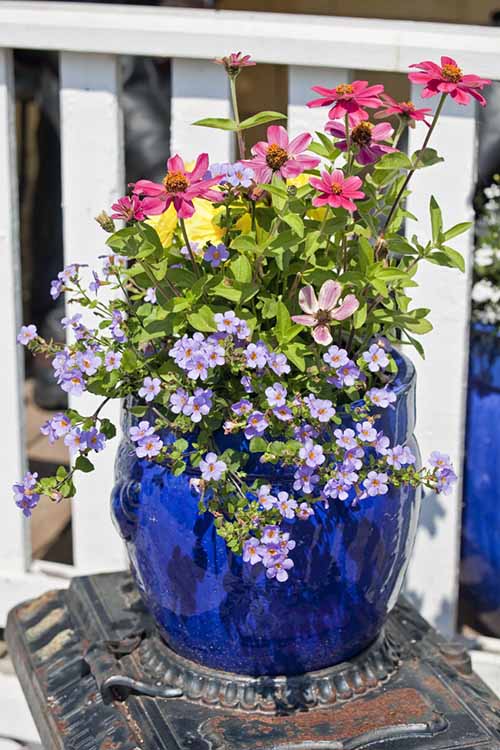
Adding some foliage plants will help to fill out your pots, and they also provide an element of unity – pulling the overall picture together for greater visual appeal.
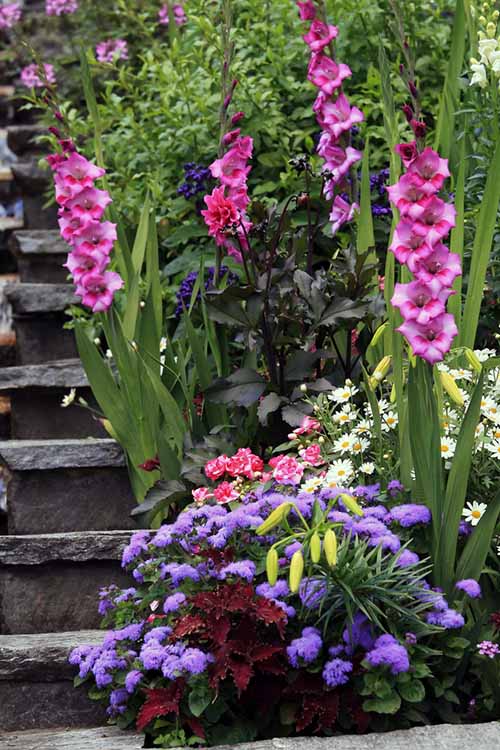
The addition of plants with varying heights and bloom times will also add a dynamic visual interest to your potted gardenscape, changing as the season progresses.
Summer flowering bulbs like gladiolas, canna lilies, arums, and caladiums will extend the season, providing fresh color and interest while earlier bloomers take a rest.
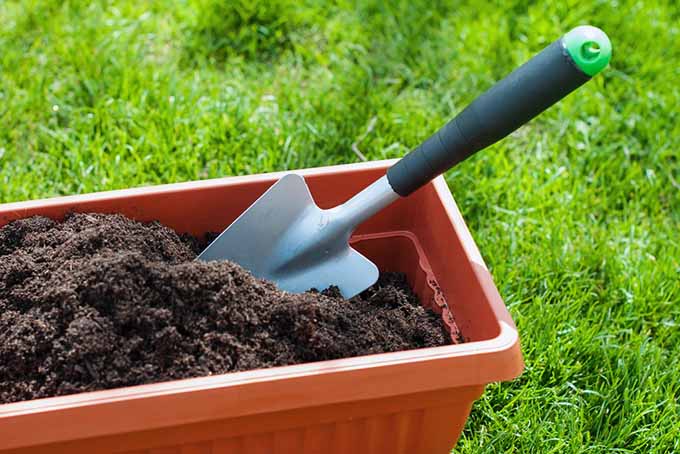
3. Provide Nutrient-Rich Soil
How good is it to be a fully grown adult and still be able to play in the dirt?!
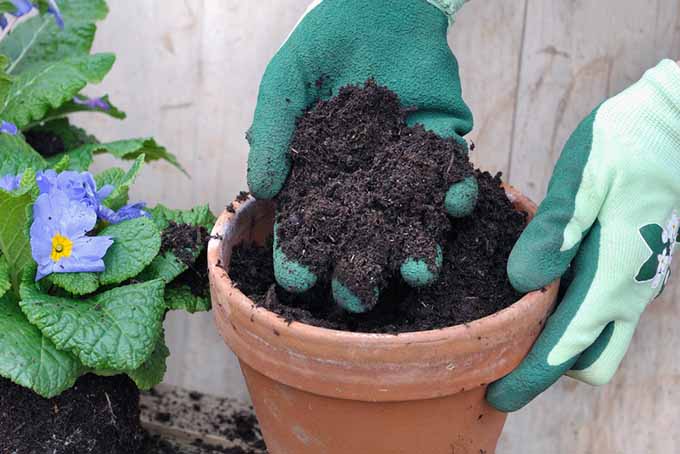
However, we’re not serving up mud pies anymore. As garden stewards, we need to provide a nutrient-rich environment to ensure that our bedding plants thrive.
Amending your soil with about 20-25% finished compost or well-rotted manure improves the soil in a few different ways. It develops the soil’s tilth, or body structure, which helps with the retention of moisture and nutrients, and reduces soil compaction.
Container soil is best when it has some moisture-retaining materials in the mix, such as perlite, vermiculite, sphagnum moss, or peat, at about 20% of the volume. It also needs nutrient-rich materials such as compost or manure.
Amending your soil with about 20-25% finished compost or well-rotted manure improves the soil in a few different ways. It develops the soil’s tilth, or body structure, which helps with the retention of moisture and nutrients, and reduces soil compaction. Plus, it can act as an equalizer for soils that have lost their pH neutrality.
Use a large bin, wheelbarrow, or a layer of plastic on the ground to mix up all of your ingredients in batches large enough to accommodate several pots. And if you purchase a growing mix, ensure that the texture is light and loose enough to provide ample drainage while still retaining some moisture.
If you like to recycle last year’s container soil, replace at least half to two-thirds with fresh soil, recycling any depleted dirt into your compost bin.
Of course, you should never recycle or compost any soil that has had diseased or failing plants grown in it. Spores, fungus, mites, and other unfriendlies can live on in the soil long after the plants have been removed – and they can be nestled in the dirt even with plants that look healthy. A safer option is to use fresh soil for each pot.
4. Give Them a Long, Tall Drink of Water
By the time summer arrives, containers in a sunny location require frequent, even daily, watering when it’s hot out.

However, not all pots require watering at the same time. Differences in light exposure, pot size, and plant size determine how often water is required.
Strong, healthy plants need strong, healthy root systems, which are developed by deep, slow watering. Light watering will develop small, shallow roots just under the surface. This leaves the larger roots at the bottom deprived of moisture, which causes plants to become dehydrated and fail.
Water slowly to ensure the entire root ball, including the deepest roots, gets a good drink, or just until water starts to emerge from the drainage holes.
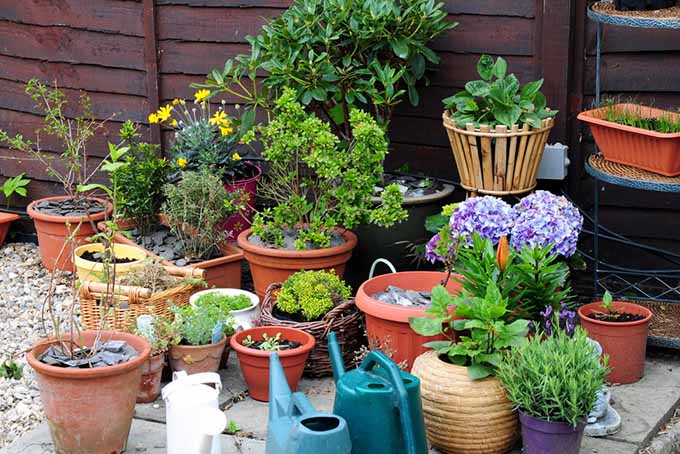
5. Groom Bi-Weekly
During the growing season, give your containers a light grooming session every couple of weeks.
Deadhead spent blossoms, cut back straggly stems, and if needed, replace any plants that have given up.
Container gardening has no more pests or problems associated with it than ground plantings. But due to their close quarters and reduced air circulation, the spread of fungi and pests can be rapid.
To keep remaining plants free of infestation, any diseased specimens need to be removed pronto.
A few of the most common problems to be on the alert for are:
Black Spot
Most troublesome on roses, black spot also targets fruiting plants and is common in moist, humid conditions. It appears as brown or black spots on stems and leaves, causing leaves to yellow and fall off.
Remove any diseased leaves and stems, clean up all plant debris from the soil surface, and destroy it (i.e. don’t dispose of it in your compost pile).
Water in the morning to allow the leaves to dry thoroughly, and avoid watering on cool days. Some control can be found with regular spraying of new foliage with neem oil.
Botrytis Blight
Also known as gray mold, botrytis blight is another fungus that overwinters on plant debris. It favors cool, rainy weather and can infect numerous ornamentals as well as vegetables, berries, and other types of fruit.
Avoid overhead watering and remove and destroy any plants that may be infected.
Damping Off
Caused by overwatering and cool temperatures, damping off causes plants to rot at the base of the stem and keel over. Avoid overhead watering and move the planter to a warmer spot if possible.
Powdery Mildew
This fungus looks like a dusting of powder all over the plant leaves. It is particular about its weather conditions, showing up when days are warm and nights are cool. It will target flowers, ornamentals, and veggies, and is particularly fond of cereal grains.
Difficult to control, some prevention can be accomplished with regular spraying of new foliage with neem oil.
Rust
Plant rust looks like spots of rust on leaves and stems. Fond of hot, humid, and damp conditions, rust will cause plants to wilt and decline.
Rust spores are spread by wind and water, so prompt removal from containers is needed. Avoid overhead watering late in the day, and overwatering in general.
As the summer progresses, you can also freshen your containers with the addition of late-season performers like mums, autumn sedums, asters, calendula, and violas.
And now, for the trick we’ve all been waiting for…
6. The Most Important Step: Fertilize, and Fertilize Again
That’s it. When practiced regularly, this is the one simple tip that will significantly improve the performance and appearance of your planters and containers.
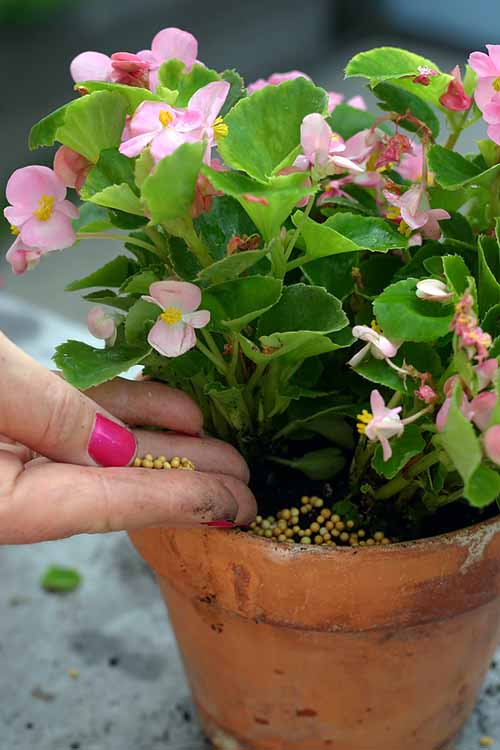
The addition of a slow-release fertilizer is always a good idea, and every planting should be finished off with granules that will feed slowly. A better idea is to give your containers a diluted drink of water-soluble fertilizer every two weeks, and even weekly for small pots that require frequent watering.
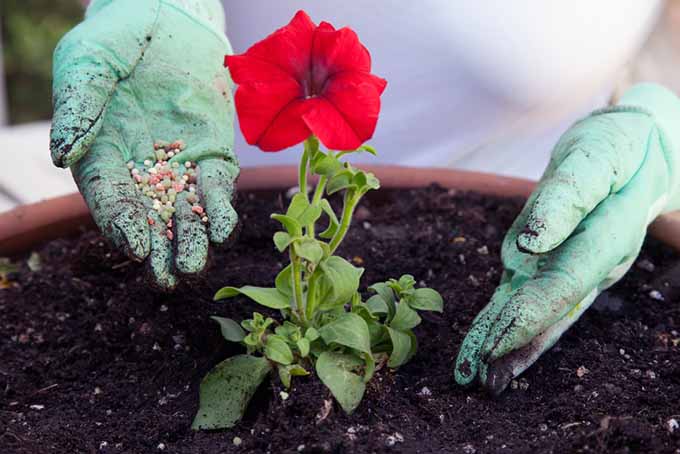
Every time a container is watered correctly, to the point of water coming from the drainage holes, it flushes nutrients out of the pot and away from the roots. This is problematic…
The reason is simple. Every time a container is watered correctly, to the point of water coming from the drainage holes, it flushes nutrients out of the pot and away from the roots. This is problematic, because unlike plants grown in the ground that can expand to find food, the roots are limited to an area within the container walls, with no access to fresh dirt and nutrition.
The answer is to supplement with a diluted solution of an all-purpose, water-soluble fertilizer on a weekly or bi-weekly basis. A general purpose fertilizer of 24-8-16 (24% nitrogen, 8% phosphorous, and 16% potassium) will maintain and feed your plants in pretty much any environment, but specific formulas (such as for tomatoes or annuals) may be selected to cater specifically to your chosen plantings.
Take care to heed the word dilute. Too much fertilizer is just as bad (if not worse) than too little, and will cause plants to grow and display fast and bright – but they’ll also burn out and fail quickly, too.
Over-fertilizing can cause plant leaves to turn yellow or brown, and damages roots. “Burning” is caused by the naturally occurring salts in fertilizers, which draw moisture out of the plant. Too much, and the most susceptible areas of the thin tips and edges will brown first, followed by the entire leaf.
To find the Goldilocks zone for fertilizing containers, take the recommended dosage for the product you’re using, and divide it by how frequently you’ll be fertilizing. For example, if the recommended amount is one “scoop” per month, divide the amount by 2 for bi-weekly feedings, and by 4 for weekly fertilizing. Mix into a full watering can and apply to moist soil.
Quick and easy, just as tips and tricks should be!
As a side note, while the majority of nutrients are supplied by the roots, some absorption can occur through the leaves with water soluble foliar fertilizers. Nurseries will often use a nitrogen-rich mix to promote leaf growth of seedlings, while a high phosphorous solution will encourage blooming.
If leaves are showing signs of distress, a foliar spray can quickly supply nutrients. However, they can be a bit tricky to use in mixed containers as different species have different requirements.
And, if the formula is too strong, leaf burn or scorch can easily occur. Plus, only a small amount of nutrients can be applied in one application, limiting its efficacy.
Be The Watcher
As caretaker of your lovely container gardenscape, you’ll also want to keep an eye on your plants to see how they’re responding to your care and maintenance regime. If they’re not flourishing, they’ll communicate their needs by their appearance.
Here’s a roundup of a few common signs to look out for:
Wilting
The most common causes of wilting are either too little or too much water.
If your plants are drooping due to dry soil, water slowly until it’s been absorbed by the dirt and starts to drain from the pot.
If it’s from too much water, cut back on watering until the soil is dry to the touch before watering again.
Lackluster Performance and General Decline
Leeching nutrients from the soil with each watering is often the cause of underperformance. Increase your fertilizing schedule with diluted applications, as per Tip #6 above.
Low Blossom Show
Annuals that are all leaf and no flower benefit from a fertilizer that’s higher in phosphorous. Look for formulas with a high middle number (i.e. phosphorous), such as 10-20-10, to boost bloom production.
Leggy Plants
By the time mid-summer rolls around, many annuals can be all stem with only a few flowers at the ends of branches. Both leggy annuals and perennials can be renewed by cutting back, which forces new growth.
Cut stems back by two-thirds on only half of the plant at a time, so as to retain some color. New growth will appear in a couple of weeks, at which time the remaining half of the plant can be cut back. And regular deadheading will help to reduce the appearance of scrawny, chicken-leg plants.
Yellow or Brown Leaves
This can have a few different causes. Inadequate nutrition due to leeching as well as over-fertilizing are often culprits, as are inadequate moisture levels.
Check your water and fertilizer routines and adjust as needed.
Do this for your containers from mid-May through the end of August and you’ll be richly rewarded with robust, full plantings of lush foliage and delightful color for the entire growing season.
A Bountiful Bottom Line
With the application of just a few simple steps at the start of the season, some weekly maintenance, and our super fertilizing tip, your containers and planters will have what it takes to put on a blazing display all summer long.
So remember, to retain their healthy good looks for the entire season, feed your planters more frequently, but with weaker doses of a water-soluble fertilizer. This is simple but effective, and you’ll be thrilled with the results.
Do you have any comments or questions about container plantings? If so, drop us a note in the comments below and share your thoughts.
Looking for more design inspiration? Try some of these guides next:
Ive read alot of books on do’s n dont’s, i’ve even written a few down, but yours is simply SIMPLE. I’ve been gardening for a good many seasons (lol) and like all gardners we experience every issue you spoke about and resolved in SIMPLE words of guidance. Maybe your words spoke to me, maybe i gained a few brain cells back from my 20’s, who knows, but i can remember your guidance rules better than most. Thank You.
That’s great to hear Mary, thank you! Simplicity is, well, so simple! And easy… which produces the results we want, and makes it more fun. And if it ain’t fun, count me out!
Or, maybe it’s just that I’m gaining a few brain cells back from my 20s too!
Outstanding information that can be used on the fly for container gardeners. My parents were in the ornamental flower business all my life and now I’ve got the bug for gardening. This is the most helpful guide to keeping my plants healthy all the time that I’ve seen. Thanks for making my work easy.
I am planning to start planting flowering plants in containers in addition to my existing vegetables. You provided plenty of help here. Thanks.
Thank you! Such helpful and concise information.
Great article. It was very informative. Thanks!
When you are doing a multi flower pot arrangement, where do you start arranging the plants? Center and work outwards? How do you know how many plants to put together in a pot?
Hey Don, yes from the center out is a good way to go. Lay the plants on top of the soil and arrange until you get a pleasing arrangement… use trailing plants at the edges and taller ones in the center or towards the back.
Container plants can be planted closer than you would in the ground, and as a rule of thumb, I space basket stuffers (2-inch pots) about three to four inches apart. So a 10 to 12-inch pot gets three to four plants.
Thanks for asking!
How do you know what things to plant together? I want to have containers with a mix of flowers that flower over the course of the growing season and also some grasses or other nice foliage. I’m just getting started and really have no idea what flowers/grasses to pair together. I would love a resource that explains what to look for to pair plants together in the same pot, and maybe even something that just names specific plants. Thank you!
Hey Jess, you’re in luck! Here’s an excellent article by Matt about how to design gorgeous planters that can help convert your thumb to green! You can also find several informative articles in our Design archives. And of course, your own tastes, climate, and plant availability also play a role in creating pleasing combinations. Use the articles above for design elements and guidelines, then experiment to find what works for you. This can take a few seasons to determine, so remember to take some reference notes for the following year – a garden journal can be very helpful when you’re… Read more »