For the non-chemical, organic gardener, compost is an essential part of your hardworking hobby.
Even for those who do use chemicals, adding organic matter back into the garden as broken-down, nutrient-rejuvenated new soil has undeniable benefits – ones you just can’t argue with!
For a quick intro: compost is a natural fertilizer made up of broken-down organic materials. When fully decomposed, these provide readily available nutrients for your plants.
We link to vendors to help you find relevant products. If you buy from one of our links, we may earn a commission.
The art of composting transforms food scraps, mulch, clippings, leaves, wood ashes, and many other things into a dark, rich soil that you can add to your plants for extra food – or which you use to amend your outdoor beds.
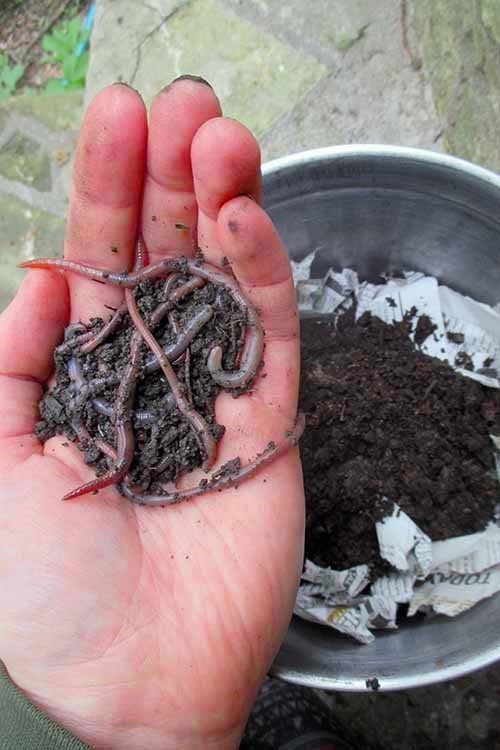
Creating this natural fertilizer using aeration, microbes, turning, and other techniques is one thing. Yet there is another dynamic aspect you can add to the process, and one which is so worth it: the mighty worm!
That’s right, worms in your compost can be an amazing tool.
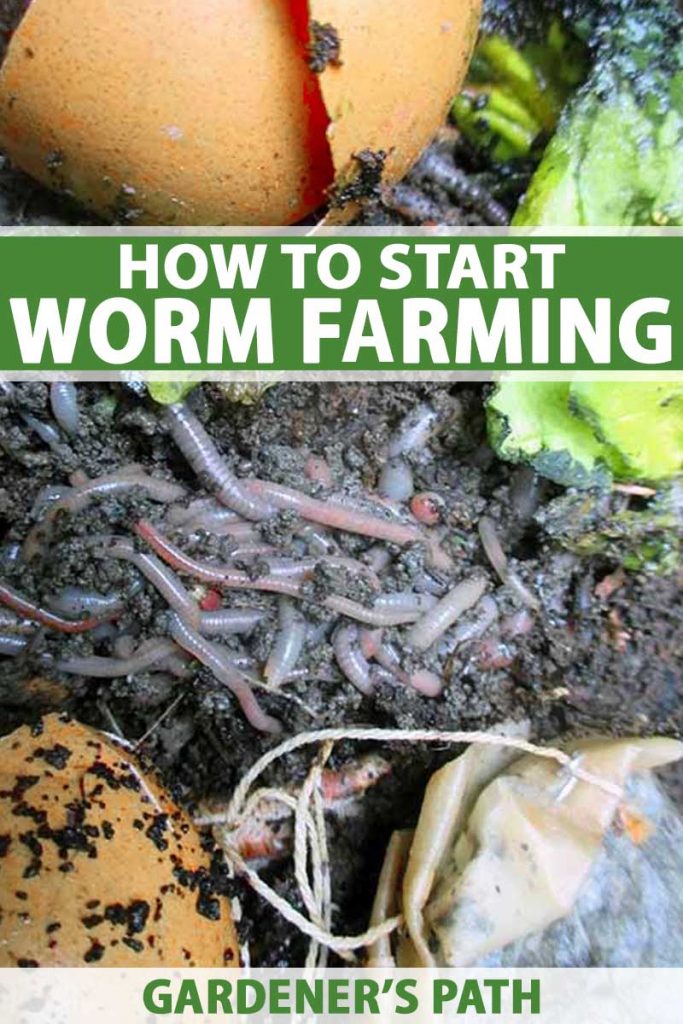
Taking care of your own batch, or what is also called a worm farm or vermicompost/vermiculture (vermi– meaning worm), can ramp up your compost, waste stream, and your garden – and you’ve found the perfect guide to get you started.
What You’ll Learn
Composting With Worms: Is It Better?
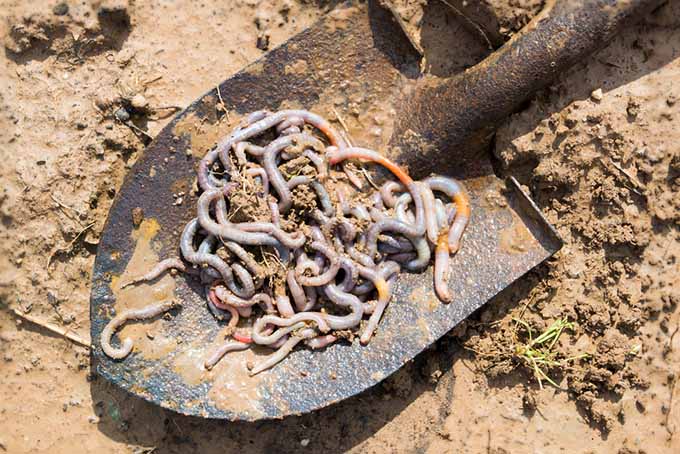
Anyone who’s gardened even a little bit knows that earthworms are fantastic.
But why are they so great, exactly? You see the little pink guys squirming in the soil around your plants from time to time (at least I hope you do…) and it’s a reassuring sight.
But do you have any idea why?
In essence, they eat up organic matter. It passes through their intestinal tract (yes – they poop it out) and the result is fine-textured, nutrient-packed, soil-like castings (another name for poop).
This can actually have the effect of speeding up your pile’s breakdown, if done right.
Rather than letting it slowly decompose with just the help of oxygen, microbes, and certain techniques, worms mobilize the process of decay – and here’s a couple ways how:
Consuming Matter
As I said, these little crawlers gobble up matter that may take much longer to break down on its own, catalyzing the composting process.
They will literally eat up your food or other waste and excrete it, to complete decomposition faster.
Tunneling
Worms burrow too, helping aerate and break larger chunks of matter down quicker.
This also brings airflow into deeper layers to speed things up, while letting healthier, more beneficial bacteria (aerobic strains) to colonize soil more successfully than unhealthy, anaerobic ones.
Incredibly Fertile Castings
According to the authors of “Teaming With Microbes” (read our review of this fine book), not only do the addition of castings speed up the composting process, but organic matter that passes through an earthworm’s digestive tract is rendered many times richer and more available to plants than when broken down otherwise.
Teaming with Microbes available on Amazon
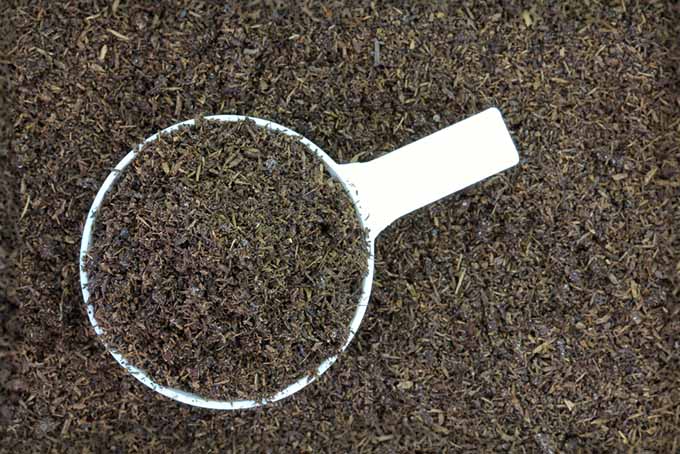
The result? Perfectly textured, rich fertilizing soil made up of easy-to-use castings – light in weight, but heavy in nutrients.
Aerobic vs. Anaerobic Bacteria?
When composting with a pile or with vermiculture, the goal is to encourage aerobic bacteria over anaerobic types.
As the name implies, aerobic bacteria need oxygen and airflow to thrive (thus the need to turn your compost), and they create beneficial nutrients for your plants – while anaerobic strains promote disease, rot, and a terrible stench if aeration is stifled in your pile.
The important thing to realize is that earthworms already do all of the above in your garden!
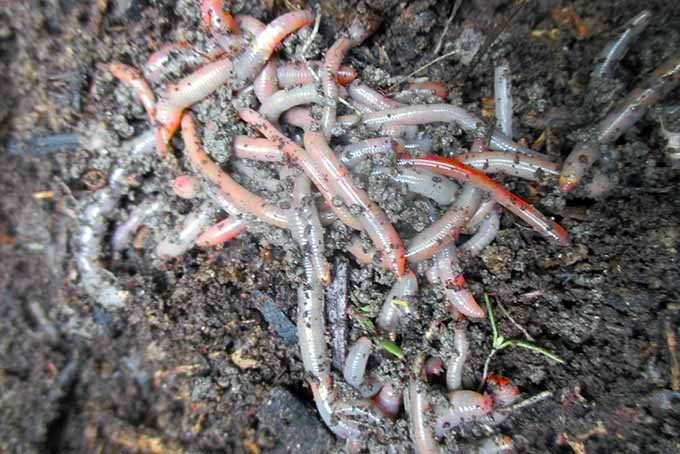
You might even have seen castings around your plants – they look like churned-up bits of soil, some a little like pellets (quite accurate to what they actually are: droppings).
While these dirt buddies are excellent for wriggling through your garden beds – digging tunnels around plant roots to bring in water and nutrients, excreting fertile poop all the while – earthworms in your compost arguably double the benefits for your plants, maybe even more.
Everything they do for your soil, they will also do for your waste stream, scraps, and ultimately, your plants – when you bring them straight to your pile.
I would argue too that it’s essential you see their natural presence in your garden beds, not just your compost. If you don’t see them slithering in the soil of your garden, it’s a sure sign that your soil probably needs some help!
All the same, farming your own will probably have the biggest impact on organic plant feeding out of the two.

If you’re not seeing these little guys in your garden, nourishing your beds with your very own vermicompost can improve your soil makeup, and help attract a population to your garden naturally.
Everyone has their own way of doing things – but looking at the science of it, many expert gardeners and farmers (of the non-chemical ilk) will insist that it is (and I agree).
Composting aerobically takes a lot of patience and even has a bit of a learning curve.
To make it happen quickly and successfully, you have to masterfully combine the elements of temperature, moisture, nitrogen, and carbon – a lot to get the hang of, though experienced gardeners love it once they do.
Vermicompost, on the other hand, trumps the aerobic method in two big ways: it’s easy to learn and manage, and gives you more nutrient-rich soil in a shorter amount of time!
So, what’s not to love?
Getting Started
Having your own vermicompost will be a bit like having a new pet – or pets, actually.
No need for taking these pets out for walks, grooming, vet checkups, or cleaning up their leavings (especially the latter).
All you need to worry about is feeding your pets enough and correctly, all while letting them do their dirty work (the good kind)!
This method is also fairly easy for folks of all ages to grasp – making it a fun activity for families and kids. It can also help instill lessons and awareness of preserving and working with nature, reducing and reusing food waste, and gardening in a way that’s good for the environment.
If you have managed your own pile in the past: vermicompost is almost exactly the same, except worms do all the turning, aerating, and most of the layering for you.
Are you a newbie to composting? All you need to do is throw scraps into your container – but you can’t just throw everything in.
Only materials that worms can eat and work through are acceptable. Determining which won’t hurt them is an item that we’ll get to later.
Finding Your Worms
Where to start? First things first – you need to find some earthworm buddies!
It’s true that you can scavenge and snatch up some straight from your garden, but that might be an arduous task for some; and not all wild species will complete the task well for you.
You’ll have to take special care that you have the right species for the job, and that you aren’t stealing away too many that are doing your garden some great favors already!
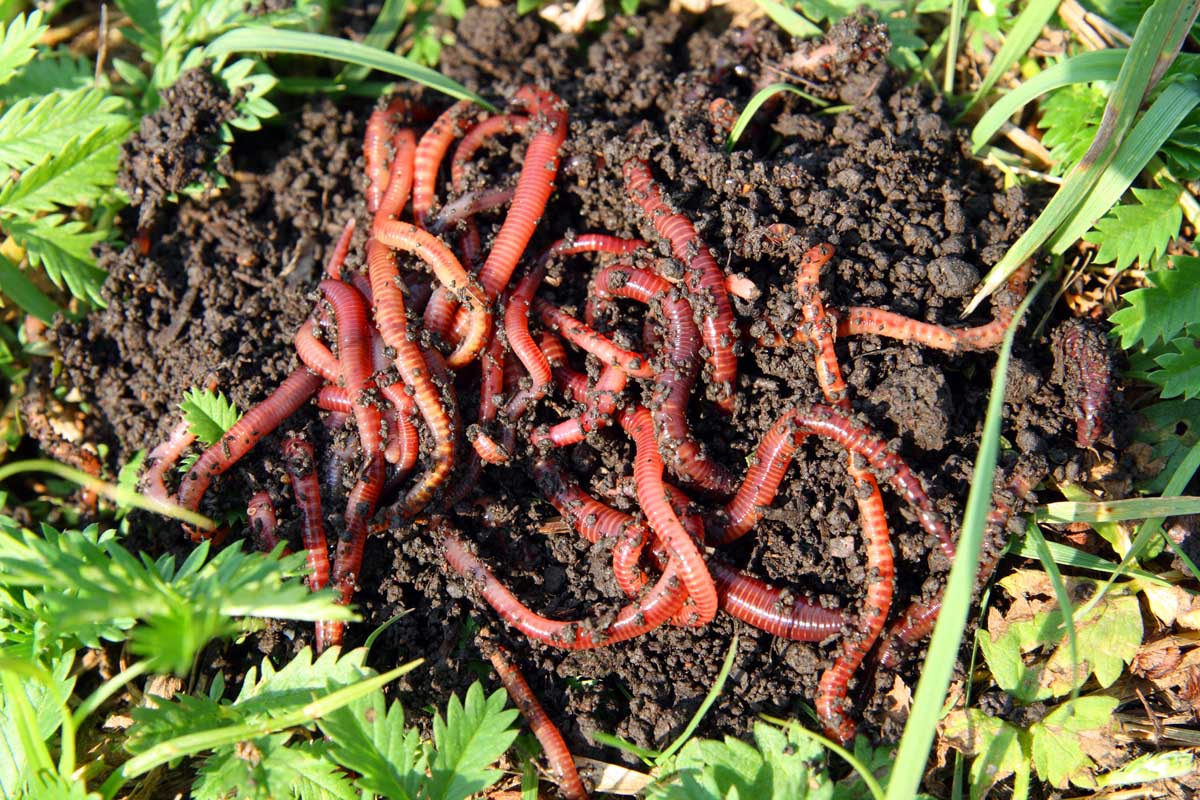
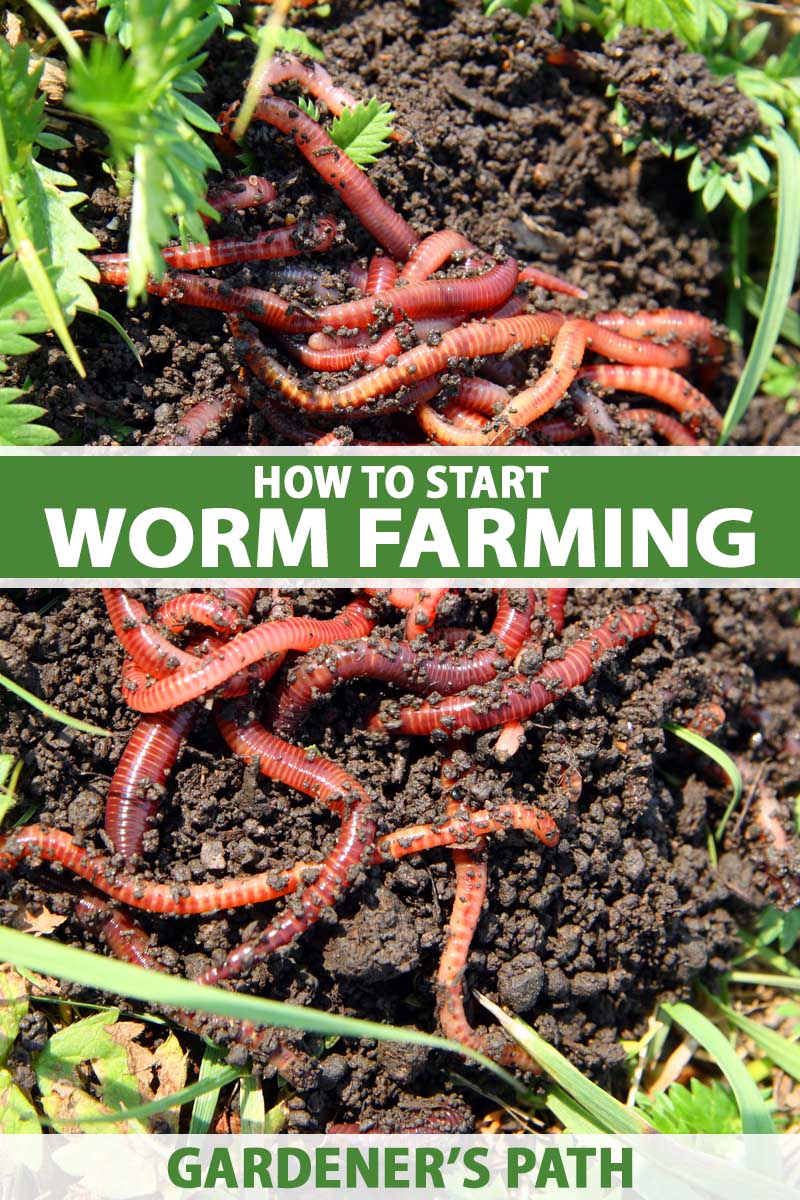
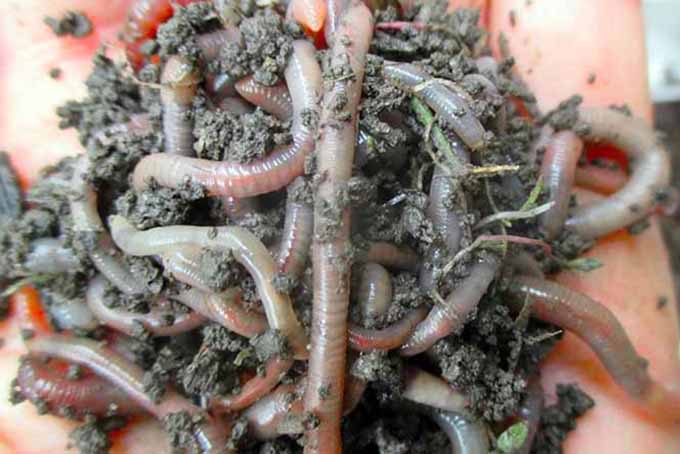
Red Wigglers
Red wigglers (Eisenia fetida) aka tiger worms are considered the best and most popular species for helping things break down quickly and efficiently, and I’d encourage you start with those.
Although they are a smaller variety (growing up to five inches) compared to some worms used for fishing, they are more active than other species and can consume their body weight in compost material a day.
Uncle Jim’s Worm Farm 500 Count Red Wiggler Worms
They also reproduce much faster than other types making it easier to start out with a smaller bunch and grow enough of them to fill your container or expand.
They require a humid and warm environment and can’t be left in an unheated outbuilding during the winter in cooler climates.
I’d also highly recommend sourcing them for your little farm from Uncle Jim’s Worm Farm on Amazon – and you can purchase your worms conveniently online, if you’re short of your own garden sources.
European Nightcrawlers
European nightcrawlers (Dendrobaena hortensis), also known as super red worms, are another great option for home vermiculture setups.
This species is larger than red wrigglers and grow up to eight inches long, but they aren’t quite as active and therefore don’t eat as much in proportion to their bodyweight. They also reproduce more slowly than red wrigglers, but they are still much faster than many other varieties.
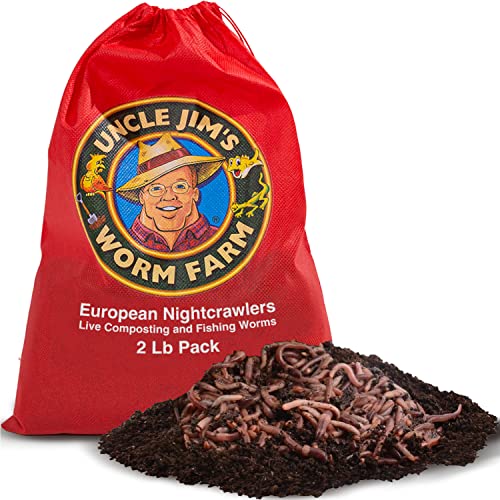
Uncle Jim’s Worm Farm European Nightcrawlers
Nightcrawlers are able to withstand colder temperatures as long as you have deep bins for them to burrow into. This makes them ideal for those in northern climates and who want to use an outbuilding kept at a lower temperature.
These worms also can be readily used or sold as fish bait, and they can be added to your garden and lawn for aeration and to assist in the breakdown of leaf matter and other organics.
These are also available from Uncle Jim’s Worm Farm via Amazon.
How Many Worms Are Needed?
There is no exact formula that has been determined, though you may want to take some stock of how much waste you think you’ll produce on average.
Mary Applehof, author of “Worms Eat My Garbage,” states that you should employ two pounds of worms for every pound of unfinished compost to start for optimal breakdown.
Worms Eat My Garbage available on Amazon
Keep in mind though – these creepy-crawlers do reproduce quite quickly when they’re happy and thriving, so it’s better to start out with a more reserved amount than way too many.
Location
Make sure to store your farm in a cool, dry place that is protected from the elements, whether inside or outdoors. When it’s warm, somewhere that tends to stay cool all year works well, such as the shade of a garage, shed, or even your basement.
If indoors, keep it away from fans, heaters, or chemicals that could hurt your little guys or dry out their home. If outside, somewhere sheltered and shady works well – the north wall of a building or shed generally suits during hot summer months.
When winter’s frigid temperatures come around, you can bring the setup inside, preferably somewhere that gets a good dose of warmth and sun during the day.
Or, keep it outdoors, but switch it this time around to a south-facing side of the house or other shelter. Make sure it still gets cover from snow and other wintry precipitation, with a good amount of sun during the day.
If keeping your pile outdoors during cold seasons too, you can cover it with a tarp or other gardening cover for protection (black is good, to absorb sunlight). Make sure you keep the lid over it, too!
Keep feeding your vermicompost constantly, even throughout the winter – an active pile makes its own heat, which will warm and protect your pets.
Be sure to check the temperature too; the most productive temperature for red wigglers is between 60 and 80°F.
Container Options
Once you have got your worms, you will need a container, a home for them to live in!
Make Your Own Container
Have your own compost bin already, just without the worms?
You may be able to simply modify it to make it worm-friendly, but make sure that the following details are applied to any vermiculture container you make or choose:
Many different kinds of materials can work. Stainless steel, galvanized iron, plastic, or ceramic are great – you can choose wood (untreated), though it may absorb some fluids and bring a stink.
Your new worm home can be as small as 20 inches long, wide, and deep, or as big as three feet long, wide, and deep, though you can go a bit bigger (if you’re feeling confident).
Note: large amounts of waste can be composted from bigger waste streams on bigger properties, though you’ll need LOTS of worms; and keep in mind that breakdown greatly slows, the bigger your pile or system becomes.
The bin must be able to hold food scraps and other organic material. It should also open at the top and have a lid to cover it completely closed for protecting your wrigglers.
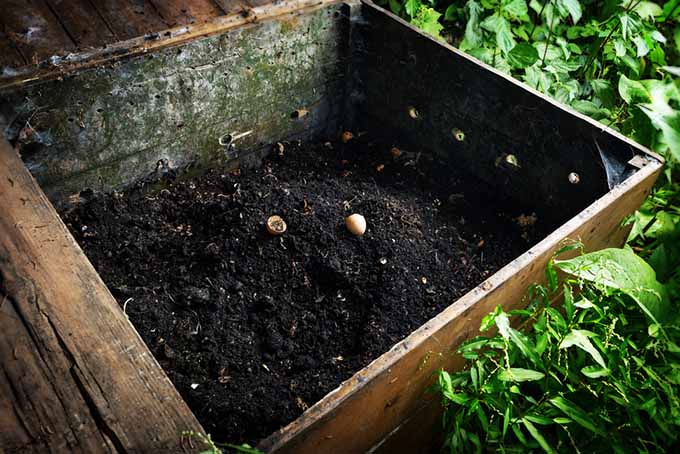
Drill, hammer, or punch holes in the sides, bottom, and top (lid) of your container for aeration and drainage. At least five to six will do you well. Not only do microbes need to breathe – your little pets do, too.
Don’t worry about holes being big enough for your little guys to escape. If you’re doing things right, they won’t want to leave their box!
Get a tray for the bottom where fluids (called leachates) can drain off and collect (think something like a lid, in which your container can sit snugly).
Too much fluid in your compost is a bane to wrigglers, and draining it off prevents them from drowning – while providing its own natural fertilizing “tea” application in and of itself (which we’ll get to later)!
Buy a Container
Not in the DIY way? You may want to take a look at the Worm Factory 360 Worm Composter for purchase of a ready-to-go, easy to manage home for your new little farm.
Instead of a simple container, this mini-factory is multi-tiered and made up of several removable trays that your wrigglers will be able to climb up into.
You can then remove trays of finished dark fertilizer easily for garden use, while leaving your squirmy little composters alone to eat in peace in other trays – while adding fresh scraps to them as you go.
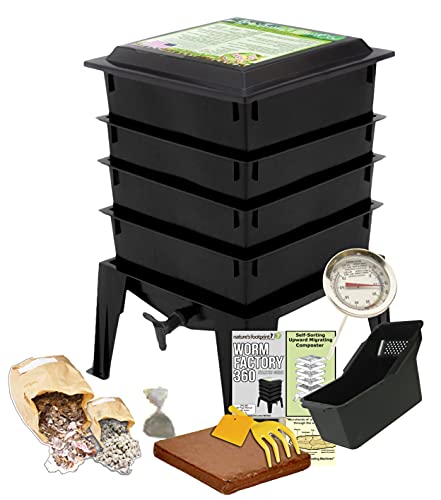
Worm Factory 360 Worm Composter available on Amazon
It also features a convenient drain-off spigot you can use to collect what is called leachate, with which you can fertilize your plants by diluting it with water and applying directly to the soil or as a foliar spray (a nutritional application sprayed onto plant leaves).
Preparing Your Container
Once you have a bin and you’re ready to house your worms, there are a few steps to follow for getting things prepared – both for making your little guys comfortable, and to support them in becoming compost-making machines.
1. Line the Bottom of Container With “Carbon” Matter
That is, in compost terminology, “brown matter” (dried leaves, untreated non-glossy newspaper, untreated shredded paper, wood chips).
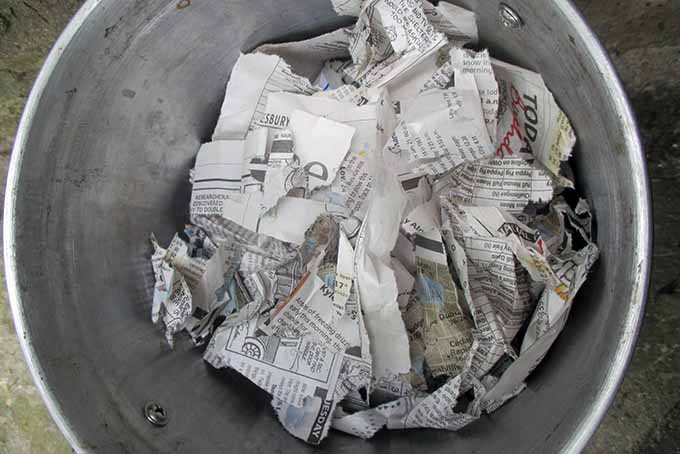
Line your container about a third of the way deep.
2. Add Microbe-Active, Nutrient-Rich Soil
Place a layer of nutrient-rich soil at the bottom below the lining, or sprinkle around on top.
This will introduce beneficial bacteria and other microbes to the bin, which provides food for your wrigglers and helps with breakdown.
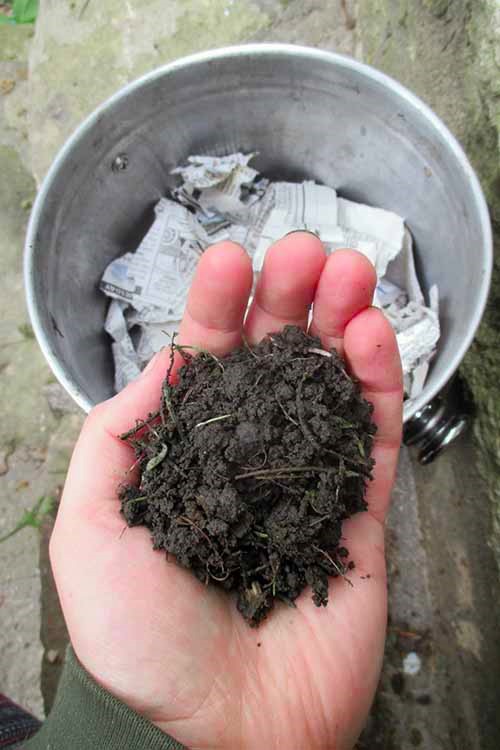
Note that adding sterile or chemically treated potting soil will not achieve this effect, and might actually be detrimental!
Add some good soil from your garden or from already finished compost, for example – or purchase a potting soil that includes active microbes.
3. Spritz Lightly With Water
A bit of moisture will be very good for their environment – but not too much. Just make sure soil and lining are both lightly damp.
Once these steps are complete, you’re ready to release your wriggly friends into your container.

Simply scoop them into the lining and soil by hand, or open up your purchased container and plop them right in (gently, of course).
Feeding, Care, and Composting
Once you’ve gone through each step above, you should be ready to get composting! Your little friends should be ready, too.
All You Have to Do:
As you generate kitchen scraps, yard waste, and the like, simply toss it into your container on top of the lining – cover with a bit of carbon or brown matter (i.e. dried leaves, untreated paper, or untreated wood chips), close the container, and wait patiently.

Each time you throw on more fresh scraps, make sure to cover them with a lining of carbon/brown matter.
This ensures that decomposition happens in tandem with your squirmy little pets, and can also help keep stink down!
What Can I Feed My Worms?
This is a very important aspect of vermicomposting that cannot be forgotten!
Unlike aerobic composting – where you can break down a wide array of organic materials – with your wrigglers, you can obviously only have them process materials that are safe, edible, and degradable by them. What would those be?
- Fruit (non-citrus) and vegetable scraps
- Soy products (tofu, tempeh, miso, etc.)
- Tea bags
- Coffee grounds
- Egg shells
- Nuts and seeds
- Untreated paper scraps
- Dried leaves
- Nutshells
- Human hair or pet hair
- Laundry lint
- Rice, pasta, non-dairy baked goods
- Grass clippings
- Seedless weeds
What Not to Feed Them?
Avoid tossing in the following materials, no matter how badly you want to get rid of them and turn them into plant food.
Most of these wouldn’t be good food for your plants anyway, not to mention that they would be a harm to (or completely untouched by) your pink little guys!
Instead, you’ll have to toss these into the trash – or you can create a completely separate, non-worm aerobic compost pile if you desire.
- Citrus or avocado rinds
- Pickled foods/vinegar
- Dairy products (yogurt, milk, cheese)
- Eggs (even though egg shells are acceptable)
- Meat (of any kind!)
- Bones (from any animal)
- Pet feces
- Cat litter
- Plastic or other manmade materials
- Wood or charcoal ash
- Sand
- Seedy garden weeds (they’ll sprout back up in your garden if you apply your compost there)
- Diseased plants
- Cooking oils, fats, or grease (which go rancid before worms eat them, and can encourage anaerobic, bad bacteria)
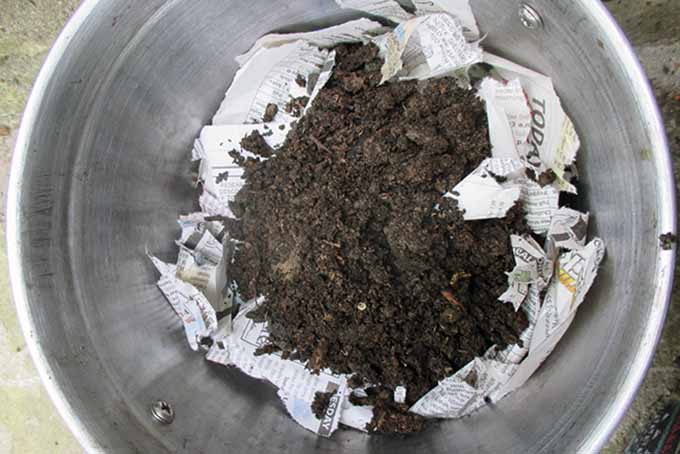
The End Product: Amazing Compost and a Great Bond
As you feed your worms and get into a groove, you can observe as all your food scraps and waste are turned into beautiful, dark compost.
It depends on what you feed them, as well as the time of year, temperature, and other elements – but on average, you will have some fertilizing compost to work with in about one to two weeks!
Once all food scraps are chowed down on and gone, you can remove all the compost worm castings and place them in a separate container – a bag for soil or a bucket (with a few holes for aeration) are good choices.
Keep your worms in their original container in the meantime, leaving a bit of the soil-like compost still inside for them to still wriggle around and be comfortable in.
Line it with a fresh layer of carbon material like before, throw your scraps in, and watch the magic happen all over again! Lather, rinse, repeat.
Some aficionados of vermicomposting out there prefer having multiple composting bins for their earthworms – this makes it easier to transfer worms into a new compartment with fresh scraps, all without disturbing them too much while transferring fresh worm castings out (this is why the 360 Worm Farm is perfect)!
Worm Factory 360 Worm Composter available on Amazon
If you take the leap and really get into worm farming, the rewards are absolutely worth it, both for your house and your garden.
Not only will you be sourcing your own organic fertilizer for garden plants right at home – you’ll also be forming an invaluable relationship with your earthworms, one of the best fellow gardeners and companions out there in the animal kingdom.
Want to know more? Check out “The Worm Book: The Complete Guide to Gardening and Composting with Worms,” available via Amazon.
Want to try vermicomposting? Have your own worm farm? Talk to us about it! Comment below, and we’d love to hear from you.
And for more information on improving the soil in your backyard, check out these guides next:
Wow. Good article for learning. Really worth sharing.
Question: I am trying to convert a sandy location into good soil. All summer I have been putting grass clippings and straw and tilling it in weekly. Would adding worms to the soil work? Would the straw and clippings provide nutrition for the worms? When the leaves start to fall I will be adding them to the soil.
Hi Bart, I’m sorry it has taken us so long to get back to you – somehow your message slipped under our radar. Bart, while I’m guessing you have sorted out your problem by now, for the interest of our other readers I will go ahead and answer your question here. To improve sandy soil, I would advise adding organic matter as you have been doing. Rather than introducing earthworms directly, I would work compost and / or manure into the soil. Once you have increased organic matter in your soil, soil critters like earthworms will find their way to… Read more »
If I want to keep the population about the same could I feed to chickens?
Great question, Bella. Red worms are high in protein, and they can definitely be fed to the chickens!
I’m very interested in becoming a worm farmer and at this point I’m ready to supply myself with whatever I can out of my own resourcefulness. Your information that I just read seems to be a quite a helpful resource and I hope to be learning much more in the coming days and weeks so that I can begin to become a worm farmer. Thank you!
Thank you very helpful,:)
I just started worm composting and I have a problem. I have had my worm bin for about 2 months and last week I checked my worms. I saw very few worms but there were bunches of a larva type thing. The largest was about 1 inch long and they were light and dark gray stripes. I picked as many as I could out and threw them away. Today when I fed them I saw the larva again and they were defiantly more populated in the bin than the worms. What worms were in there were tucked off in a… Read more »
I’ve had this issue before — there is a good article about these (probably maggots) on Gardening Know How.
I heard a similar story on a podcast recently, Dave, and unfortunately that gardener thought it would be a good idea to dump out the entire bin and hand-pick the grubs – in her apartment kitchen. I would advise against attempting this indoors! Unfortunately, soil and other garden materials can sometimes be infested with unwanted bugs that are just waiting to hatch, and there’s not much you can do to eradicate them that won’t also harm the worms. If these are maggots or potworms, they won’t technically harm a vermicompost bin. But finding them can be unpleasant, and worrisome. However,… Read more »
I’ve had a similar problem.
I found that putting a couple of cut summer squash the larvae seem to really like the squash and will cover it in about a day then take it out to the chickens and they will take care of it from there after a couple times you will thin them out pretty well
Thank you so much for the great research & experience you’ve shared! I am so
excited to start “Farming” nature’s true farmers. Giving tips on how to do it yourself and links to purchase is super appreciated!!! Thank you ????????
Are earthworms found in cow dung suitable for vermicomposting? I am on a tight budget so no online buying for me. ????
Hi Melinda, I’m sorry it has taken us so long to get back to you – somehow your message slipped under our radar. I would advise against using earthworms from cow dung for vermicomposting. Cow dung can contain other types of worms or insects that you would probably not want to introduce into your home, including parasitic worms. Also since it would be difficult to correctly identify the types of earthworms in the dung, you may not find the type that are suited to vermicomposting. For free earthworms, I would recommend looking for a local group of gardeners and see… Read more »
Hi I have 2 worm farms, the worm are fine and reproducing. The problem I have is my compost/casting is always very moist. Please help. Thank you.
Hi Linda, It’s great to hear your worms are reproducing successfully! First of all, the contents of your worm bin should be about as moist as a wrung out sponge. I can think of a few reasons why your castings might be more moist than you prefer. The first depends on how much water you’re introducing with your paper. When you get your newspaper wet, I would recommend wringing it out like a sponge before you put it in your worm bins. If that doesn’t seem to be the problem, perhaps your worm bins don’t have enough ventilation. If you… Read more »
Good article! I just started a worm bin, the purchased type with several trays. I keep the bin in my utility room because I live in an area with very hot summers and winters below freezing, and I didn’t think I would be able to move the bin inside and outside by myself. The worms seem happy, but I’m surprised that I often need to add water, and I’ve had no leachate to drain. I’ve read of so many problems with too much moisture. I check the moisture level each time I feed. I just added a second tray. My… Read more »
Hi Thisni, It sounds like you are a top notch worm farmer, congratulations! Thanks for providing so much info in your question – the details you provided may have helped me figure out the cause of your lower moisture situation. Frozen vegetable materials allowed to thaw tend to release a lot of moisture. My guess is that the water released from the veggie scraps is draining away through a colander or something, and so the scraps have less moisture content than fresh veggie scraps would. I could be wrong about this, but that would be my first guess. If that… Read more »