Growing carrots, Daucus carota subsp. sativus, in containers is a convenient way to produce your own fresh root vegetables, even if you don’t have the acreage for a full-fledged vegetable garden.
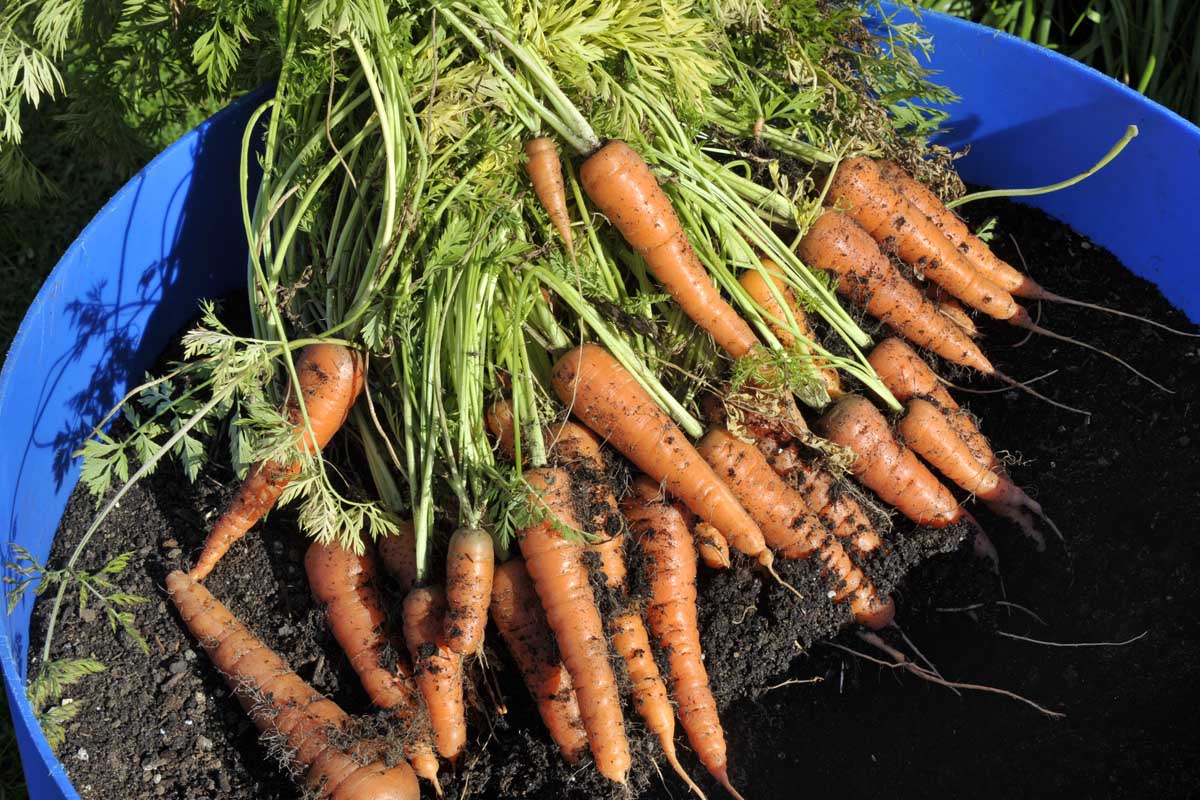
One large round planter can yield up to 30-40 carrots per harvest, depending on the weather, variety, and how many you’ve planted.
My favorite thing about growing them in containers is that there are no wild critter issues, since my planter is close to the house where I can keep an eye on it. What’s more, now I can easily harvest two or more crops per season, and picking and storage is incredibly simple.

We link to vendors to help you find relevant products. If you buy from one of our links, we may earn a commission.
Here’s what’s to come in this article:
How to Grow Carrots in Containers
Let’s get growing these tasty, nutritious Umbellifers!
Getting Started
Any container shape will work; the main concern is making sure it is deep enough to accommodate your chosen cultivar. Ideally, you’ll choose a variety that develops a short, more rounded root rather than a long thin one.

Be sure to read the specific information for the varieties you want to grow. Some require significantly more or less depth than others.
Your container should be at least 12-inches deep, to accommodate the developing roots. Select one with adequate drainage, or make several holes in the bottom of the vessel of your choice.
Use traditional pots of any shape, or create your own from repurposed containers. If you are repurposing, you will need to make sure that there are drainage holes. Drilling a few holes in the bottom should be enough to take care of this.
This year I am growing some carrots in a styrofoam cooler that I am dedicating to root crops, because not every pot has to look beautiful.
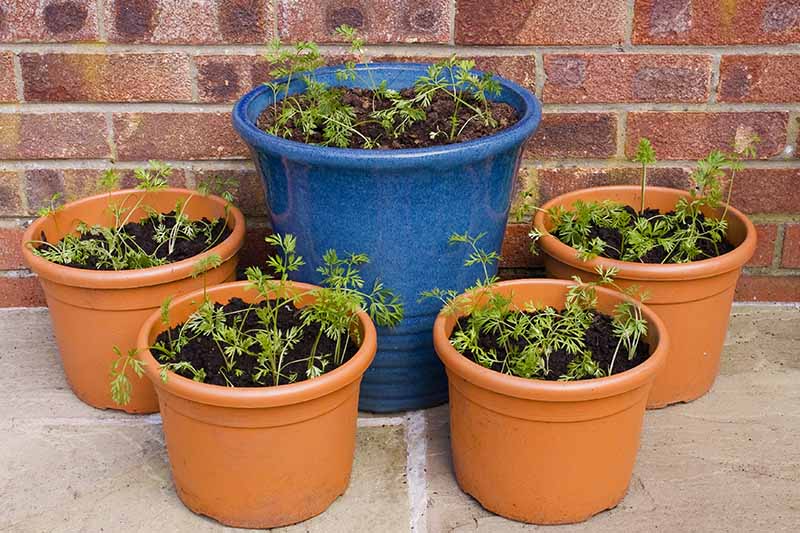
I like to choose planters that are at least a foot square, and keep in mind that bigger is better if you want a bumper crop.
Place the vessel in a location that receives the amount of sunlight that’s best for the specific variety you are growing. Most carrots do best in full sun, but double check the seed packet for yours before deciding on the perfect spot.
It is best to place the pot in your selected location before filling it, because a large planter becomes heavy once it’s full of soil and water and difficult to move around.
Container Grown Carrot Care
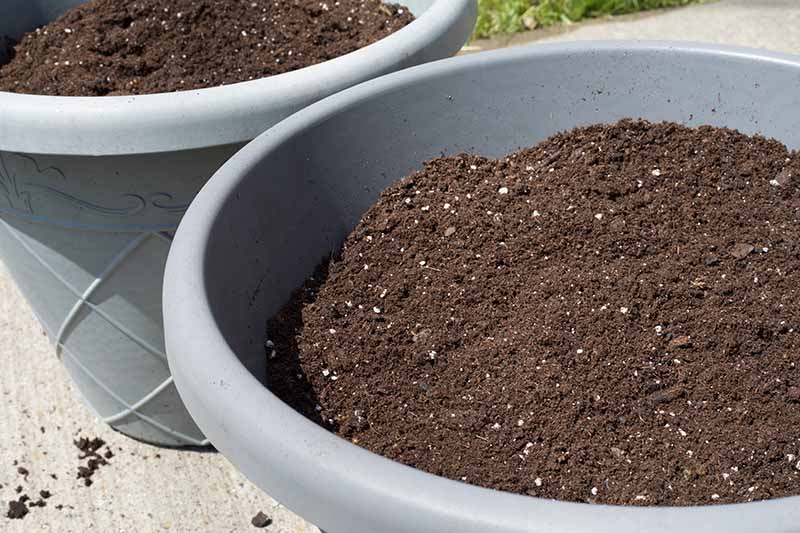
Fill the container with organically rich potting soil. A purchased product specifically for vegetables will have a good combination of ingredients such as peat moss, sand, and vermiculite.
You want to be sure that the potting medium is smooth, light, and airy, for adequate drainage and optimal root growth.
Carrots do best in soil with a high potassium content which encourages root growth. Be cautious about the nitrogen level in your soil, as this will promote foliage growth, which is not our goal.
You can use soil from your garden, but it’s recommended that you conduct a soil test and amend as necessary.
Potted carrots require regular watering. Be sure to water at the soil level, and not over the leafy tops, to avoid problems with rot.
Keep the soil moist, but not soggy – and never allow it to completely dry out.
How to Grow
Carrots seedlings do not transplant well, so you’ll need to start with a packet of seeds or seeds that have been harvested from a previous crop.
You can sow seeds in your containers outdoors as early as 2 to 3 weeks before the last expected frost date for your area.
To jump-start the process, you can start seeds indoors in biodegradable pots a few weeks ahead of time.
Water the pot or pots of soil thoroughly and let all the water drain through. Gently sprinkle carrot seeds over the moist soil. Cover them with a 1/4 inch of additional soil, and tamp down gently.
Germination takes up to three weeks, so be patient while nature works its magic.
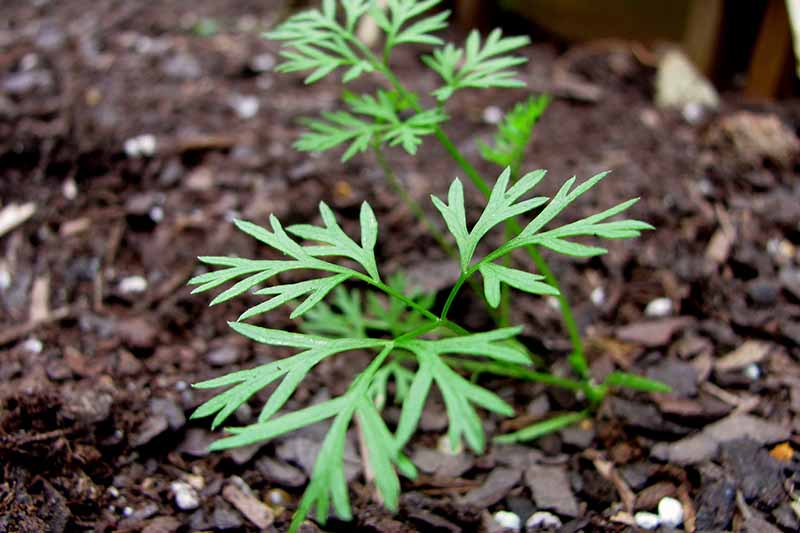
As seedlings grow, they generally begin to crowd one other. When they have their first set of true leaves, trim away the weaker ones with a pair of scissors or pull them gently up by their roots.
Be careful not to disturb the surrounding plants.
In another couple of weeks, thin again, maintaining a space of about three to four inches between plants.
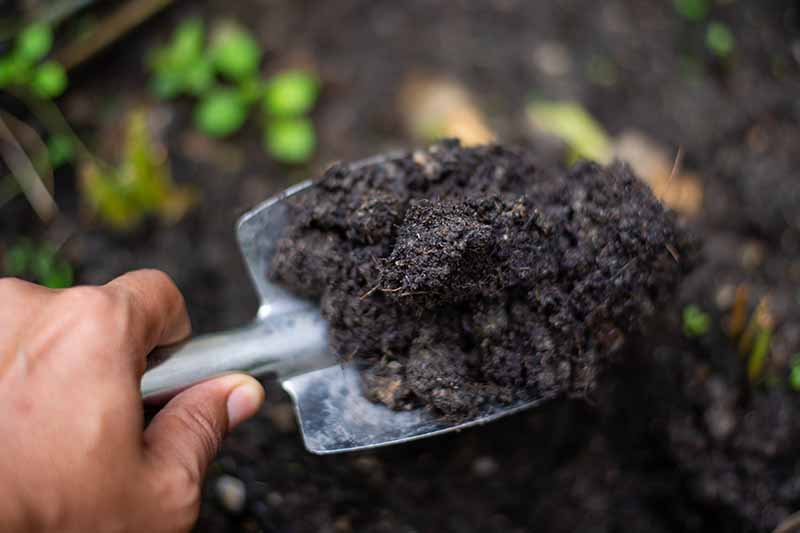
At this time, you may want to feed your developing crops. You can use a general purpose vegetable fertilizer that is low in nitrogen. Excess nitrogen can promote too much foliage, and too few carrots.
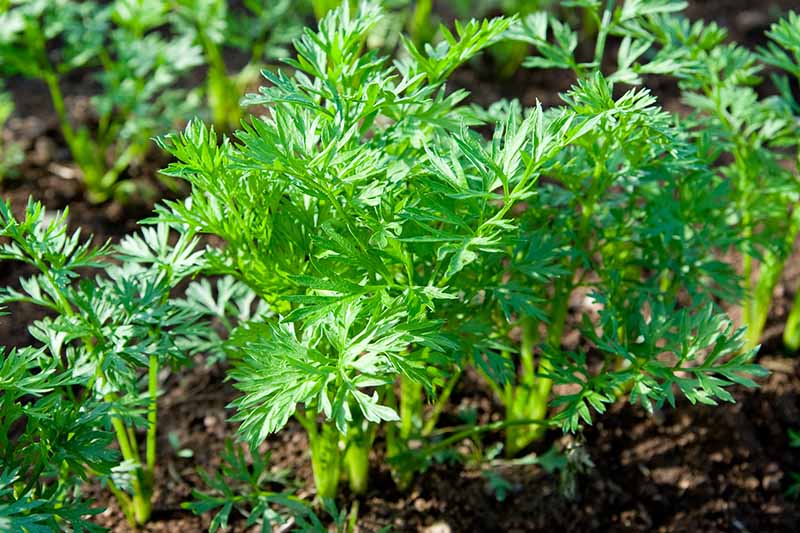
Or, you may want to try a healthy dose of compost tea, another nutrient-rich supplement. Vital nutrients go a long way toward producing sweet and crunchy root vegetables.
Remember to keep the soil moist as the vegetables mature. Containers dry out much faster than ground soil, so check them daily.
Weeds and pests should not be an issue with closely tended containers, but keep an eye out for any problems.
If the tops of the carrots start to grow above the soil line and are exposed to sunlight for extended periods, they will turn green and become bitter.
In addition, exceptionally hot temperatures may take a toll on root development. Drying out soil and inhibiting nutrient uptake which will impair flavor and texture.
If you have an unusually hot spell, move your plants to a shaded location during the mid-afternoon hours.
That’s part of the beauty of container-grown plants – you can move them when you need to! A rolling plant caddy is ideal for this purpose.
Growing Tips
- Use well-draining, loose soil without clods to avoid misshapen roots.
- Water frequently, particularly in hot weather, as container-grown plants dry out quicker.
- Fertilize regularly as nutrients are leeched from the soil more quickly in containers.
- If you don’t have outdoor space, they can also be grown indoors.
Carrot Cultivars to Select
Many types of carrot will grow well in containers, and nurseries and seed companies will often note which varieties are best for planting in small spaces.
As a general rule of thumb, 8-inch carrots will fit just fine in a pot that is 12 inches deep. But smaller options or cultivars with roots that are short and rounded (such as Danvers and Chantenay varieties) rather than long and tapered are a good option.
Here are two carrot varieties perfect for container growing. For more inspiration see our guide to the best carrot varieties to grow at home.
Yellow
This heirloom variety produces six-inch, yellow, tapered carrots that are sweet and tender. They mature in 65 to 80 days.
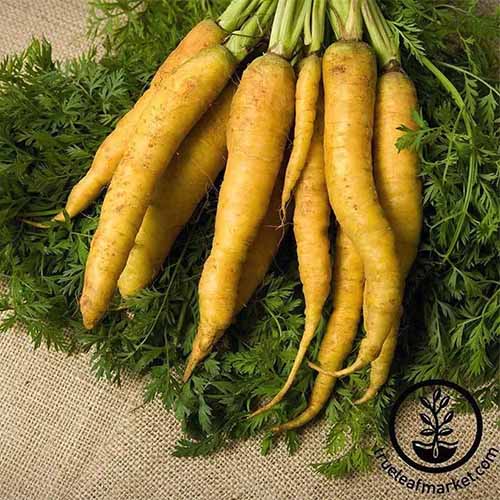
‘Yellow’ carrot seeds in packets of various sizes are available from True Leaf Market.
Amsterdam
This orange variety grows tubular five- to six-inch roots that mature in about 55 days.
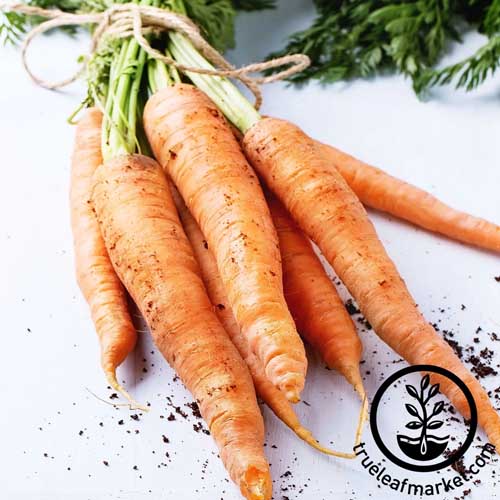
‘Amsterdam’ carrot seeds in a variety of packet sizes are available from True Leaf Market.
Managing Pests and Disease
Provided you have used fresh soil and thinned your plants adequately, you shouldn’t have any major problems with pests or disease.
Sometimes aphids, leafhoppers, and flea beetles can munch on the leaves. These can usually be dealt with efficiently by spraying a strong jet of water from your garden hose. In the case of a major infestation you might want to use an insecticidal soap, or neem oil.
Find more tips on combating these creatures in our in depth guide, “How to Identify and Control Carrot Pests.”
It’s crucial that you thin your seedlings. If you don’t, the proximity can create a humid environment that can encourage fungal growth.
The common diseases that plague garden-grown carrots are not as much of a problem when you grow them in containers. Fungal and bacterial diseases such as Alternaria leaf blight, bacterial leaf blight, and carrot black rot are ones to look out for.
Read more about managing disease in our guide to growing carrots in the garden.
Harvesting Container Grown Carrots
It is best to keep your seed packets around through harvest. But don’t just rely on the days to maturity noted, which is an average.
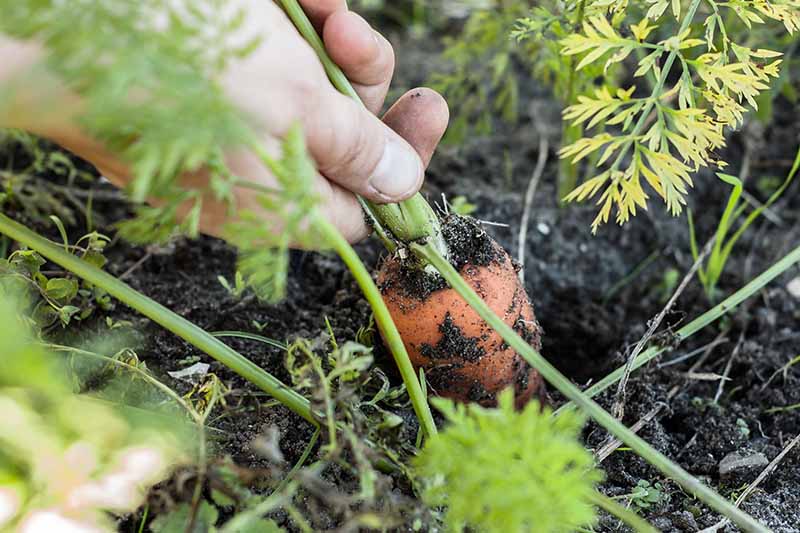
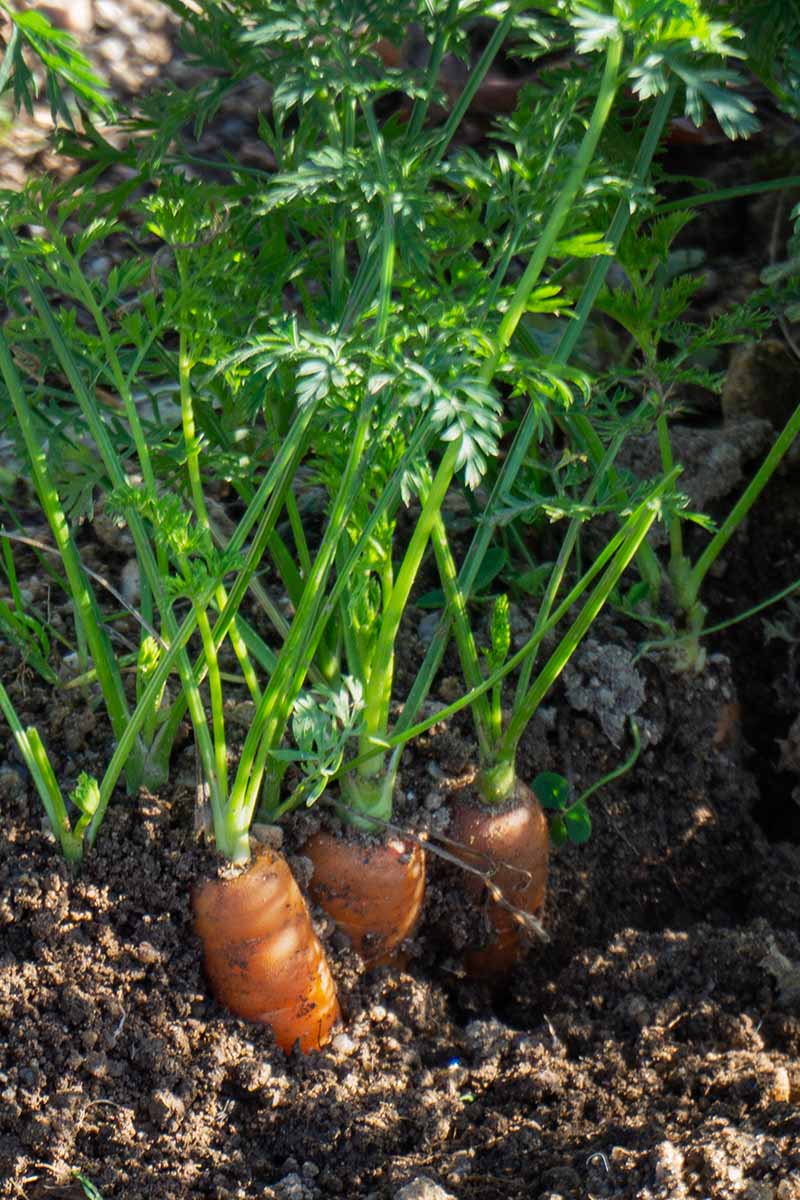
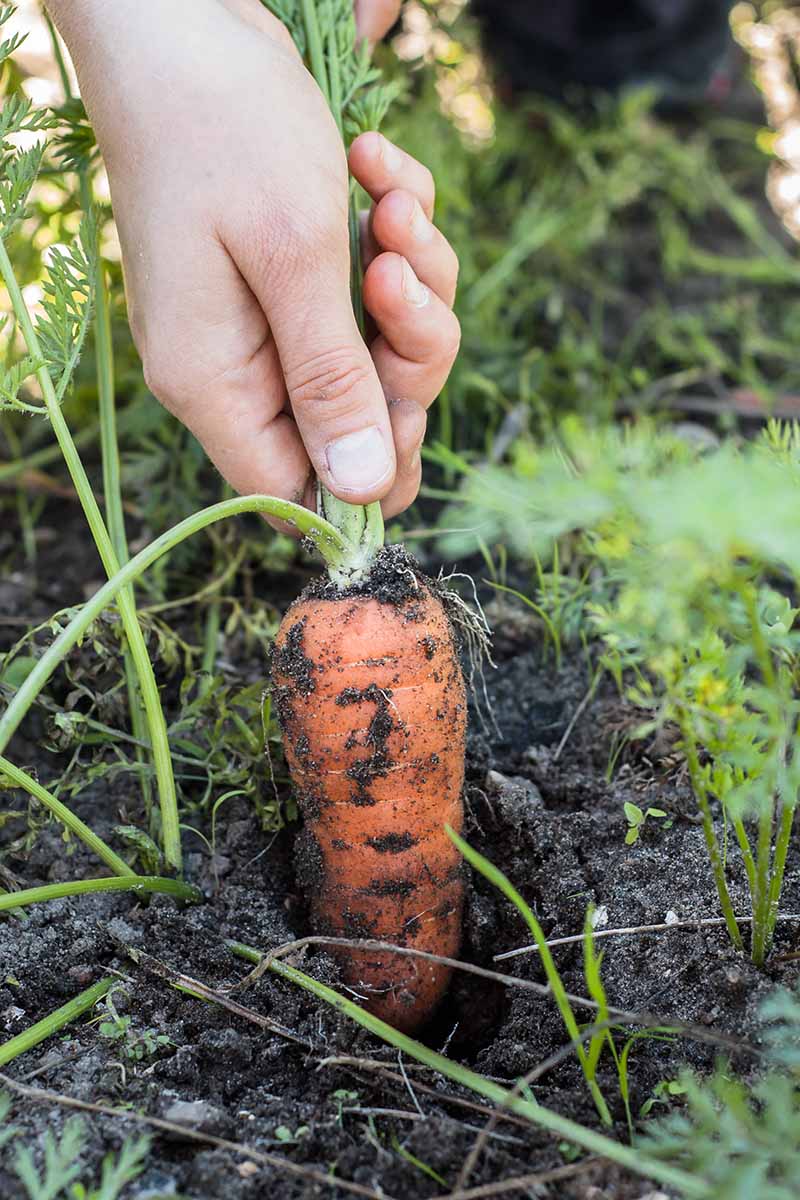
You’ll know your carrots are ready for harvest when the tops of the root are just visible above the soil line.
Depending on the cultivar, you can harvest when the diameter of the exposed crown is at least 1/2 inch across.
To harvest, carefully loosen the soil around the root, and pull gently to prevent them from breaking.
If you are growing a spring crop for a summer harvest, keep an eye on your plants as the high temperatures can cause them to bolt. If you have a fall harvest planned, a few light frosts can sweeten the taste.
Read more about harvesting carrots here.
Prepare for the Next Crop
It is possible to reuse the soil in your container for your next crop of carrots. If you’ve just harvested your spring plantings, now’s the time to sow another batch for fall.

Change the soil completely every five crops or so, as it may become compacted and the nutrients depleted. At that point, start with fresh, organically-rich soil and plant another batch of seeds to begin the cycle again.
Depending upon where you live, you may be able to grow outdoors year-round, or perhaps inside a warm sunporch.
If you have a garden, you could mix the spent potting medium into the ground in one of your plots or beds and let the soil’s beneficial microbes refresh it.
A Smaller Scale with Big Results
Growing in pots opens a whole new world of vegetable gardening to those with small outdoor spaces. And it can be fun for the whole family because it’s easy to let the kids take part.
Unlike a big garden plot with major digging and weeding, the tools and scale of operations for container gardening are the perfect fit for smaller hands. Why not let them take responsibility for a single pot or type of vegetable?
Whether you are in an urban setting with a balcony, or a suburban locale with a front porch, you can enjoy healthy produce and the satisfaction of having nurtured it yourself.
With quality seed, good soil, adequate drainage, and dedicated watering, you are sure to enjoy success with your homegrown carrots.
How does your garden grow? Pots on a windowsill or acreage out back? Share photos with us and leave your questions and comments below.
If you’re excited to get growing in containers, you’ll need these guides:
Thanks for the tips! Definitely growing carrots in pots next season
Hi Matt –
You’re welcome. Best of luck!
so am i those tips were great!
I have read and watched several articles on how to grow carrots, this may be the best.
Hello Michael –
Thank you so much. We are so glad you found the article informative.
WOW! You’re great! I have fresh carrots!????
Hello Brook –
So happy you enjoyed the article. Enjoy the carrots!
Great insightful article Nan, thank you. I have never grown carrots before but the seeds germinated readily and now i want to grow a few different varieties
Hi Floyd –
You’re welcome. We’re so glad the article inspired you to grow your own carrots. You’re well on your way to many happy harvests!
Hi Annette –
Yes, you can grow carrots and beets in the same pot. They share the same cultural requirements: full sun; loose, organically-rich, well-draining potting soil; and an inch of water per week. A pot depth of 12 inches suits both.
Do carrots need full sun? Part shade?
Hi Cherry –
Carrots prefer full sun. Please see our guide to growing carrots for details.